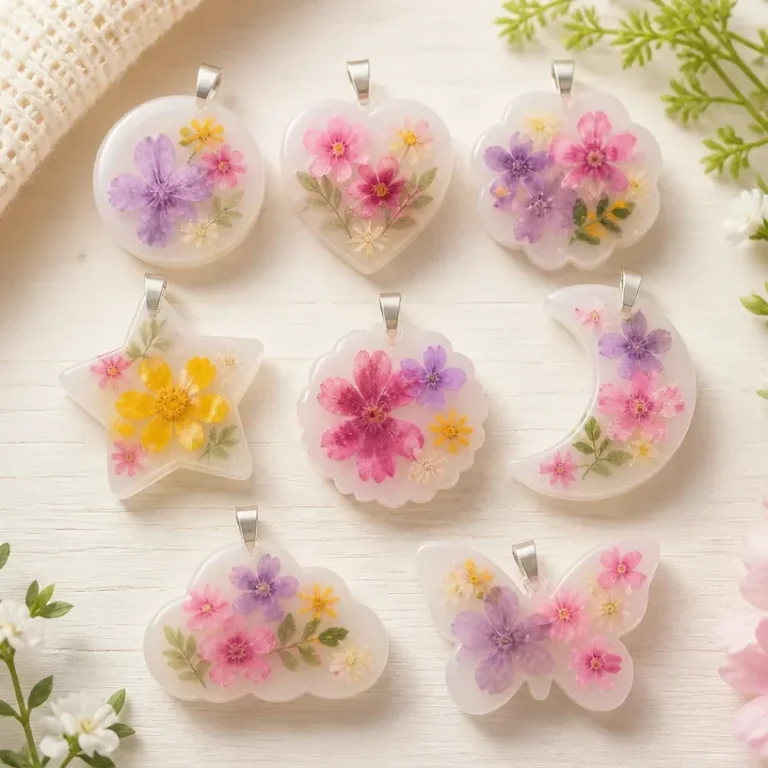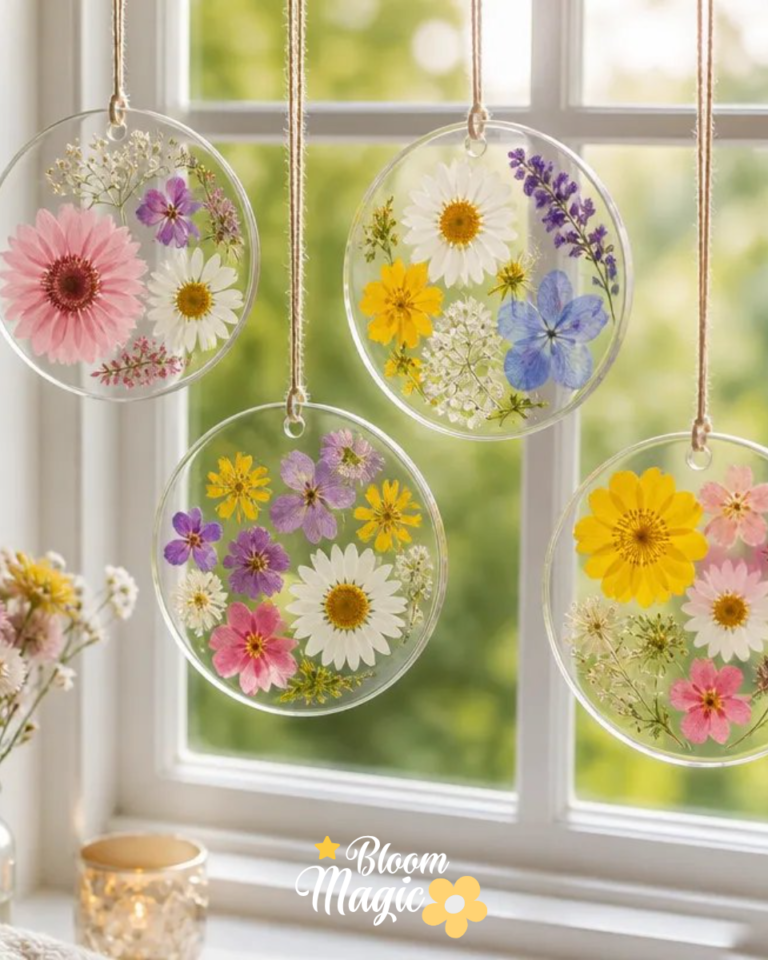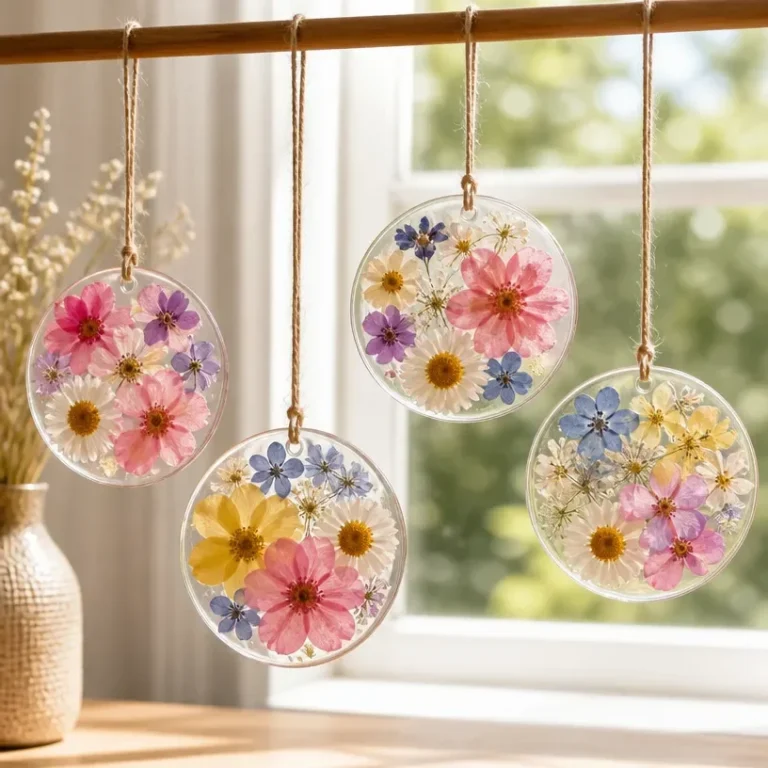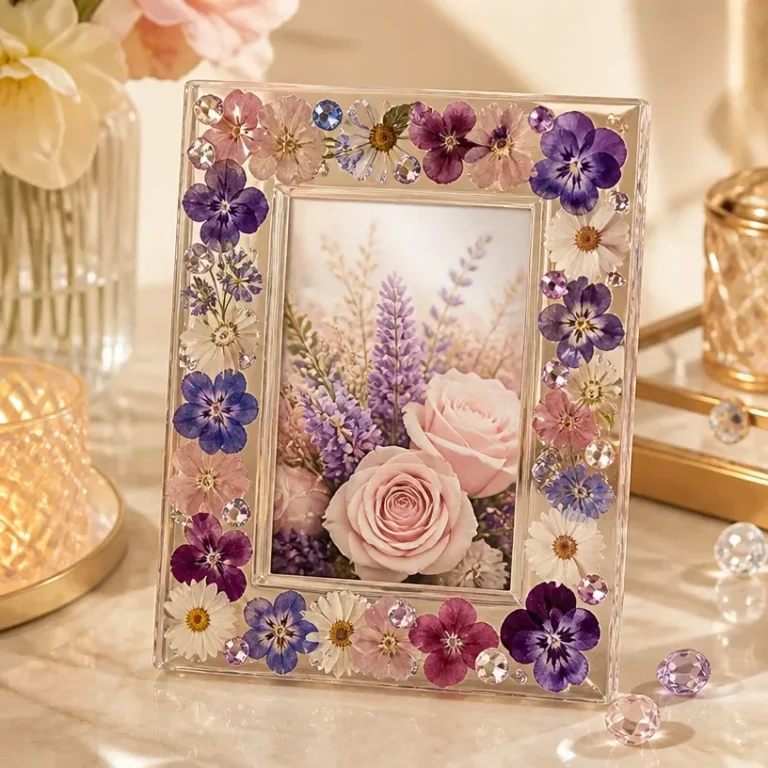
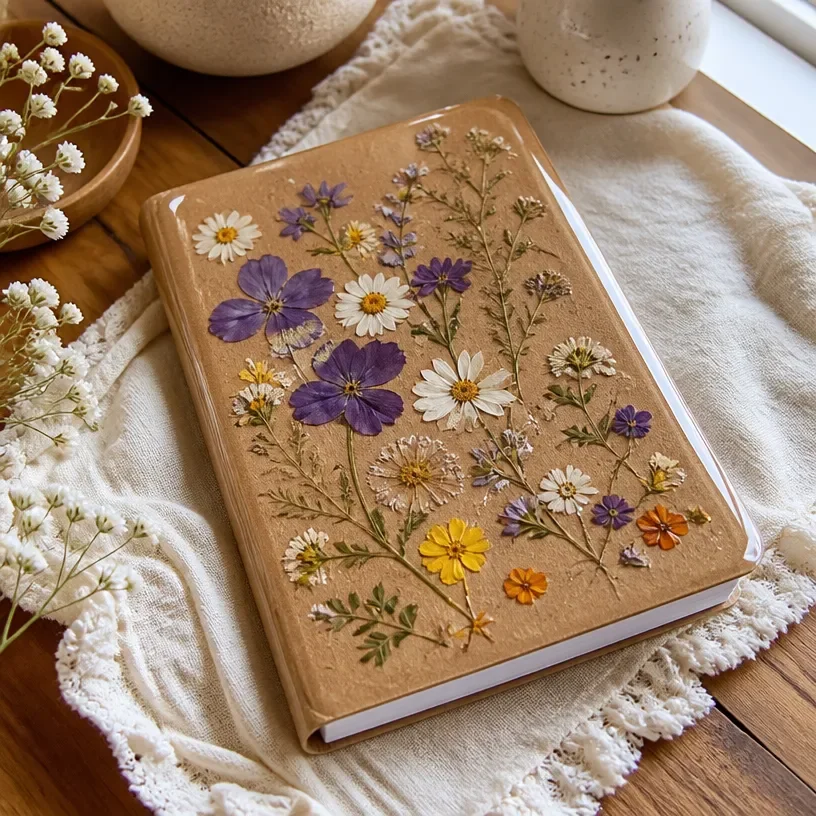
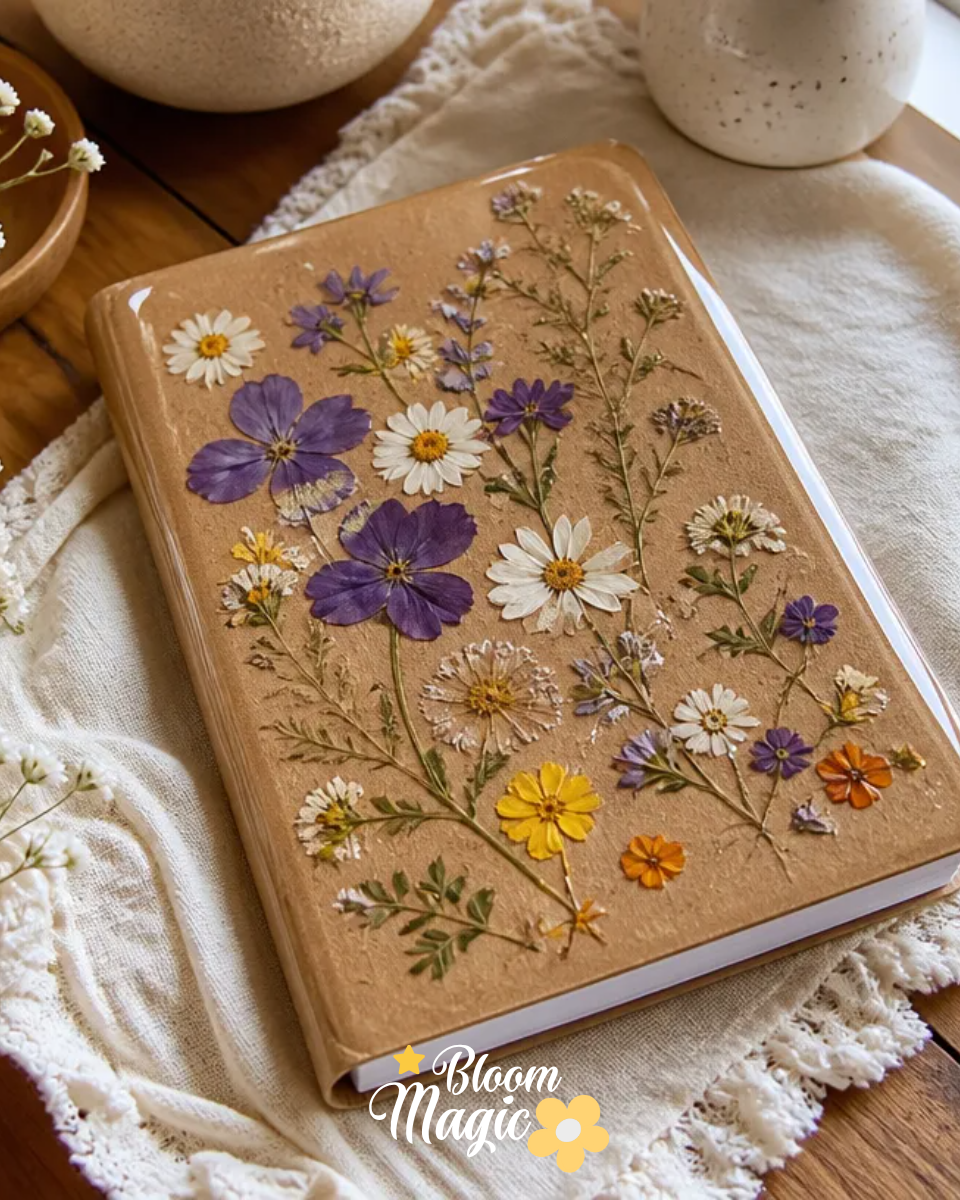
Crafting with pressed flowers can be a delightful way to preserve memories and bring a touch of nature into your home. Picture this: you have a collection of stunning blooms from a recent garden visit or a special occasion, and you want to transform these meaningful flowers into something uniquely yours. One wonderful project that captures this essence beautifully is the Pressed Flower Notebook Cover. This creative endeavor not only allows you to showcase your favorite flowers but also results in a functional and eye-catching item that can be gifted or kept for personal use. You may also find Clear Glue Pressed Flower Suncatcher useful.
Why This Pressed Flower Notebook Cover Works So Well
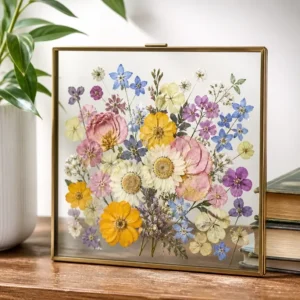
You may also find Floating Pressed Flower Glass Frame useful.
The Pressed Flower Notebook Cover project stands out for several reasons. First, it’s incredibly approachable, making it suitable for both beginners and seasoned crafters. The combination of simple materials pressed flowers, a notebook, Mod Podge, and a brush ensures that anyone can dive right in. You get to play with color and texture, creating a layered design that is visually rewarding. The best part is that this project serves a dual purpose: decorative and practical, perfect for journaling or sketching. It’s also a wonderful way to celebrate and preserve the beauty of nature. You may also find Magic Bloom Diy Pressed Flower Frame useful.
A Quick Look Before You Begin
Crafting a pressed flower notebook covers involves a straightforward, step-by-step approach. To start, gather all your materials and set up a clean, flat workspace where you can easily arrange your flowers on the cover. This project is relatively clean, as Mod Podge can be applied carefully, helping to keep your space tidy. Remember, the arrangement of the flowers is key; you want everything to feel balanced and harmonious before moving on to the more permanent stages of assembly. You may also find Pressed Flower Air Dry Clay Heart Dish Tutorial useful.
Materials You’ll Need
- Notebook – A solid base to display your pressed flowers.
- Pressed flowers – These can be collected from your garden or purchased for a more consistent look.
- Mod Podge – This all-in-one glue, sealer, and finish will help adhere the flowers to the notebook cover.
- Brush – A soft brush is ideal for applying Mod Podge without disturbing your flower arrangement.
This list comprises all the essentials, ensuring you remain focused on achieving the best results. Consider the color and texture of the materials you choose, as these will significantly influence the overall look of your finished notebook cover. You may also find Pressed Flower Butterfly Collage Frame useful.
Step-by-Step Directions
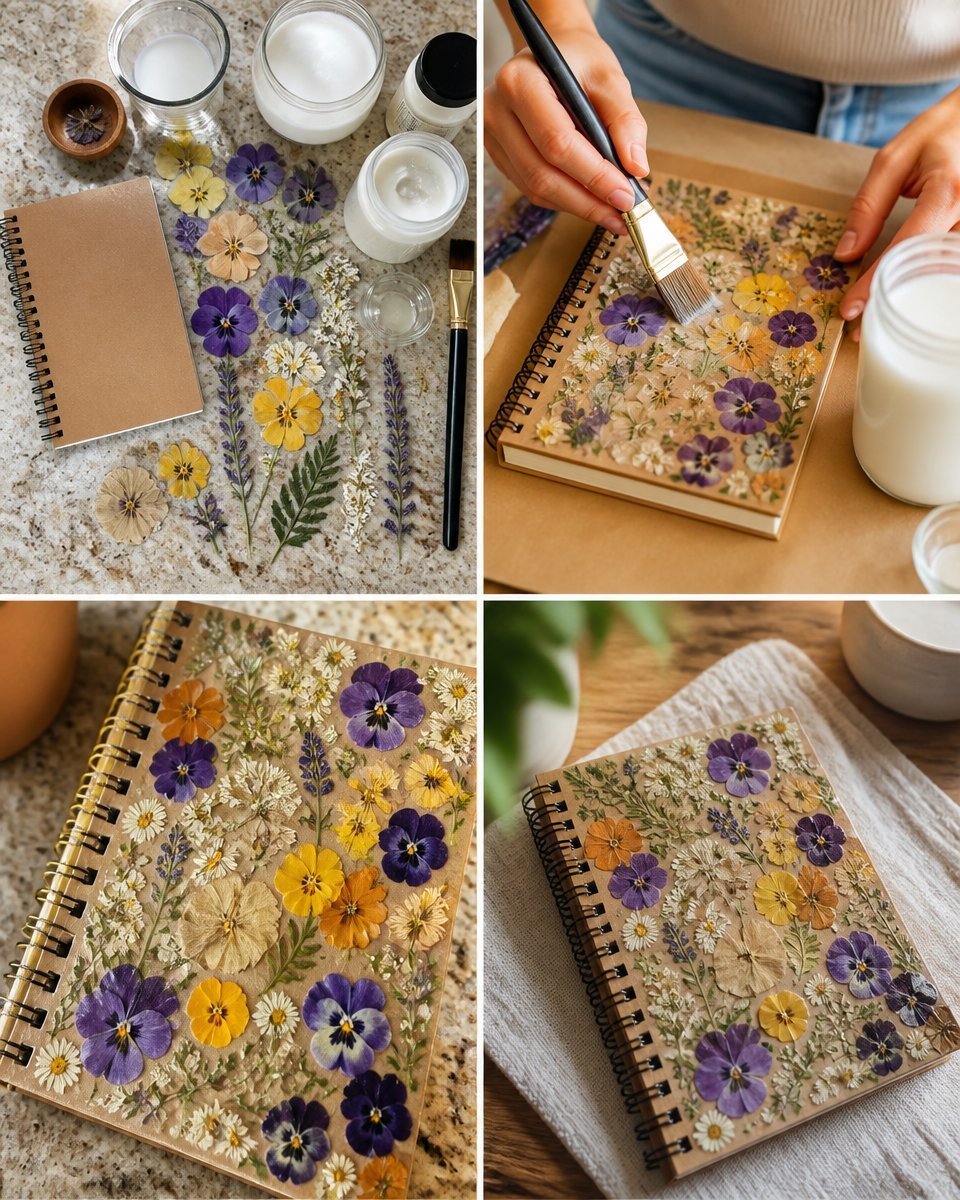
Begin by arranging the pressed flowers on the notebook cover. Take your time to play with the layout until you find a design that feels just right. Pay attention to the spacing between flowers, making sure that no flower competes with another for attention.
Once you’re happy with your arrangement, gently brush a layer of Mod Podge over the flowers. Use light strokes to keep the flowers in place without disturbing their arrangement. The Mod Podge will not only secure the flowers but also provide a lovely finish to the entire cover.
The Design Behind This Floral DIY
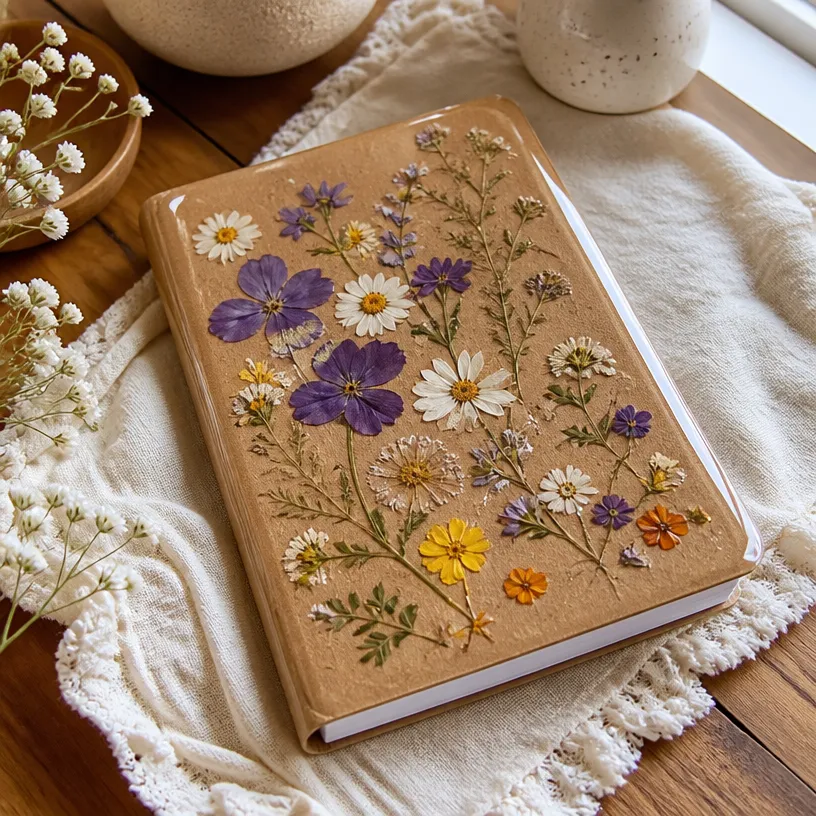
When creating your pressed flower notebook cover, the design involves thoughtful placement of colors, textures, and shapes. You may find that using varying sizes of flowers can offer depth to your composition. Keep in mind how the shades of the flowers will complement each other cool hues can create a serene feel, while warm tones can evoke vibrancy and energy. Layering smaller flowers over larger ones can highlight their unique shapes and add an interesting visual aspect to your cover.
Troubleshooting Common Issues
If you encounter any issues while working on your pressed flower cover, don’t worry. It’s common for the arrangement to shift slightly while applying Mod Podge. If your flowers seem uneven or crowded, simply lift them carefully using the brush and adjust as needed. Should any adhesive become visible, don’t hesitate to brush on a little more Mod Podge, as this will help blend the glue into the overall design.
Easy Variations to Try
To make your Pressed Flower Notebook Cover truly your own, consider these simple variations:
- Experiment with different flower colors or even a combination of dried and fresh flowers.
- Try using a colorful notebook as a backdrop for your flowers to create a bolder statement.
- Add a layer of decorative washi tape or string around the edges of the notebook for added flair.
Each of these variations can transform your project while keeping the essence of the original design intact.
Displaying or Keeping Your Project
After finishing your beautiful pressed flower notebook cover, you might wonder about the best way to display or care for it. Consider placing it on your coffee table or desk as a decorative piece that also invites creativity. If you’re gifting it, wrapping it in a clear cellophane bag can showcase your work while keeping it protected. Make sure to handle the notebook gently to maintain its aesthetic while storing it safely.
FAQs About Pressed Flower Notebook Cover
What kind of flowers should I use for my notebook cover?
Using thin-petaled flowers like pansies or daisies works best. They retain their shape and color after pressing.
Can I use any type of Mod Podge for this project?
Yes, any type of Mod Podge will work, but a gloss finish can give your notebook a nice sheen.
How do I prevent my flowers from shifting while applying Mod Podge?
Be gentle when brushing on the Mod Podge, and consider applying it in small sections to maintain your arrangement.
Can I customize the design with other materials?
Absolutely! You can add stickers or embellishments, but ensure they are secure and not too bulky for daily use.
What happens if my pressed flowers don’t stick?
If you notice flowers lifting, simply apply more Mod Podge carefully using your brush.
A Final Helpful Note
As you embark on creating your Pressed Flower Notebook Cover, embrace the process and allow your creativity to shine. Pay close attention to the materials and take your time to arrange your flowers to create a piece you love. Each step holds the opportunity for customization, so feel free to express your personal style and enjoy the rewarding experience of working with nature’s beauty.
Conclusion
For those looking to further explore this artistic medium, you may find inspiration from various sources. Check out the unique selection of textured notebooks adorned with pressed flowers available on platforms like
Pressed Flowers Notebook – Etsy. Additionally, consider creating smaller projects, such as mini notebooks styled with pressed flowers, supported by the blog post on
DIY Mini Pressed Flower Notebooks – Woodlark Blog. These resources should help you continue your floral crafting journey with confidence and creativity.
Follow us on social for more floral DIY projects & botanical inspiration!
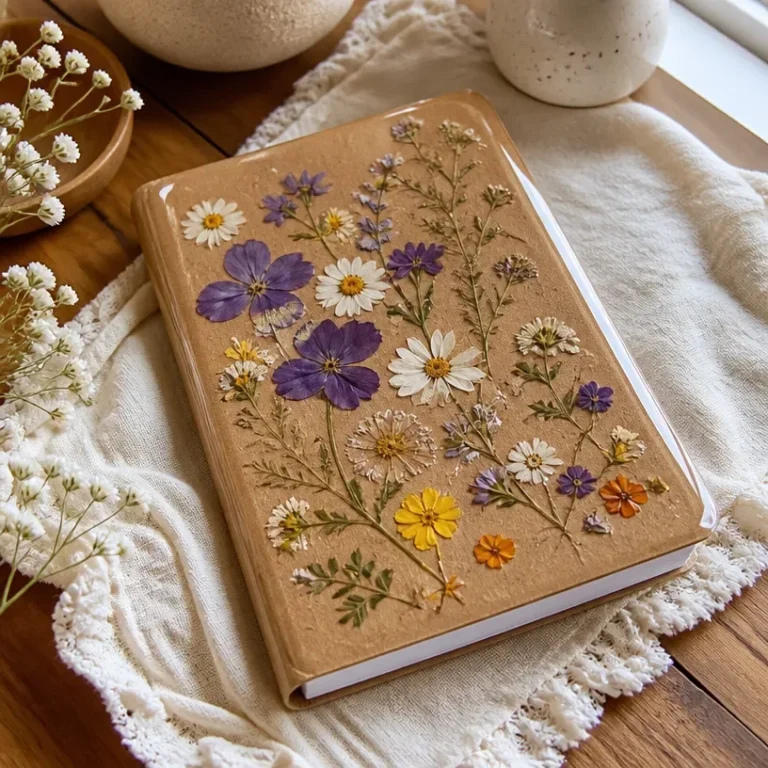
Pressed Flower Notebook Cover
Would you like to save this project?
By submitting you agree to receive this project and occasional emails. Unsubscribe anytime.
Materials
Materials Needed
- 1 notebook Notebook – A solid base to display your pressed flowers.
- assorted flowers Pressed flowers – These can be collected from your garden or purchased for a more consistent look. Thin-petaled flowers like pansies or daisies work best.
- 1 bottle Mod Podge – This all-in-one glue, sealer, and finish will help adhere the flowers to the notebook cover. A gloss finish can give your notebook a nice sheen.
- 1 brush Brush – A soft brush is ideal for applying Mod Podge without disturbing your flower arrangement. Be gentle when brushing on the Mod Podge.
Directions
Preparation
- Begin by gathering all your materials and set up a clean, flat workspace.
- Arrange the pressed flowers on the notebook cover, taking time to find a balanced design.
Assembly
- Once you’re happy with your arrangement, gently brush a layer of Mod Podge over the flowers using light strokes.
- Allow the Mod Podge to dry completely before displaying or gifting your notebook cover.
Last Step: Don’t forget to leave a rating and comment below! It helps other readers find the best DIY projects — and it helps us too!