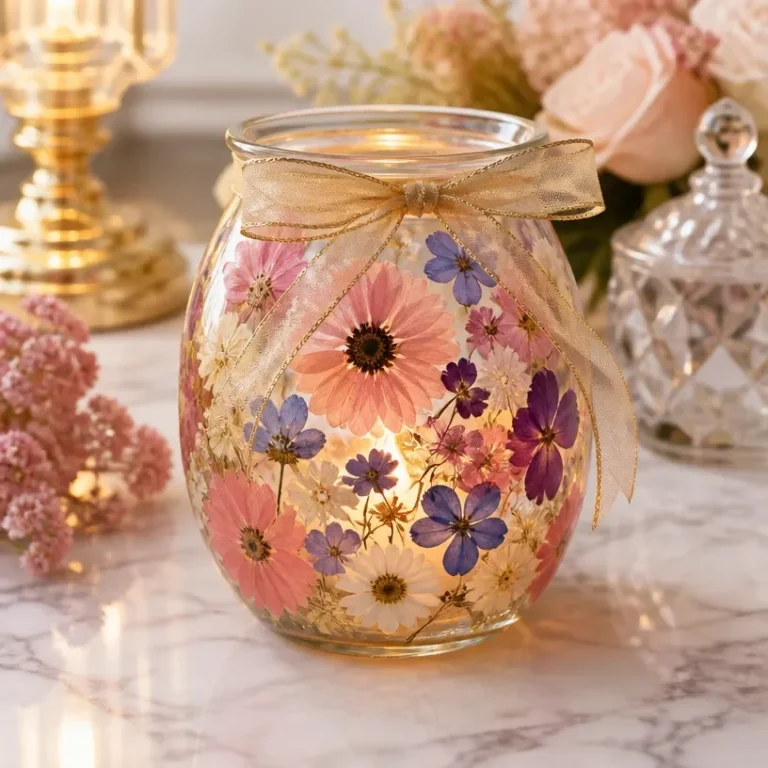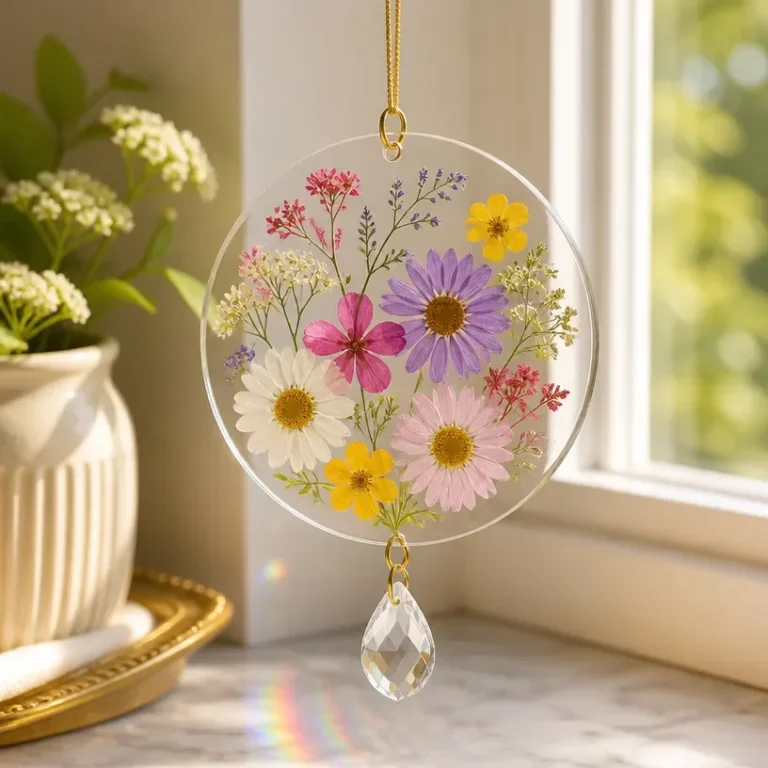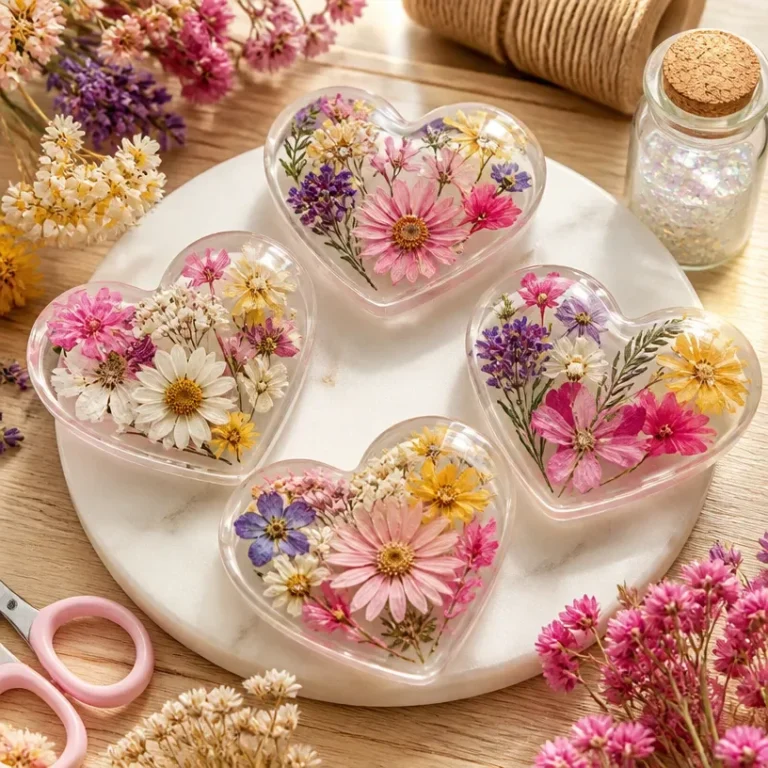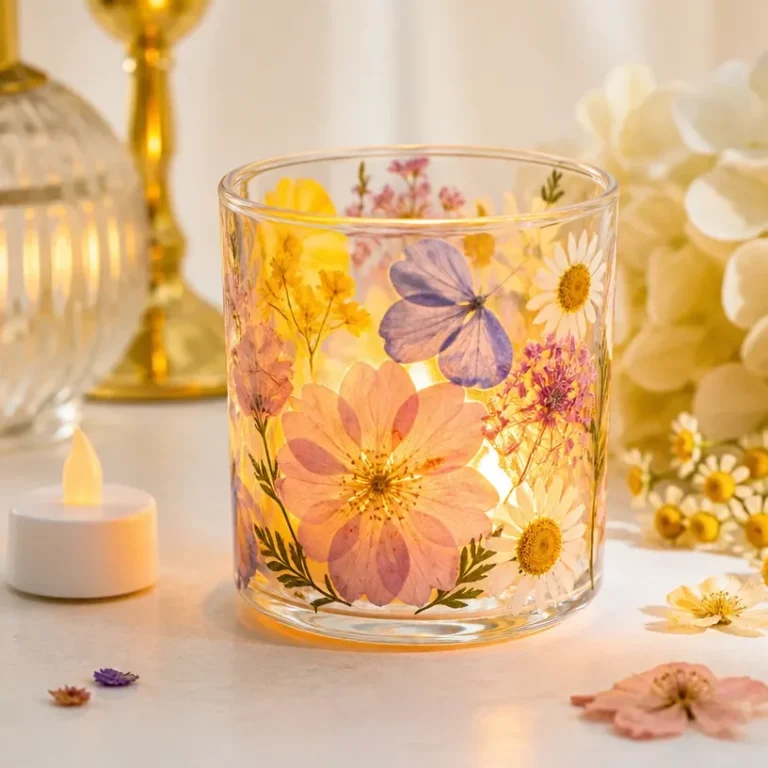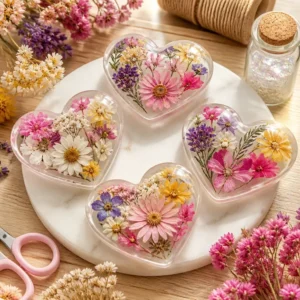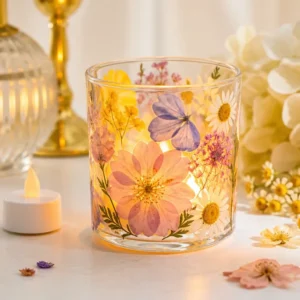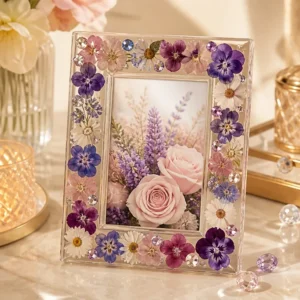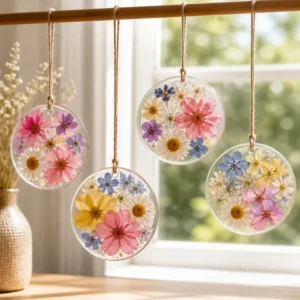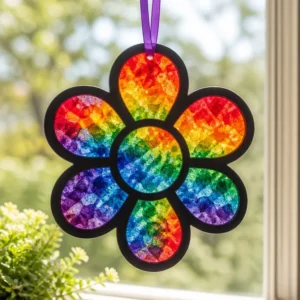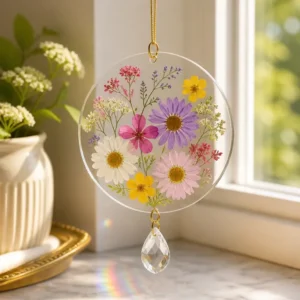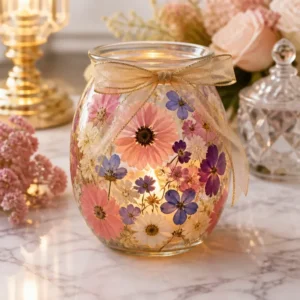
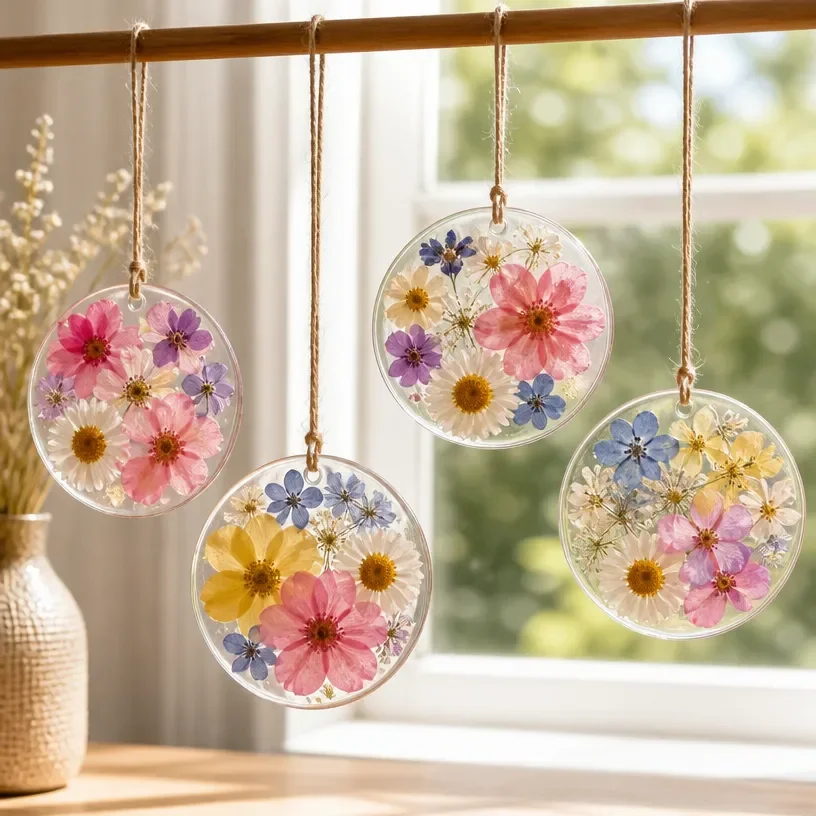
Creating beautiful projects can be a wonderful way to highlight the beauty of flowers and even preserve those fleeting moments. Imagine setting out your craft supplies, ready to transform ordinary materials into something that captures the essence of nature. Recently, I have found joy in making Pastel Flower Glue Suncatchers. This creative process allows you to showcase lovely flower designs while filling your space with light and color.
Why This How to Make Pastel Flower Glue Suncatchers Works So Well
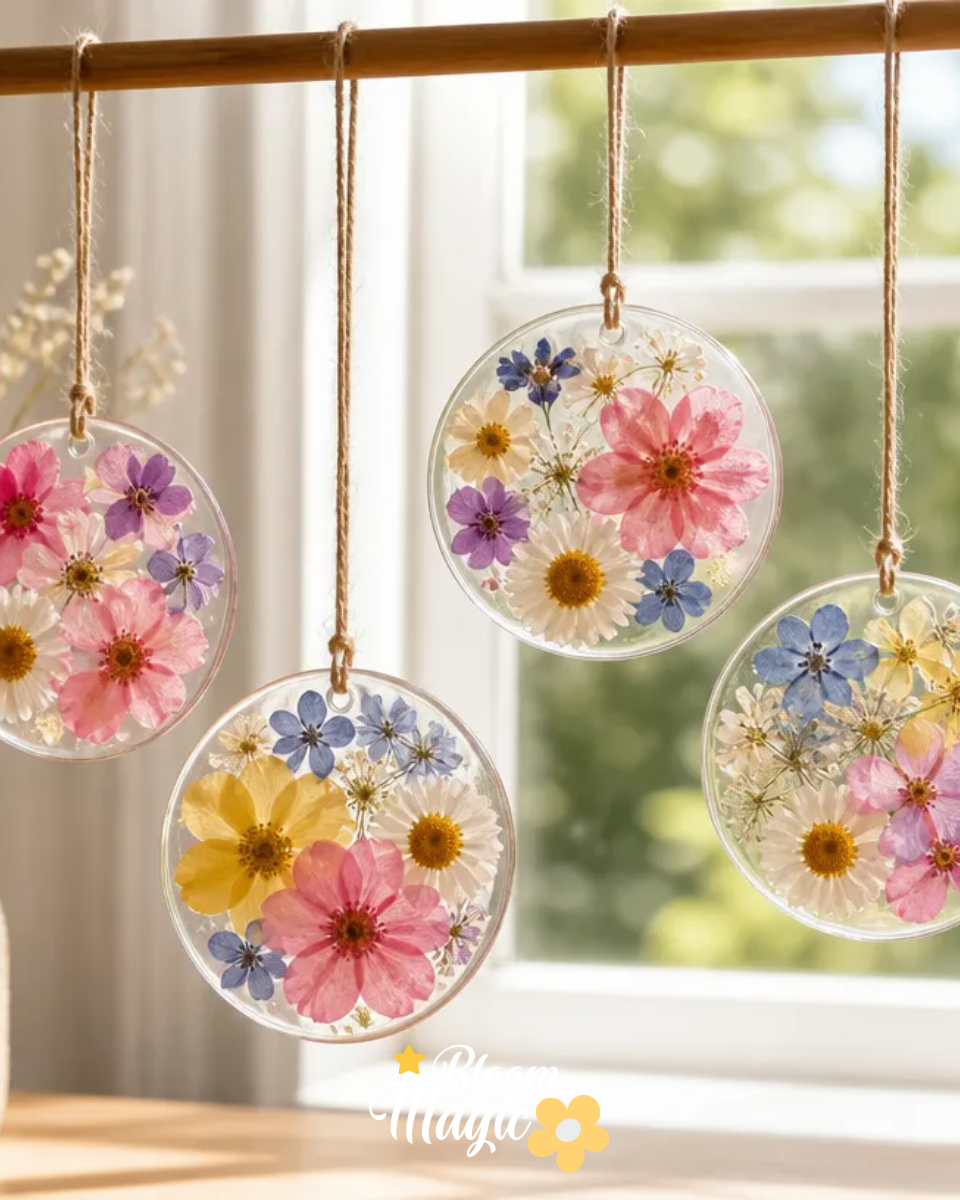
This project is approachable and enjoyable for various skill levels. With its simple steps and minimal materials, making pastel flower glue suncatchers provides a visually rewarding experience. By embracing the provided materials, anyone can create colorful decorations that capture the light in unique ways. The tactile quality of the glue paired with the vibrant hues creates not only beautiful pieces but also a satisfying hands-on experience.
The Flow of Making How to Make Pastel Flower Glue Suncatchers
This project requires just a few steps, making it easy to dive right in without feeling overwhelmed. You’ll begin by setting up your workspace, which helps create a focused environment. As you layer clear glue with food coloring to fill in your flower shapes, the colors blend and take on new life. The act of creating becomes a mindful practice, bringing joy as you watch your designs come together. Allowing the glue to dry will ensure that your creations turn out beautifully, ready to catch the light and brighten up any space.
Materials You’ll Need
- Clear glue (school glue): This is the main adhesive that bonds your design together, allowing for flexibility and transparency.
- Food coloring or liquid watercolors: These will add the vibrant colors to your flowers, so choose shades that appeal to you.
- Wax paper or parchment paper: This serves as a surface for your creations, making it easy to remove the dried suncatchers.
- Scissors or a craft knife: These are optional for shaping or modifying your designs after drying if necessary.
- Pencil or marker: Use this to draw out your flower shapes before filling them with glue.
- Tray or flat surface for drying: This provides a stable area for your suncatchers as they dry, ensuring they retain their shape.
Step-by-Step Directions
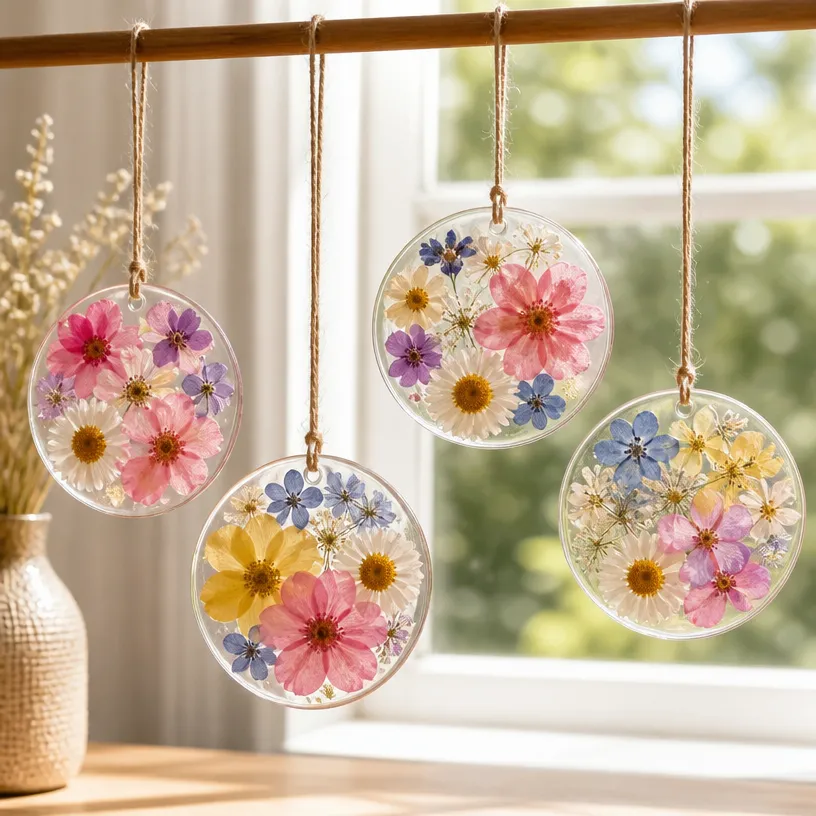
- Prepare your workspace by laying wax paper flat. It’s helpful to have a smooth, clean surface to avoid any mess.
- Draw flower shapes on the wax paper using a pencil. Let your creativity flow here don’t worry if they aren’t perfect.
- Mix clear glue with food coloring in a separate container. This is where the fun begins as you blend colors to create whatever shades you desire!
- Fill in the flower designs on the wax paper with colored glue. As you apply the glue, you’ll start seeing your suncatchers come to life.
- Allow the glue flowers to dry completely for several hours. Patience is key here, but it is worth it to see the vibrant colors shine through!
The Creative Details That Bring It Together
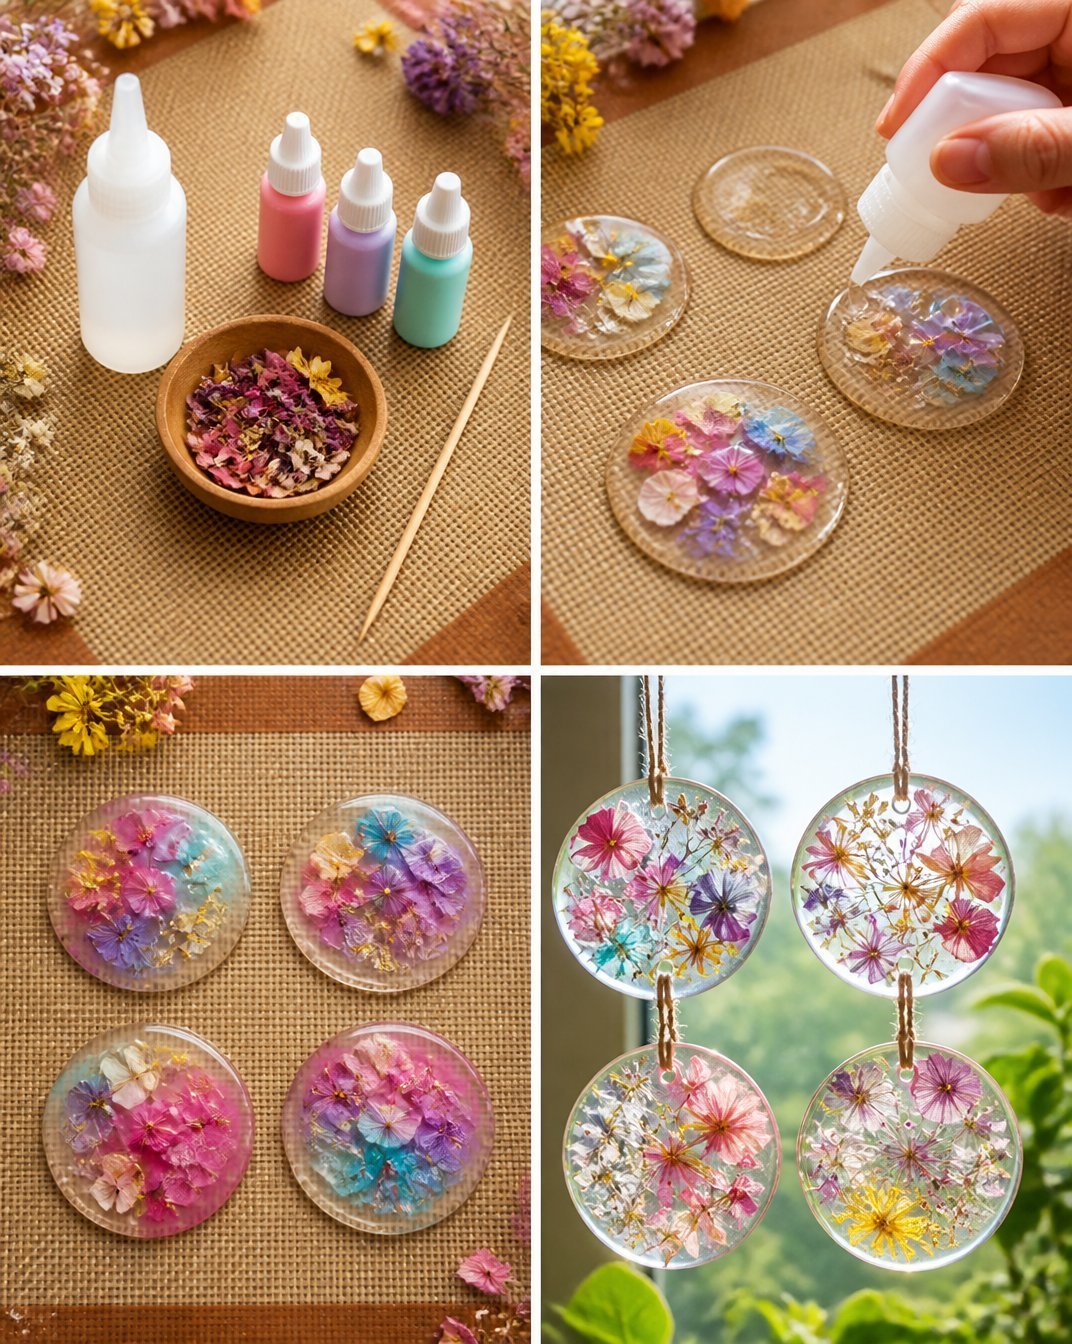
When designing your suncatchers, think about color relationships and the arrangement of flowers. Utilize contrasting shades to make certain colors pop while also experimenting with layering. The texture of the glue adds a delightful dimension, inviting light to play off your creations. By balancing shapes and ensuring appropriate spacing, you can create dynamic pieces that feel visually cohesive. Your personal touch will shine through in the unique shapes and color combinations you choose.
Troubleshooting Common Issues
Sometimes, things may not go as planned. If you notice uneven placement or shifting flowers while working, take a moment to gently adjust them before the glue sets. If the flowers appear too crowded or sparse, reconsider spacing and arrangement for better balance. Visible adhesive can be distracting, so consider using a lighter hand when filling in shapes. Minor adjustments can help elevate the overall look of your suncatcher.
Easy Variations to Try
Consider exploring some variations of your suncatcher project. You might choose different flower colors for seasonal decorations or adjust the size of your designs depending on where you plan to display them. Experiment with layering different botanical elements or trying out unique arrangements all the ways to express your creativity are abundant in this project!
Displaying or Keeping Your Project
Once your suncatchers are complete, think about how you want to display them. They can be hung in windows where they will catch the sunlight or placed in a decorative frame as a gift. Be sure to handle them with care as they become a part of your environment. If you have leftover materials, consider reusing them for new creations in the future.
FAQs About How to Make Pastel Flower Glue Suncatchers
I’m not sure which type of glue to use for my suncatchers. Can I use a different type?
For this project, it’s best to stick with clear school glue to ensure a transparent finish. However, other clear-drying adhesives can be considered if you’re familiar with their properties. Just ensure they dry clear to maintain the overall look.
Can I use fresh flowers instead of drawing them on the wax paper?
While fresh flowers won’t adhere the same way to wax paper, you can press flowers and use their shapes as stencils for drawing. Just ensure you’re familiar with how to press them properly before transition to this craft.
How can I prevent my colors from mixing too much?
Try applying glue in a distinct area for each flower, using separate containers if you’re mixing multiple colors. This can help maintain the clarity and separation between hues.
A Final Helpful Note
As you embark on your journey of making Pastel Flower Glue Suncatchers, remember to embrace your creativity and have fun. Enjoy the process, keep a flexible mindset, and let the beauty of nature inspire you. With practice and care, your creations will bring joy and light into your space.
Conclusion
Whether you are crafting alone or with friends, the process of making pastel flower glue suncatchers can be both fulfilling and beautiful. To explore more ideas for sun catchers, check out various creative designs or visit this DIY guide for additional tips. Happy crafting!