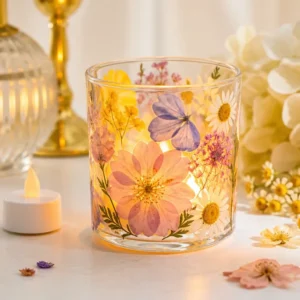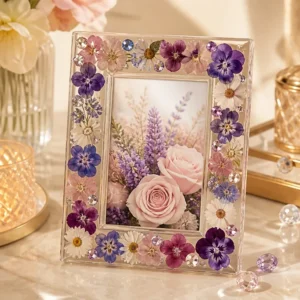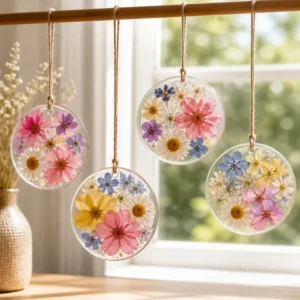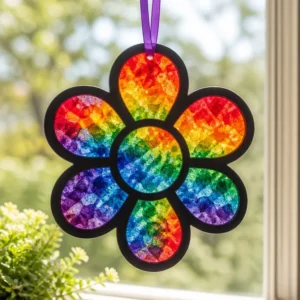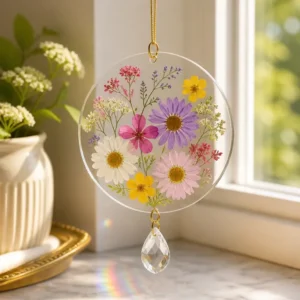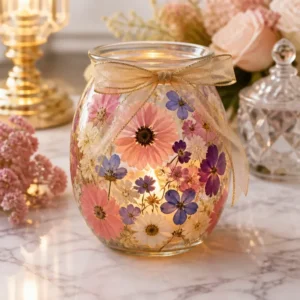
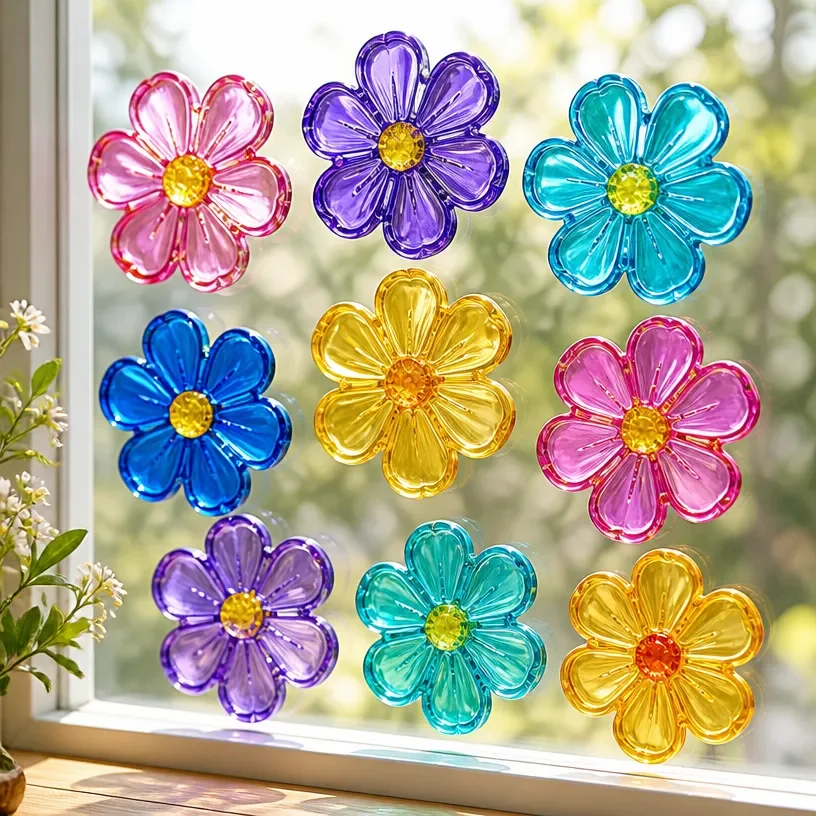
Glue-On Flower Window Cling: Decorative Sticker for Windows
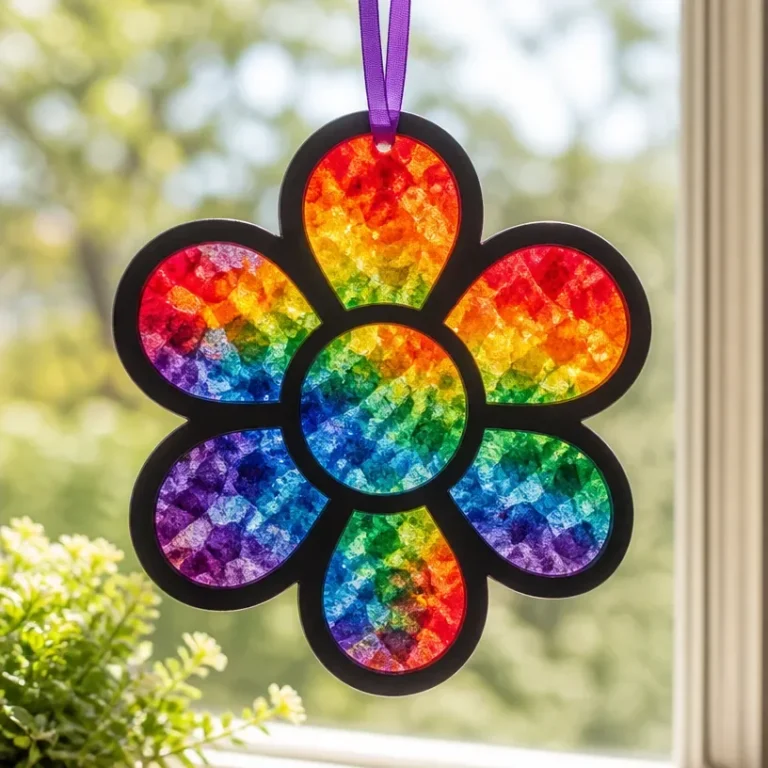
Creating decorative elements for your home is a rewarding way to express your style, and making a glue-on flower window cling offers a unique way to bring nature indoors. In this project, you’ll craft vibrant, flower-inspired adhesive decorations that can add a touch of whimsy to any window. The beauty of this project lies in the easy-to-use materials that allow your floral creations to bloom on the glass, catching the sunlight beautifully.
This project is perfect for beginner crafters and flower lovers alike. With a few simple materials, you’ll create lovely floral designs that can be changed with the seasons or for special occasions. Let’s dive into the details of this creative process.
Why You’ll Love This Project
- Visual Impact: The colorful flower window clings create a stunning display that enhances the natural light in your home.
- Approachable Construction: With simple steps, even beginners can successfully complete this DIY project.
- Customization: Personalize your designs with various flower shapes, sizes, and colors to suit your taste or the season.
- Temporary Decor: These clings can be easily removed or changed, making them a versatile choice for festive or seasonal decorations.
- Gift Potential: Handmade window clings make thoughtful gifts for friends and family, adding a personal touch to their decor.
Materials You’ll Need
- Clear Adhesive Sheets: These will serve as the base for your flower designs.
- Flower Petals or Cut-Outs: Fresh, dried, or crafted, these will be your decorative elements.
- Scissors: For cutting your flowers and adhesive sheets to the desired shapes.
- Tweezers: Helpful for placing small or delicate petals precisely.
How to Make Glue-On Flower Window Cling: Decorative Sticker for Windows
Prepare Your Workspace: Set up a clean, flat working area. It’s best to work in a well-lit space to see the details of your flowers and the clear adhesive sheets.
Cut the Adhesive Sheets: Using scissors, cut your clear adhesive sheets into desired shapes that will form the base of your flowers. Consider different sizes for an interesting design.
Select Your Floral Materials: Choose the flower petals or cut-outs that you want to use. If you’re working with fresh flowers, ensure they’re well-pressed and dried so they don’t wilt.
Arrange the Petals: On each adhesive shape, lay out your flower petals in your desired arrangement. Feel free to mix colors and sizes to create dynamic visual interest.
Attach the Petals: Once you’re satisfied with your arrangement, use the tweezers to press the petals down firmly onto the adhesive sheets. This will help them stick better.
Seal the Design: After positioning the flowers, place another layer of clear adhesive on top to seal them in. Smooth out any bubbles or wrinkles for a clean finish.
Cut Out the Final Shapes: Once everything is securely attached, cut around your flower designs again to trim any excess adhesive, creating a neat final product.
Display Your Creations: Peel off the backing from the adhesive sheets and stick your flower window clings onto your chosen window surface.
Helpful Tips for Better Results
- Before applying the petals, lay them out without adhesive first to see how they look together.
- Handle delicate petals carefully to avoid tearing or crushing them during application.
- For more significant flower elements, ensure they are well-pressed to maintain their shape.
- When positioning your clings, consider the light source to enhance the visual effect of the flowers.
Design and Color Variations
- Seasonal Themes: Use pastel colors for spring variations, bright hues for summer, warm tones for fall, and metallic shades for winter.
- Botanical Combinations: Mix flower petals with leaves or small branches for added texture and depth.
- Background Colors: Experiment with different adhesive sheet colors to build unique contrasts with your flowers.
- Size Variations: Adjust the size of the adhesive sheets; larger clings can make a bold statement, while smaller ones can create a delicate ambiance.
Working With the Botanical Materials
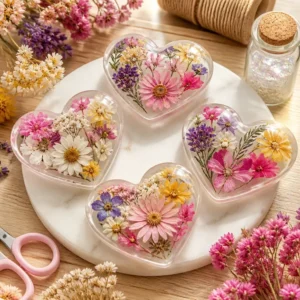
If you’re using real flower petals, remember to handle them gently. Pressed flowers work best for this project, as they will retain their shape and colors over time. Work quickly to keep the petals from losing their flexibility or wilting.
How to Display or Use Your Finished Project
Display your glue-on flower window clings in sunny spots to maximize their visual impact. They can brighten kitchen windows, living rooms, or bathrooms, adding a pleasant touch to any room. You can also gift your creations as a thoughtful surprise for loved ones; just attach a small note explaining how to apply and remove the clings.
Frequently Asked Questions
Can I use fresh flowers?
- Fresh flowers can be used, but it’s best to press them first to avoid wilting.
What types of adhesive sheets work best?
- Clear adhesive sheets specifically designed for crafts are ideal as they offer the best sticking power without obscuring the design.
Can I remove the window clings easily?
- Yes, these clings can be removed without leaving residues; just peel them off gently.
How do I store them when not in use?
- Keep them flat in a large envelope or container to protect them from bending or crushing.
What if I don’t have tweezers?
- While tweezers are helpful, you can also use your fingers to position the petals; just ensure your hands are clean.
Are there any materials I should avoid?
- Avoid overly wet or heavy materials that could weigh down your designs or cause them to peel from the adhesive.
Conclusion
Embrace the joy of floral crafting by creating your own glue-on flower window clings that brighten your home decor. This delightful project is both fun and fulfilling, allowing you to showcase your creativity. If you’re looking for a variety of flower window clings to get started, check out the selection on Amazon or explore decorative options available at Walmart. Enjoy bringing the beauty of flowers into your living space!
Follow us on social for more floral DIY projects & botanical inspiration!
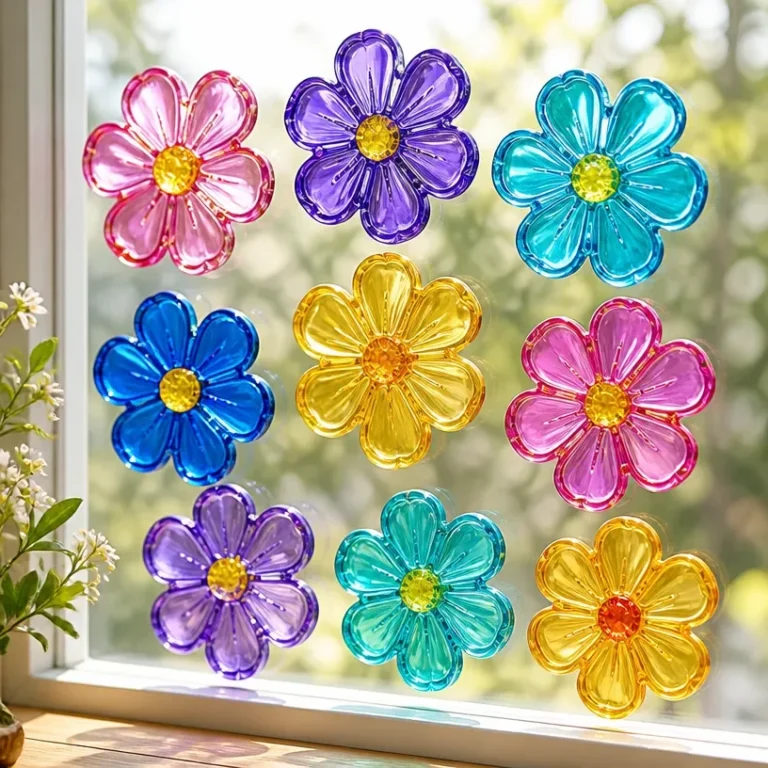
Glue-On Flower Window Cling
Would you like to save this recipe?
By submitting you agree to receive this recipe and occasional emails. Unsubscribe anytime.
Ingredients
Materials for Flower Window Cling
- 1 sheet Clear Adhesive Sheets These will serve as the base for your flower designs.
- as needed pieces Flower Petals or Cut-Outs Can be fresh, dried, or crafted.
- 1 pair Scissors For cutting the flower and adhesive sheets.
- 1 piece Tweezers Helpful for placing small or delicate petals precisely.
Instructions
Preparation
- Set up a clean, flat working area. It's best to work in a well-lit space to see the details of your flowers and the clear adhesive sheets.
- Using scissors, cut your clear adhesive sheets into desired shapes that will form the base of your flowers.
Creating the Flower Clings
- Choose the flower petals or cut-outs that you want to use. If you're working with fresh flowers, ensure they’re well-pressed and dried.
- Lay out your flower petals in your desired arrangement on each adhesive shape.
- Use tweezers to press the petals down firmly onto the adhesive sheets.
- Place another layer of clear adhesive on top to seal them in and smooth out any bubbles.
- Trim any excess adhesive by cutting around your flower designs for a neat final product.
- Peel off the backing from the adhesive sheets and stick your flower window clings onto your chosen window surface.
Last Step: Don’t forget to leave a rating and comment below! It helps other readers find the best recipes — and it helps us too!
Tips & Notes:
Nutrition Information: Serving: 1 | Calories: | Carbohydrates: | Protein: | Fat: | Sodium: | Fiber: | Sugar:
Nutritional information is provided as a courtesy and calculated automatically. Values can vary depending on the brands and ingredients you use, so if you’re tracking closely, I recommend calculating with your own preferred tool.