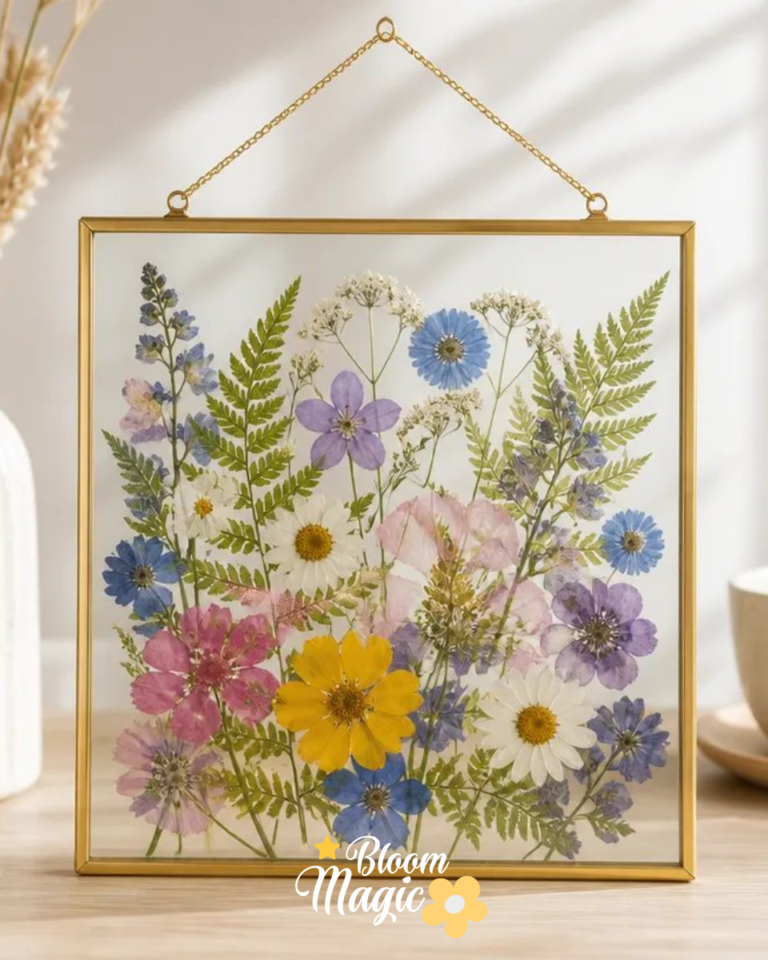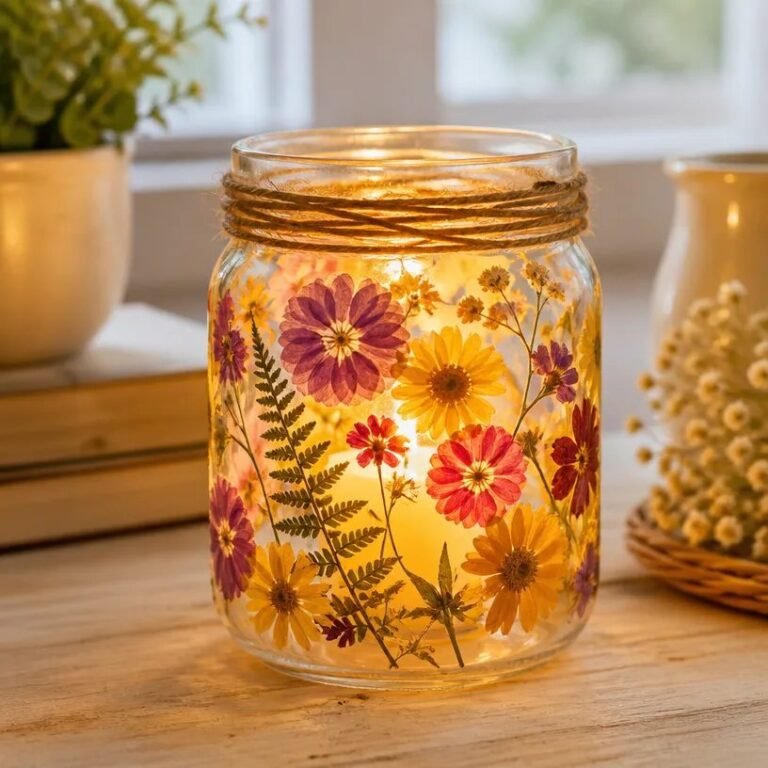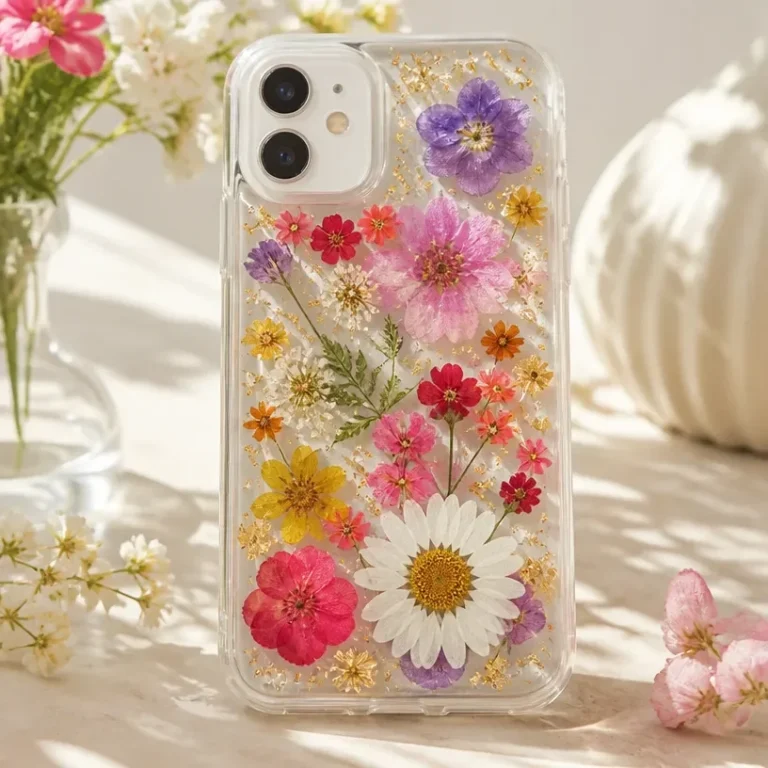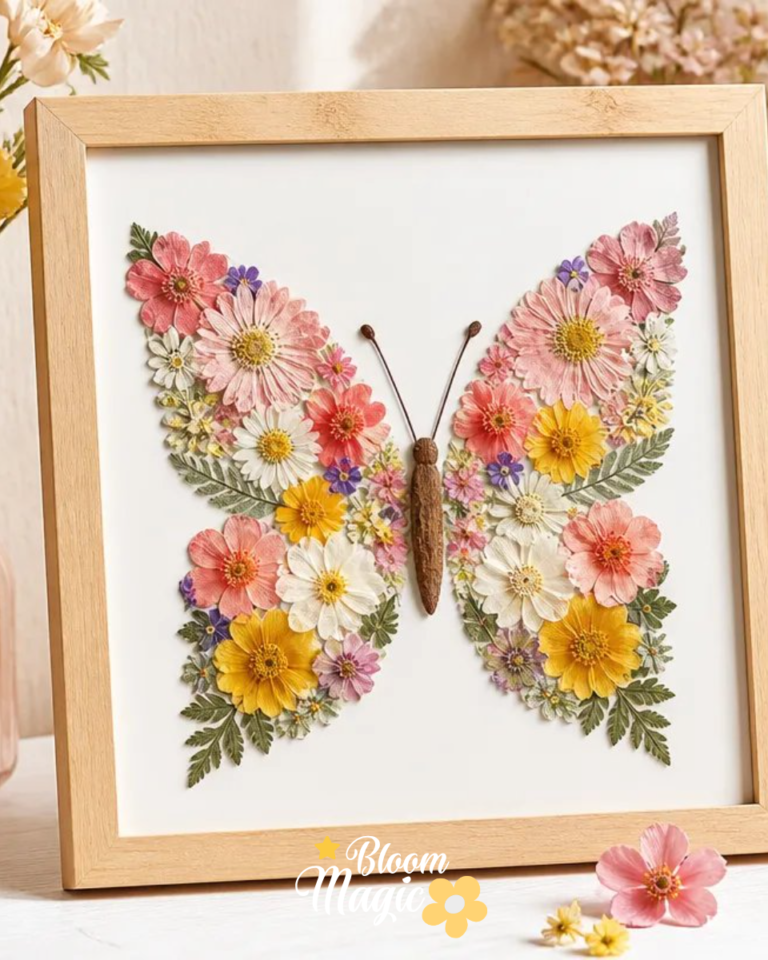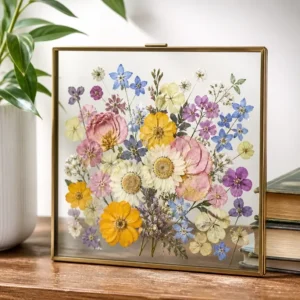
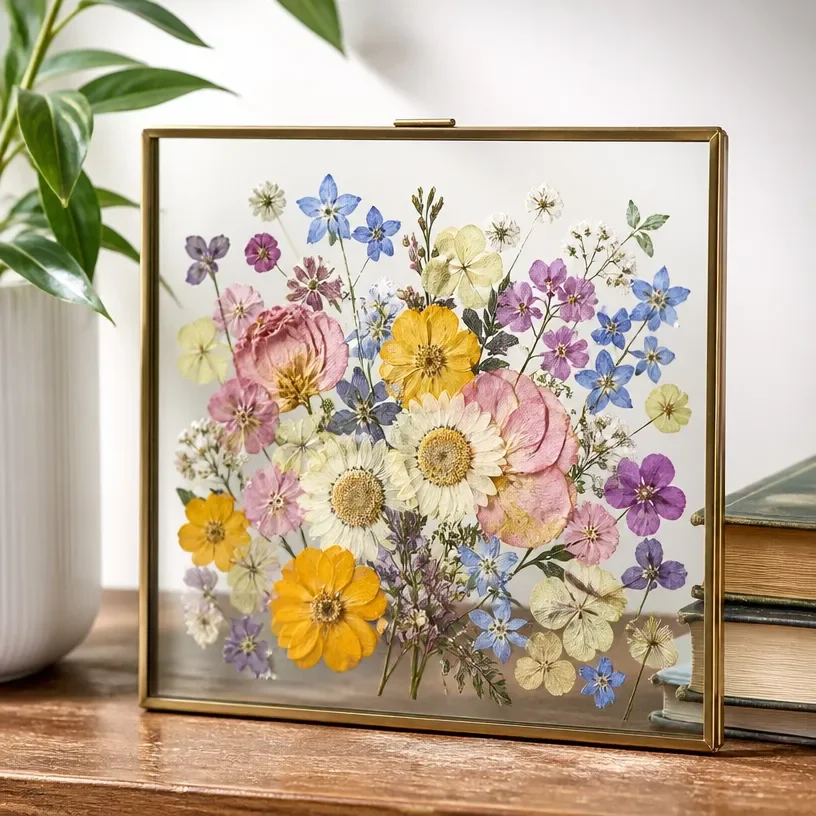
Preserving flowers from special occasions transforms those fleeting moments into lasting memories. When setting out supplies for a project, the chance to craft something that embodies cherished feelings is invigorating. A pressed wedding bouquet frame is a delightful way to capture the beauty of your favorite blooms and display them in your home. This project allows you to honor the flowers that marked significant moments while creating a beautiful piece of art.
Why This Pressed Wedding Bouquet Frame Works So Well
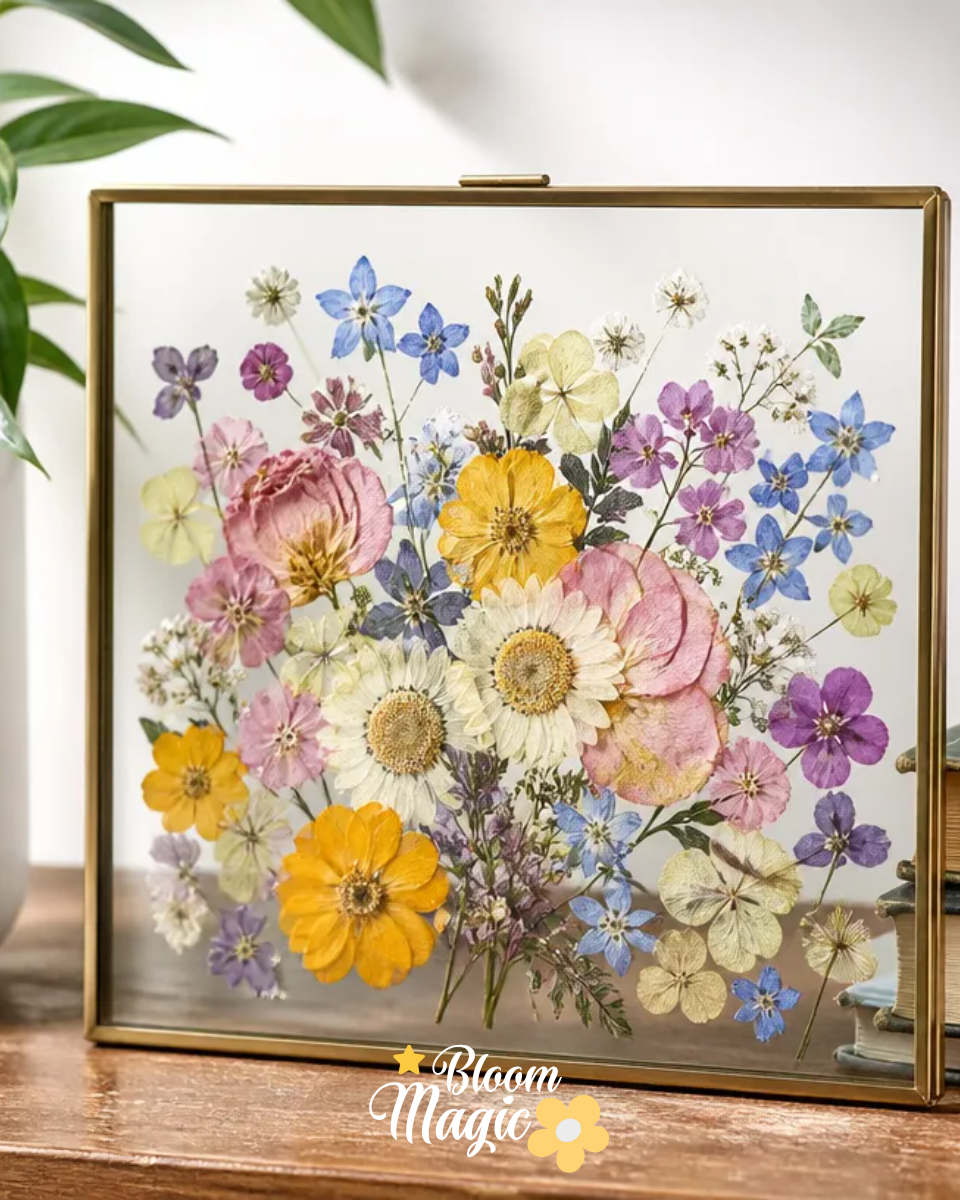
You may also find Floating Pressed Flower Glass Frame useful.
The appeal of this pressed wedding bouquet frame lies in its combination of approachability and artistic expression. Anyone can gather their chosen flowers, and the techniques used are straightforward yet rewarding. By working with fresh flowers and transitioning them into pressed botanicals, the project remains accessible for all skill levels. This frame not only serves as an eye-catching decor item but also brings back beautiful memories, keeping precious moments alive. You may also find Pressed Flower Butterfly Collage Frame useful.
A Quick Look Before You Begin
Before diving into the project, take a moment to envision how you want the final piece to look. Consider the overall feel you want to achieve with your bouquet frame. This project involves a clean setup with manageable steps. The materials are straightforward, ensuring that you won’t feel overwhelmed. It’s essential to think about how the arrangement will come together, reminding yourself to keep the flowers flat as you press them. Remember, you’re creating something lasting, so treat each step with care. You may also find Clear Glue Pressed Flower Suncatcher useful.
Materials You’ll Need
To create your pressed wedding bouquet frame, gather the following materials: You may also find Pressed Fern Wall Art useful.
- Fresh flowers: Select vibrant blooms that hold significance for you, ensuring they will hold their shape during pressing.
- Heavy books: These will provide the necessary weight to flatten the flowers, so choose ones that you can dedicate to this project.
- Glass frame: A clear glass frame allows your pressed flowers to shine and be clearly visible while protecting them.
These materials contribute directly to the success of the project, so ensure you have everything prepared before you start.
Step-By-Step Directions
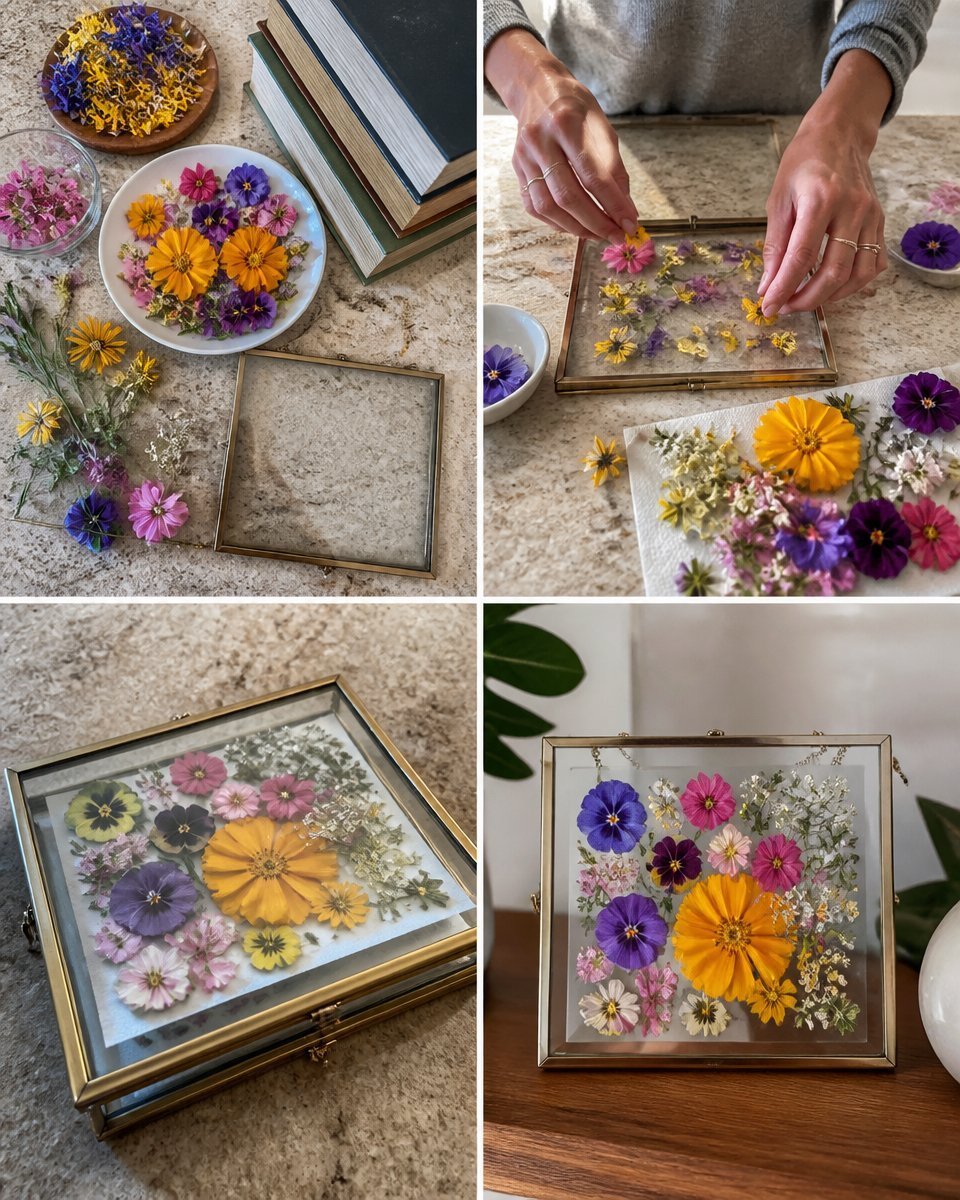
Select fresh flowers from the bouquet for the keepsake. Choose the pieces you want to display together, focusing on variety for color and texture.
Place the flowers between the pages of heavy books. Keep them flat and separate so they do not overlap. This step is crucial as it aids in the pressing process and helps maintain the flowers’ shapes.
Leave the flowers to press for several days. Allow them enough time to dry thoroughly this can take around 7-10 days, depending on climate conditions.
Gently remove the dried flowers from the pages. Take your time with this step, as the flowers are delicate and may crumble if not handled with care.
Arrange the dried flowers inside the glass frame. Adjust the composition until you are satisfied with the layout before closing it. Experiment with placement to achieve balance and visual appeal.
Close the frame securely and display the completed bouquet keepsake. Find a special spot to showcase your creation, allowing it to bring joy to you and others.
The Design Behind This Floral DIY
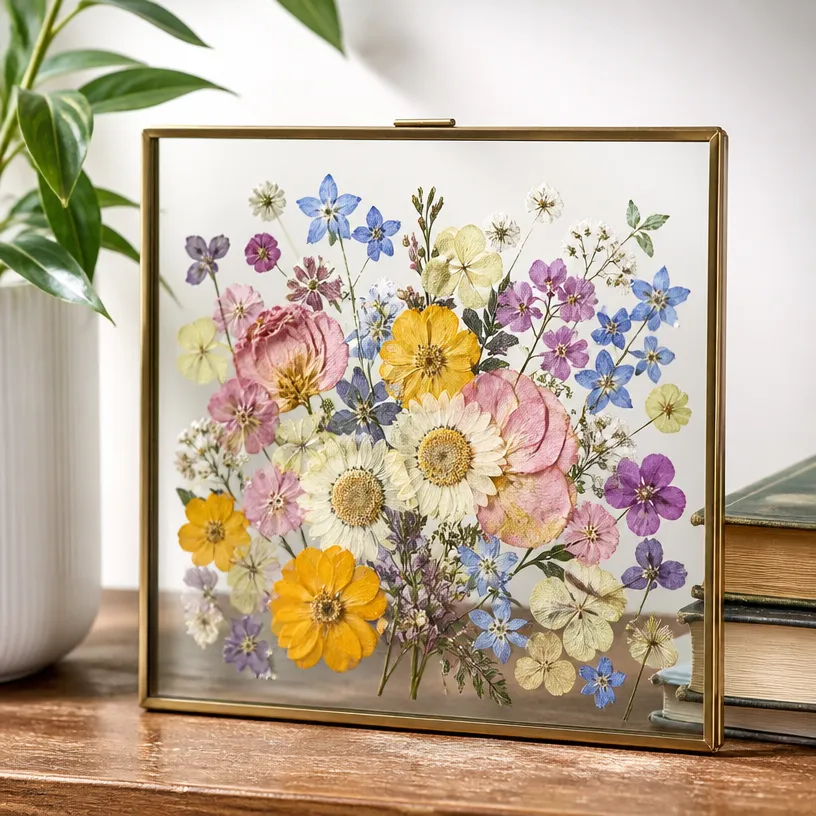
This project allows for a rich interplay of color and texture that enhances the beauty of your flowers. When arranging your pressed blooms, think carefully about their placement. Aim for balance between different sizes and shapes, using small flowers to fill in gaps and create cohesion. Layering can provide depth, where larger blooms serve as the focal point. This mindful approach invites an artistic touch, resulting in a delightful finished product that captures the spirit of the original bouquet.
Troubleshooting Common Issues
Depending on the flowers and pressing process, problems can arise. If the flowers don’t press evenly or if they shift during the transfer, you can realign them in the glass frame if they aren’t sealed yet. Be gentle when rearranging delicate petals. If you notice any visible traces of adhesive, take the time to clean that up carefully to ensure a polished final piece. Remember to be patient; adjustments are part of the creative process.
Easy Variations to Try
Consider personalizing your pressed wedding bouquet frame with these variations:
- Seasonal palettes: Use flowers from different seasons to create multiple frames that reflect nature’s changes.
- Background colors: Experiment with colored or patterned backgrounds within the frame to add interest and character.
- Arrangement styles: Try varying the height and placement of flowers for a more dynamic appearance.
These suggestions allow you to express your creativity and adaptability in your project while sticking to its essence.
Displaying or Keeping Your Project
Once your bouquet frame is complete, the way you choose to display it can enhance its charm. Consider placing it on a wall where it receives indirect light to prevent fading. If given as a gift, consider how the recipient would like to display their keepsake. Ensuring careful handling while transitioning the frame can help maintain its integrity for years to come.
FAQs About Pressed Wedding Bouquet Frame
What types of flowers are best for pressing? Flowers such as pansies, daisies, and lavender generally press well due to their flat surfaces. Soft petals should be handled delicately, as they are more prone to damage.
How long should I leave the flowers to press? Typically, pressing flowers should take about 7-10 days, but you can check their dryness throughout the week. Ensuring they are entirely dry is important for longevity.
Can I use a microwave to speed up the pressing process? You might find success with microwave pressing, but it can be tricky and varies by flower type. Generally, the traditional method yields the best results for intricate blooms.
Should I use hematite or quartz in the frame to preserve energy? While some may choose to include crystals for personal intention, it’s not necessary for preservation purposes. The frame itself will keep the dried flowers intact.
What can I do if the flowers appear too dark after pressing? If flowers turn dark, it can be helpful to dry them in a drier environment or adjust lighting conditions during the pressing. Each flower type reacts differently, so observe and adapt.
A Final Helpful Note
Start your pressed wedding bouquet frame with confidence. The beauty of this project lies in your personal touch and creativity, so don’t hesitate to experiment. Remember, each flower is unique; take time to appreciate its character and the memories it holds. Enjoy the process, and let your artistic instincts guide you as you bring your vision to life.
Conclusion
Preserving the elegant blooms from your wedding day through a creative project can be a wonderful experience. If you’re looking for more options for floral preservation, you might explore
flower preservation techniquesor check out
these beautiful pressed flower frames. Both can provide additional inspiration and resources as you embark on your floral crafting journey.
Follow us on social for more floral DIY projects & botanical inspiration!
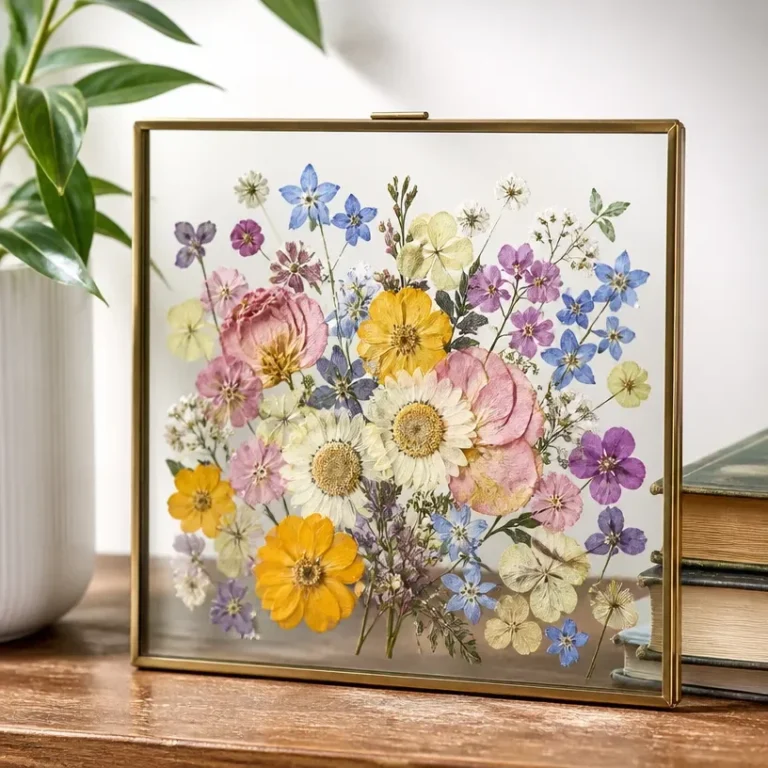
Pressed Wedding Bouquet Frame
Would you like to save this project?
By submitting you agree to receive this project and occasional emails. Unsubscribe anytime.
Materials
Materials
- As needed Fresh flowers Select vibrant blooms that hold significance.
- 2-3 books Heavy books To provide necessary weight for pressing.
- 1 frame Glass frame A clear glass frame to display pressed flowers.
Directions
Preparation
- Select fresh flowers from the bouquet for the keepsake, focusing on variety for color and texture.
- Place the flowers between the pages of heavy books, keeping them flat and separate.
- Leave the flowers to press for several days (7-10 days).
Assembly
- Gently remove the dried flowers from the pages.
- Arrange the dried flowers inside the glass frame, adjusting until satisfied with the layout.
- Close the frame securely and find a special spot to display your creation.
Last Step: Don’t forget to leave a rating and comment below! It helps other readers find the best DIY projects — and it helps us too!