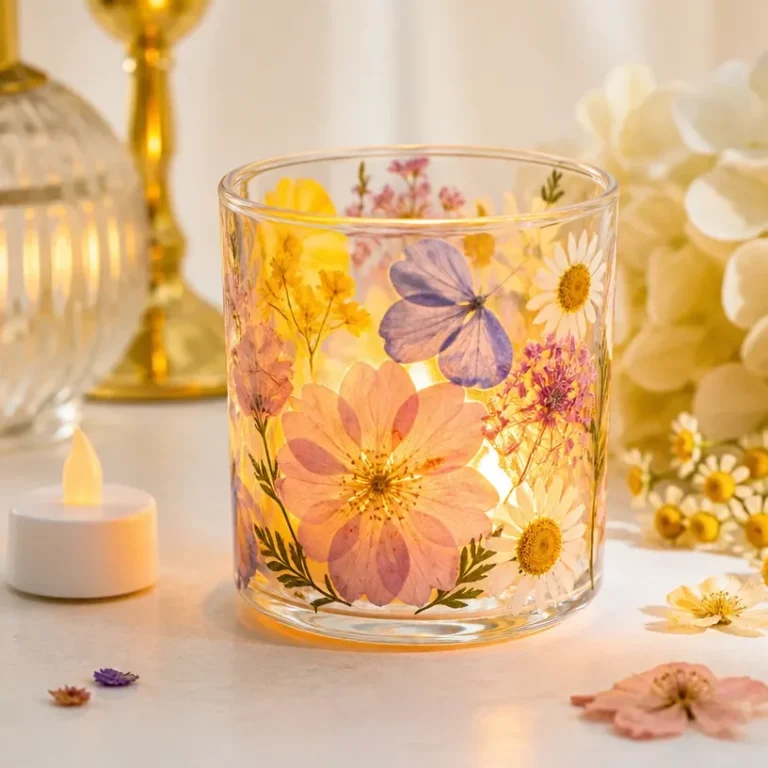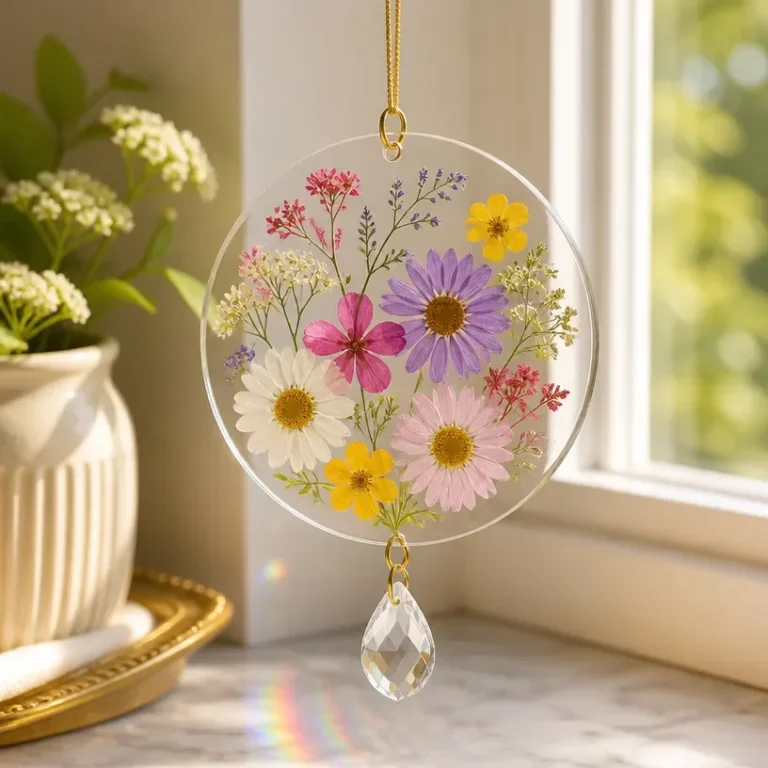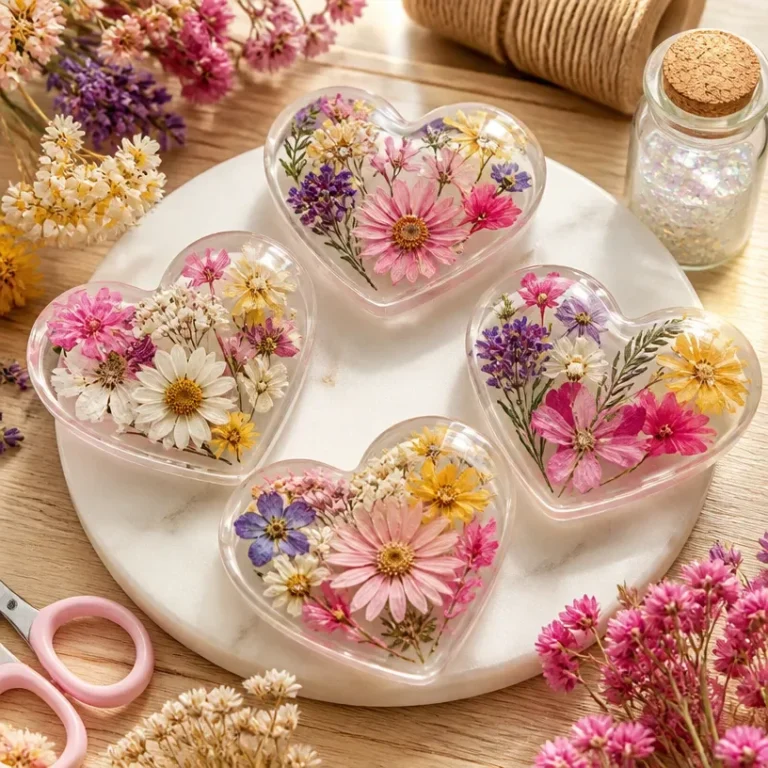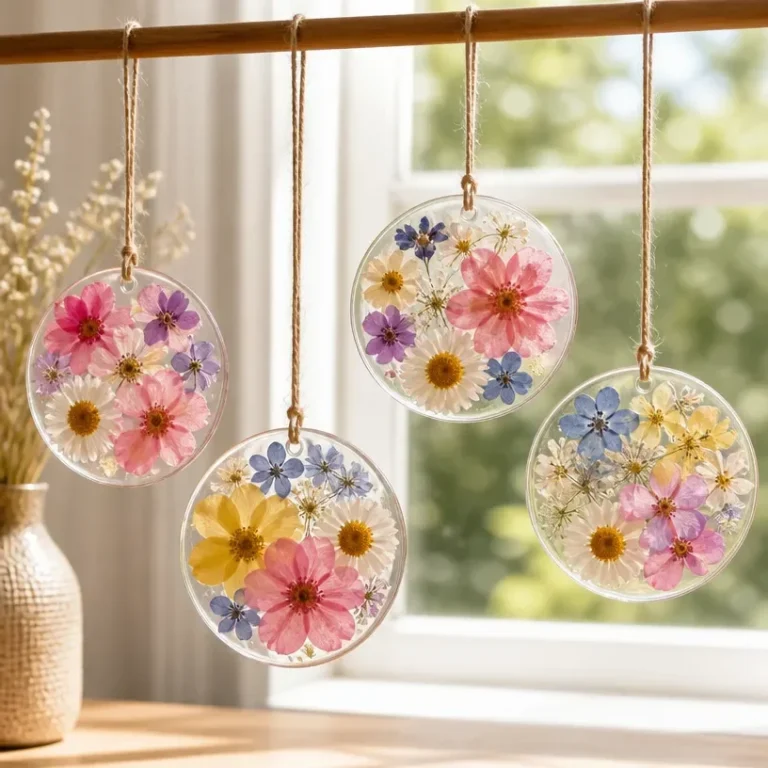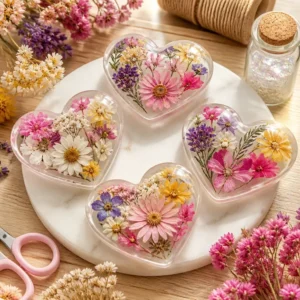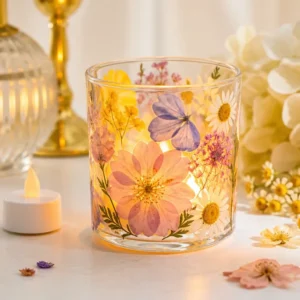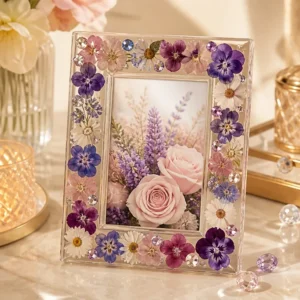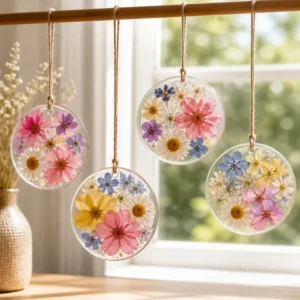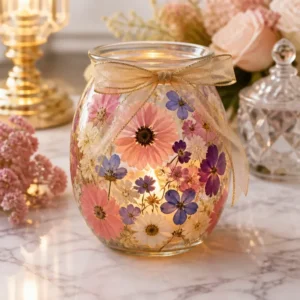
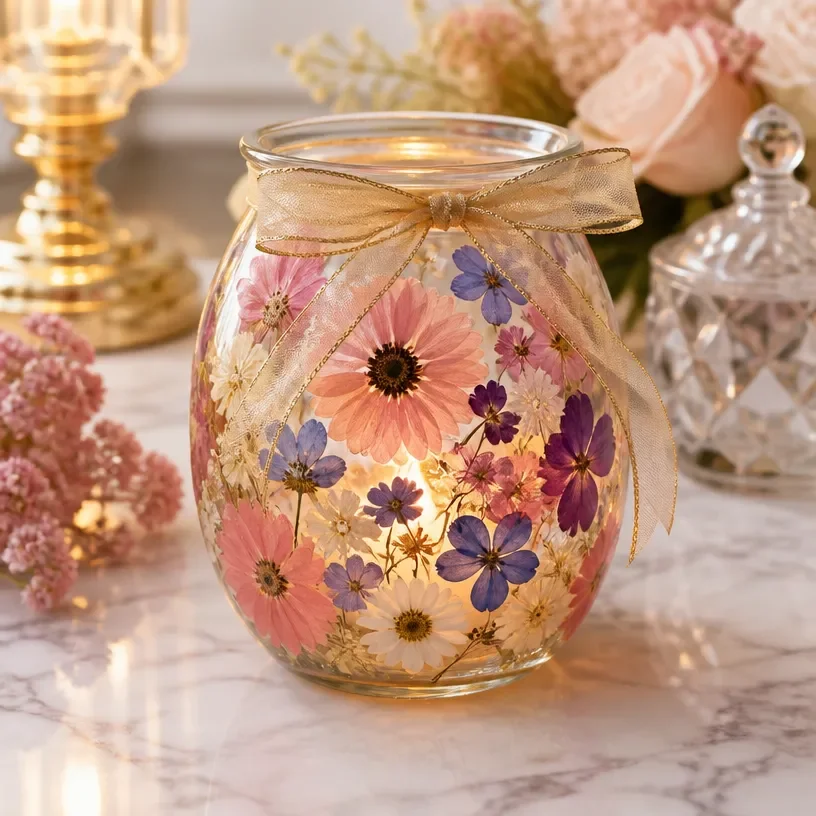
Create an enchanting Dried Flower Glass Lantern that adds a touch of nature to your home decor. This project will guide you in crafting a beautiful lantern adorned with dried pressed flowers, perfect for brightening up any room with soft, soothing light. Not only does it showcase the beauty of botanical materials, but it also serves as a gentle reminder of the natural world, elegantly illuminating your space.
By following these simple steps, you can turn a plain glass lantern or jar into a stunning piece of art that you’ll be proud to display. Let’s get started on this delightful craft that combines creativity and nature!
Why You’ll Love This Project
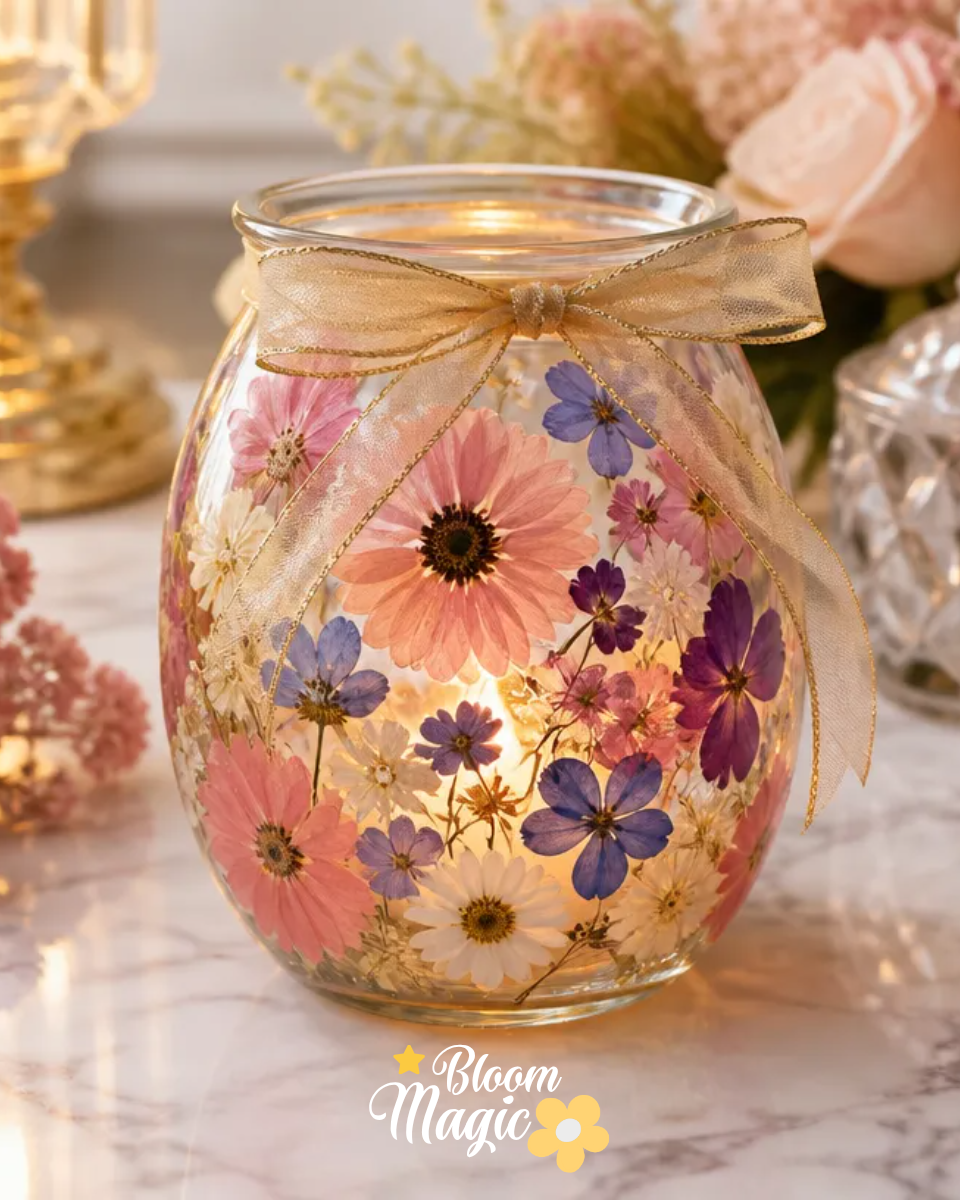
- Visual Impact: The combination of the glass lantern and vibrant pressed flowers creates a stunning visual centerpiece that will catch the eye of anyone who enters the room.
- Approachable Construction: With straightforward steps, even beginner crafters can successfully create this project without stress.
- Use of Botanical Materials: Utilizing dried pressed flowers allows you to incorporate the beauty of nature, giving each lantern a unique character.
- Display Possibilities: This lantern can serve as a charming decoration on a table, in a window, or as a lovely gift for friends and family.
- Customization: You have the freedom to choose your favorite flowers, colors, and ribbons, making each piece distinctly yours.
Materials You’ll Need
- Glass lantern or jar
- Dried pressed flowers
- Suitable decoupage medium
- Brush
- Ribbon
- Battery-operated LED candle
When selecting your glass lantern or jar, consider a clear glass option to enhance the light’s glow, and choose dried pressed flowers that have vibrant colors to make your centerpiece pop. For the decoupage medium, a glue or sealant that dries clear works best; this prevents any unwanted residue on your final project. When working with delicate dried flowers, handle them gently to avoid damage while applying them to the glass surface.
How to Make Dried Flower Glass Lantern
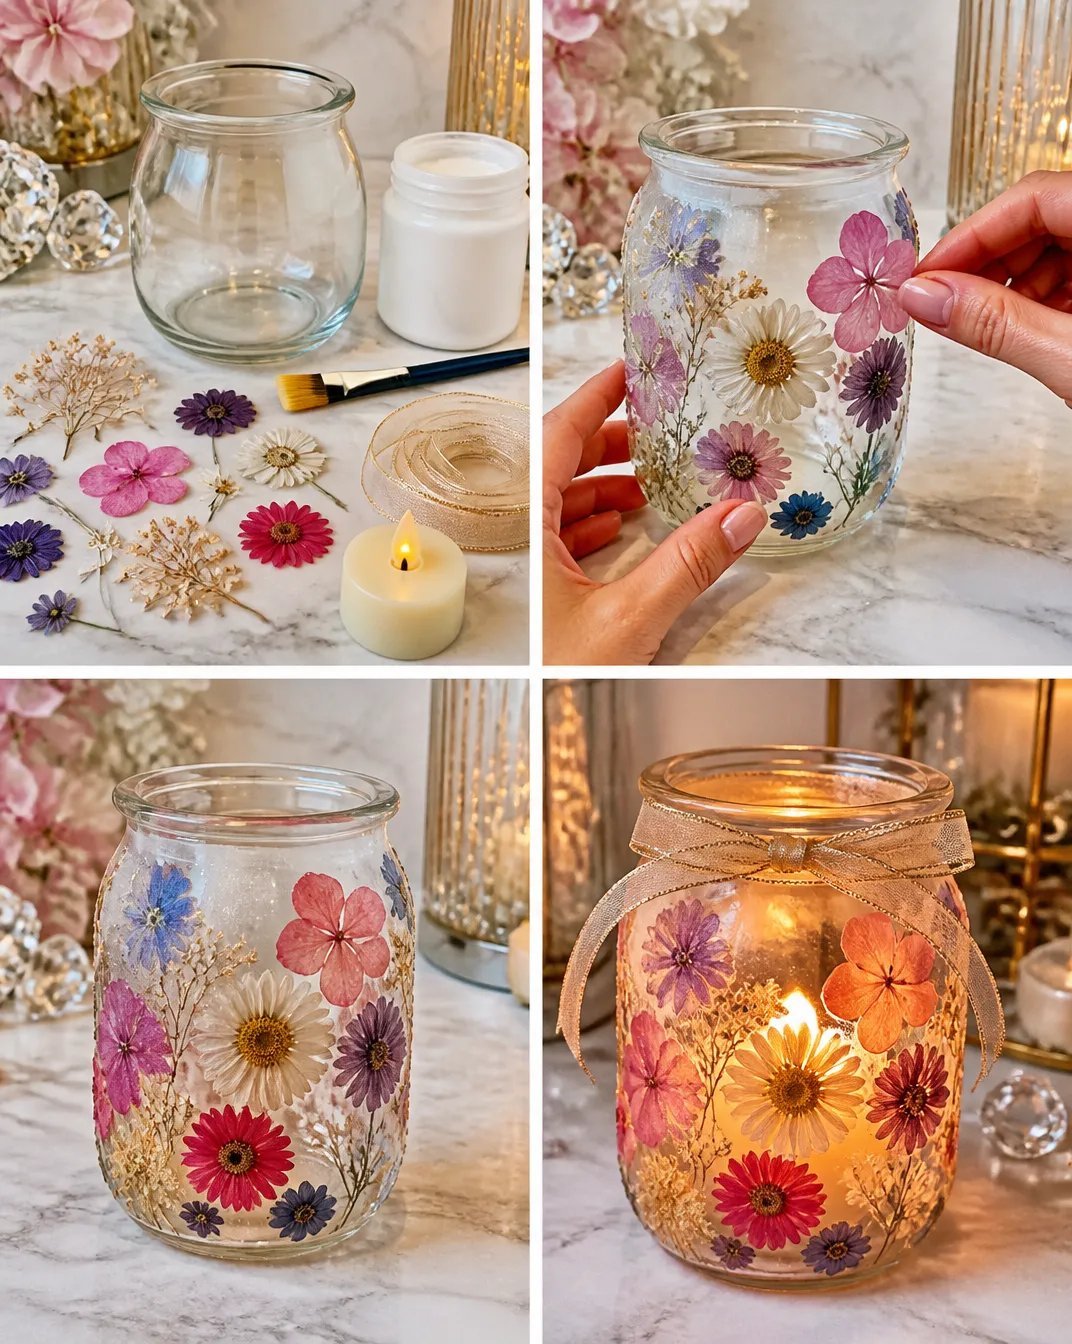
Apply dried botanicals to the outside of the glass. Start by choosing your desired arrangement of dried pressed flowers. Using the brush, apply a thin layer of decoupage medium to the area where you want to place each flower. Gently press the flowers onto the glass, making sure they are arranged to your liking.
Seal them neatly. Once your flowers are in place, use the brush to apply additional decoupage medium over the top of the flowers. This will help secure them and provide a protective layer. Be careful to brush lightly to avoid displacing any flowers.
Let everything dry. Allow the decoupage medium to dry completely according to the product’s instructions. This is a crucial step to ensure that your flowers are firmly adhered to the glass and that they don’t peel off later.
Add decorative ribbon if desired. Once the glass is dry, you can enhance your lantern by tying a ribbon around the neck or base of the jar. Choose a color that complements the flowers for a cohesive look.
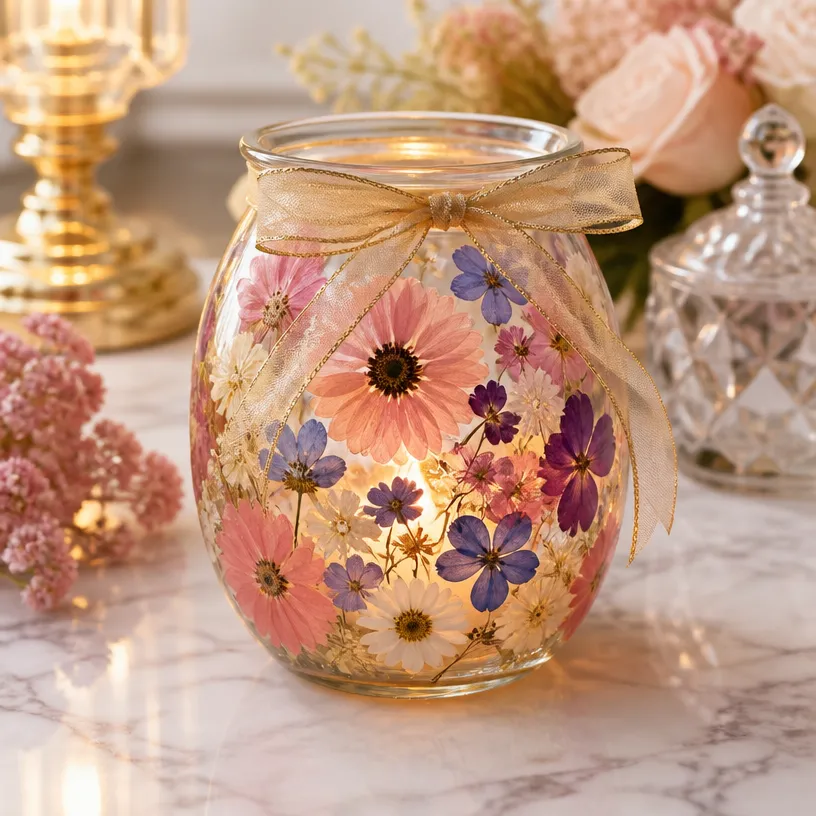
Illuminate with an LED candle. Finally, place a battery-operated LED candle inside the lantern. Turn it on to create a warm and cozy glow that beautifully showcases your dried floral decorations.
Helpful Tips for Better Results
- Planning Your Arrangement: Lay out your flowers on the glass without adhesive first. This gives you a preview of how they will look before applying the medium.
- Handling Delicate Flowers: Use tweezers or your fingers to place flowers if they are particularly fragile, ensuring you avoid damaging them during the process.
- Achieving a Balanced Composition: Vary the sizes and types of flowers for a more dynamic appearance. Avoid clustering similar colors in one spot to maintain visual interest.
- Working Cleanly with Adhesives: Keep a damp cloth nearby to wipe away any excess adhesive before it dries, keeping your project tidy.
Design and Color Variations
- Seasonal Themes: Use seasonal flowers like autumn leaves for a fall-themed lantern or pastel flowers for spring.
- Color Palette Tweaks: Customize your lantern with a monochromatic color scheme or a vibrant mix for a lively effect.
- Container Style: Instead of a typical lantern, try a mason jar or a vintage vase for a unique twist.
- Larger Lanterns: Scale up the project by using a larger glass container, making a dramatic centerpiece for a dining table.
- Festive Additions: Incorporate small decorative items like mini pumpkins for fall or holly for winter holidays.
Working With the Botanical Materials
When using dried pressed flowers, ensure they are adequately dried and rigorously pressed before you begin. The longevity of your project relies on the quality of these materials. Consider storing your pressed flowers in a cool, dry place to prevent any dampness. This will help maintain their beauty and prevent them from becoming brittle.
How to Display or Use Your Finished Project
Display your Dried Flower Glass Lantern on a dining table, as a nightstand accent, or in a corner of your living room. If gifting, consider wrapping it in clear cellophane tied with a beautiful ribbon for a polished presentation. Positioning it near a window or on a shelf where it can catch light will enhance its beauty, illuminating the colors of the flowers.
Frequently Asked Questions
What type of flowers work best for this project?
Dried pressed flowers with vibrant colors and sturdy petals work well, such as pansies, daisies, or lavender.Can I use natural flowers instead of dried ones?
Fresh flowers will not adhere properly using the decoupage technique. Always opt for dried and pressed flowers for best results.How should I clean my lantern once it’s finished?
Use a soft, dry cloth to dust off the lantern. Avoid using liquid cleaners, as they may damage the dried flowers.Is there a substitute for decoupage medium?
You can use any clear-drying adhesive or mod podge; just ensure it works well with glass and dried materials.Can I hang the lantern?
Yes! If you wish to hang it, make sure to securely attach a hook or loop with the ribbon for stability.
Conclusion
Creating your own Dried Flower Glass Lantern is a rewarding and enjoyable project that beautifully showcases the intricate details of nature. For those seeking more inspiration, check out how to make pressed flower lanterns by One Little Project or explore another guide on making beautiful pressed flower lanterns by Easy DIY. Let your creativity shine as you craft this lovely decor piece!
Follow us on social for more floral DIY projects & botanical inspiration!
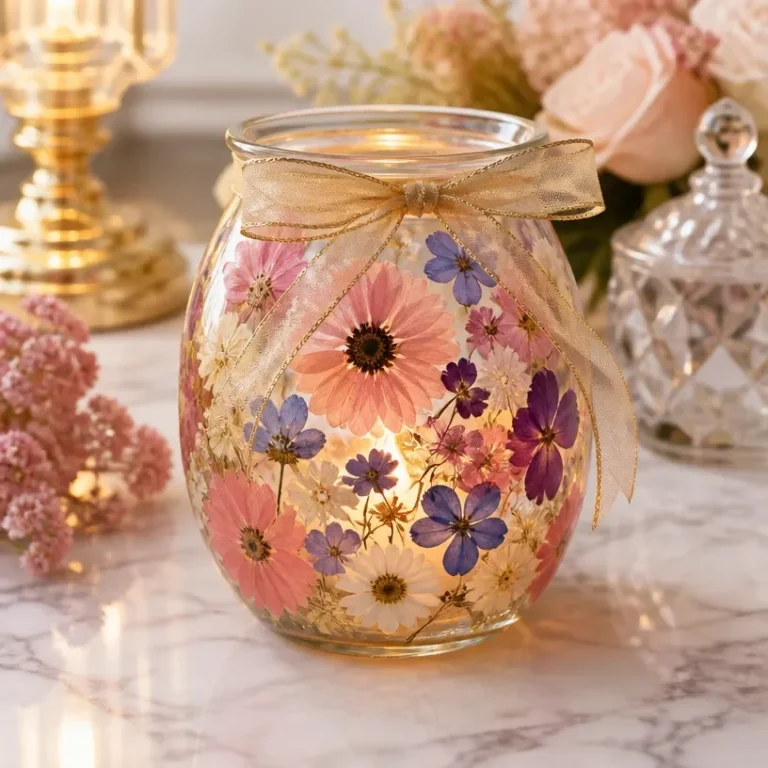
Dried Flower Glass Lantern
Would you like to save this project?
By submitting you agree to receive this project and occasional emails. Unsubscribe anytime.
Materials
Materials Needed
- 1 unit Glass lantern or jar Choose a clear glass option for better light glow.
- Dried pressed flowers Select vibrant colors to enhance the centerpiece.
- 1 unit Suitable decoupage medium A glue or sealant that dries clear works best.
- 1 unit Brush For applying decoupage medium.
- 1 unit Ribbon To tie around the lantern for decoration.
- 1 unit Battery-operated LED candle To illuminate the lantern.
Directions
Making the Lantern
- Apply dried botanicals to the outside of the glass. Start by choosing your desired arrangement of dried pressed flowers.
- Using the brush, apply a thin layer of decoupage medium to the area where you want to place each flower. Gently press the flowers onto the glass, ensuring they are arranged to your liking.
- Seal them neatly by applying additional decoupage medium over the top of the flowers to secure them.
- Let everything dry completely according to the product's instructions to ensure that your flowers are firmly adhered.
- Enhance your lantern by tying a ribbon around the neck or base. Choose a color that complements the flowers.
- Finally, place a battery-operated LED candle inside the lantern and turn it on to create a warm glow.
Last Step: Don’t forget to leave a rating and comment below! It helps other readers find the best DIY projects — and it helps us too!