Glowing Flower Lanterns for Garden Lighting Projects
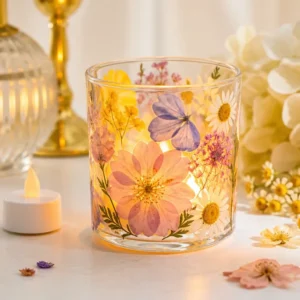
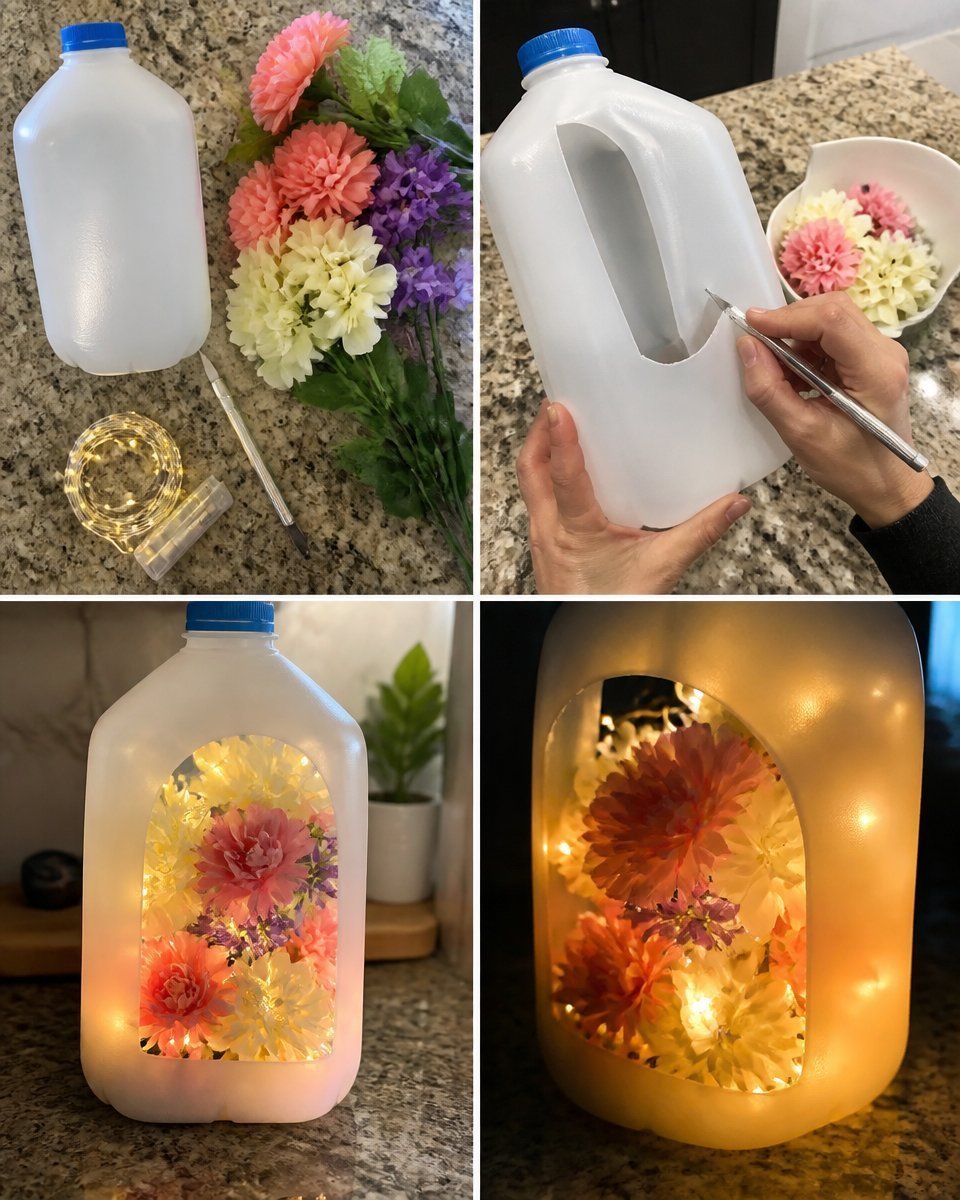
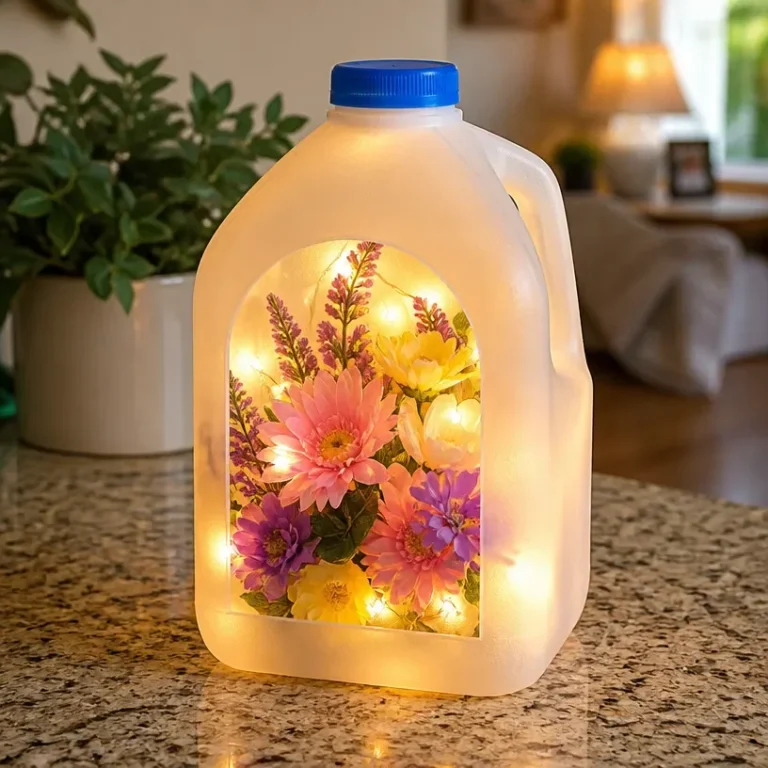
Bring a warm and whimsical touch to your garden with glowing flower lanterns. This delightful DIY project allows you to use simple materials to create beautiful, functional lanterns that light up your outdoor space. The vibrant colors of painted flower pots, combined with the flickering glow of LED tealight candles, make these lanterns not only practical but also visually appealing.
Your finished glowing flower lanterns can serve as charming accents on your patio, along walkways, or even as unique gifts for friends and family. Let’s dive into the steps to create your own stunning garden lights!
Why You’ll Love This Project
- Visual Impact: The colorful flower pots illuminated by the flickering tealight create a beautiful ambiance in your outdoor space.
- Approachable Construction: This project is perfect for beginners, utilizing easily accessible materials and straightforward steps.
- Customization Opportunities: You can personalize your lanterns with different designs, colors, and embellishments that reflect your style.
- Multiple Display Options: The lanterns can be placed on tables, hung from hooks, or aligned along walkways for a picturesque garden setting.
- Gifting Potential: These glowing lanterns make thoughtful handcrafted gifts for birthdays or special occasions.
Materials You’ll Need
- Plastic flower pots (various sizes)
- LED tealight candles
- Acrylic paints (in vibrant colors for decoration)
- Paintbrushes
- Sealant spray (optional, for weather protection)
- Decorative materials (like beads or gems for embellishing)
How to Make Glowing Flower Lanterns for Garden Lighting Projects
Paint the Plastic Flower Pots: Start by selecting the flower pots you wish to decorate. Wash them thoroughly to remove any dust or impurities. Once they are dry, use acrylic paints to add your desired color and design to each pot. Be sure to let the paint dry completely before moving on to the next step.
Add Protective Sealant: If your glowing flower lanterns will be placed outdoors, consider applying a sealant spray to protect the painted surfaces from weather elements. This will help enhance their durability.
Prepare the LED Tealight Candles: Once your flower pots are ready, take an LED tealight candle and place it inside the pot. Ensure the candle is centered for an even glow.
Decorate with Embellishments: To elevate the charm of your lanterns, decorate the exterior of the pots with embellishments like beads or gems. You can attach these using a small amount of glue.
Display Your Lanterns: It’s time to showcase your glowing flower lanterns! Place them strategically throughout your garden or patio. Options include setting them on tables, hanging them from hooks or branches, or lining them along walkways for a magical effect.
Helpful Tips for Better Results
- Test Designs First: Before applying paint onto your pots, sketch out your design on paper to visualize the outcome. This can prevent mistakes during the painting process.
- Layer Paint for Depth: When painting, consider using multiple layers or shades to create depth in your design. Allow each layer to dry before adding another.
- Secure Embellishments Well: Make sure that any beads or gems you attach are securely glued down to prevent them from falling off when moved.
- Choose Safe Display Locations: When placing your lanterns outdoors, ensure they are in a safe spot away from strong winds or heavy rain to protect the LED tealight candles.
Design and Color Variations
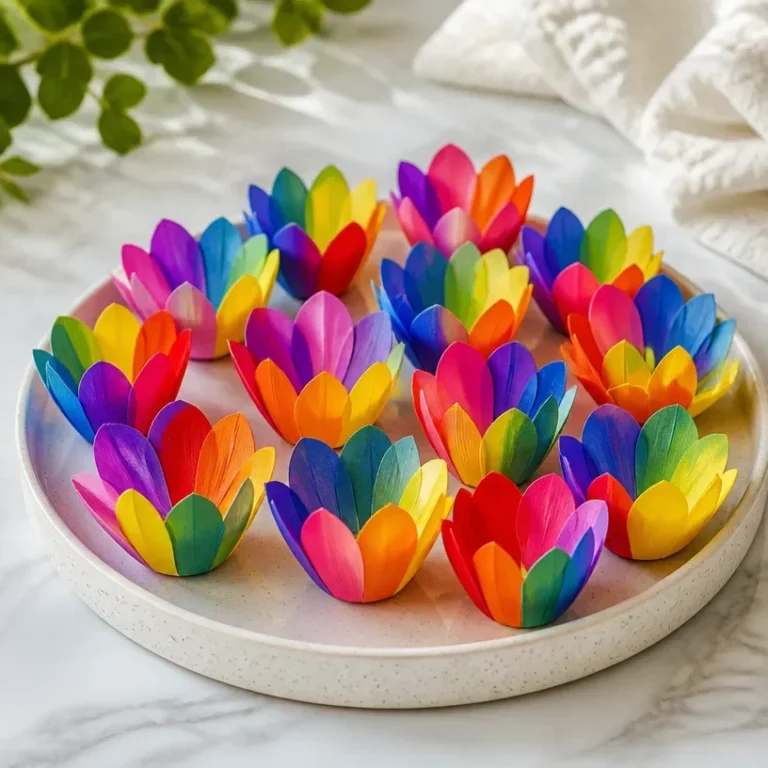
- Colorful Spring Palette: Use pastel colors like soft pinks, yellows, and greens for a fresh spring look.
- Bold Summer Colors: Opt for bright reds, oranges, and yellows for a lively summer vibe.
- Rustic Autumn Theme: Incorporate warm tones like browns, golds, and oranges to reflect the autumn season.
- Winter Wonderland: Paint pots in icy blues and whites, ideal for festive winter displays.
- Monochrome Elegance: Choose one color in varying shades for a sophisticated and modern appearance.
Working With the Botanical Materials
Since this project primarily focuses on painted pots and embellishments, you don’t need to handle any botanical materials. However, if you decide to add natural elements like dried flowers or herbs, handle them gently to avoid damage and employ a suitable adhesive for attachment.
How to Display or Use Your Finished Project
Your glowing flower lanterns can be used in various ways. They are perfect for creating a cozy atmosphere during evening gatherings or as enchanting garden decor. You can also place them near entryways, along pathways, or cluster several together to create a luminous focal point in your outdoor setting. Be mindful of their positioning to avoid putting pressure on any fragile decorations.
Frequently Asked Questions
Can I use real candles instead of LED? It’s best to use LED tealight candles as real flames can be dangerous and may cause damage to the plastic pots.
What types of embellishments work well? You can use beads, gems, twine, or even natural materials like dried flowers to enhance the look of your lanterns.
How do I keep the light centered in the pot? Make sure the LED candle has a flat bottom and is placed carefully in the center of the pot to balance the light properly.
Can I reuse the flower pots for other projects? Yes! If you decide to change the look, simply repaint or decorate them in a new style.
What if it rains? If you applied a sealant, your pots should withstand light rain, but it’s advisable to bring them inside during heavy downpours to prolong their life.
Conclusion
Glowing flower lanterns can bring a cheerful atmosphere to your garden while allowing you to showcase your creativity. If you’re interested in incorporating more decorative elements into your outdoor space, consider exploring anime character-shaped lanterns for a unique touch. For additional inspiration, check out the Phipps Holiday Magic: Winter Flower Show and Light Garden, where beautiful displays could spark your imagination. Happy crafting!
Follow us on social for more floral DIY projects & botanical inspiration!
Glowing Flower Lanterns
Would you like to save this project?
By submitting you agree to receive this project and occasional emails. Unsubscribe anytime.
Materials
Materials Required
- 1 set Plastic flower pots (various sizes)
- 1 set LED tealight candles
- various Acrylic paints (in vibrant colors for decoration)
- 1 set Paintbrushes
- optional Sealant spray (for weather protection)
- various Decorative materials (like beads or gems for embellishing)
Directions
Preparation
- Start by selecting the flower pots you wish to decorate. Wash them thoroughly to remove any dust or impurities. Once they are dry, use acrylic paints to add your desired color and design to each pot. Be sure to let the paint dry completely before moving on to the next step.
- If your glowing flower lanterns will be placed outdoors, consider applying a sealant spray to protect the painted surfaces from weather elements.
- Once your flower pots are ready, take an LED tealight candle and place it inside the pot. Ensure the candle is centered for an even glow.
- To elevate the charm of your lanterns, decorate the exterior of the pots with embellishments like beads or gems. You can attach these using a small amount of glue.
- Finally, place them strategically throughout your garden or patio. You can set them on tables, hang them from hooks or branches, or line them along walkways.
Last Step: Don’t forget to leave a rating and comment below! It helps other readers find the best DIY projects — and it helps us too!