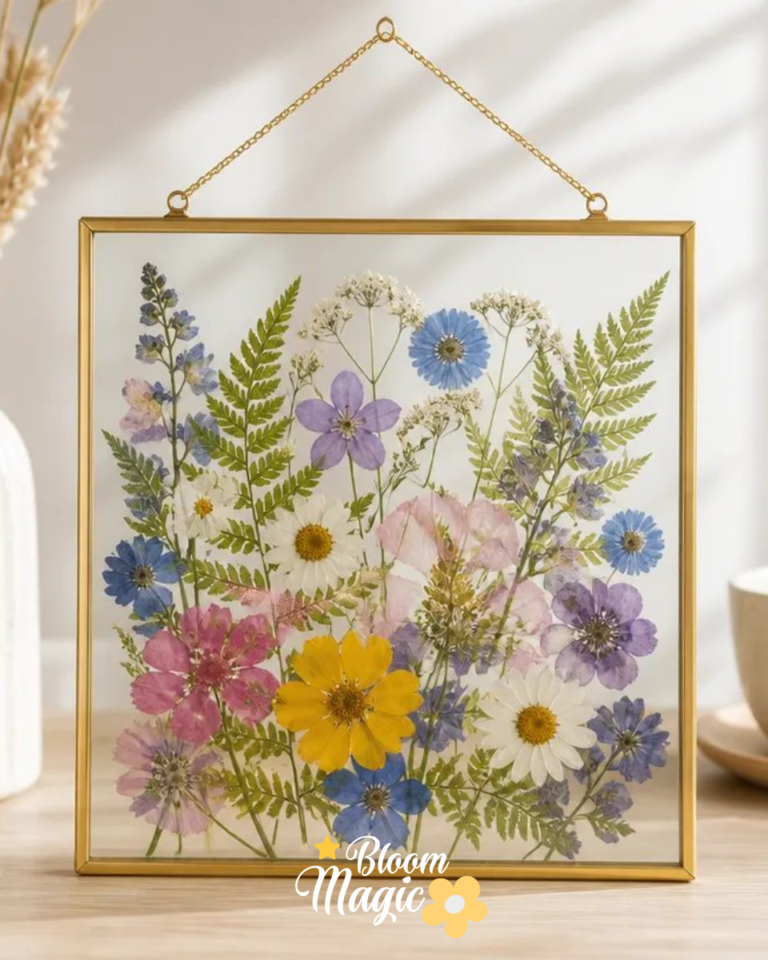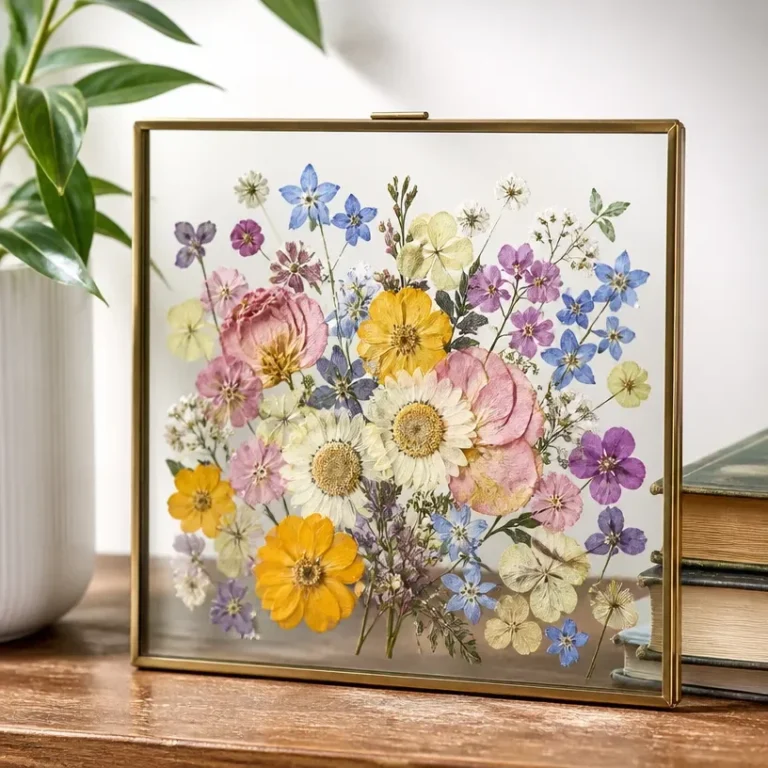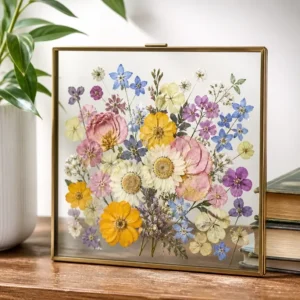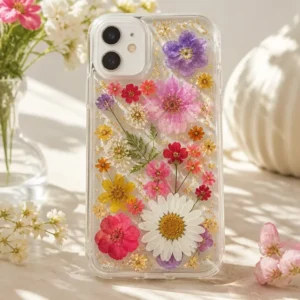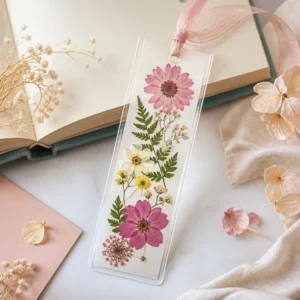
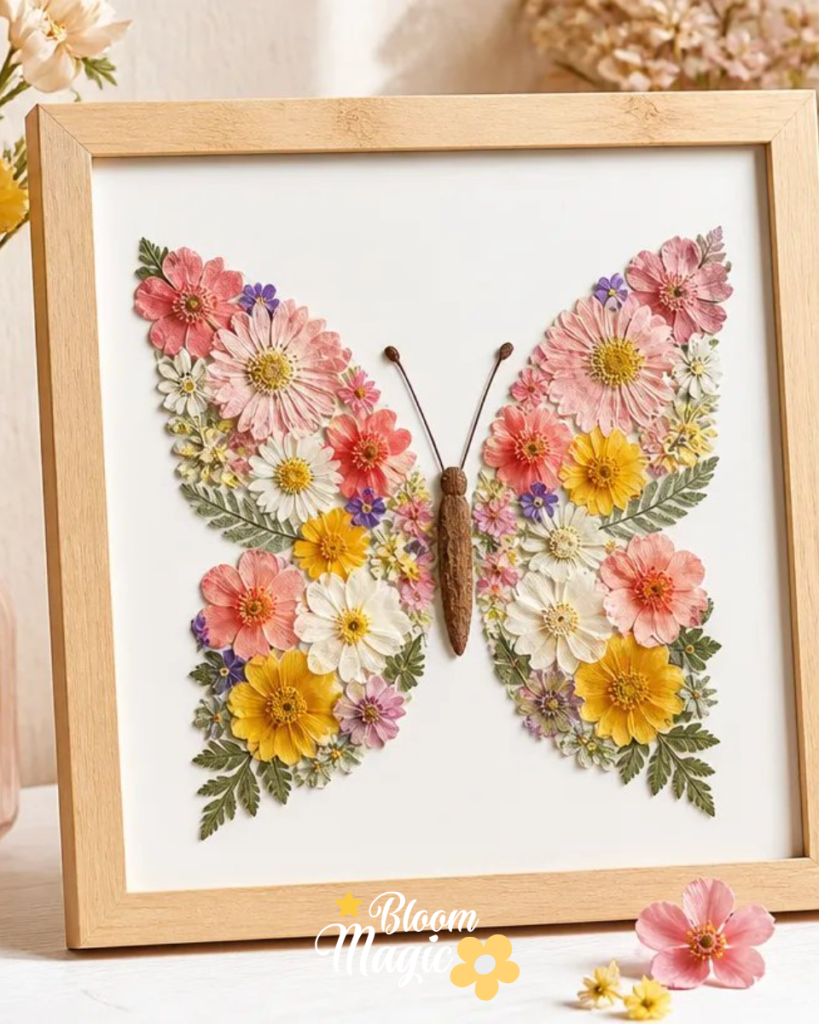
Crafting with floral materials brings a certain joy, especially when you’re looking to preserve meaningful blooms. As you gather your supplies for an afternoon of creativity, consider transforming pressed flowers into a delightful Pressed Flower Butterfly Collage Frame. This project not only allows you to showcase your favorite flowers but also creates an eye-catching piece of art for your home or as a heartfelt gift. You may also find Magic Bloom Diy Pressed Flower Frame useful.
Why This Pressed Flower Butterfly Collage Frame Works So Well
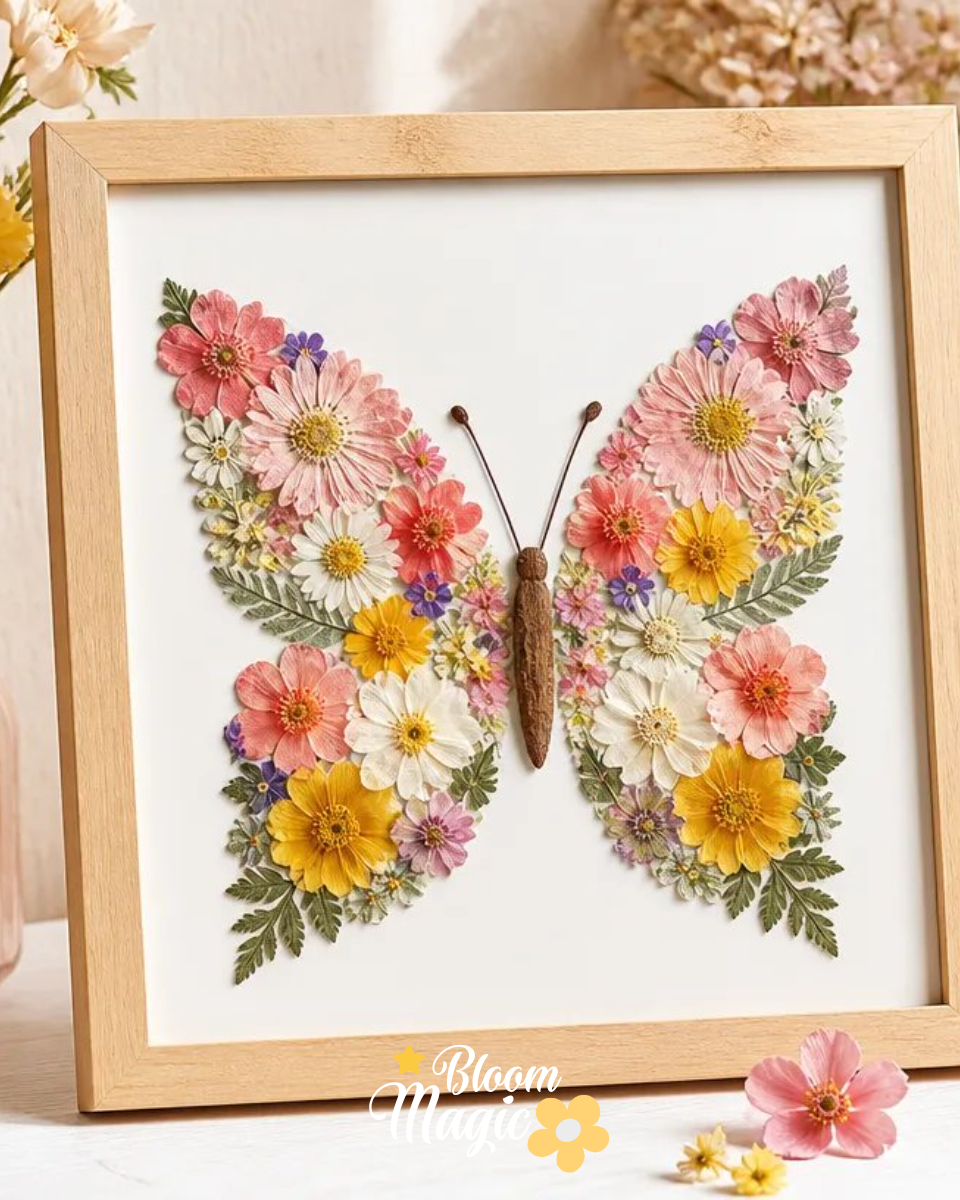
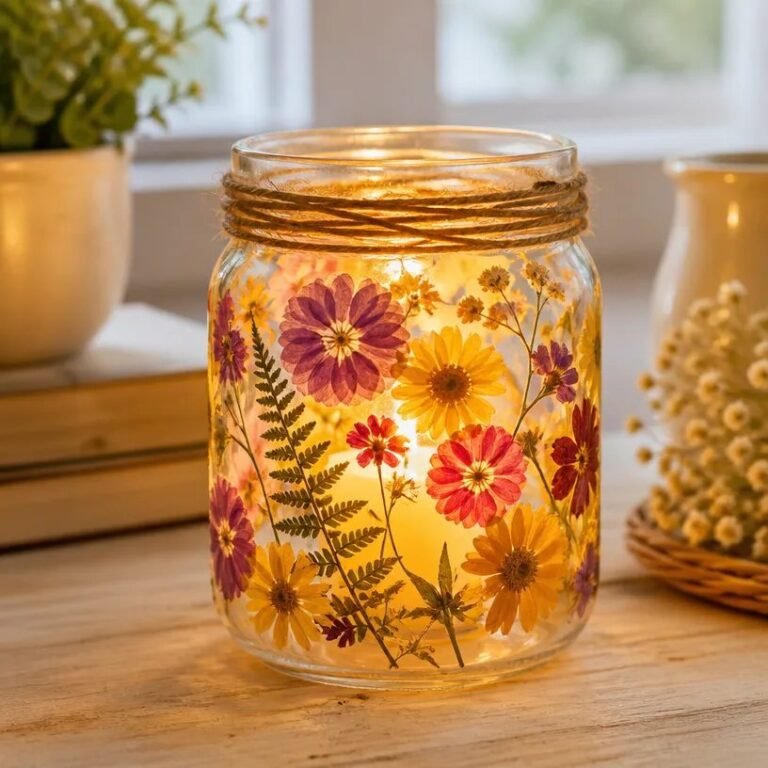
You may also find Pressed Flower Candle Holder Diy useful.
This Pressed Flower Butterfly Collage Frame is approachable for crafters of any skill level. The process of arranging the flowers to form a butterfly shape allows for individual expression while still being manageable with the provided materials. Furthermore, the end result is visually rewarding as you create a stunning floral design that celebrates nature and your creativity. Such a project is perfect for decorating your space, preserving memories, or gifting to someone special. You may also find Pressed Flower Crystal Suncatcher Diy Tutorial useful.
A Quick Look Before You Begin
Before diving into the assembly, take a moment to gather all your materials. The setup is straightforward, and the main construction approach focuses on arranging your pressed flowers in a thoughtful manner. This project is low-mess, making it a perfect creative outlet that doesn’t require a lot of cleanup afterward. Pay attention to the delicate nature of the flowers, particularly during the arrangement phase, as this will help guide the overall look of your finished piece.
Materials You’ll Need
- Pressed flowers: Choose a variety of shapes and colors to create an engaging effect.
- Frame: A simple frame acts as the backdrop for your floral arrangement.
- Paper or frame background: This will provide a base for your design.
- Light adhesive (if needed): Use a light touch to keep the finished artwork looking neat.
Selecting the right pressed flowers can enhance the overall effect of your frame. You may opt for blooms that have special meaning to you, whether they be from a memorable occasion or simply a favorite garden flower.
Step-by-Step Directions
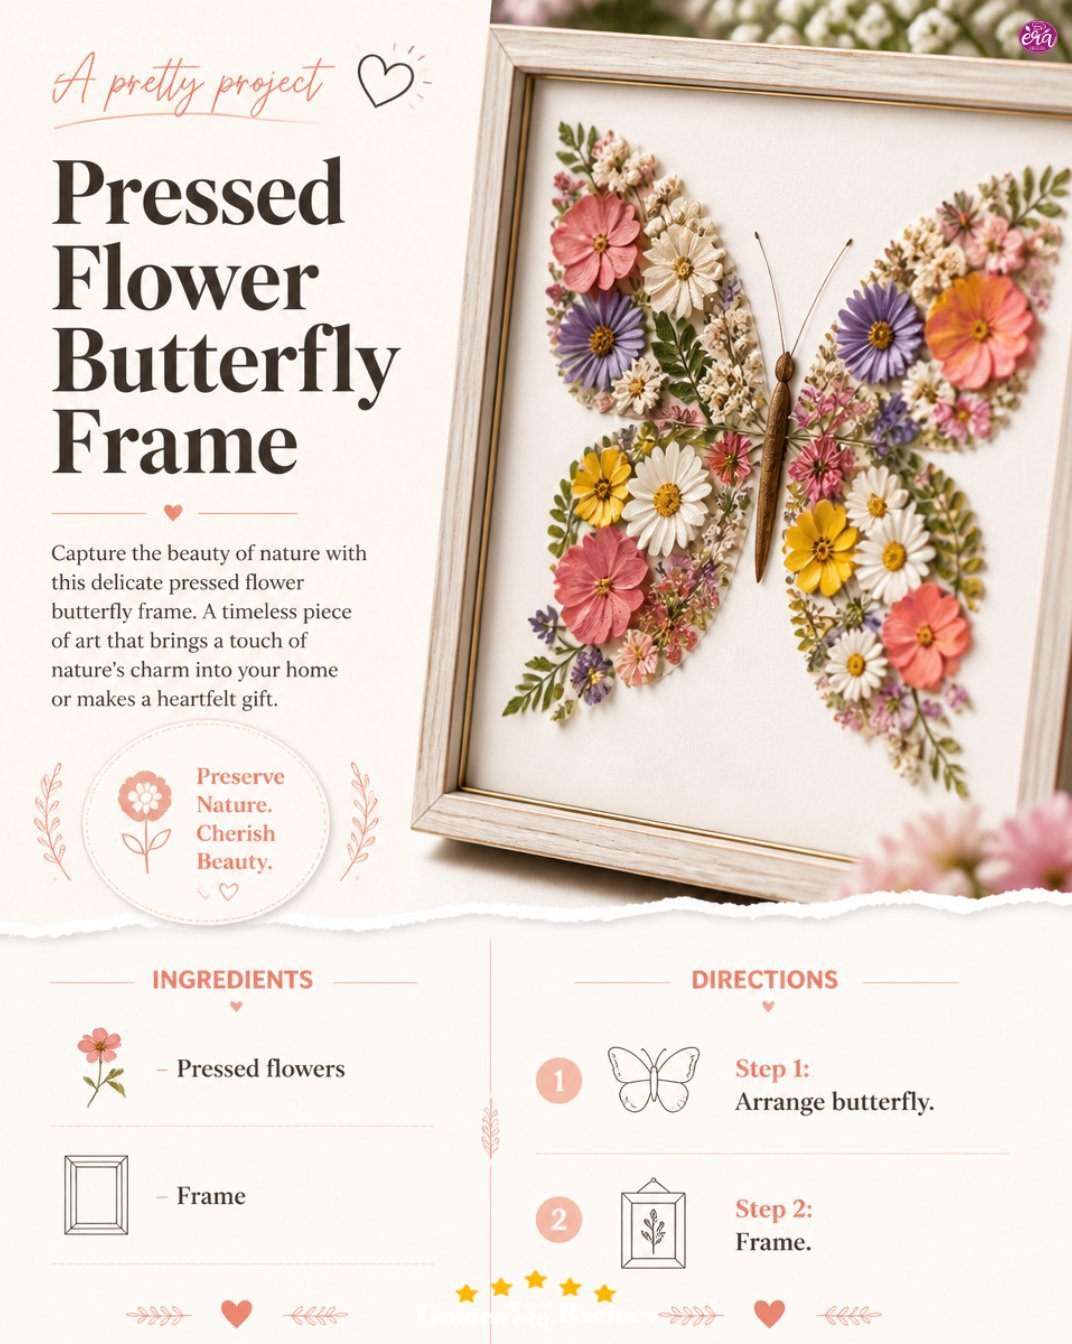
Arrange the pressed flowers on paper or the frame background to form a butterfly, positioning the petals to create the wings. Take your time while envisioning the shape and balance of the butterfly to ensure it feels harmonious.
Adjust the arrangement before securing it, checking the overall butterfly shape. At this stage, you may want to step back and see how the symmetry plays out.
Gently press the flowers down and use a light adhesive if needed to hold the design in place. Be cautious; a little adhesive goes a long way, especially to avoid any visible glue on the finished piece.
Place the decorated paper or background inside the frame and display the finished butterfly artwork. Stand back and admire your handiwork as you see how all the components come together beautifully.
The Design Behind This Floral DIY
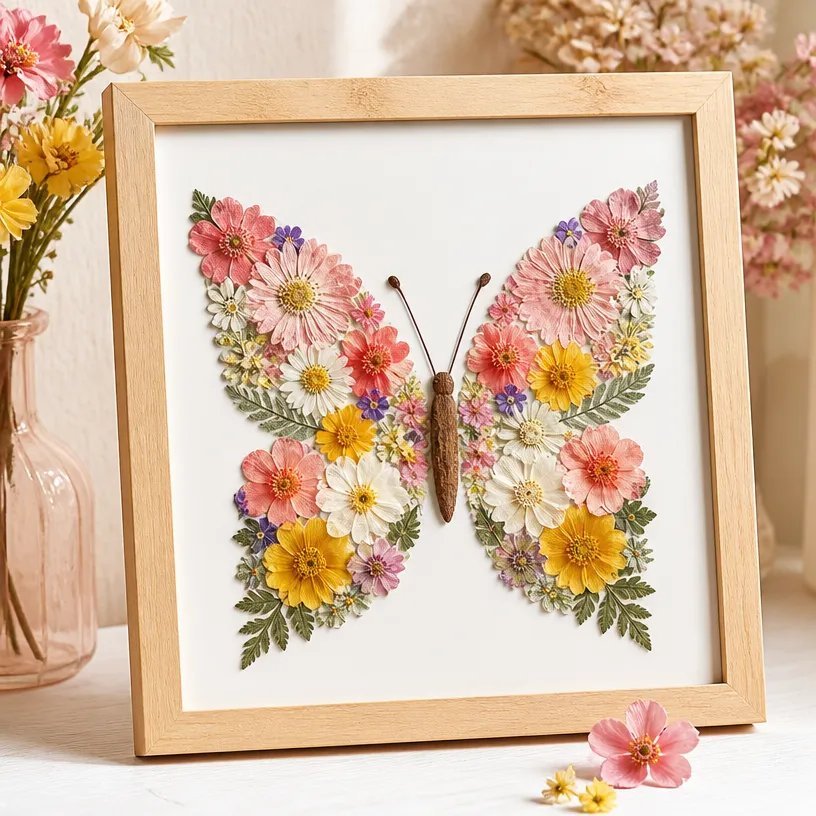
Color relationships are vital in this project. Combining flowers of various hues can create a dynamic and lively artwork. As you place your flowers, consider the balance and spacing. For example, larger petals can frame smaller ones, creating a beautiful layered effect. The texture of different petals also adds depth; mixing smooth and textured petals will catch the light differently, enhancing your design. A butterfly shape inherently invites symmetry, so keep an eye on ensuring both sides mirror each other for visual interest.
Troubleshooting Common Issues
Sometimes, things might not turn out as you imagined. Uneven placement of flowers can easily happen, especially if they start shifting during the process. One practical fix is to lay out your design flat and avoid disturbing the arrangement until you are ready to press it down. If your flowers begin to shift, gently reposition them or consider using a small amount of adhesive to help hold them in place momentarily.
Easy Variations to Try
Explore different options to give your project a personal touch. You could experiment with varying flower colors, create a seasonal theme with autumn petals, or use unique backgrounds like patterned paper to change the vibe entirely. Additionally, you can adjust the size of your frame or even the placement of flowers to make a smaller, postcard-sized piece that could fit perfectly in a greeting card.
Displaying or Keeping Your Project
Once you’ve completed your Pressed Flower Butterfly Collage Frame, think about how you want to display it. Whether you choose to hang it on the wall or place it on a shelf, make sure it is in a spot where it can be appreciated. If you plan to gift it, consider wrapping it beautifully to enhance the presentation.
FAQs About Pressed Flower Butterfly Collage Frame
Q: Can I use regular flowers for pressing, or do they need to be specific types?
A: You can use a variety of flowers, but it’s often best to choose those that dry well, such as daisies or pansies.
Q: How do I know if my arrangement is balanced?
A: Stand back and take a look at your design from a distance; balance tends to convey a sense of harmony when the petals are dispersed evenly.
Q: What should I do if the flowers look too sparse in the design?
A: If it feels sparse, consider adding more smaller flowers or adjusting the layout to include more blooms.
Q: How should I glue the flowers down without making it too messy?
A: Use a small dot of adhesive and try to apply it from behind the petals where it won’t be seen easily.
Q: How do I care for my finished artwork?
A: Keep it out of direct sunlight to prevent fading, and gently dust it with a soft cloth to maintain its appearance.
A Final Helpful Note
As you embark on creating your Pressed Flower Butterfly Collage Frame, remember that the beauty lies in the details and your personal touch. Allow yourself the freedom to experiment, be gentle with the materials, and relish the process of crafting something unique. Every project teaches us more about our creativity and love for flowers in new ways.
Conclusion
When you're ready to explore more about pressed flowers, consider checking out some great options on platforms like
Etsyfor unique frames. You can also browse
eBayfor inspiring mixed media and collage art pieces. Enjoy your crafting journey!
Follow us on social for more floral DIY projects & botanical inspiration!
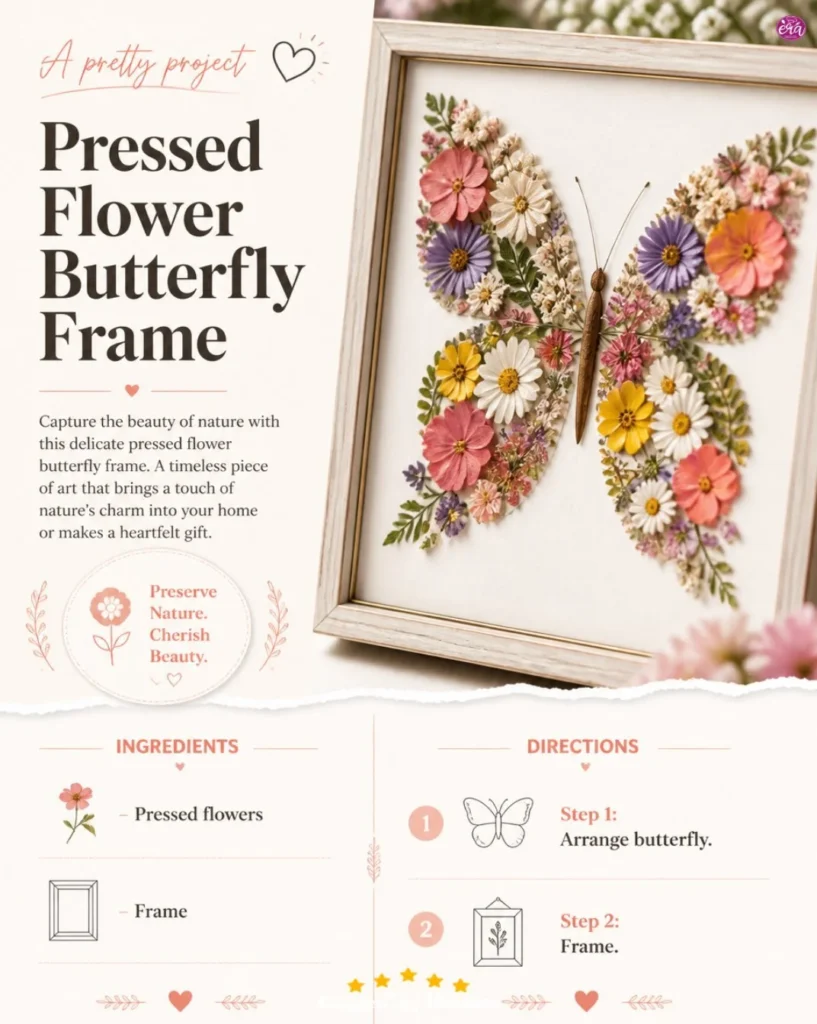
Pressed Flower Butterfly Collage Frame
Would you like to save this project?
By submitting you agree to receive this project and occasional emails. Unsubscribe anytime.
Materials
Materials
- variety Pressed flowers Choose a variety of shapes and colors.
- 1 piece Frame A simple frame acts as the backdrop.
- 1 piece Paper or frame background Provides a base for your design.
- optional Light adhesive Use if needed to hold flowers in place.
Directions
Preparation
- Arrange the pressed flowers on paper or the frame background to form a butterfly, positioning the petals to create the wings.
- Adjust the arrangement and check the overall butterfly shape for harmony and balance.
- Gently press the flowers down and apply light adhesive if needed.
- Place the decorated paper or background inside the frame and display the finished butterfly artwork.
Last Step: Don’t forget to leave a rating and comment below! It helps other readers find the best DIY projects — and it helps us too!