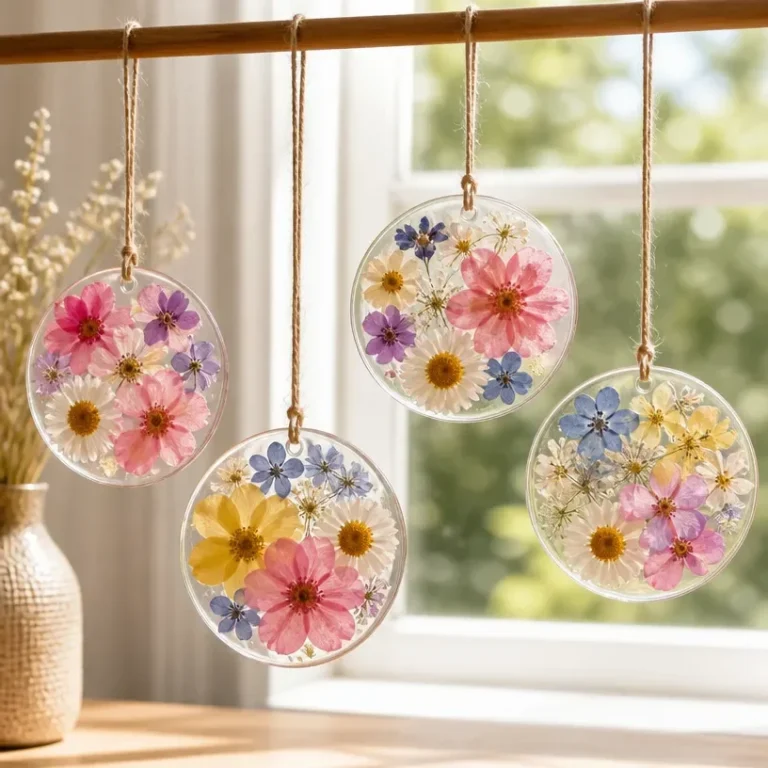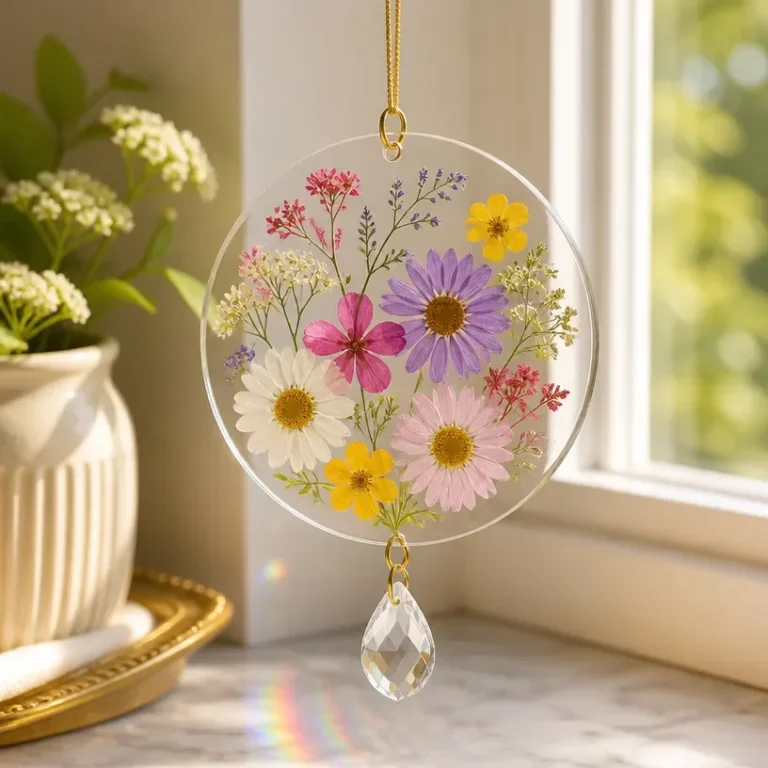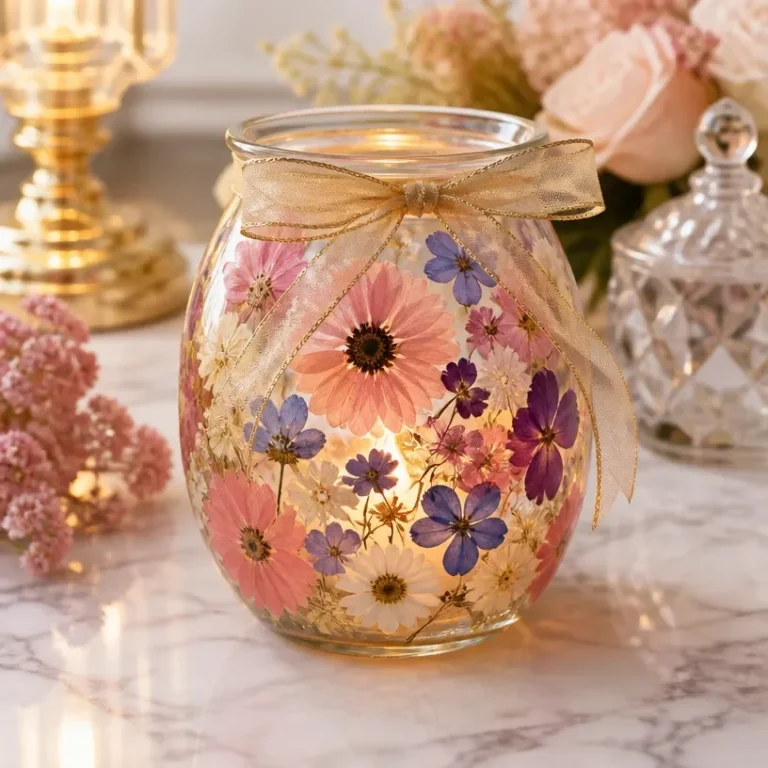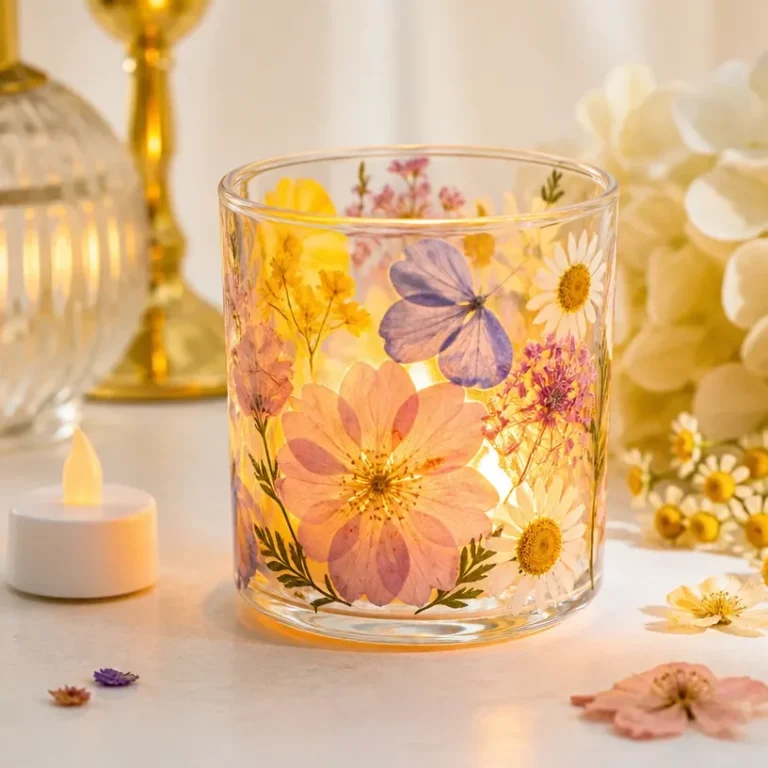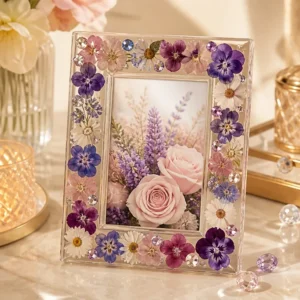
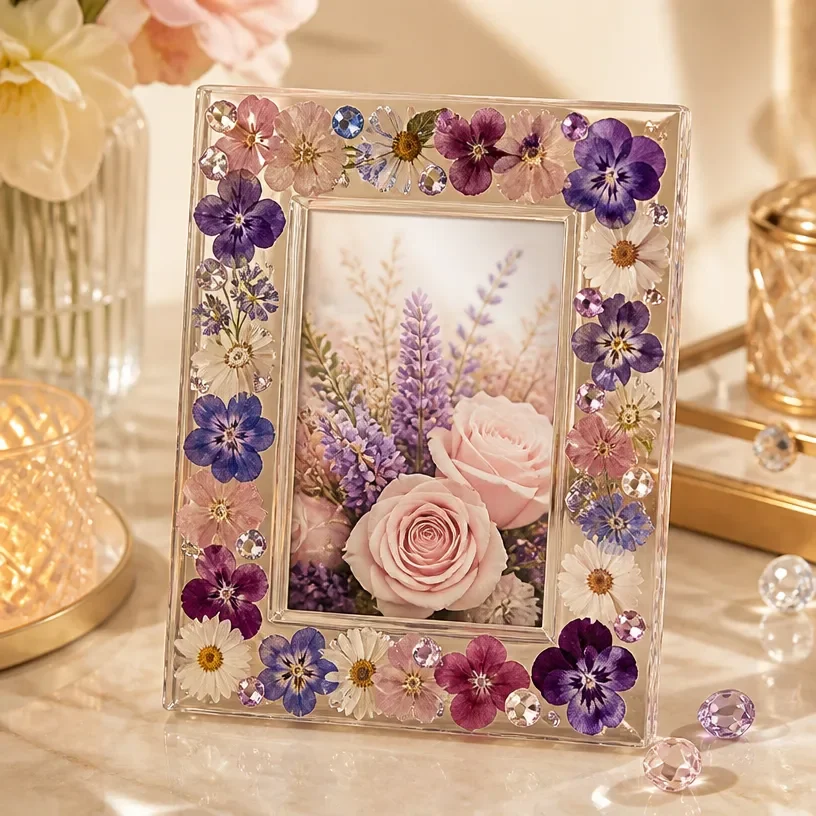
Creating something beautiful can often begin with a simple moment, such as gathering pressed flowers from your favorite blooms. Whether you’ve kept these special petals from special occasions or just enjoy the art of preservation, they can tell your story in countless creative ways. If you’re looking for a meaningful way to display those botanical keepsakes, consider the DIY Pressed Flower Crystal Picture Frame. This project transforms ordinary materials into a charming decoration, perfect for your home or as a heartfelt gift.
Why This DIY Pressed Flower Crystal Picture Frame Works So Well
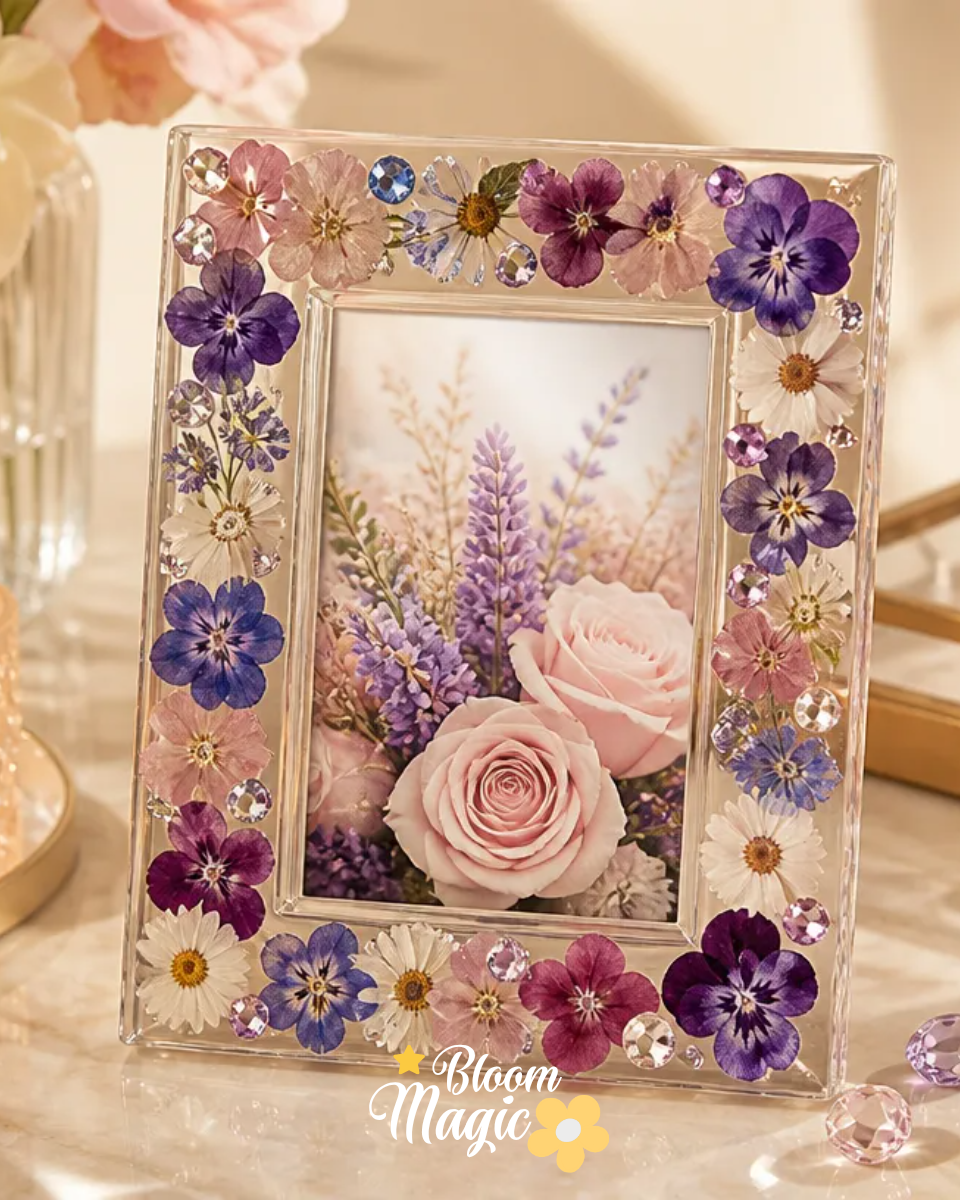
This DIY project is approachable for anyone eager to begin their floral crafting journey. Using basic materials, it invites you to explore your creativity while creating something visually rewarding. The combination of pressed flowers and small crystal-style gems enhances the natural beauty of your floral arrangements, making them a delightful focal point in any setting. Plus, the materials required for this project are easily available and manageable, which means you can enjoy the crafting experience without feeling overwhelmed.
A Quick Look Before You Begin
Before jumping into the step-by-step process, ensure you have a clear setup for your DIY Pressed Flower Crystal Picture Frame. Lay out your materials in an organized fashion; this helps in maintaining a clutter-free workspace. You’ll primarily focus on the design approach by contemplating how flowers fit into your frame and how to secure them without causing damage. Don’t worry about messes; this project allows for some flexibility, and being gentle with delicate materials like pressed flowers is key to achieving a beautiful end result.
Materials You’ll Need
- Plain picture frame: This serves as the basic structure of your project and provides a backdrop for your floral art.
- Pressed flowers: Choose a selection of your favorites; the colors and shapes should resonate with your vision for the frame.
- Small crystal-style gems: These accents add a touch of sparkle and dimension to your design.
- Clear craft adhesive: A reliable glue is essential for securing your flowers and gems firmly in place.
- Tweezers: These will help in handling delicate flowers, allowing you to place each piece accurately without damaging them.
Step-by-Step Directions
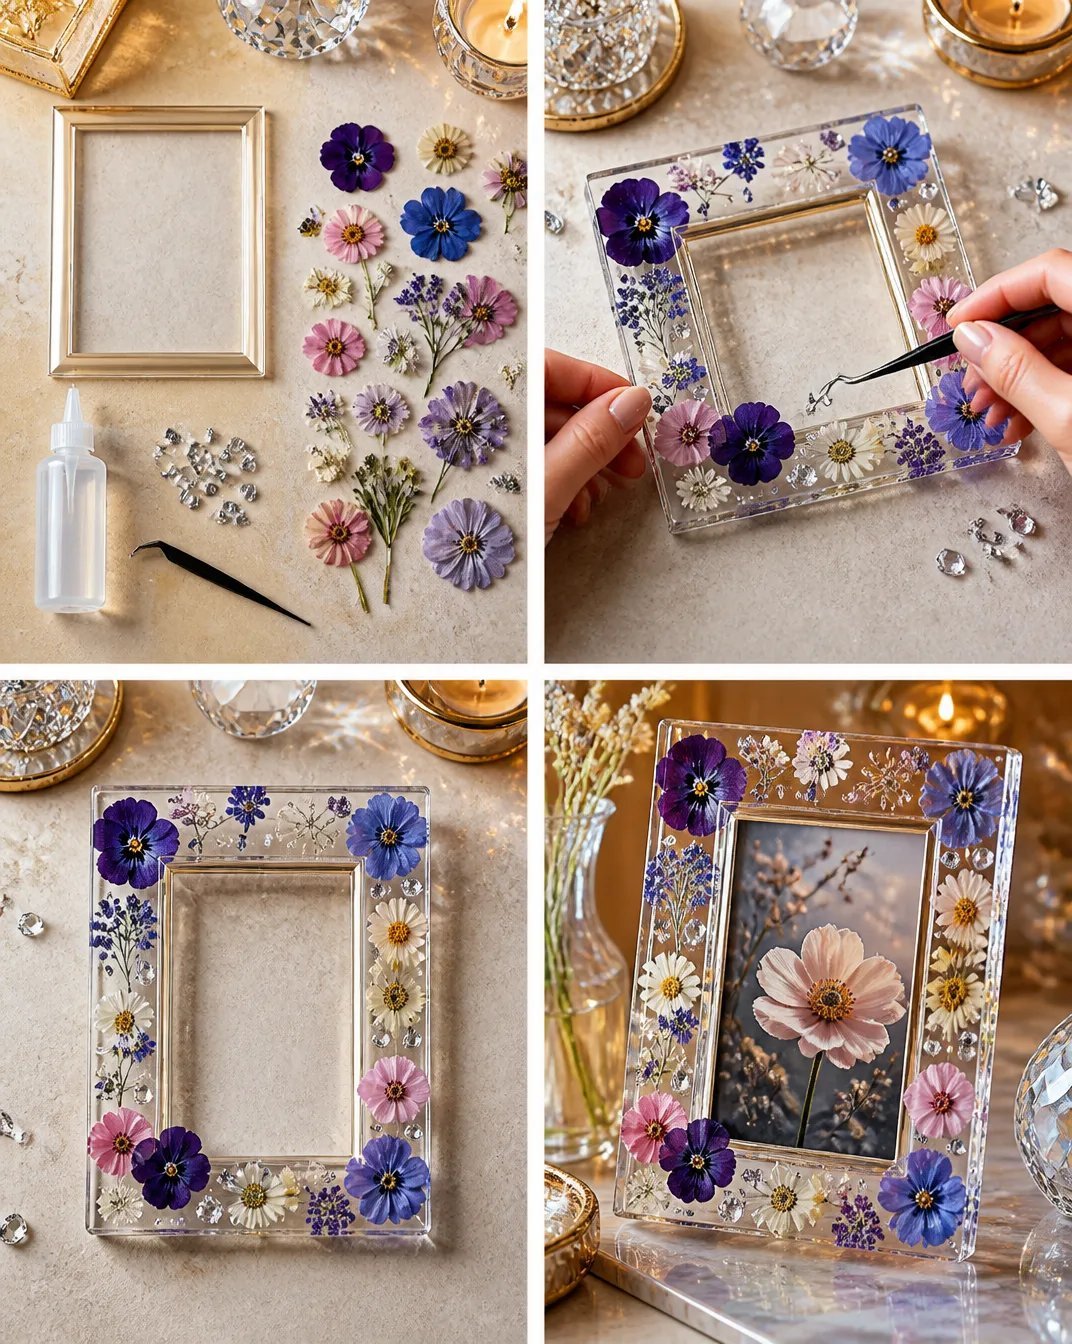
Arrange pressed flowers around the frame border. Start by lightly laying out your pressed flowers around the edges of the frame. Play with placement until you find a composition that feels balanced and appealing.
Secure them carefully. Once satisfied with the arrangement, use your clear craft adhesive to gently affix each flower. Apply a small dot of glue to the base of each flower to keep them in place. Be careful not to overuse glue, as it can seep into the petals.
Add small crystal accents. After securing the flowers, sprinkle the crystal-style gems throughout your arrangement. This step adds visual interest and helps to draw attention to your pressed botanicals.
Let dry. Allow the adhesive to dry completely before handling your frame. This is crucial to ensure that everything stays in place.
Insert a favorite photograph or artwork. Lastly, after everything has dried, place your chosen photo or artwork inside the frame. This adds a personal touch to the piece and showcases what it represents to you.
The Design Behind This Floral DIY
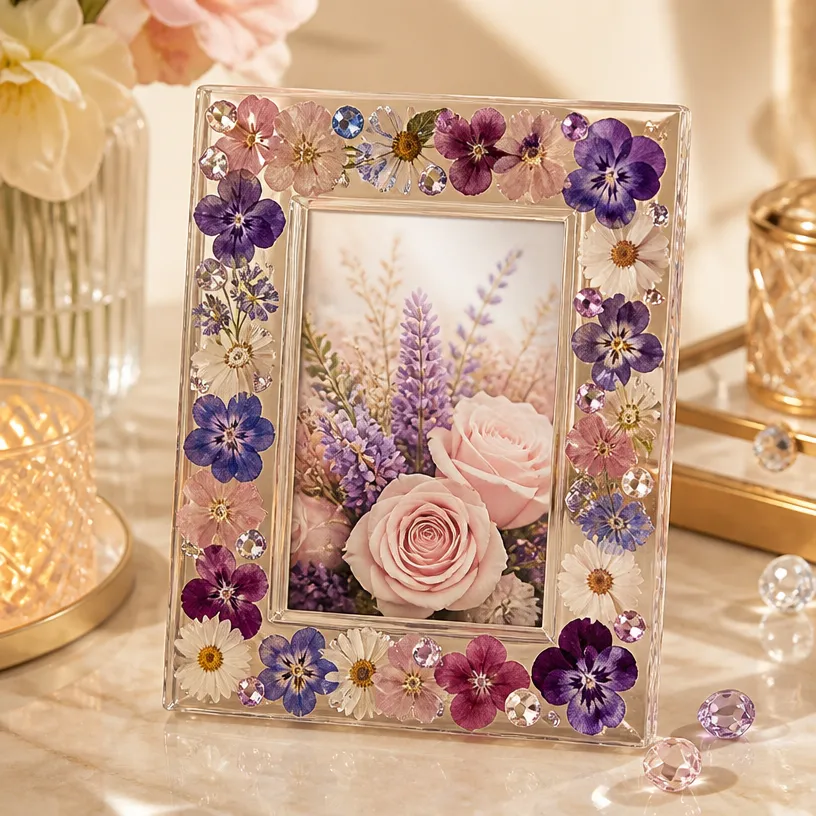
Creating a visually appealing design involves considering color relationships and the overall balance of your arrangement. When placing flowers, consider choosing varieties that complement each other. This might mean pairing delicate pastels with vibrant pops of color or contrasting textures. The crystals should follow similar principles; their placement can enhance the movement of your piece and guide the viewer’s eye around the design. Experiment with layering different florals for depth, ensuring an aesthetically pleasing layout that reflects your personal style.
Troubleshooting Common Issues
If you find certain flowers shifting during assembly, take a moment to pause. You can reinforce them with additional glue, but wait until they’ve dried completely to move on to the next steps. If your arrangement feels crowded or sparse, try removing one or two elements for better balance. The goal is to maintain an airy quality in your design without overwhelming the visual space.
Easy Variations to Try
If you’re feeling adventurous, consider these easy variations:
- Use flowers of varying colors to match seasonal decor.
- Experiment with different shaped frames oval or square can provide a unique twist.
- Incorporate a colored background behind the flowers to add further depth.
- For gifts, personalize the frame with meaningful quotes or messages that resonate with the recipient.
Displaying or Keeping Your Project
Once your DIY Pressed Flower Crystal Picture Frame is complete, you can find the perfect spot for it in your home. Consider a well-lit area where natural light can enhance the colors of your flowers. If you choose to gift it, think about wrapping it in simple, beautiful paper to emphasize its handmade charm. Taking care while handling your new creation is essential, so ensure it is stored in a safe environment when not on display.
FAQs About DIY Pressed Flower Crystal Picture Frame
Can I use fresh flowers instead of pressed ones? While fresh flowers can be used, they won’t stay vibrant for long. Pressing extends their life and maintains their beauty.
What should I do if my flowers look flat? If your pressed flowers appear flat in the frame, consider layering them slightly or using tweezers to create more dimension by adjusting positions.
How can I ensure the adhesive doesn’t show through? Apply small amounts of adhesive, and use clear drying glue to minimize visibility.
Can I personalize the frame further? Absolutely! You could paint the frame or add stickers, decals, or additional artwork that holds personal value.
What’s the best way to store leftover pressed flowers? Keep them in a dry, cool place, in a flat, airtight container to maintain their quality for future projects.
A Final Helpful Note
Before you dive into crafting your DIY Pressed Flower Crystal Picture Frame, remember to embrace the process as fun and creatively fulfilling. Each step allows you to make choices that reflect your unique style. Don’t hesitate to experiment with different arrangements and materials. Whether it’s the vibrant colors of a special summer bloom or the tranquility of a dried flower, the end result should bring you joy. For those in search of a package of materials, consider checking out a Diy Pressed Flower Frame Kit on Amazon for added convenience. For more tips on crafting beautiful pressed flower designs, visit DIY Pressed Flower Frame – Cool Mom and Collected. Enjoy your crafting journey!