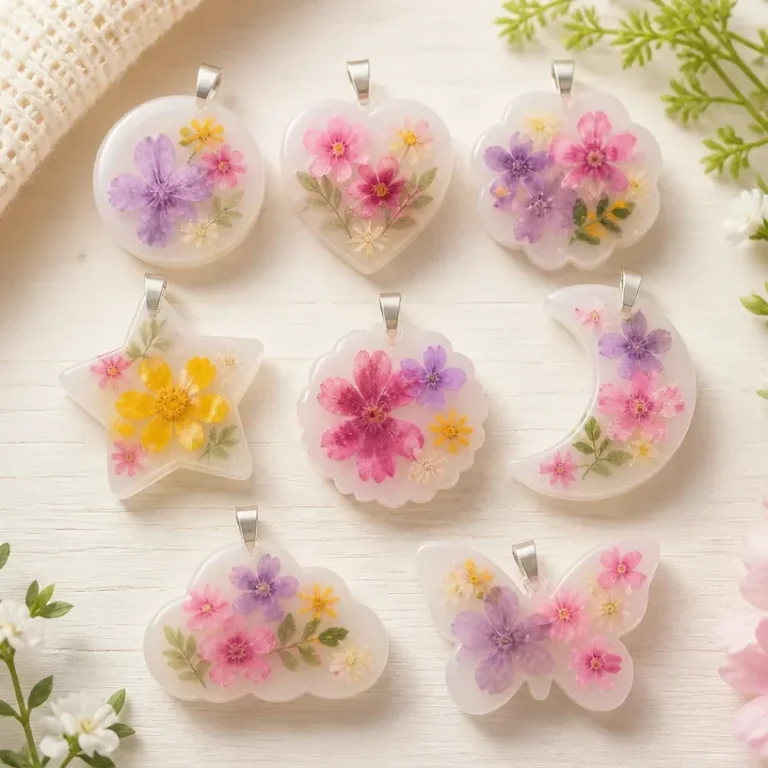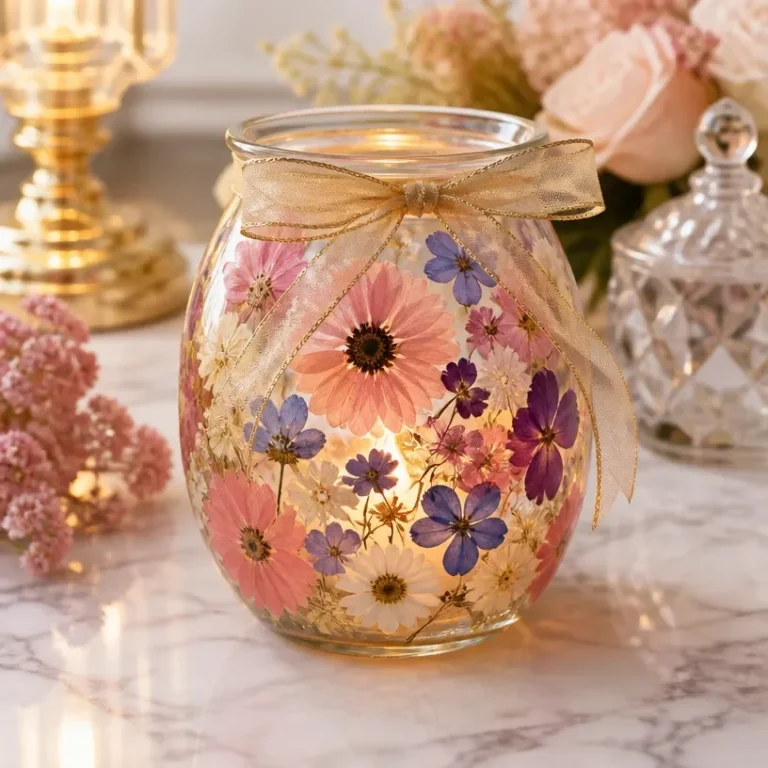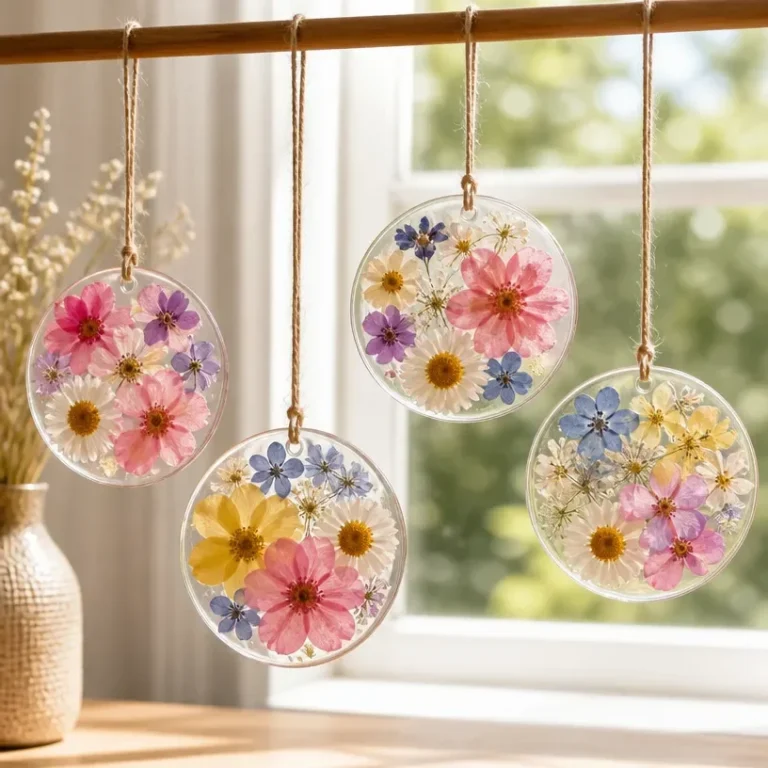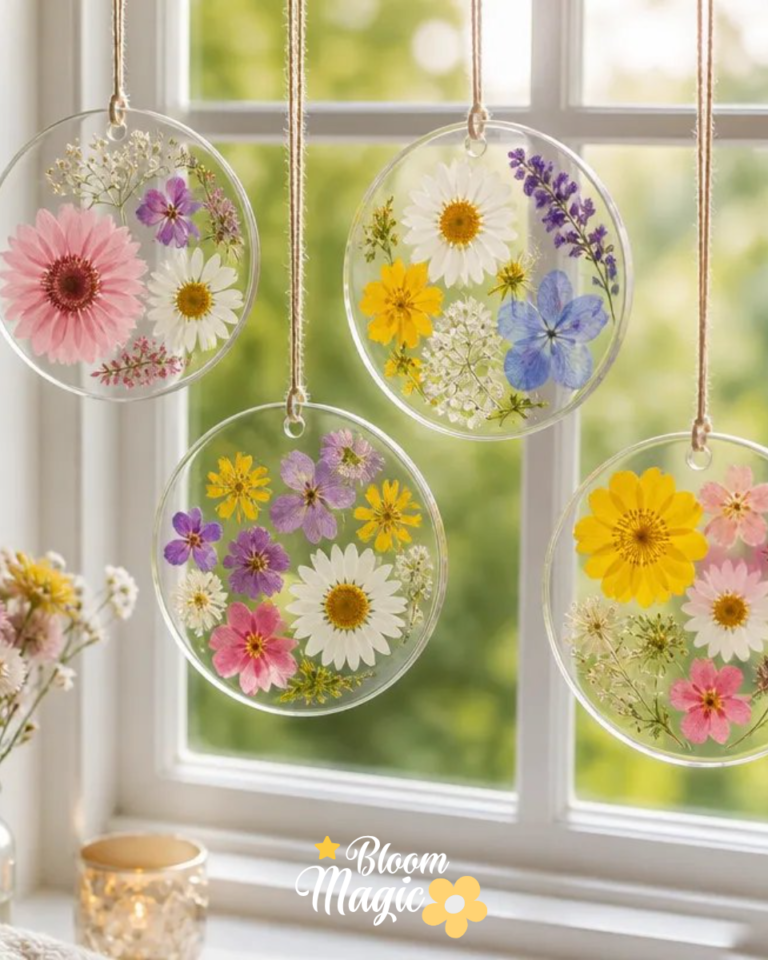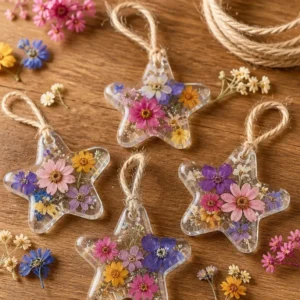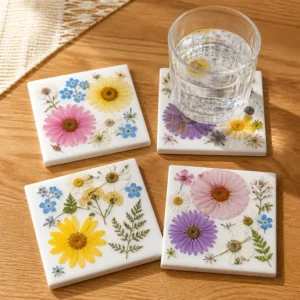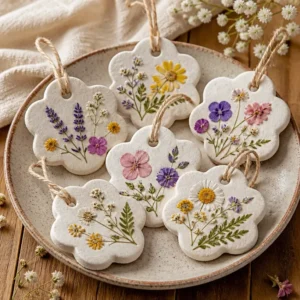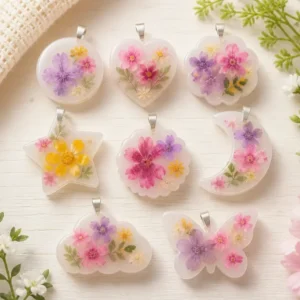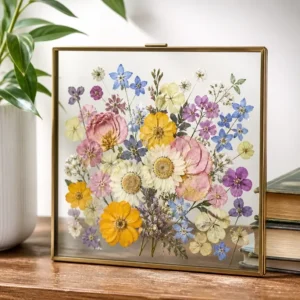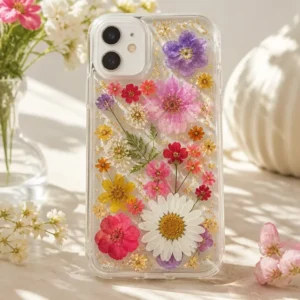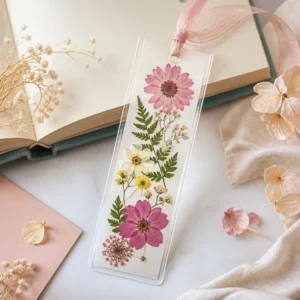
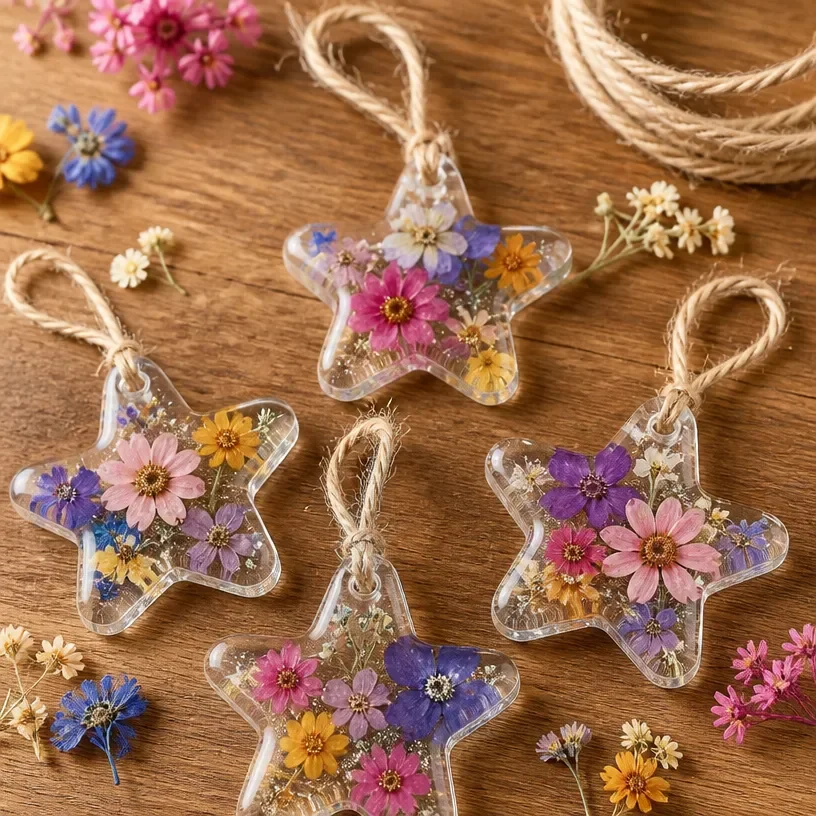
Pressed Flower Glue Charms offer a beautiful way to preserve your favorite blooms while also creating unique, decorative pieces for your home. Imagine sifting through a collection of colorful petals, each one holding a memory of a special moment whether it’s a garden picked by your child or flowers from a memorable occasion. By turning those pressed or dried botanicals into charms, you not only honor those memories but also add an organic touch to your decor. This project is accessible and rewarding, allowing you to craft meaningful items that you can display with pride. You may also find Diy Flower Hearts Craft Clear Glue useful.
Why You’ll Love Making Pressed Flower Glue Charms
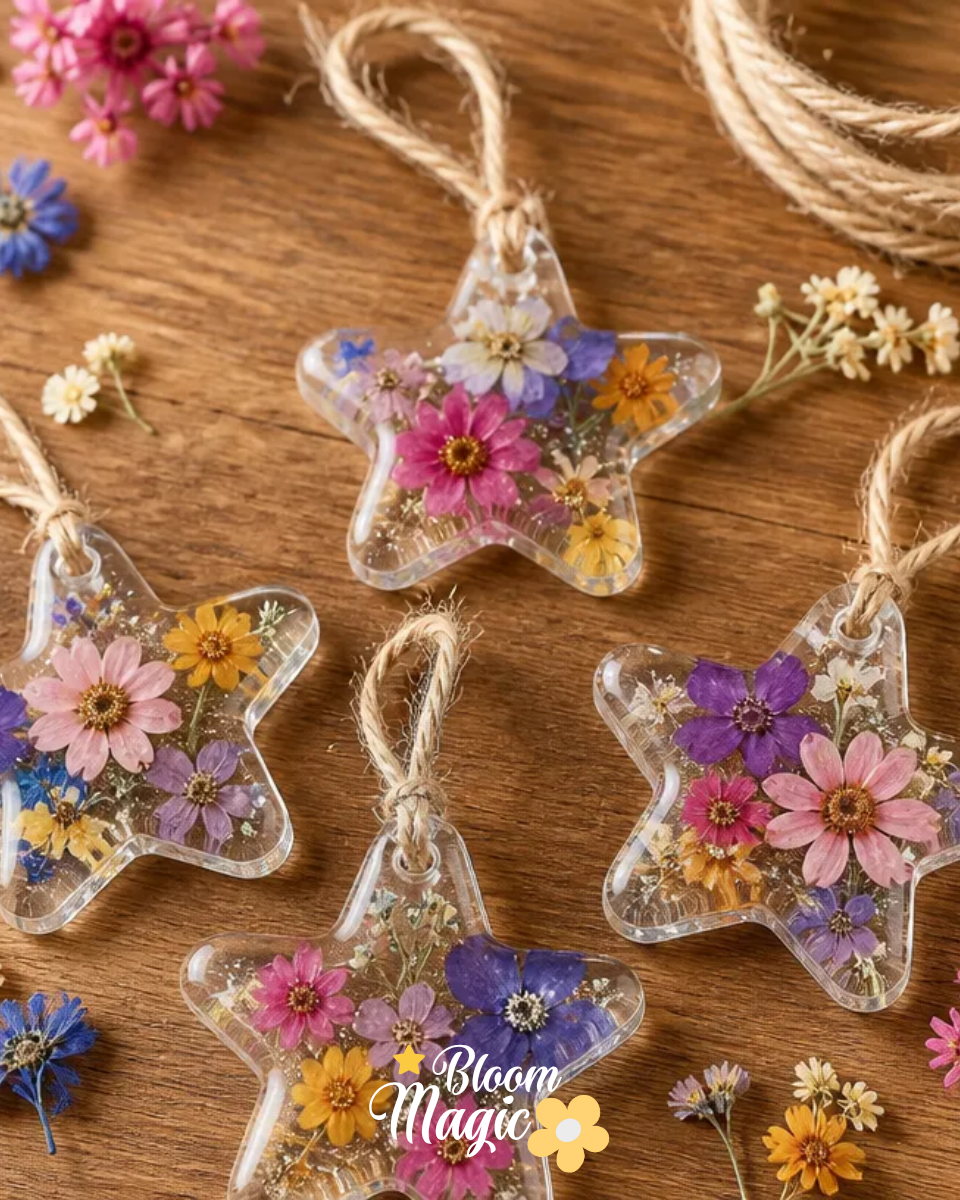
You may also find Glue On Flower Window Cling Decorative Sticker useful.
Creating Pressed Flower Glue Charms proves to be an engaging and visually appealing project. It invites creativity while ensuring success, making it suitable for both novices and seasoned crafters. The charm itself acts as a personalized keepsake, ideal for home decoration, gift-giving, or simply enhancing your personal art collection. You’ll also enjoy the tactile experience of working with natural elements, which fosters a deeper connection to the materials you use. You may also find Magic Bloom Diy Pressed Flower Frame useful.
A Quick Look Before You Begin
Before diving into your crafting session, it’s helpful to have a calm overview of how Pressed Flower Glue Charms come together. Plan for a setup that allows you to organize your supplies and flowers efficiently. Expect a bit of glue and possibly some mess, but don’t worry. It’s all part of the creative journey. The arrangement of your floral materials will be crucial, so take your time to ensure everything aligns just the way you envision it before making any permanent attachments.
Materials You’ll Need
- Pressed flowers and leaves: Choose vibrant colors and interesting textures; this adds depth to your charms.
- Clear glue: Essential for securely adhering your botanical elements. It’s important to choose one that dries clear for the best results.
- Charm bases: These are what you’ll attach your flowers to; consider different shapes and sizes to create variety.
- Jump rings and clasps: For creating a functional charm or attaching your finished piece to a keychain.
- Scissors: For trimming any excess foliage or shaping your flowers.
- Tweezers: Helpful for placing delicate flowers into your charm.
With all these materials ready, you can start your floral crafting adventure!
Step-by-Step Directions
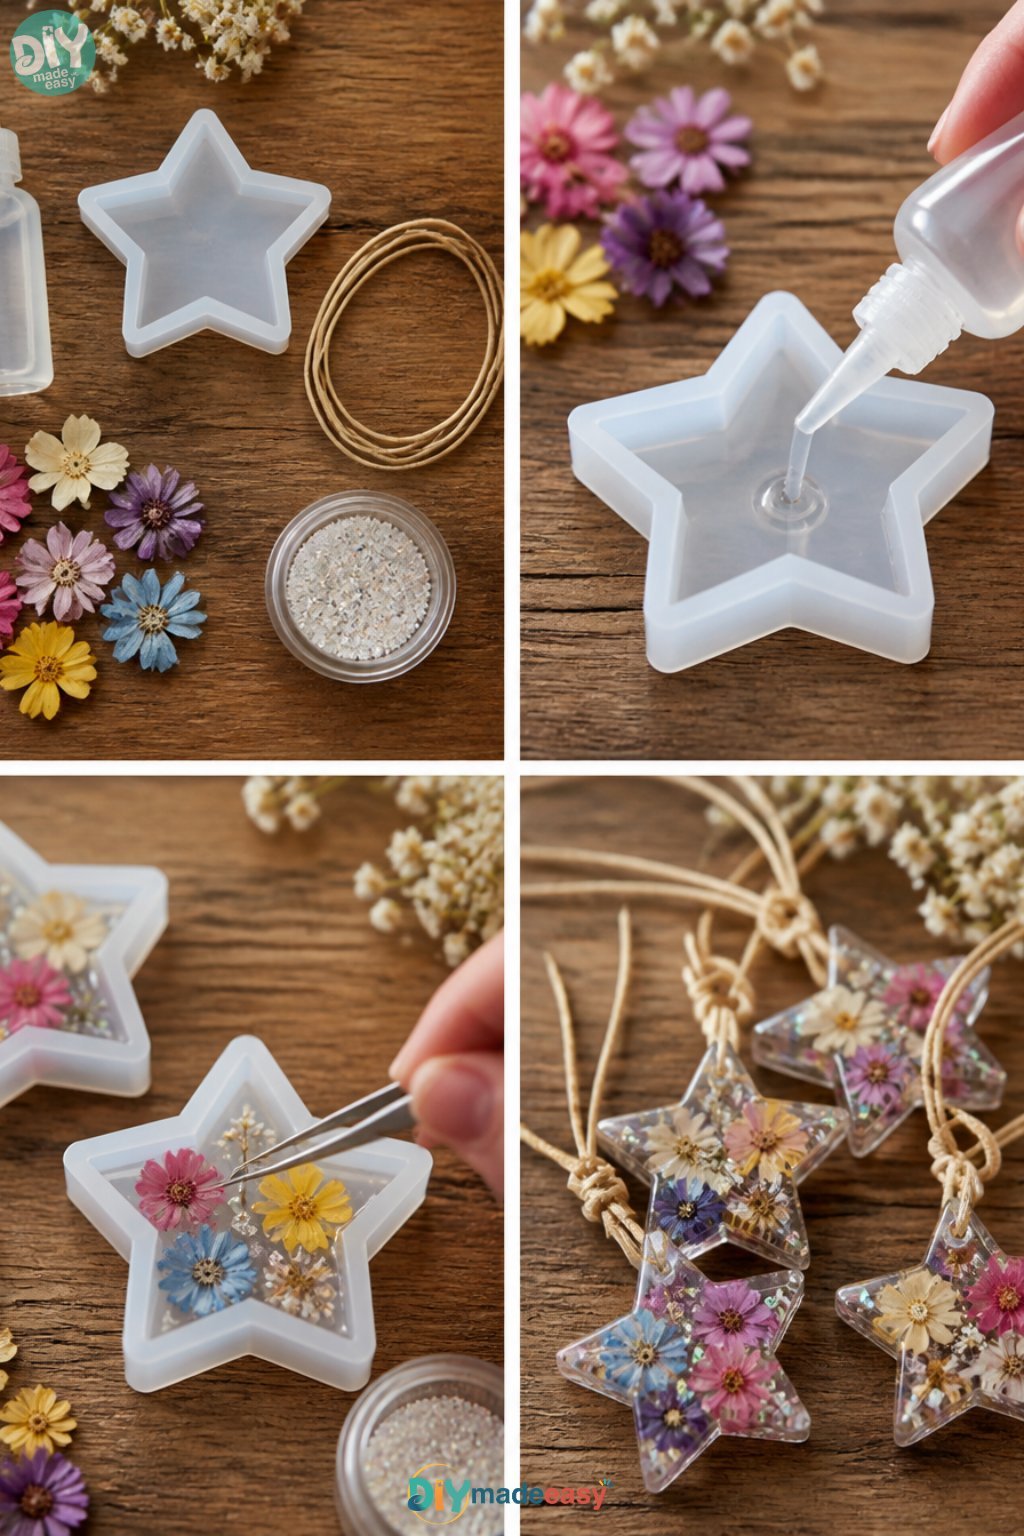
- Prepare Your Flowers: Gather your dried or pressed flowers and leaves, ensuring they are flat and ready to be arranged. Take a moment to admire their colors and shapes.
- Select Your Base: Choose your charm base. If it has multiple compartments or a specific layout, visualize how you want the flowers to fit inside.
- Arrange the Flowers: Using tweezers, position your flowers into the charm base temporarily. Play with the layout until you find an arrangement that speaks to you.
- Apply the Glue: Once satisfied with the arrangement, especially how each flower interacts with the others, coat the base with a generous layer of clear glue.
- Secure the Arrangement: Carefully place your flowers onto the glued surface, gently pressing down to ensure they adhere well. If needed, use a small amount of glue on top of certain petals to secure them.
- Add Details: If you’re incorporating small leaves or accents, place these around the larger flowers for a fuller look. Balance the design visually.
- Allow to Dry: Set the charm aside in a safe spot to dry completely. Check for any loose edges and add a little more glue if necessary.
- Finish Your Charm: After the glue has dried, use jump rings to attach your charm to a chain or keyring, allowing for a lovely way to display your creation.
The Design Behind This Floral DIY
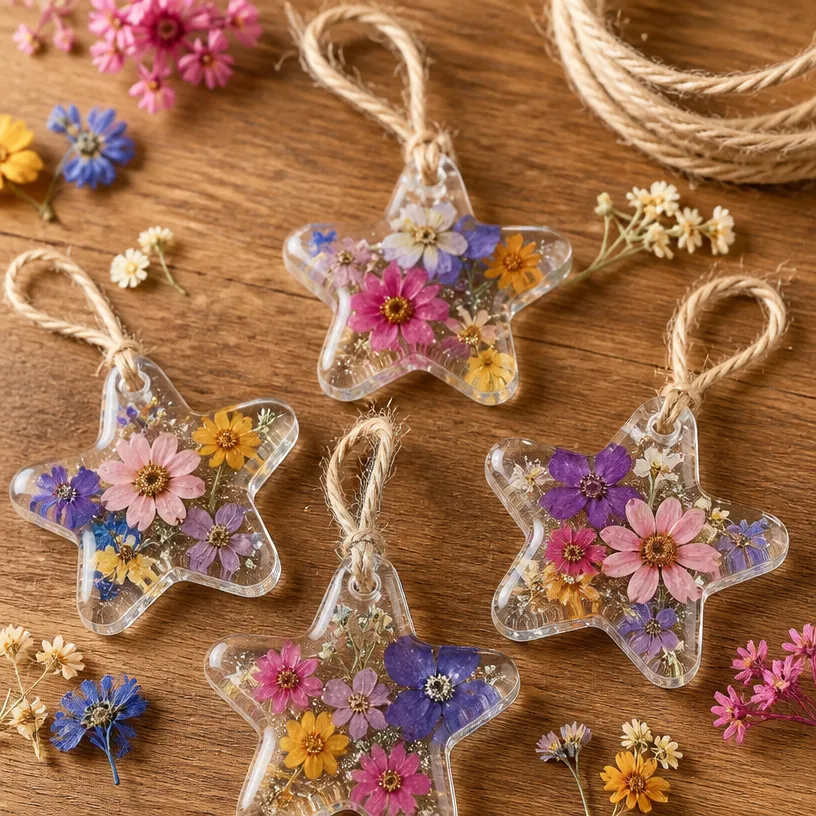
When creating your Pressed Flower Glue Charms, the key to a successful design lies in the thoughtful combination of color and texture. Consider the contrast between the lush greens of leaves and the vibrant colors of flowers. Spacing is essential; avoid crowding elements too closely to maintain clarity and visual interest. Layering items thoughtfully can create depth; for instance, placing a leaf behind a flower highlights both. Trust your instinct to arrange items in a way that feels just right to you, as your personal style will shine through in the finished product.
Troubleshooting Common Issues
Common issues may arise when crafting, and it’s essential to approach them calmly. If you notice any flowers shifting during assembly, gently reposition them without fully removing them from the glue until it sets. An uneven placement can often be corrected by adjusting with the tweezers. Should you see visible adhesive when it dries, consider using an additional clear layer to conceal it or over-embellishing with smaller flowers. If the arrangement appears too crowded, take a step back, remove a few choices, and simplify your design for a cleaner look.
Easy Variations to Try
For those seeking a more personalized touch, here are a few ways to diversify your Pressed Flower Glue Charms:
- Experiment with different flower colors and varieties based on seasonal blooms.
- Try using heart-shaped or star-shaped charm bases for a fun twist.
- Incorporate tiny trinkets or personal items alongside your flowers to create a more mixed media piece.
- Play with the transparent background colors behind your flowers, as this can alter how they appear.
- Consider resizing or creating a mini version of your charms for added fun.
Displaying or Keeping Your Project
Once your Pressed Flower Glue Charms are complete, think about how best to showcase them. They can serve as lovely accents on a shelf or a cheerful keychain. If you’re gifting them, consider placing the charms in a decorative box with a natural finish, elevating the overall presentation. For those keen on reducing waste, store any leftover materials in airtight containers for future projects to ensure nothing goes to waste.
FAQs About Pressed Flower Glue Charms
Can I use fresh flowers instead of dried ones?
Fresh flowers generally contain too much moisture, which can affect the adhesive and ruin the design. Always opt for dried or pressed flowers to achieve the best results.
What kind of glue is best for this project?
A non-yellowing clear glue works best for adherence and aesthetic purposes. This ensures a seamless finish that highlights your flowers.
How can I display my charms without damaging them?
Consider using hanging displays or shadow boxes that protect your charms from dust while allowing them to shine. This way, you can enjoy your beautiful creation without worry.
What if my flowers fade over time?
Fading can occur due to prolonged exposure to sunlight. To minimize fading, consider placing your charms in a location that doesn’t receive direct sunlight and maintain the acrylic finish.
A Final Helpful Note
Embrace the creativity that crafting Pressed Flower Glue Charms offers. Take your time with each step to ensure you enjoy the process. Feel free to experiment, make adjustments, and find joy in the finished product. Each charm tells a story, so let your personality shine through in every selection and placement.
Conclusion
Making Pressed Flower Glue Charms can be a delightful way to bring the beauty of nature into your home or share it with others. Whether you're looking to add to your collection or give someone a thoughtful gift, the process is rewarding and memorable. For ideas on flower-themed accessories, you could check out
this selection of flower charms. If you're interested in broader floral crafts, consider learning
how to make pressed flower bookmarksas another creative outlet. Happy crafting!
Follow us on social for more floral DIY projects & botanical inspiration!
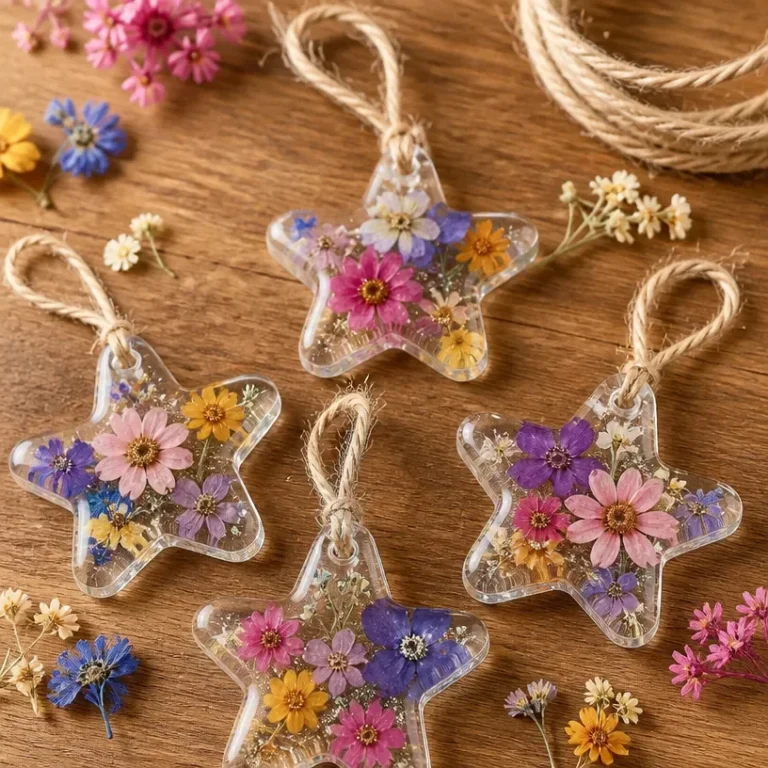
Pressed Flower Glue Charms
Would you like to save this recipe?
By submitting you agree to receive this recipe and occasional emails. Unsubscribe anytime.
Ingredients
Main Materials
- Various Pressed flowers and leaves Choose vibrant colors and interesting textures.
- 1 bottle Clear glue Essential for adhering botanical elements; should dry clear.
- 5 pieces Charm bases Consider different shapes and sizes for variety.
- 5 pieces Jump rings and clasps For attaching charms to keychains.
- 1 piece Scissors For trimming excess foliage or shaping flowers.
- 1 piece Tweezers Helpful for placing delicate flowers.
Instructions
Preparation
- Gather your dried or pressed flowers and leaves, ensuring they are flat and admire their colors and shapes.
- Choose your charm base and visualize how you want the flowers to fit inside.
Assembly
- Position your flowers into the charm base temporarily using tweezers, adjusting until satisfied.
- Coat the base with a generous layer of clear glue.
- Carefully place the flowers onto the glued surface, pressing gently to adhere.
- Add small leaves or accents around larger flowers for balance.
- Set aside to dry completely, checking for any loose edges.
Finishing Touches
- After the glue has dried, attach the charm to a keychain using jump rings.
Last Step: Don’t forget to leave a rating and comment below! It helps other readers find the best recipes — and it helps us too!
Tips & Notes:
Nutrition Information: Serving: 5 | Calories: | Carbohydrates: | Protein: | Fat: | Sodium: | Fiber: | Sugar:
Nutritional information is provided as a courtesy and calculated automatically. Values can vary depending on the brands and ingredients you use, so if you’re tracking closely, I recommend calculating with your own preferred tool.