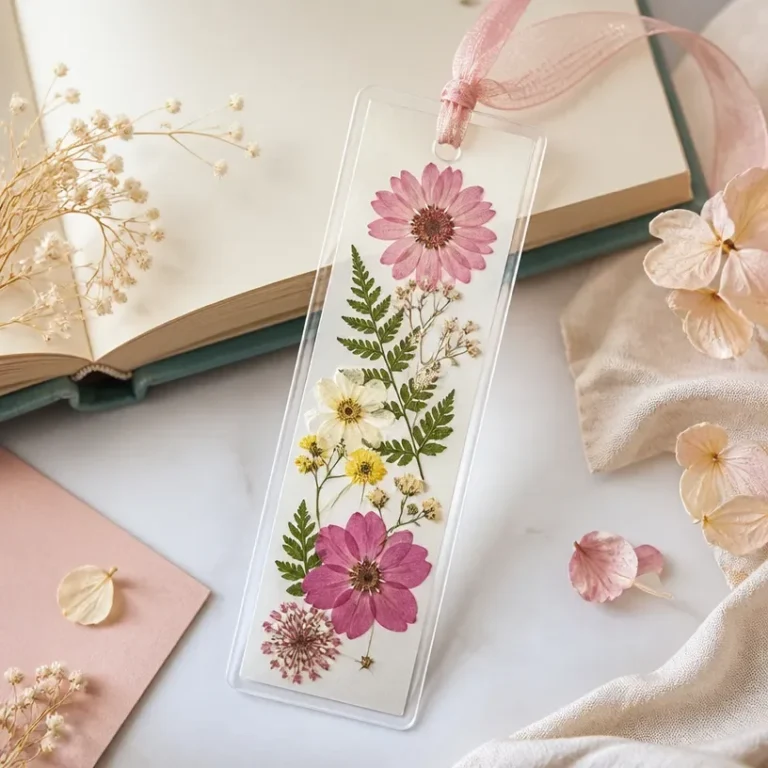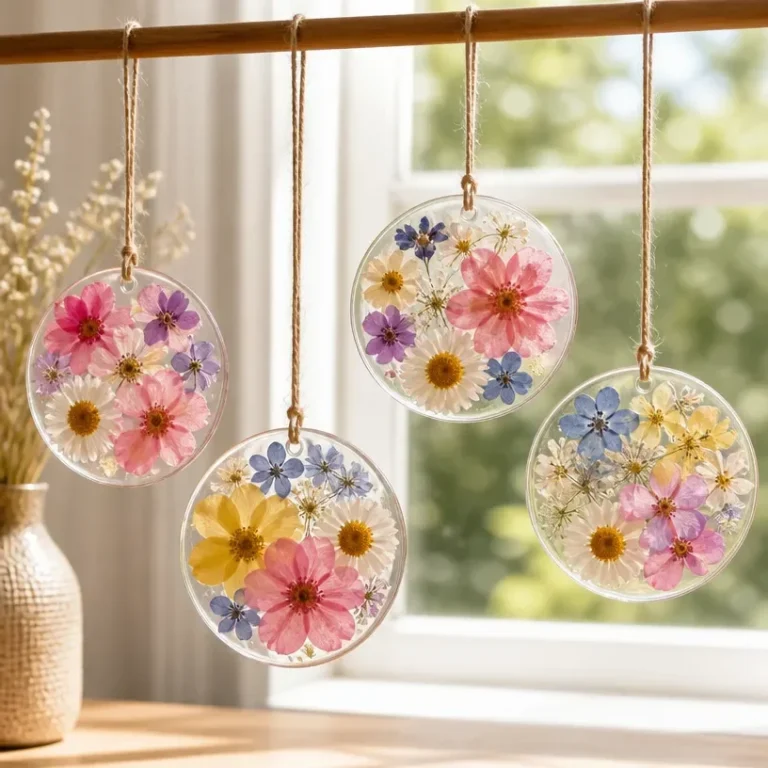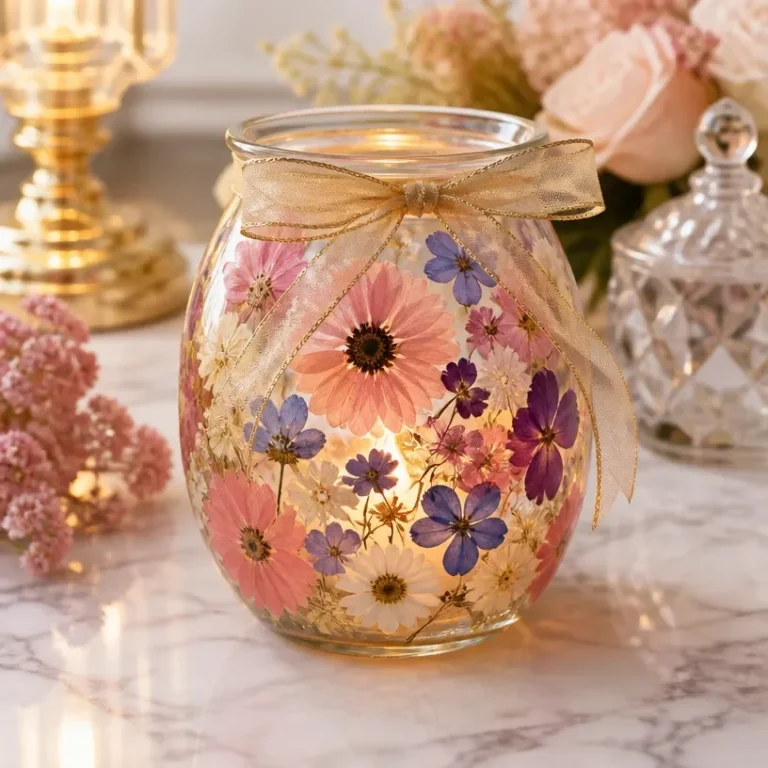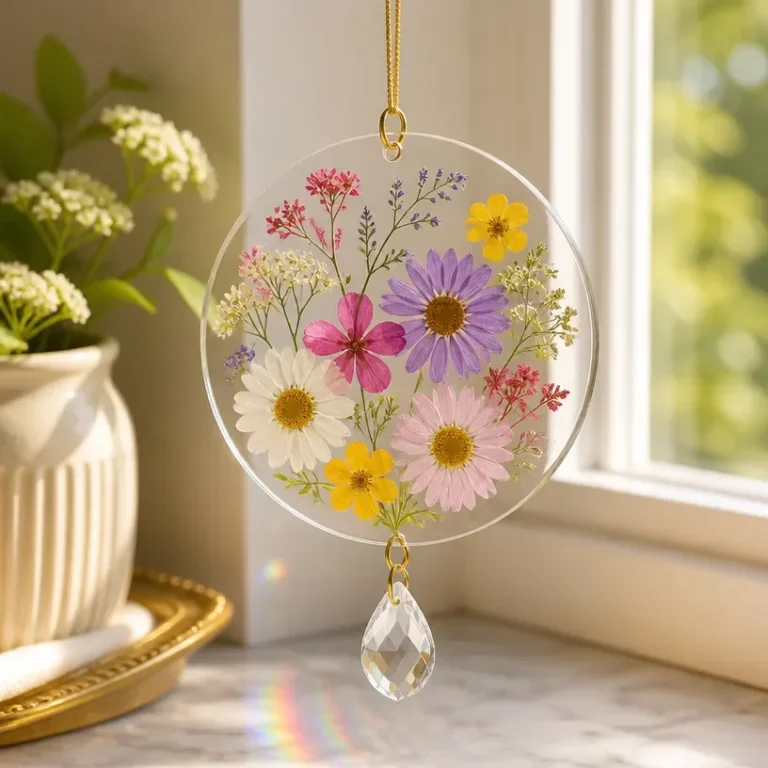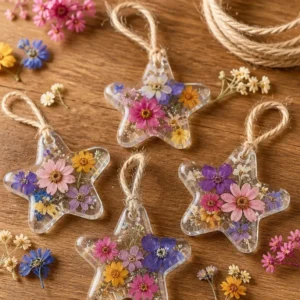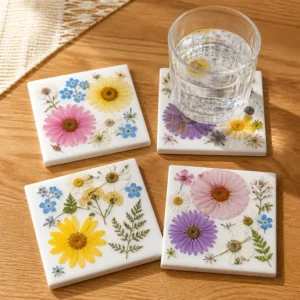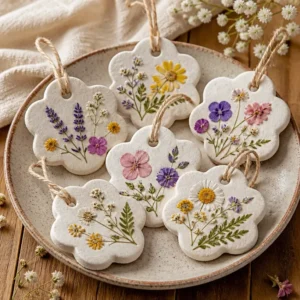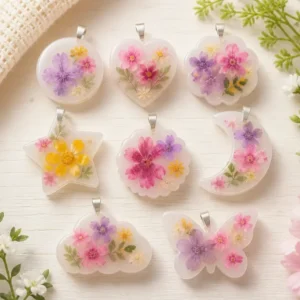
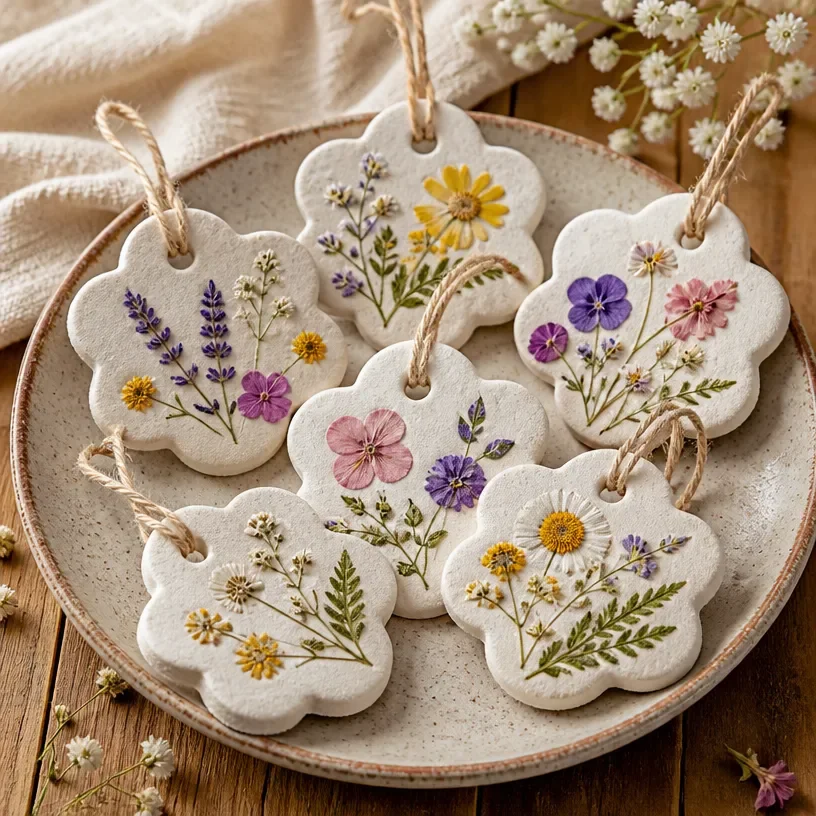
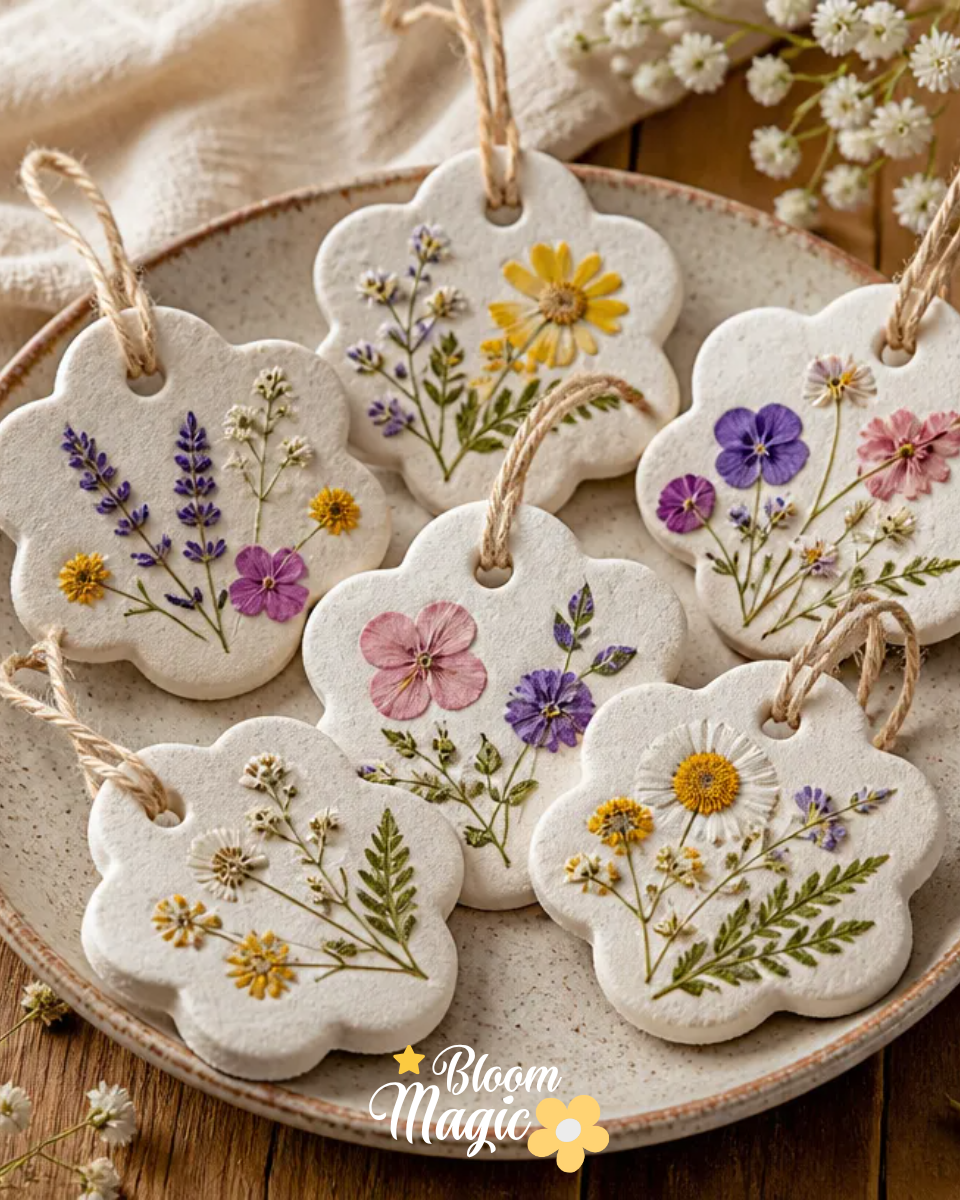
Pressed Flower Salt Dough Ornaments are a delightful and creative way to preserve the beauty of your favorite flowers while also engaging in a hands-on crafting experience. Imagine a sunny afternoon where you have an array of pressed flowers ready for use. You gather a few simple craft supplies, excited to create something meaningful that can brighten your home or become a thoughtful gift. This project combines the charm of homemade décor with the allure of nature, resulting in unique ornaments that have a personal touch. You may also find Clear Glue Pressed Flower Suncatcher useful.
Why This Pressed Flower Salt Dough Ornaments Works So Well
You may also find Floating Pressed Flower Glass Frame useful.
This crafting project is approachable for anyone, regardless of crafting experience. The process of making Pressed Flower Salt Dough Ornaments is enjoyable and visually rewarding, allowing you to engage deeply with the materials. The provided ingredients are easy to find and inexpensive, making it a manageable project. The delightful combination of salt dough and pressed flowers yields charming results that can be used to adorn your home, hang on a tree, or even as heartfelt gifts for loved ones. Crafting these ornaments brings a bit of joy into your day, while also allowing you to preserve cherished blooms in a creative way. You may also find Magic Bloom Diy Pressed Flower Frame useful.
A Quick Look Before You Begin
Engaging in this floral DIY is straightforward. Gather your materials, create your dough, and start shaping your ornaments. As you work, remember to enjoy the tactile experience of crafting. When rolling out the dough, try to maintain an even thickness for uniform ornament shapes. Pressing the flowers into your designs requires a gentle touch, allowing you to find the best placement without disturbing them too much. Throughout the crafting process, anticipate some messiness but know that it’s part of the fun and creativity. You may also find Pressed Flower Air Dry Clay Heart Dish Tutorial useful.
Materials You’ll Need
To start crafting your Pressed Flower Salt Dough Ornaments, you will need the following materials: You may also find Pressed Flower Butterfly Collage Frame useful.
- 1 cup flour
- 1/2 cup salt
- 1/2 cup water
- Pressed flowers
- Straw for hanging holes
- Bowl
- Cookie cutters
Each component plays a vital role in bringing your ornaments to life. The flour and salt create a dough that’s easy to manipulate, while the pressed flowers become the stunning focal point. Choose flowers that hold personal meaning or are visually appealing. Consider texture and color when selecting your pressings, as they will contribute to the finished look of your ornaments.
Step-by-Step Directions
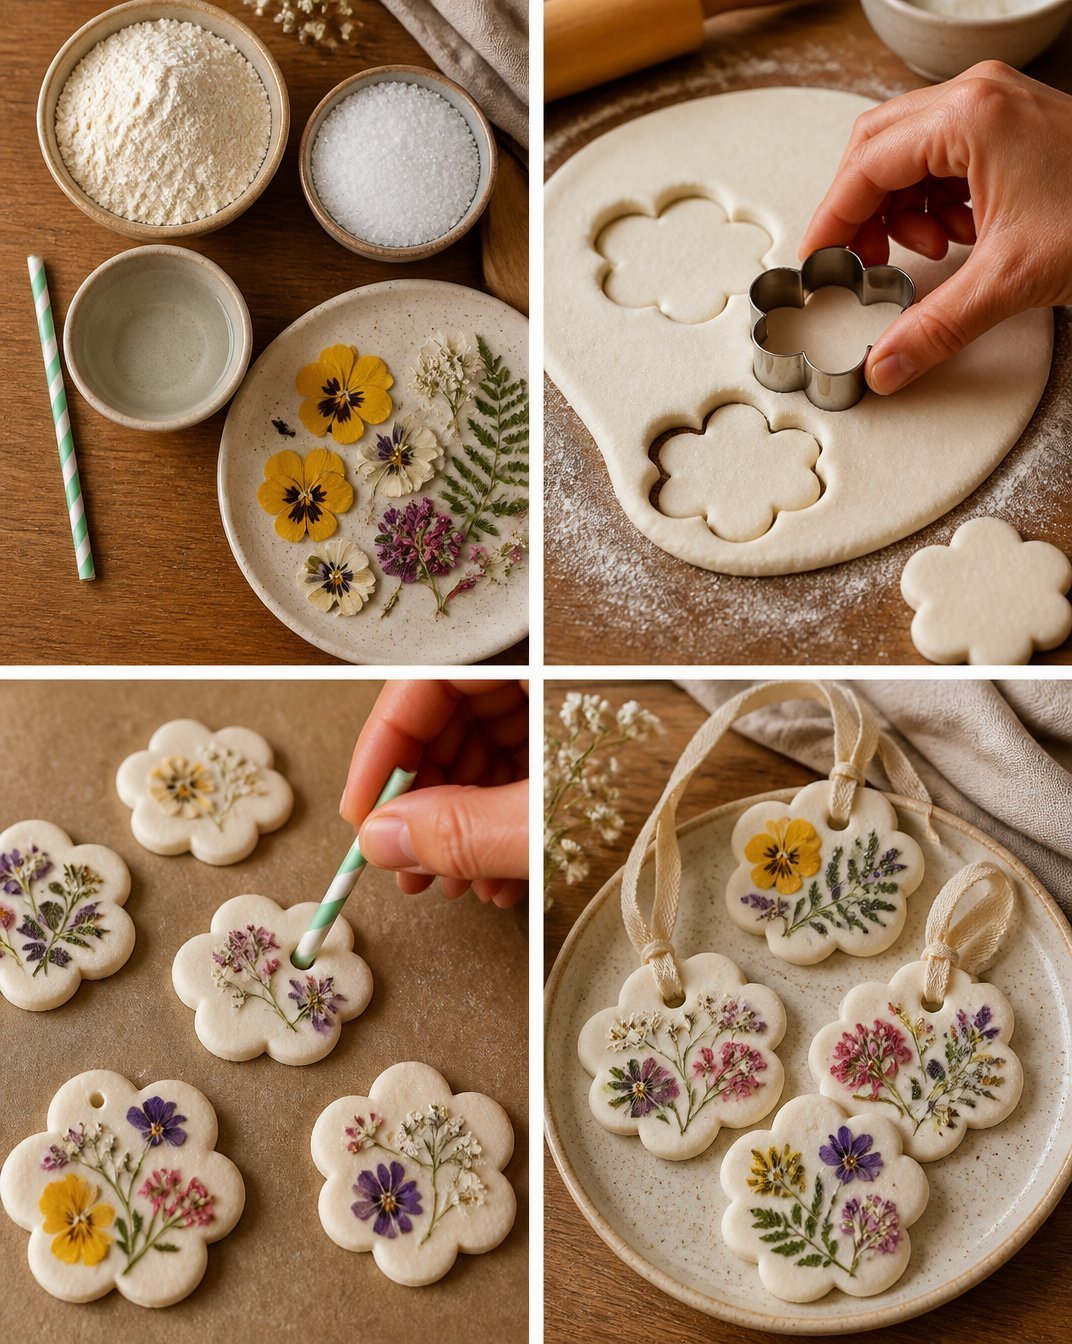
Creating your Pressed Flower Salt Dough Ornaments is a delightful journey through several simple steps. Follow the instructions below to successfully craft your one-of-a-kind pieces:
Combine 1 cup of flour, 1/2 cup of salt, and 1/2 cup of water in a bowl. Mix until the dough is smooth and pliable. This is your foundational step, and achieving a good consistency is key for your ornaments.
Roll the dough out on a clean surface to about 1/4 inch thick. Use cookie cutters to cut out various ornament shapes. Think about the size and design of each piece, as this will impact their visual appeal.
Gently press the dried flowers into the surface of each shape. Take your time to check that the arrangement stays where you place it, ensuring that flowers overlap creatively for an engaging design.
Use a straw to make a hanging hole near the top of each ornament while the dough is still soft. This allows you to hang your designs later without any hassle.
Leave the ornaments to dry completely before displaying them. Depending on humidity and air circulation, this may take several hours to a couple of days.
The Design Behind This Floral DIY
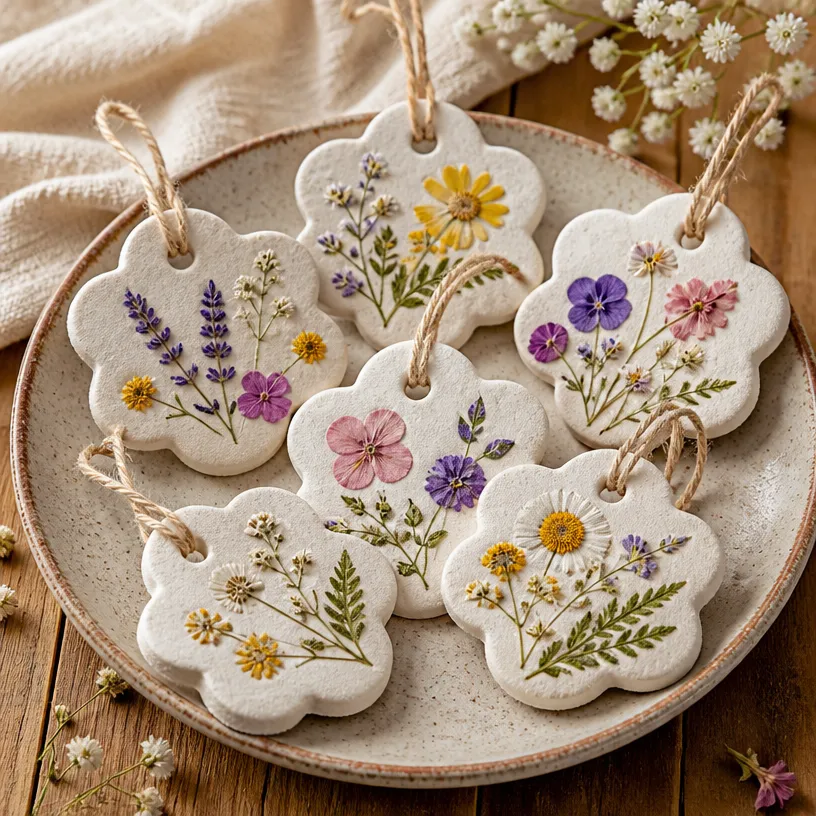
When it comes to design, the combination of color and texture in your Pressed Flower Salt Dough Ornaments plays a critical role in their overall appeal. Consider selecting flowers with varying shades and tones to create depth in your ornaments. The spacing of individual flowers can enhance the visual balance; ensure that you don’t overcrowd any section while still filling in background space effectively. The shape of your ornaments, influenced by the cookie cutters used, will also guide the design. Additionally, layering flowers gently creates an interesting texture, providing a more dimensional appearance. Choosing flowers with different textures, such as smooth petals with delicate fringing or spiky leaves, can develop a captivating visual contrast.
Troubleshooting Common Issues
While creating your Pressed Flower Salt Dough Ornaments can be a rewarding experience, it’s helpful to be prepared for some common challenges. Here are solutions to some potential issues you may encounter:
If flowers shift during the pressing process, gently press them again to ensure they are secure in the dough. Should you find that your ornaments are too thick, they may take longer to dry, so aim for a consistent thickness during the rolling step. If visible adhesive appears as the flowers are arranged, a bit of careful repositioning can help minimize visibility. Finally, if the arrangement feels unbalanced, step back and take a moment to assess – you can always adjust the positioning before the dough sets.
Easy Variations to Try
To personalize your Pressed Flower Salt Dough Ornaments, consider these simple variations:
- Experiment with different flower colors to create seasonal themes.
- Try using leaves or herbs alongside flowers for added texture and visual interest.
- Play with different ornament shapes based on your personal style or seasonal festivities.
- Incorporate glitter or paint accents to enhance the design further, adding a bit of sparkle or color contrast.
- Use colorful ribbon or twine when stringing for hanging, tailoring the final touch to your home décor.
Displaying or Keeping Your Project
Once your Pressed Flower Salt Dough Ornaments are completely dried, you’ll want to think about how to display or store them. They can be hung on walls, used as window decorations, or even gifted to friends and family. If you’re displaying them, ensure that they are in a location where they won’t be exposed to excessive moisture or direct sunlight for prolonged periods, as this can cause fading or damage. Carefully handling the ornaments will ensure they remain beautiful for years to come, adding unique charm to any space.
FAQs About Pressed Flower Salt Dough Ornaments
Can I use fresh flowers for this project?
Using fresh flowers isn’t ideal since they contain moisture that can affect the dough. It’s best to stick with pressed flowers for a cleaner finish.
What types of flowers work best?
Flowers that press well include pansies, violets, and daisies due to their flat petals. Consider exploring what flowers you have available and what might resonate with the look you want to achieve.
What if my dough feels crumbly?
If your dough is too dry and crumbly, you can add a teaspoon of water in small increments until it reaches the right consistency. Aim for smooth and pliable without being sticky.
Can I make these ornaments in advance?
Absolutely! Once fully dried, these ornaments can be stored in a cool, dry place. Just ensure they are carefully packaged to prevent damage.
How can I enhance the colors of the flowers?
You can lightly spray your pressed flowers with a clear sealant designed for crafts; this can help preserve colors longer and protect them from UV damage.
A Final Helpful Note
Crafting Pressed Flower Salt Dough Ornaments is a wonderful way to bring a touch of floral beauty into your life. Don’t hesitate to explore different materials, colors, and designs. Allow the process to be an enjoyable, creative exploration. With practice, you’ll find your stride, developing a style that feels uniquely yours. Let every ornament reflect your vision and personality, turning everyday moments into cherished keepsakes.
Conclusion
The creation of Pressed Flower Salt Dough Ornaments presents not only a fun crafting opportunity but a chance to celebrate the beauty of nature and personalization in handmade gifts. For more creative ideas, consider exploring
Pressed Flower Ornamentsfor additional inspiration or check out
DIY Salt Dough Ornaments and Easy Mobile – Value Minded Mamato expand your crafting journey. Enjoy making memories through your floral creations!
Follow us on social for more floral DIY projects & botanical inspiration!
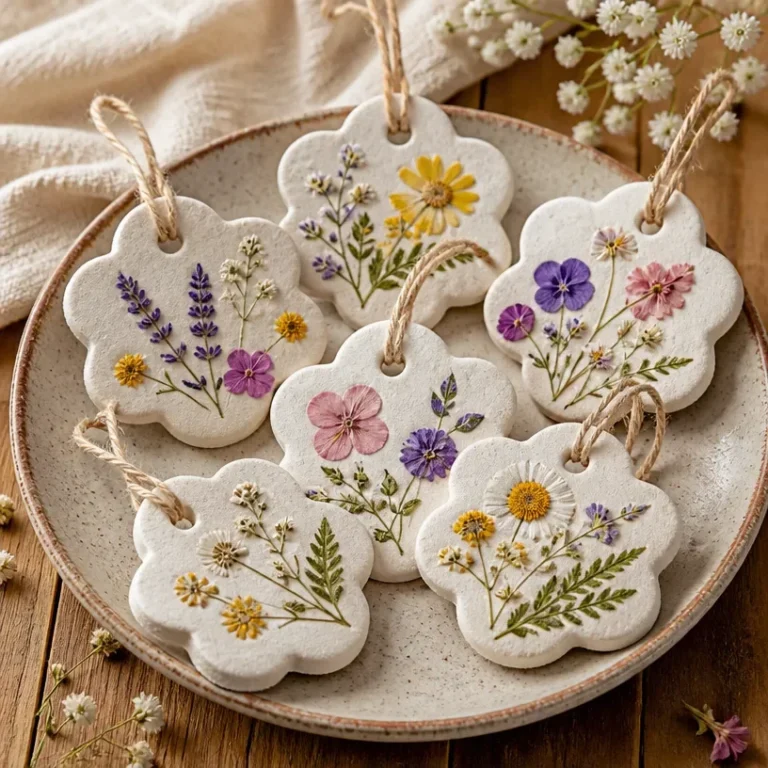
Pressed Flower Salt Dough Ornaments
Would you like to save this recipe?
By submitting you agree to receive this recipe and occasional emails. Unsubscribe anytime.
Ingredients
Dough Ingredients
- 1 cup flour All-purpose flour
- 1/2 cup salt Table salt
- 1/2 cup water Room temperature
Decoration Ingredients
- Pressed flowers Choose flowers that press well
- Straw For making hanging holes
Tools
- Bowl For mixing dough
- Cookie cutters For shaping ornaments
Instructions
Preparing the Dough
- Combine 1 cup of flour, 1/2 cup of salt, and 1/2 cup of water in a bowl. Mix until smooth and pliable.
- Roll the dough out on a clean surface to about 1/4 inch thick.
- Use cookie cutters to cut out various ornament shapes.
Adding Flowers
- Gently press the dried flowers into the surface of each shape.
- Use a straw to make a hanging hole near the top of each ornament.
Drying
- Leave the ornaments to dry completely, which may take several hours to a couple of days.
Last Step: Don’t forget to leave a rating and comment below! It helps other readers find the best recipes — and it helps us too!
Tips & Notes:
Nutrition Information: Serving: 10 | Calories: | Carbohydrates: | Protein: | Fat: | Sodium: | Fiber: | Sugar:
Nutritional information is provided as a courtesy and calculated automatically. Values can vary depending on the brands and ingredients you use, so if you’re tracking closely, I recommend calculating with your own preferred tool.