Pressed Flower Crystal Suncatcher DIY Tutorial
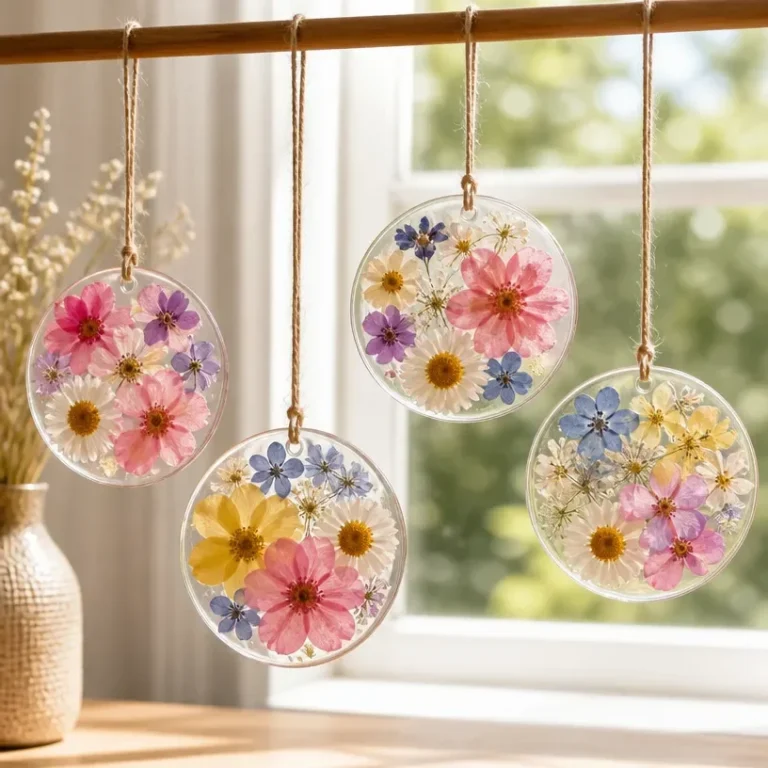
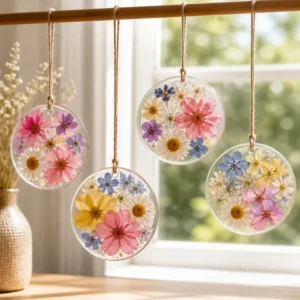
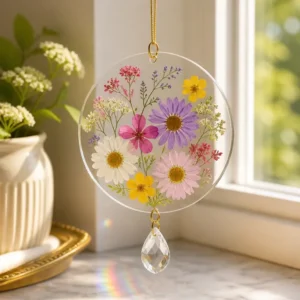
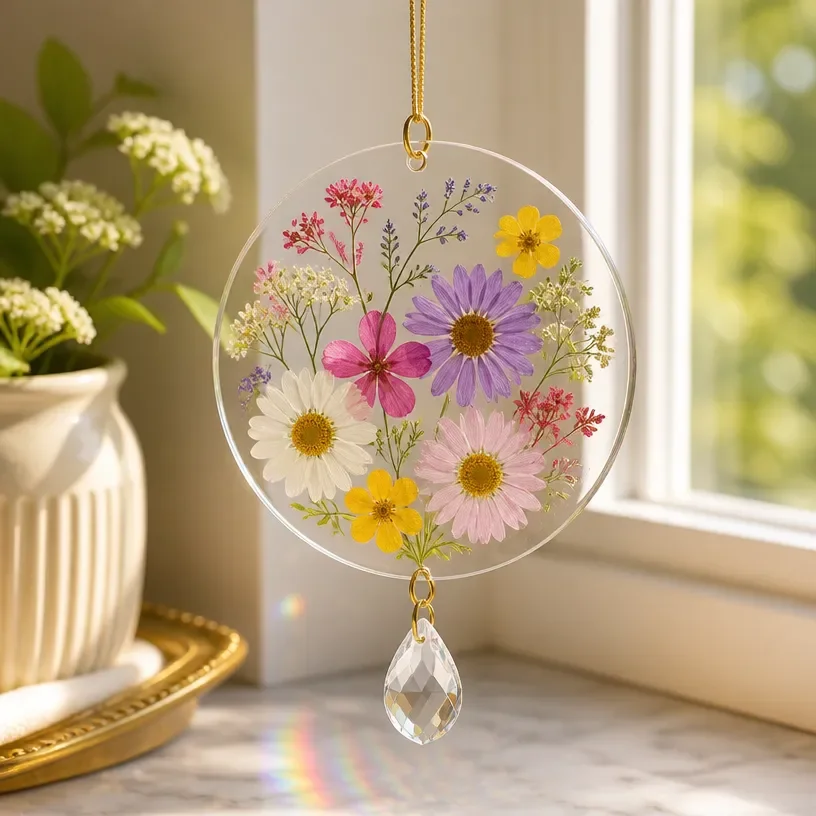
Creating your own pressed flower crystal suncatcher is not just a fun craft; it’s also a beautiful way to bring a touch of nature indoors. With just a few materials, you can make a stunning suncatcher that captures sunlight and showcases vibrant colors and intricate designs. This project is perfect for flower lovers and beginners alike, as you can personalize it with your favorite flowers and colors.
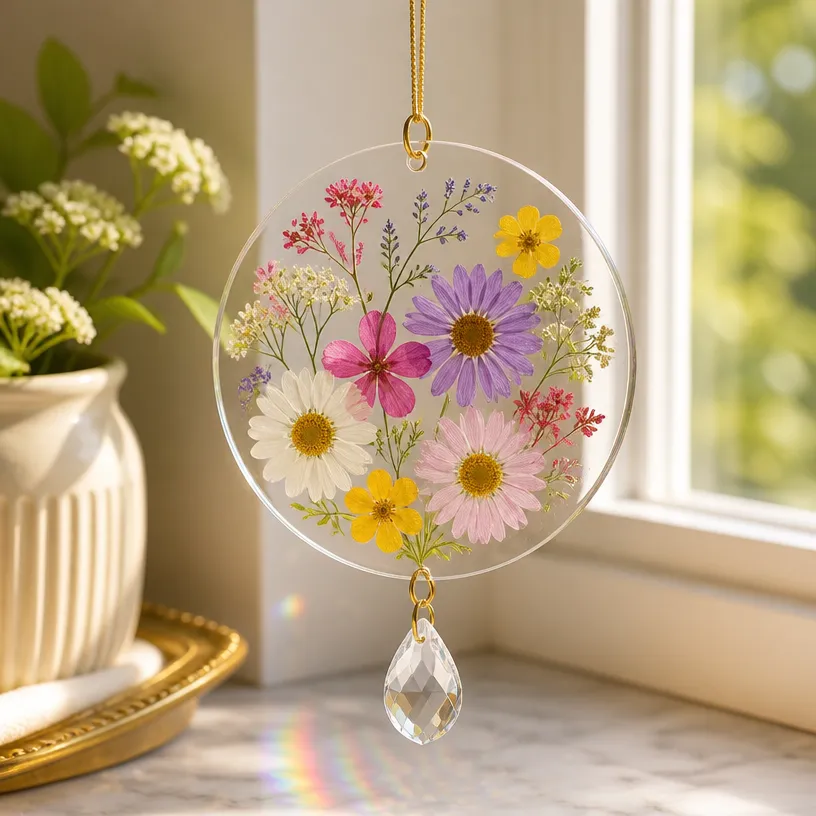
The distinct feature of this project is the way it transforms simple pressed flowers and a crystal prism into a radiant display. As sunlight passes through the crystal, it creates dazzling reflections, brightening your space and adding a magical touch to your home décor.
Why You’ll Love This Project
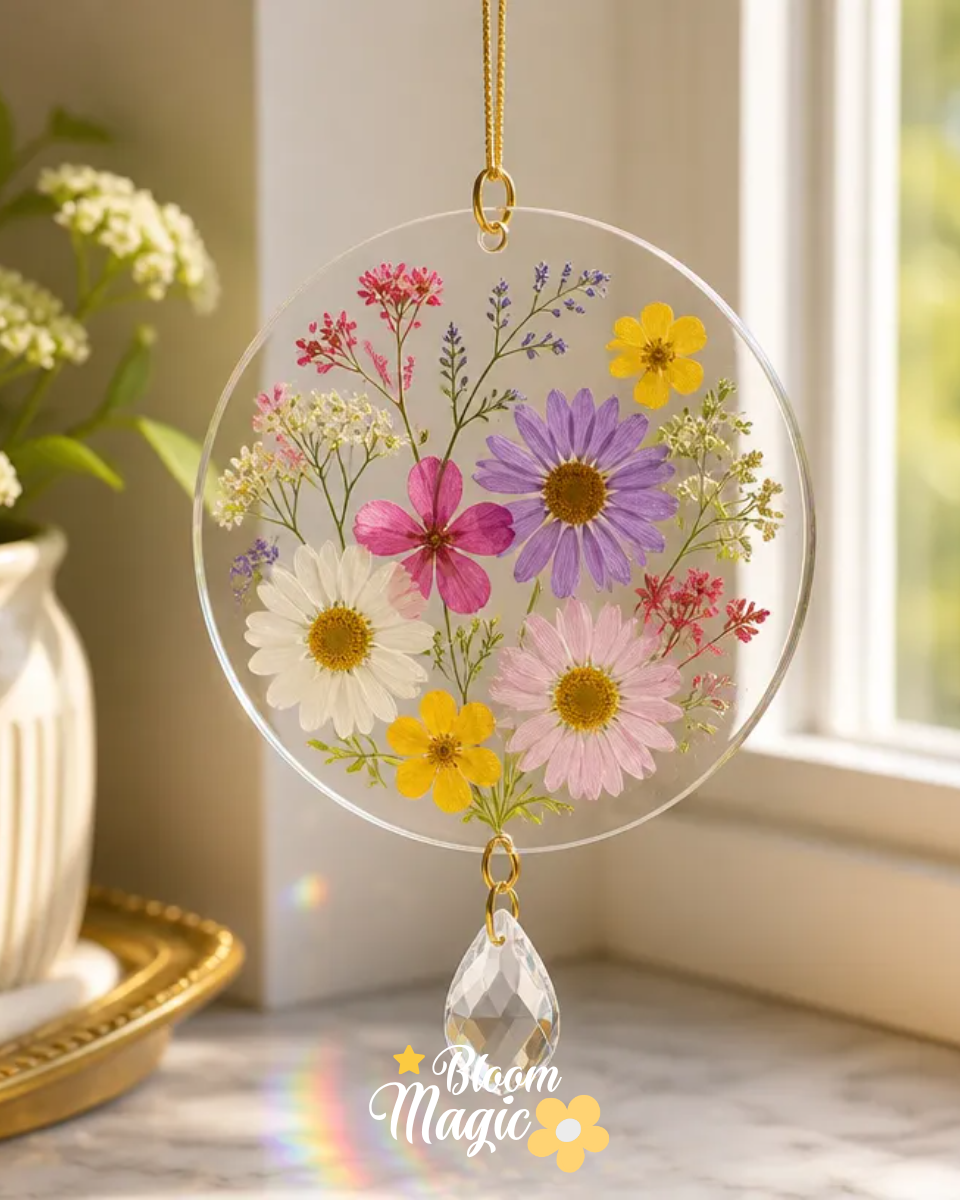
Visual Impact: The combination of pressed flowers and the crystal prism creates a stunning visual effect in your window, filling your space with light and color.
Approachable Construction: This project is simple enough for crafters of all skill levels, making it easy to follow along and create your own unique design.
Use of Botanical Materials: Incorporating real flowers allows you to celebrate nature and preserve special blooms from memorable occasions.
Display Possibilities: This suncatcher can be hung in various places in your home, from sunny windows to outdoor spaces, enhancing any area with natural beauty.
Gifting Potential: Handmade floral gifts carry sentimental value, making this suncatcher a thoughtful present for birthdays, housewarmings, or any special occasion.
Materials You’ll Need
- Clear acrylic disc
- Pressed flowers
- Crystal prism
- Clear craft adhesive
- Jump rings
- Hanging cord
Material Notes:
- Clear Acrylic Disc: Opt for a disc that is lightweight yet sturdy to hold the flowers and prism well.
- Pressed Flowers: Consider using a variety of colors and shapes for a more dynamic design. Ensure they are completely dry to prevent damage.
- Crystal Prism: Choose a prism that reflects light well; a faceted design works beautifully.
- Clear Craft Adhesive: It’s important to use a clear-drying adhesive to avoid any visible residue.
- Jump Rings and Hanging Cord: You can find these at craft stores; choose colors that complement your design.
How to Make Pressed Flower Crystal Suncatcher DIY Tutorial
Step 1: Arrange and Glue Pressed Flowers
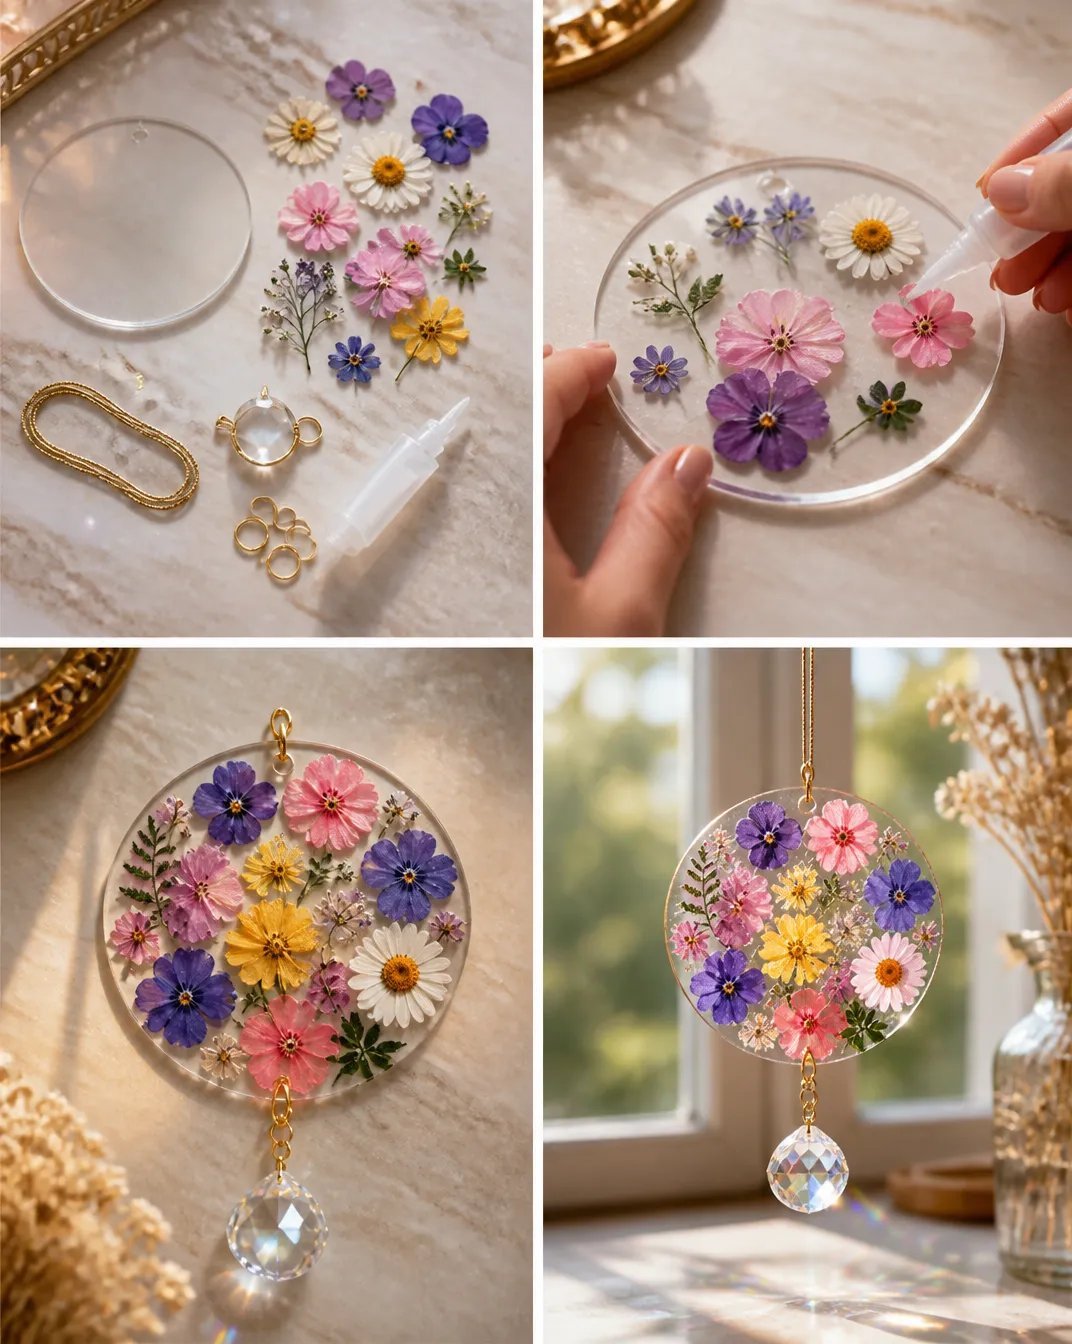
Start by arranging your pressed flowers on the clear acrylic disc. Experiment with different layouts until you’re happy with the composition. Once satisfied, apply clear craft adhesive to the back of each flower and carefully affix them to the disc. Press down gently to secure them in place.
Step 2: Let Dry
Allow your arrangement to dry completely. This ensures that the flowers adhere well to the disc and prevents them from shifting.
Step 3: Attach the Crystal Prism
After the flowers are securely glued and dried, take your crystal prism and use additional clear adhesive to attach it to the bottom of the disc. Ensure it hangs straight and is securely fixed.
Step 4: Add Hanging Cord
Next, use jump rings to create a loop at the top of your suncatcher. Attach a length of hanging cord to this loop. Make sure it’s long enough for your desired display height.
Step 5: Display in a Sunny Window
Finally, find a bright spot in your home to hang your new suncatcher. The sunlight will pass through the crystal and flowers, producing beautiful light reflections.
Helpful Tips for Better Results
- Arrange Flowers: Lay out your flowers without gluing first to visualize the best arrangement.
- Handle Delicate Petals Carefully: Use tweezers if necessary to prevent crushing the flowers while arranging.
- Positioning: When applying adhesive, make sure to get a clean application to avoid excess glue around the flower edges.
- Layering: If desired, you can create layers by overlapping petals slightly to add depth.
- Display Considerations: Hang your suncatcher where it won’t be bumped or brushed against to keep the flowers secure.
Design and Color Variations
- Color Combinations: Use monochromatic flower color schemes for a more modern look or mix contrasting colors for a vibrant display.
- Botanical Variations: Incorporate dried leaves or other botanicals to enhance your design.
- Background Colors: Paint the backside of the acrylic disc for a more colorful backdrop.
- Different Sizes: Try creating mini versions for smaller spaces or gifts.
- Seasonal Themes: Adjust your flower selections based on seasonal blooms for a refreshed look throughout the year.
Working With the Botanical Materials
When working with pressed flowers, it’s important to ensure they are completely dry before use. This step not only enhances their longevity but also keeps their shape and color intact. Handle them gently to avoid tearing delicate petals as you arrange them.
How to Display or Use Your Finished Project
Your pressed flower crystal suncatcher can be a lovely addition to any room. Hang it in places that receive abundant sunlight to maximize its visual effect. You can also gift it to friends or family, bringing a piece of nature to their home and sharing the joy of handmade crafting.
Frequently Asked Questions
What type of flowers work best? Dried or pressed flowers work best, as they retain their shape and color.
Can I use fresh flowers? Fresh flowers may wilt and won’t hold up well in the suncatcher. It’s better to use fully dried flowers.
How do I prevent my flowers from fading? Store your suncatcher away from direct sunlight when not displayed, and consider UV-resistant materials.
What if my flowers aren’t sticking? Ensure you’re using enough adhesive and consider letting them dry longer before displaying.
Can I add other decorative elements? Yes! Small twigs or decorative beads can add a unique touch to your design.
Conclusion
Making a pressed flower crystal suncatcher is an enjoyable project that combines creativity with a love for nature. If you want to explore more ways to craft beautiful suncatchers, check out this guide on how to make a DIY suncatcher with pressed flowers and discover 3 ways to make upcycled dried flower and plastic suncatchers. Happy crafting!
Follow us on social for more floral DIY projects & botanical inspiration!
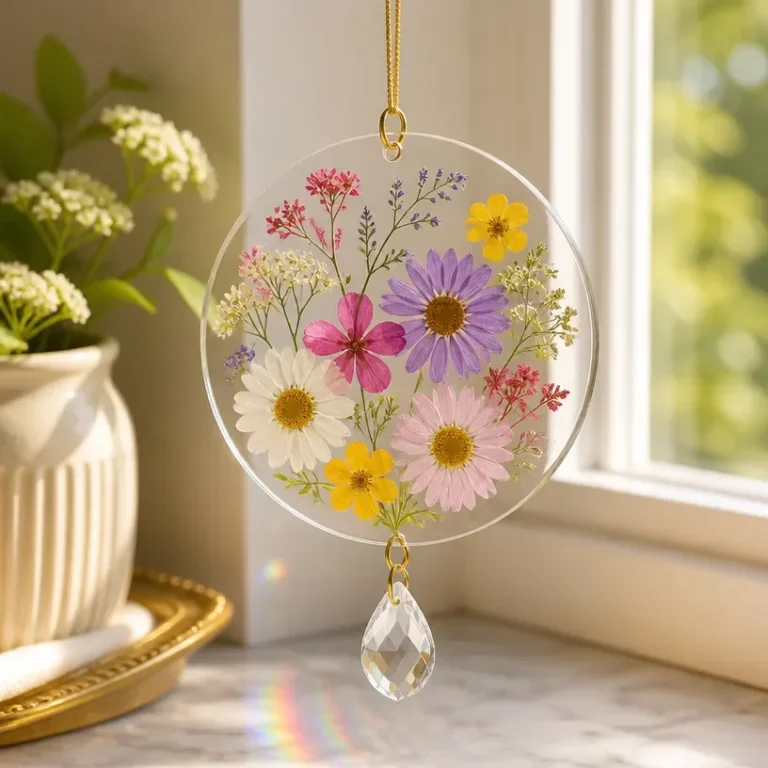
Pressed Flower Crystal Suncatcher
Would you like to save this project?
By submitting you agree to receive this project and occasional emails. Unsubscribe anytime.
Materials
Materials
- 1 piece Clear acrylic disc Opt for a disc that is lightweight yet sturdy.
- Assorted pieces Pressed flowers Use a variety of colors and shapes; ensure they are completely dry.
- 1 piece Crystal prism Choose a prism that reflects light well; a faceted design works beautifully.
- 1 tube Clear craft adhesive Use a clear-drying adhesive to avoid any visible residue.
- 2 pieces Jump rings Available at craft stores; choose colors that complement your design.
- 1 length Hanging cord Choose a length appropriate for your desired display height.
Directions
Assembly
- Step 1: Arrange and Glue Pressed Flowers - Start by arranging your pressed flowers on the clear acrylic disc. Experiment with different layouts until you’re happy with the composition. Apply clear craft adhesive to the back of each flower and affix them to the disc, pressing gently to secure.
- Step 2: Let Dry - Allow your arrangement to dry completely to ensure that the flowers adhere well to the disc.
- Step 3: Attach the Crystal Prism - Once the flowers are dried, use additional clear adhesive to attach the crystal prism to the bottom of the disc.
- Step 4: Add Hanging Cord - Create a loop at the top of your suncatcher using the jump rings. Attach the hanging cord to this loop.
- Step 5: Display in a Sunny Window - Hang your suncatcher in a bright spot at home. The sunlight will pass through the crystal and flowers, creating beautiful light reflections.
Last Step: Don’t forget to leave a rating and comment below! It helps other readers find the best DIY projects — and it helps us too!