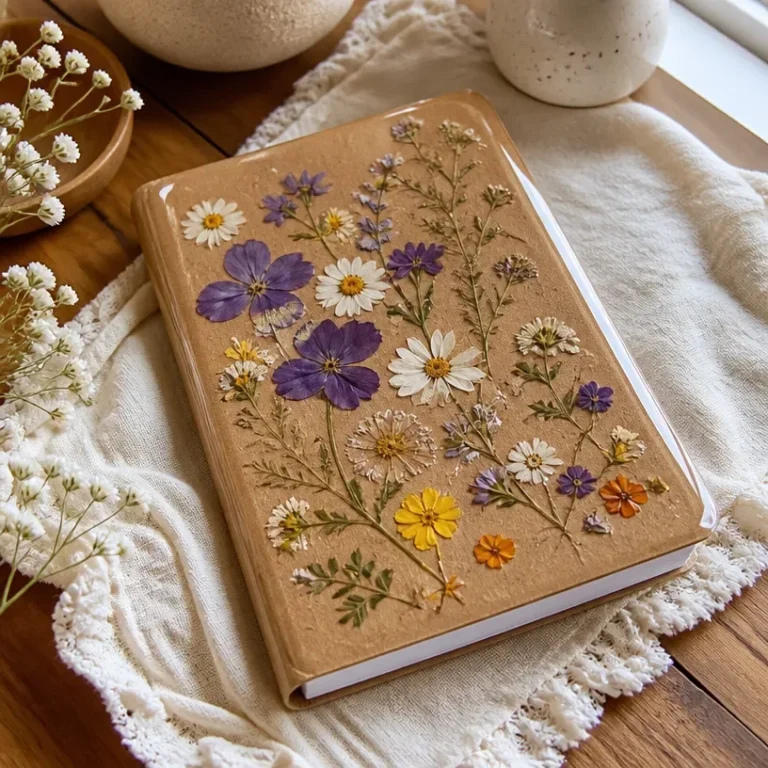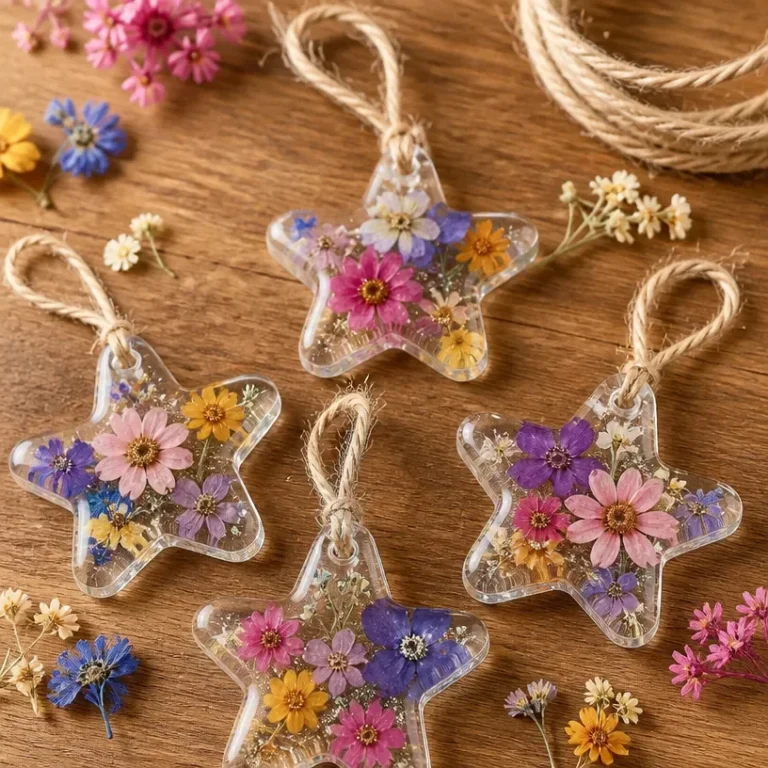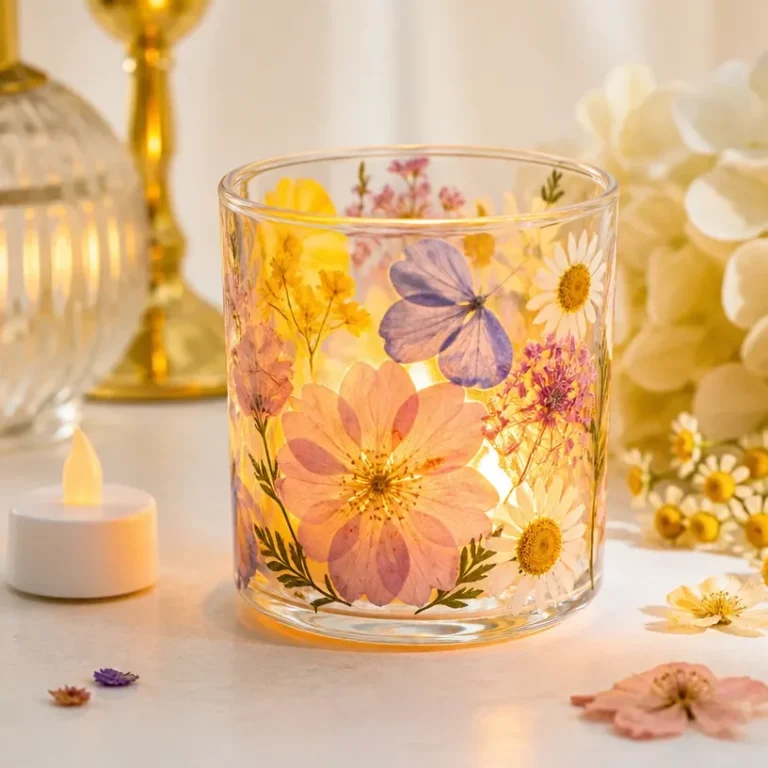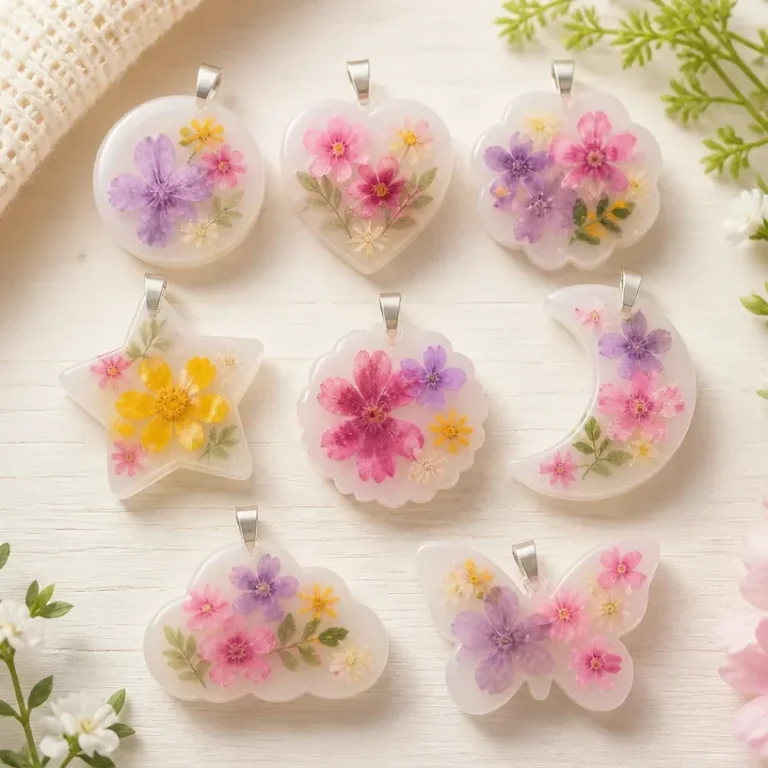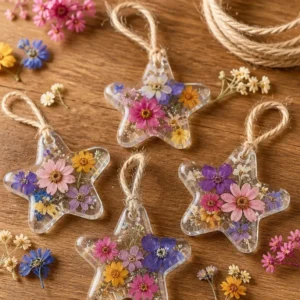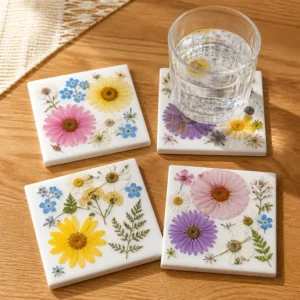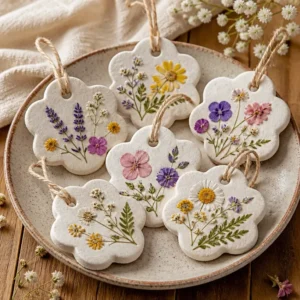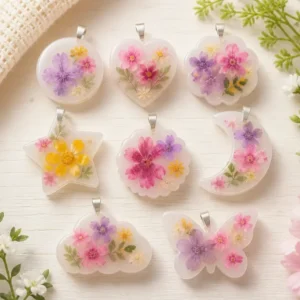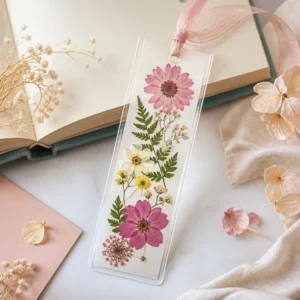
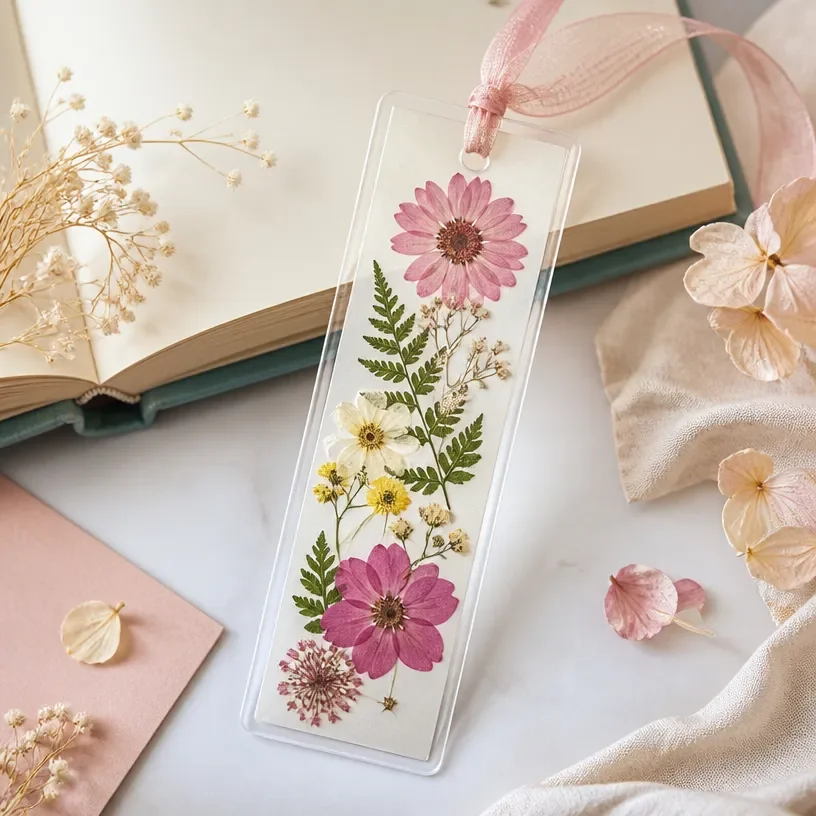
The joy of floral crafting often begins with the sight of vibrant flowers and botanical materials just waiting to be transformed into something beautiful. Whether you’re preserving blooms from a special occasion or simply indulging in a creative afternoon, turning pressed or dried botanicals into a Laminated Pressed Flower Bookmark is a perfect project. Not only does this idea help you cherish your favorite flowers, but it also leaves you with a charming keepsake that can grace your favorite book or be gifted to someone special. You may also find Floating Pressed Flower Glass Frame useful.
Why This Laminated Pressed Flower Bookmark Works So Well
You may also find Pressed Flower Air Dry Clay Heart Dish Tutorial useful.
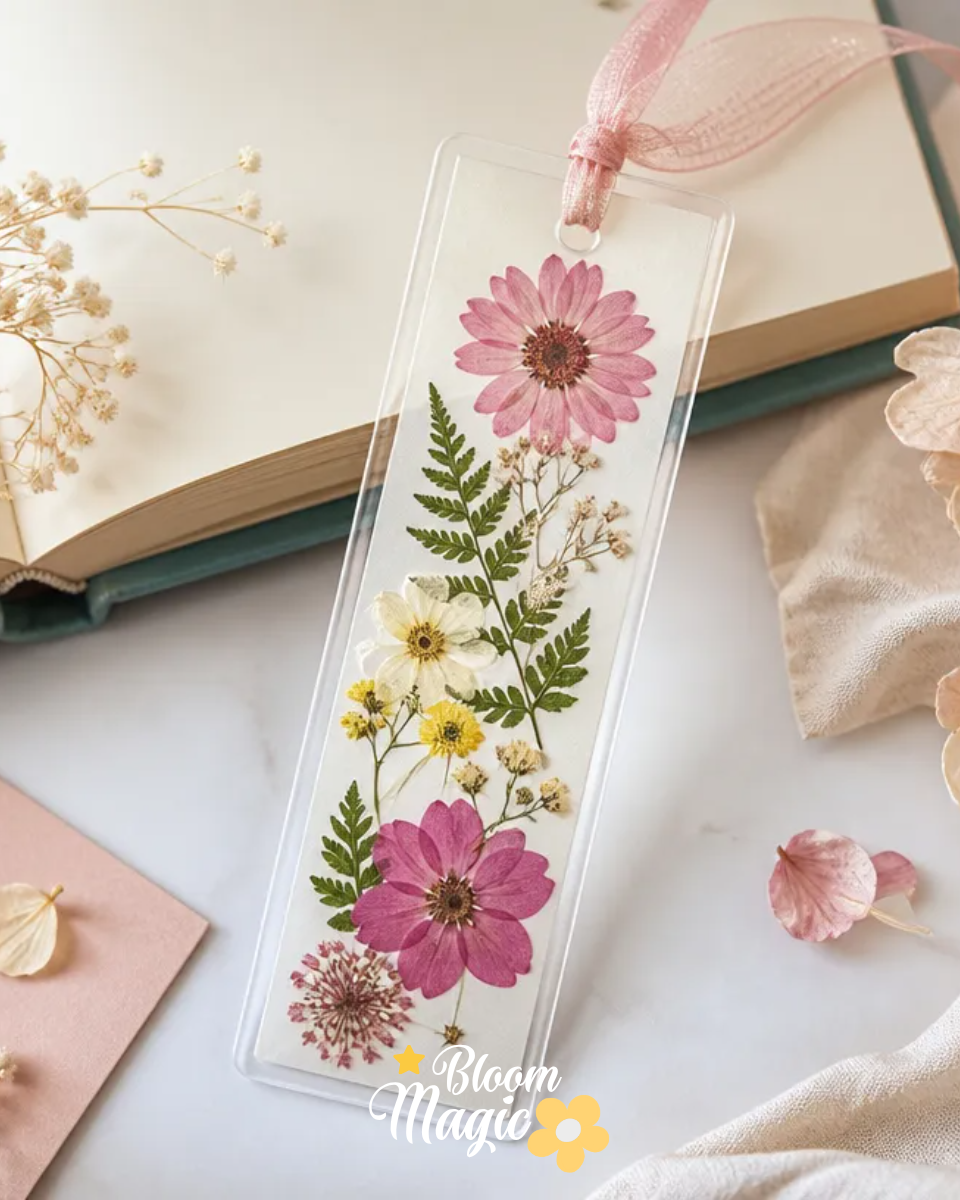
Creating a Laminated Pressed Flower Bookmark is an incredibly approachable project that requires minimal supplies yet yields visually rewarding results. The simplicity of the materials allows anyone, even those new to crafting, to jump right in. The process of selecting and arranging flowers against the backdrop of a clean strip of cardstock or laminate creates an opportunity for individual expression. Moreover, this project serves a dual purpose: it decorates while preserving the essence of your chosen botanicals. Through this craft, you can capture fleeting moments in nature and carry them with you, making this a wonderful way to inspire creativity and connection with the beauty around us. You may also find Pressed Flower Butterfly Collage Frame useful.
A Quick Look Before You Begin
When you’re ready to make your bookmark, think about setting up your workspace with everything at hand. You’ll gather your materials, making sure your flowers are properly pressed and dried to ensure crisp, clean designs. The act of arranging flowers and leaves is a hands-on experience that encourages you to think creatively about placement and balance. Setting aside time for the assembly allows you to focus on details like smoothing out air bubbles during lamination, making for a mess-free and rewarding crafting session.
Materials You’ll Need
- Assorted pressed flowers and leaves
- Clear laminating sheets or self-adhesive laminating paper
- Scissors
- Hole punch
- Ribbon, twine, or string
- Ruler and pencil
- Cardstock
- Tweezers
Each of these materials plays an important role in crafting your bookmark. For example, the cardstock provides a sturdy base, while the laminating sheets protect your dried flowers. If you’d prefer, self-adhesive laminating paper can be an excellent alternative for easier application.
Step-by-Step Directions
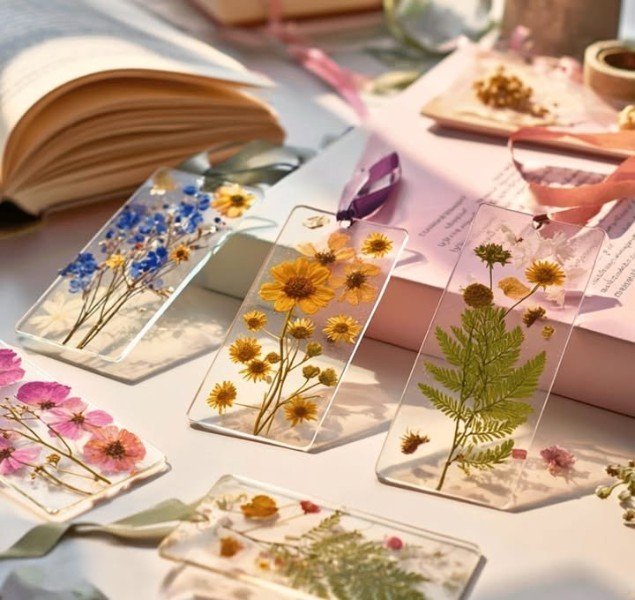
Ensure your pressed flowers and leaves are dry, then arrange them on a clean surface to plan your bookmark design. Using tweezers might help you place the delicate materials with care.
Take your ruler and pencil to measure out a bookmark approximately 2 inches by 6 inches, and cut the laminating sheet to this size.
Place your chosen botanicals between the laminate layers or directly over the cardstock base. Adjust the arrangement with tweezers to achieve the look you want before sealing.
Carefully lay the laminate down over the flowers, ensuring to smooth out any air bubbles as you seal the layers together.
Use scissors to trim the excess laminate, leaving a small border around the flowers to ensure the edges stay sealed.
Punch a hole at the top, then thread your choice of ribbon, twine, or string through it to finish your bookmark.
The Design Behind This Floral DIY
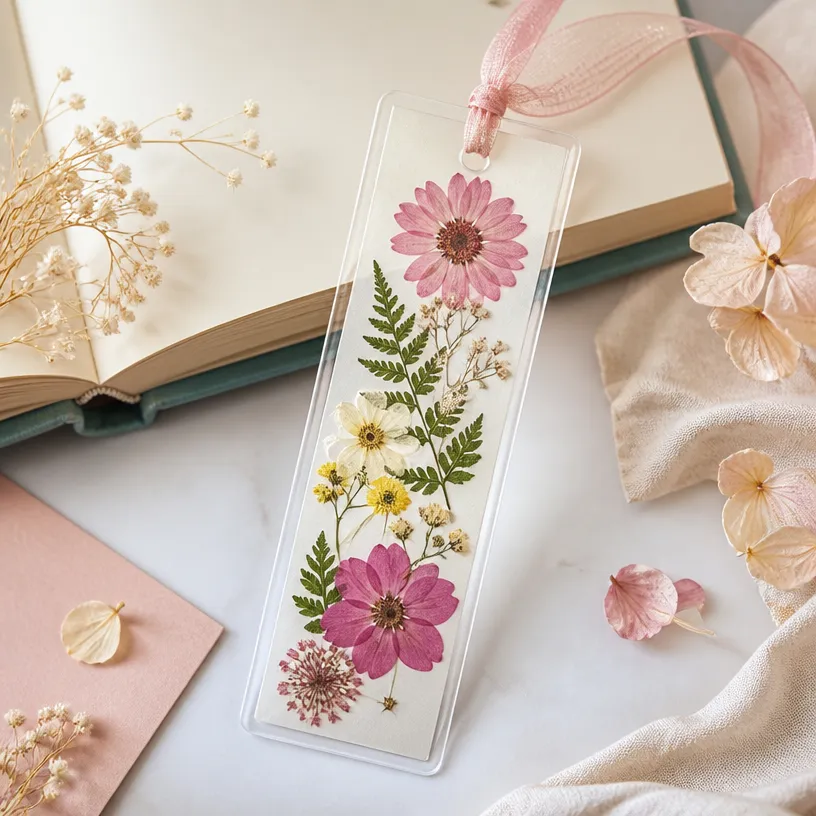
The visual appeal of your Laminated Pressed Flower Bookmark lies in the delicate combination of colors and textures. Think about how the various tones of the flowers relate to one another: brighter hues can draw attention, while softer pastels offer a more subtle beauty. When arranging your materials, focus on spacing to create an even composition. You’ll want to balance larger flowers with smaller leaves, creating a harmonious design that feels cohesive.
Troubleshooting Common Issues
Sometimes, arrangements may not go as planned. You might find that flowers shift during assembly, or some pieces may feel too crowded. If this happens, don’t hesitate to take a step back and reassess your placement. You can gently lift and reposition the botanicals until you’re satisfied with their layout. If the laminate isn’t sealing correctly, check for air bubbles and carefully smooth them out as you press down.
Easy Variations to Try
Creating your own Laminated Pressed Flower Bookmark opens a world of possibilities. Here are some ideas to inspire you:
- Experiment with different color schemes by using seasonal flowers.
- Try varying the size of your bookmark to make smaller ones as gifts.
- Consider using different backgrounds, like patterned cardstock, for a unique twist.
- Look at incorporating herb sprigs along with flowers for added texture and aroma.
Displaying or Keeping Your Project
Once you’ve finished your bookmarks, there are several ways to showcase or store them. You can gift your bookmarks to friends or family as thoughtful, handmade presents, or use them to brighten up your own reading materials. For safe storage, consider placing them in a keepsake box á la pressed flower frames to protect their beauty while remembering the moments that inspired them.
FAQs About Laminated Pressed Flower Bookmark
Can I use flowers that haven’t been pressed yet?
No, it’s crucial that your flowers are properly pressed and dried before creating your bookmark to avoid moisture damage.What if the flowers look uneven after I laminate them?
This can happen easily. Just reposition the flowers gently before sealing them, taking care to check for balance.Do I need any special tools for pressing flowers?
You can simply use heavy books to press flowers if you don’t have a flower press. Just ensure they dry completely before use.Can I use any type of flower?
Generally, smaller, flatter flowers work best. Avoid any that are too thick or bulky, as they may not adhere well once laminate is applied.What should I do if I don’t have lamination sheets?
Self-adhesive laminating paper is a great alternative, or you might explore using clear glue for pressed flowers for simple projects.
A Final Helpful Note
As you embark on making your Laminated Pressed Flower Bookmark, remember to enjoy the process, be flexible with your designs, and pay attention to your floral materials. Embrace your creativity, take your time, and trust your instincts in arranging and assembling your bookmark. Each piece you create reflects your unique perspective on the beauty of nature and can be a great source of pride. Happy crafting!
Conclusion
Exploring the art of pressed flower bookmarks not only allows you to preserve beautiful blooms but also brings a piece of nature into your everyday life. If you're interested in more ideas and techniques related to pressed flowers, check out
how to make pressed flower laminated bookmarksor consider this guide from
Make Pretty Pressed Flower Bookmarks with Laminationfor more crafting inspiration.
Follow us on social for more floral DIY projects & botanical inspiration!
Laminated Pressed Flower Bookmark
Would you like to save this project?
By submitting you agree to receive this project and occasional emails. Unsubscribe anytime.
Materials
Materials
- Assorted pieces pressed flowers and leaves Make sure they are properly dried.
- 1 sheet clear laminating sheets or self-adhesive laminating paper Self-adhesive paper is easier to use.
- 1 piece cardstock Provides a sturdy base for the bookmark.
- 1 piece scissors
- 1 piece hole punch
- 1 piece ribbon, twine, or string Used for finishing the bookmark.
- 1 piece ruler
- 1 piece pencil
- 1 piece tweezers For placing delicate flowers.
Directions
Preparation
- Ensure your pressed flowers and leaves are dry, then arrange them on a clean surface to plan your bookmark design.
- Using tweezers might help you place the delicate materials with care.
- Take your ruler and pencil to measure out a bookmark approximately 2 inches by 6 inches, and cut the laminating sheet to this size.
Assembly
- Place your chosen botanicals between the laminate layers or directly over the cardstock base.
- Adjust the arrangement with tweezers to achieve the look you want before sealing.
- Carefully lay the laminate down over the flowers, ensuring to smooth out any air bubbles as you seal the layers together.
- Use scissors to trim the excess laminate, leaving a small border around the flowers to ensure the edges stay sealed.
- Punch a hole at the top, then thread your choice of ribbon, twine, or string through it to finish your bookmark.
Last Step: Don’t forget to leave a rating and comment below! It helps other readers find the best DIY projects — and it helps us too!