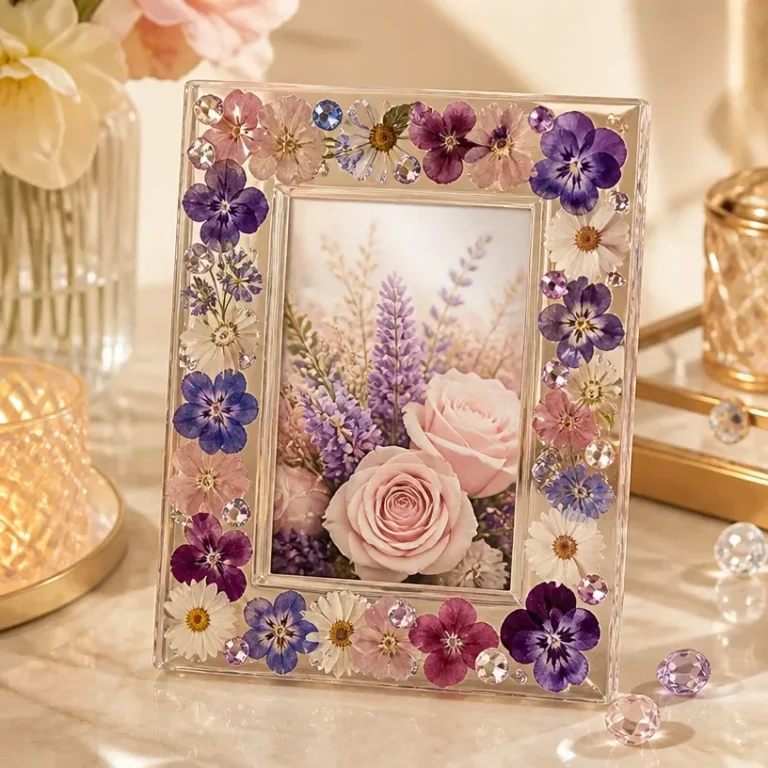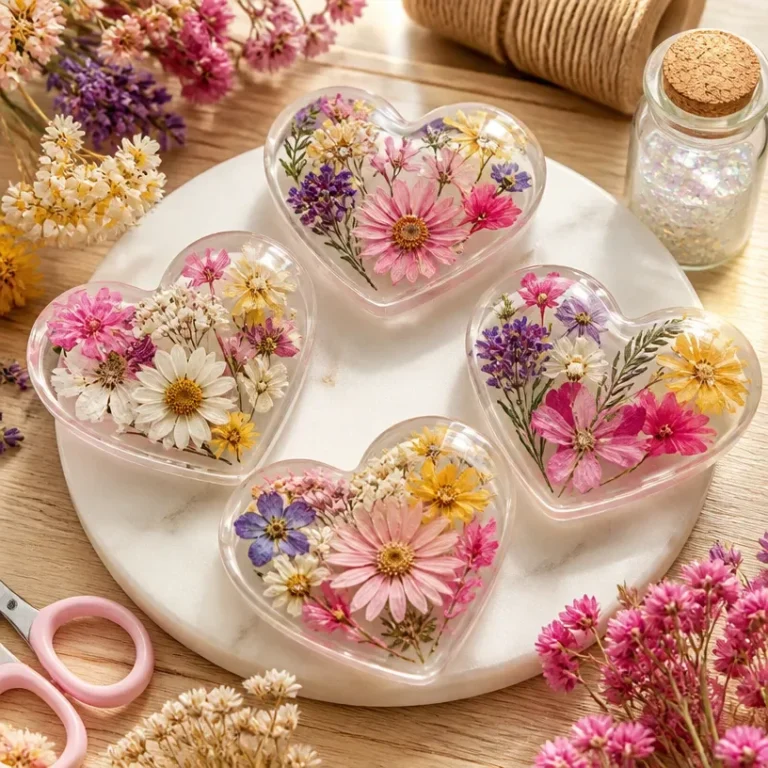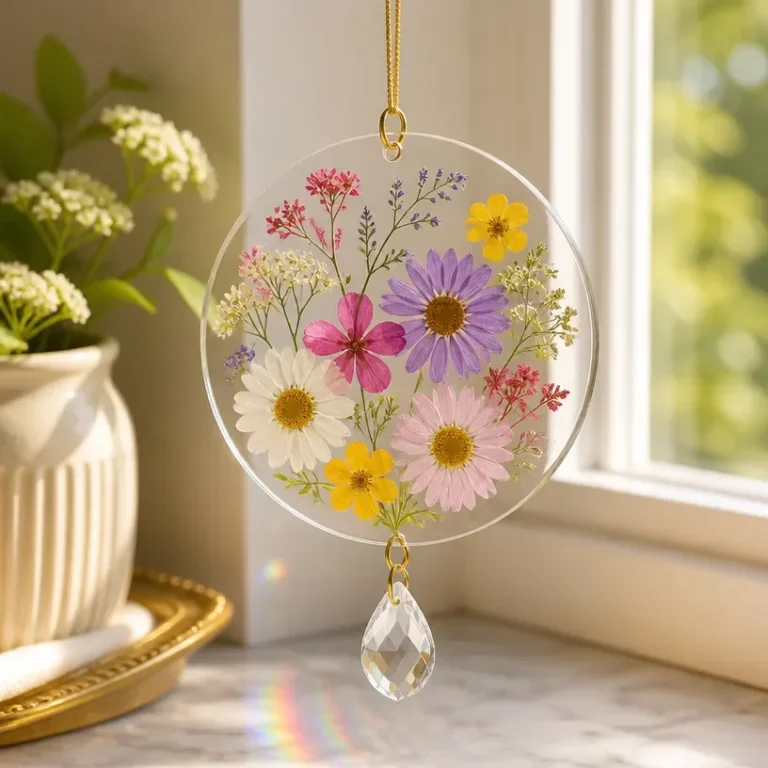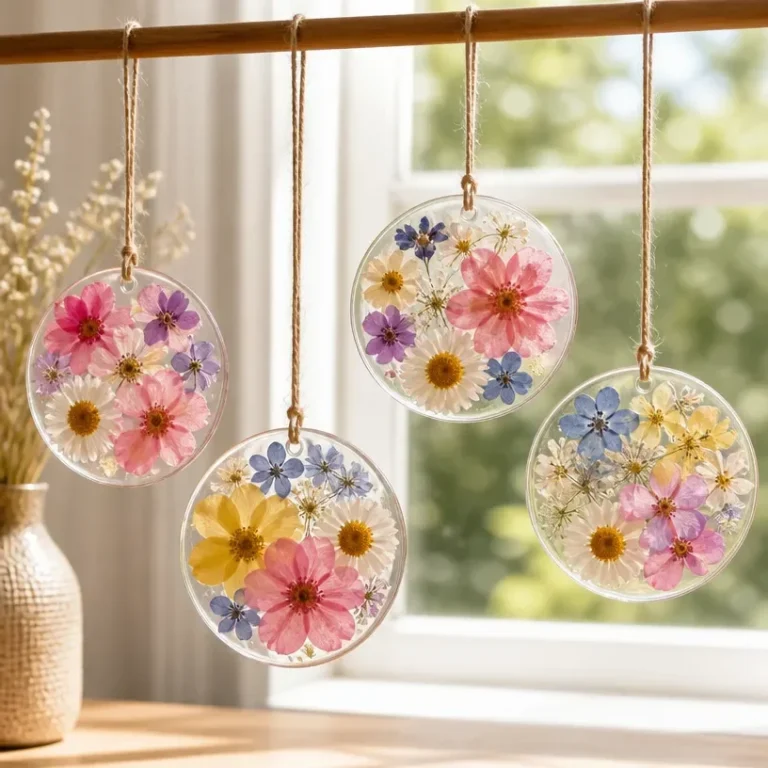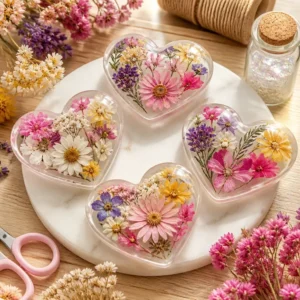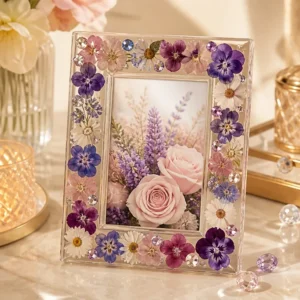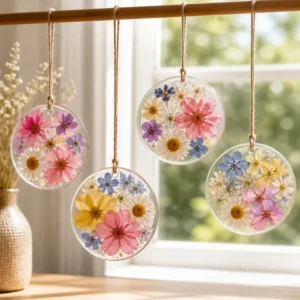
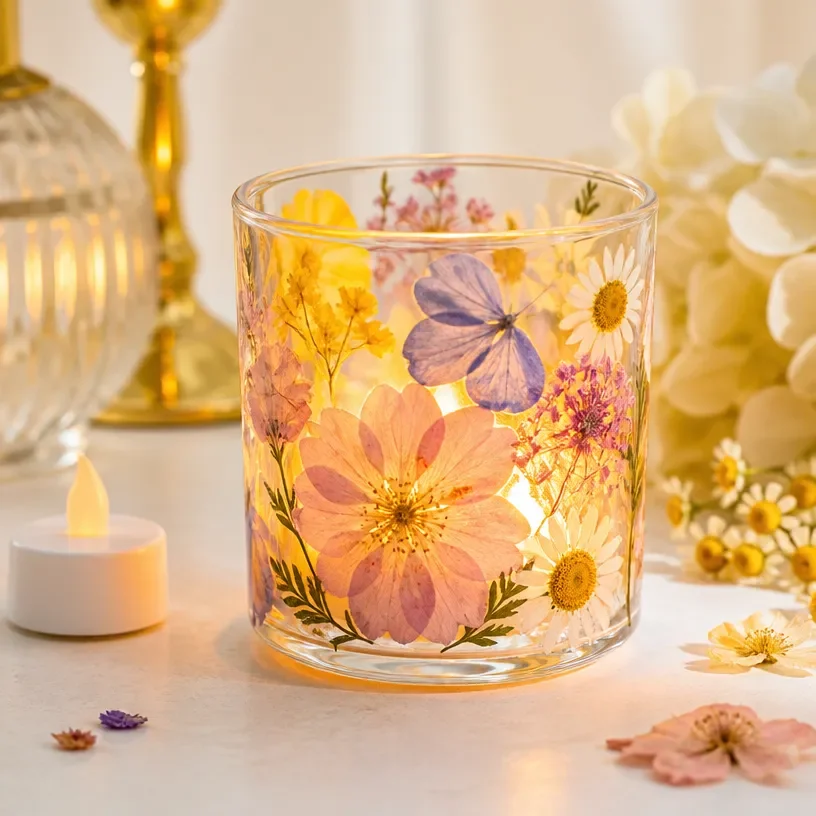
Creating beautiful home decor can often feel like a challenge, especially if you’re working with delicate botanical materials. The joy of turning flowers into lasting pieces is an exciting endeavor. Picture yourself surrounded by vibrant blooms, contemplating how to honor their beauty in a unique way. The Pressed Flower Glass Candle Holder DIY project offers a wonderful opportunity to creatively preserve those precious flowers, transforming them into an inviting centerpiece. This project combines artistic expression with functionality, resulting in a charming addition to your home decor that can also make a heartfelt gift.
Why This Pressed Flower Glass Candle Holder DIY Works So Well
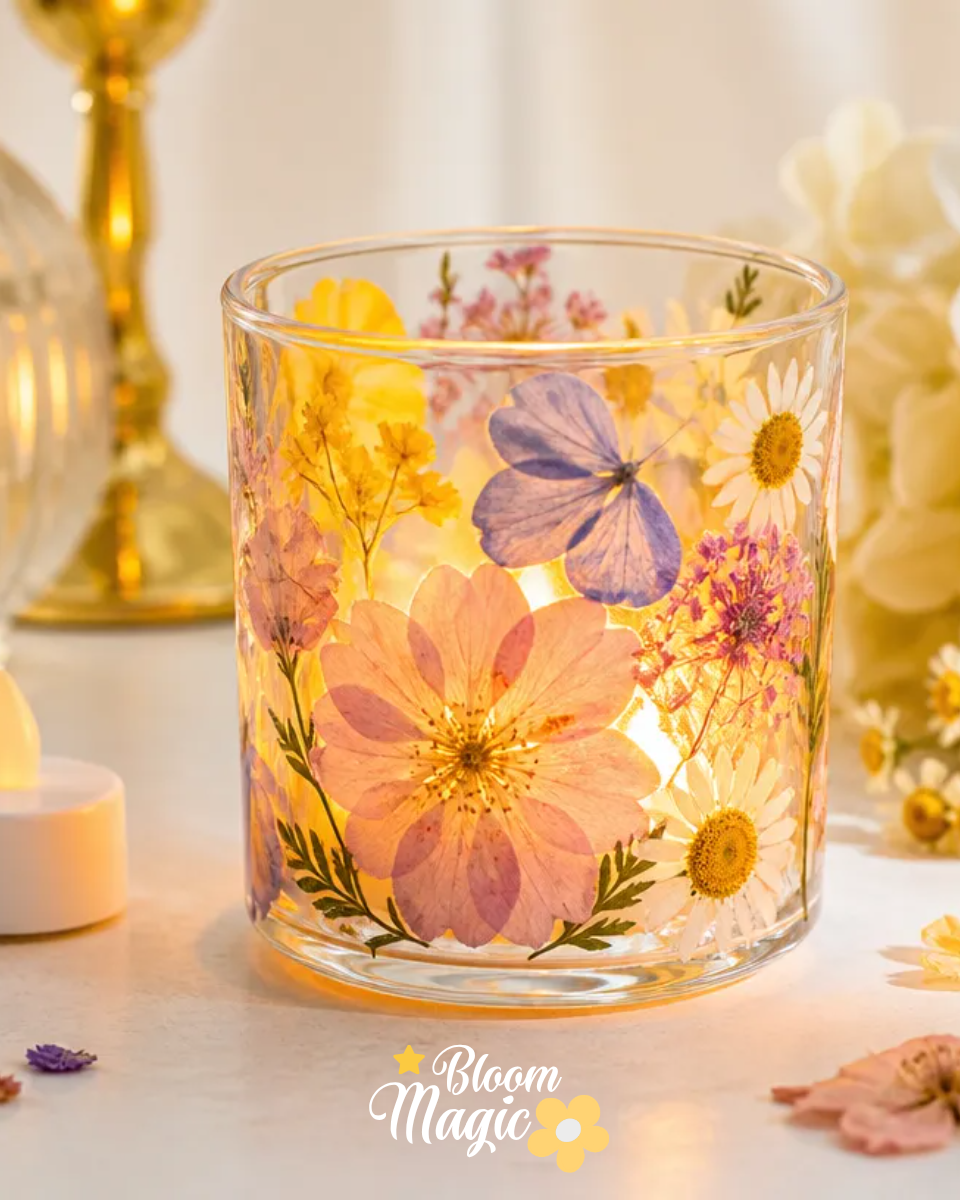
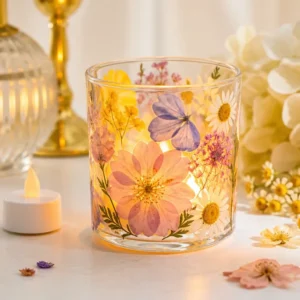
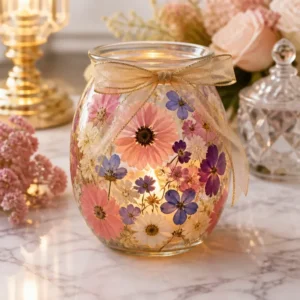
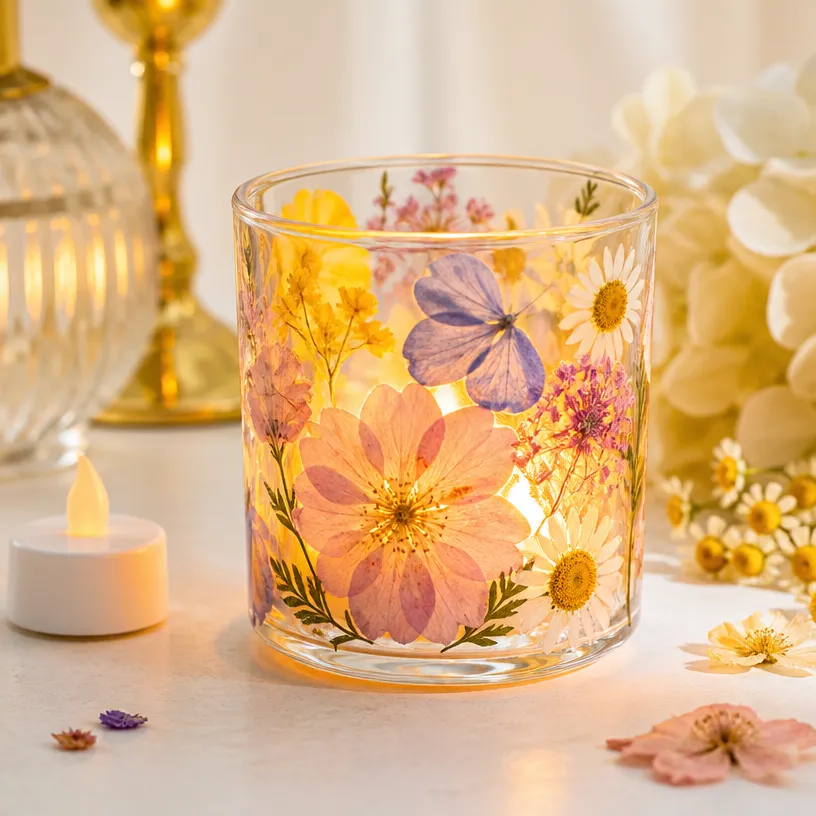
This pressed flower glass candle holder project stands out for its approachability and visual appeal. First and foremost, it allows you to engage with natural materials in a way that celebrates their beauty. Using pressed flowers, you create a delicate balance between light and color that enchants the senses. The transparency of the glass adds dimension, allowing the flowers to glow when a candle is placed inside. Additionally, the use of decoupage medium simplifies adhering your floral arrangements while keeping the overall process manageable and straightforward for crafters of any skill level. This project is a visual treasure that can enhance any room’s ambiance while being simple enough to leave you feeling accomplished.
The Flow of Making Pressed Flower Glass Candle Holder DIY
This DIY project smoothly transitions from a creative vision to a lovely home decor item. You will begin by arranging your pressed flowers around the exterior of the glass candle holder, which lets you personalize the arrangement to best reflect your style. The working area will be a bit messy, particularly with the decoupage medium, but it is an enjoyable process that should only require a soft brush for application. The act of adhering the flowers is both creative and sensorial, allowing you to bond with the materials. Once dried, simply add a battery-operated LED tealight, which is safer and allows for a soft, flickering glow that highlights the natural beauty of the flowers while keeping everything simple and manageable.
Materials You’ll Need
- Glass Candle Holder: The primary vessel for your flowers, contributing to the overall design with its clear surface.
- Pressed Flowers: Choose varieties based on your preferences for color and texture. Ensure they are completely dried for best results.
- Transparent Decoupage Medium: This adhesive is essential for securely attaching the flowers to the glass while allowing the beauty to shine through.
- Soft Brush: A necessary tool for spreading the decoupage medium smoothly over the floral arrangements.
- LED Tealight: A battery-operated light source that creates a warm glow without the risks associated with traditional candles.
Step-by-Step Directions
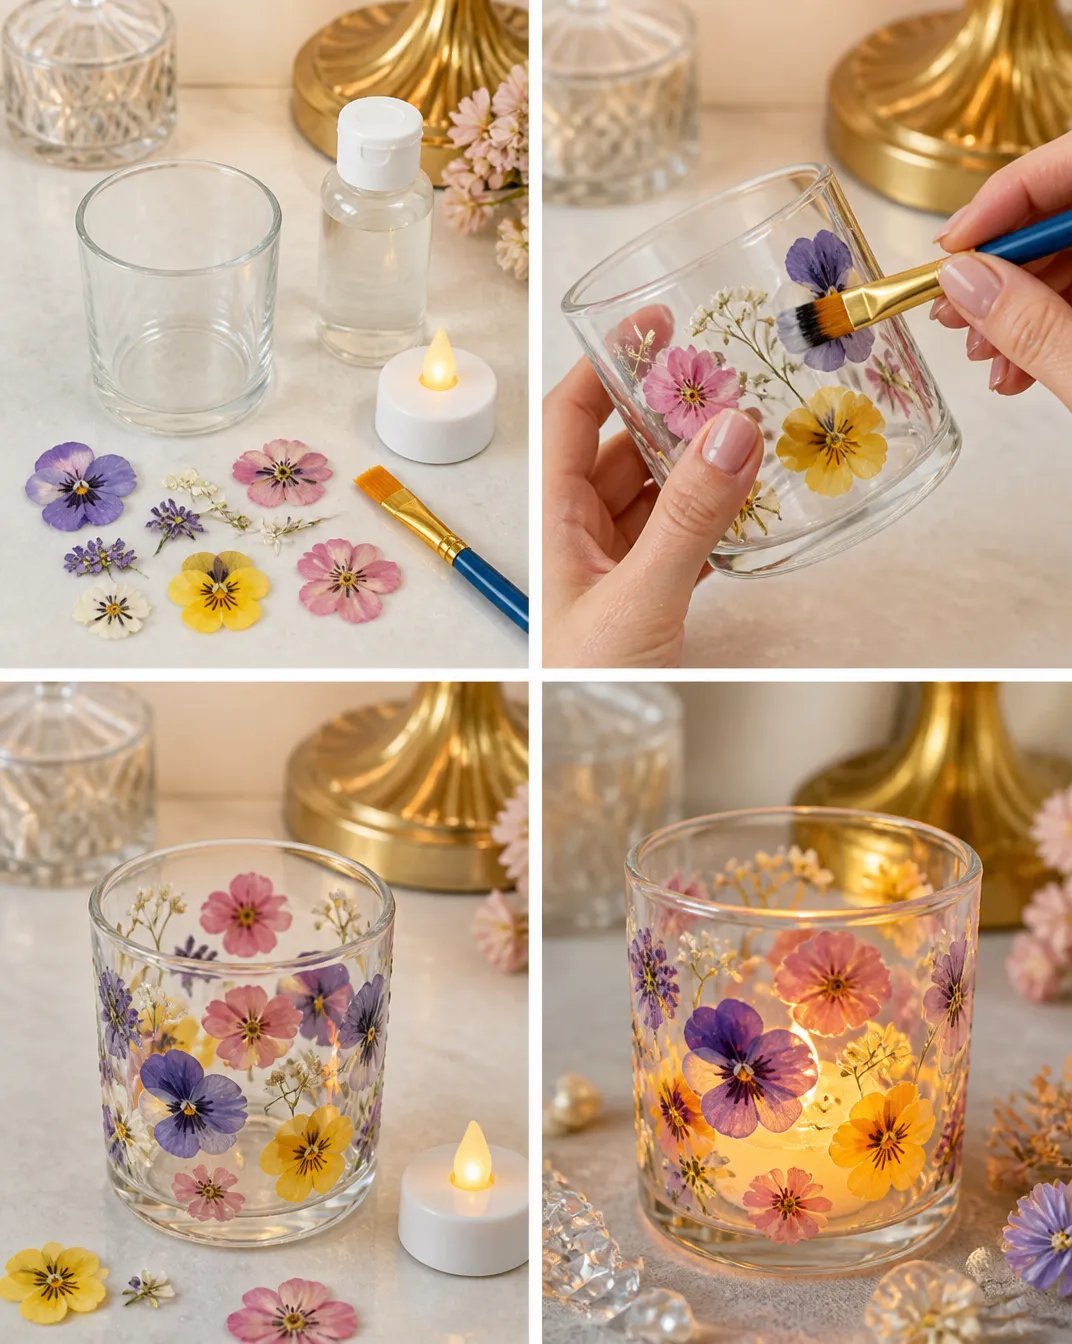
Arrange the Flowers: Start by laying out your pressed flowers around the exterior of the glass candle holder. Spend some time experimenting with different placements. Look for balance and contrast in colors and textures to create interest.
Adhere and Seal: Carefully apply a thin layer of transparent decoupage medium over the flowers using a soft brush. Make sure to gently press down on the petals so they securely stick to the glass.
Dry Completely: Allow the decoupage medium to dry completely. This step is crucial, as it ensures that your flowers are firmly fixed in place before using the candle holder.
Add the LED Tealight: Once everything is dry, place a battery-operated LED tealight inside the holder. The illumination will beautifully highlight the pressed flowers, transforming your candle holder into a lovely light feature.
The Design Behind This Floral DIY
The design of this pressed flower candle holder is simple yet effective. A significant aspect of designing with flowers is understanding how color relationships contribute to the overall look. Choose flowers not only for their hues but also for their shapes and sizes. For example, larger blooms can serve as focal points while smaller flowers or leaves can fill in gaps, providing texture and balance.
Additionally, consider layering flowers of different heights when arranging them. This depth adds visual interest and helps avoid a flat appearance. As you place the flowers, take care to maintain even spacing; this keeps the design harmonious and can prevent the candle holder from appearing crowded.
Troubleshooting Common Issues
Creating with delicate materials always comes with its challenges. One common issue may be uneven flower placement. If you find that your arrangement looks off, it’s best to step back and evaluate the design. Don’t be afraid to gently re-position any flowers while the decoupage medium is still wet.
Another issue could be visible adhesive. This is something many crafters worry about. Make sure to apply the medium sparingly and use a soft brush to smooth out any excess. If your arrangement feels unbalanced, adjust the placement of flowers to establish a more symmetrical design, which often aids in visual flow.
Easy Variations to Try
To further personalize your project, consider these variations:
- Color Combinations: Experiment with different flower colors and types based on the season or your home decor.
- Botanical Combinations: Mix in leaves or ferns to add texture alongside the flowers.
- Backgrounds: Try using a colored glass holder to complement the flowers, creating even more visual interest.
- Size Flexibility: Consider using smaller or larger candle holders depending on your space and taste. Smaller versions could serve as cute table settings for events.
Displaying or Keeping Your Project
After creating your pressed flower candle holder, take some time to think about how you’ll display it. It could be a warm addition to your living room’s coffee table, a cozy piece in your bedroom, or a thoughtful gift for a friend. Keep in mind that the glass should be handled gently to avoid scratches or breaks.
If you’re looking to make more than one, consider creating matching sets or experimenting with various styles using leftover materials. This not only reduces waste but also allows for creative exploration in your crafting journey.
FAQs About Pressed Flower Glass Candle Holder DIY
Q: Can I use fresh flowers instead of pressed ones? A: While fresh flowers would look beautiful, they won’t last as long as pressed flowers. It’s best to stick with pressed varieties for durability.
Q: How do I dry flowers for this project if I don’t have pressed ones? A: You can easily dry flowers by placing them between the pages of a heavy book or using a flower press. This process usually takes a week or two, depending on the flower’s moisture content.
Q: What if my flowers don’t stay in place? A: Make sure to apply enough decoupage medium and check that the flowers are firmly adhered before they dry. Handle them carefully while they set.
Q: Can I use other types of adhesive? A: While transparent decoupage medium is ideal, you could try clear craft glue, but it may not provide the same level of transparency and aesthetics.
Q: Is it safe to use a traditional candle instead of an LED light? A: It is safer to use an LED tealight, as traditional candles can create heat and moisture that can damage your flowers.
A Final Helpful Note
As you embark on the Pressed Flower Glass Candle Holder DIY, remember to stay flexible and embrace the process. This project blends creativity with the beauty of nature, providing a unique way to showcase your floral finds. Each holder will reflect your personal touch, so trust your instincts and enjoy the delightful journey of creating something special. In addition, if you are looking for more inspiration, check out this DIY Pressed Flower Candle Holders or an Easy Pressed Flower Craft for decorative glass jars for additional creative ideas in your crafting adventures.
Follow us on social for more floral DIY projects & botanical inspiration!
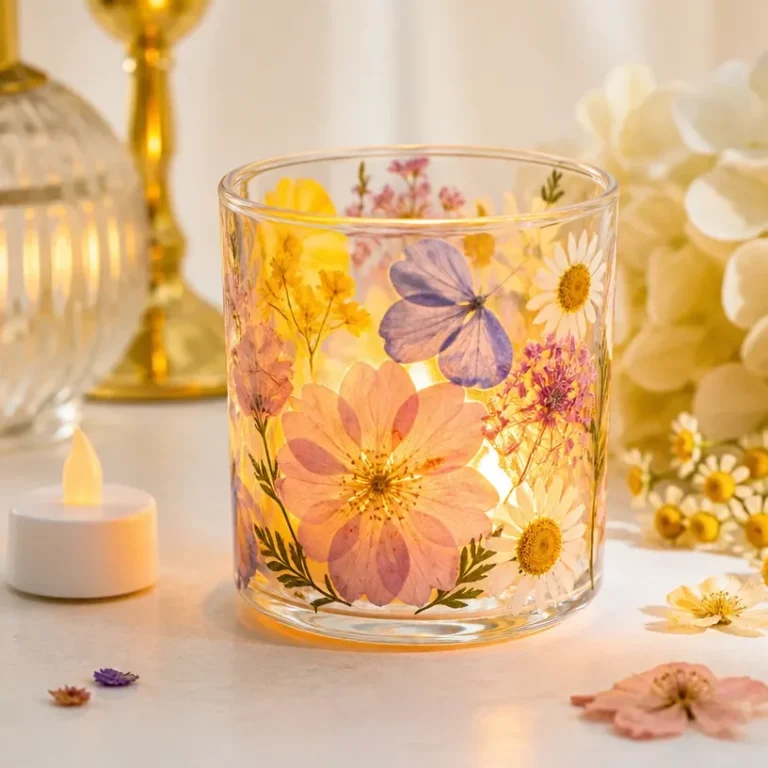
Pressed Flower Glass Candle Holder
Would you like to save this recipe?
By submitting you agree to receive this recipe and occasional emails. Unsubscribe anytime.
Ingredients
Materials
- 1 piece Glass Candle Holder The primary vessel for your flowers, contributing to the overall design.
- Various types Pressed Flowers Choose varieties based on color and texture; ensure they are completely dried.
- 1 bottle Transparent Decoupage Medium Essential adhesive for securely attaching the flowers.
- 1 piece Soft Brush For spreading the decoupage medium evenly over flowers.
- 1 piece LED Tealight Battery-operated light source for safe illumination.
Instructions
Preparation
- Arrange the pressed flowers around the exterior of the glass candle holder. Experiment with different placements for balance in colors and textures.
- Apply a thin layer of transparent decoupage medium over the flowers using a soft brush. Press down gently on the petals to ensure they stick.
- Allow the decoupage medium to dry completely to ensure the flowers are firmly attached.
- Once dry, place a battery-operated LED tealight inside the holder to illuminate the flowers.
Last Step: Don’t forget to leave a rating and comment below! It helps other readers find the best recipes — and it helps us too!
Tips & Notes:
Nutrition Information: Serving: 1 | Calories: | Carbohydrates: | Protein: | Fat: | Sodium: | Fiber: | Sugar:
Nutritional information is provided as a courtesy and calculated automatically. Values can vary depending on the brands and ingredients you use, so if you’re tracking closely, I recommend calculating with your own preferred tool.