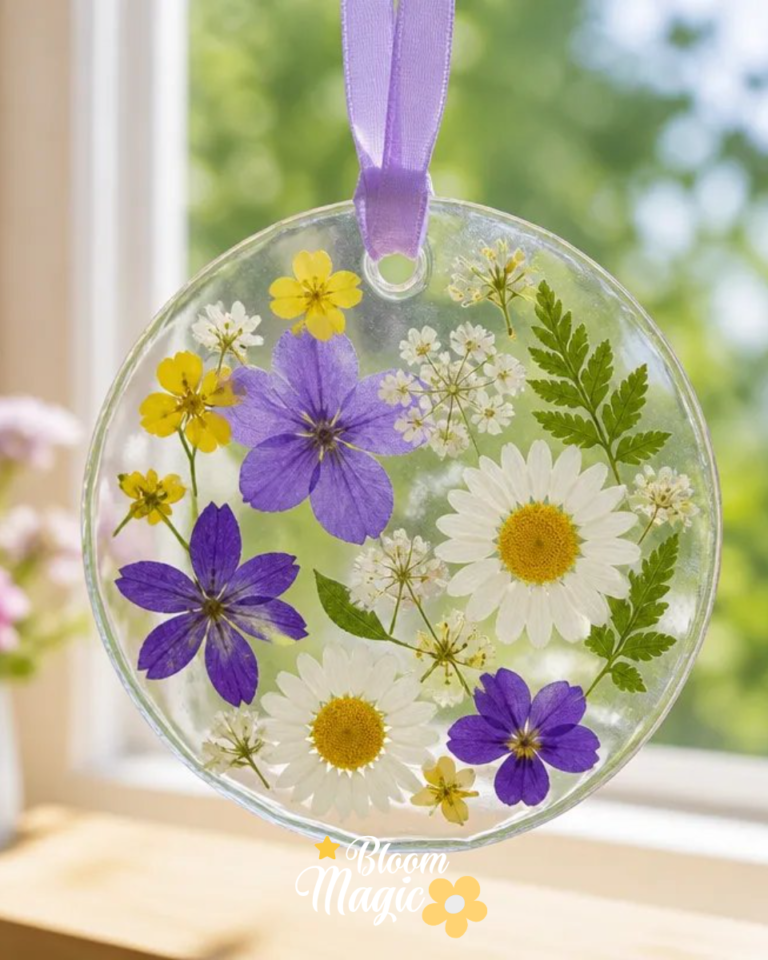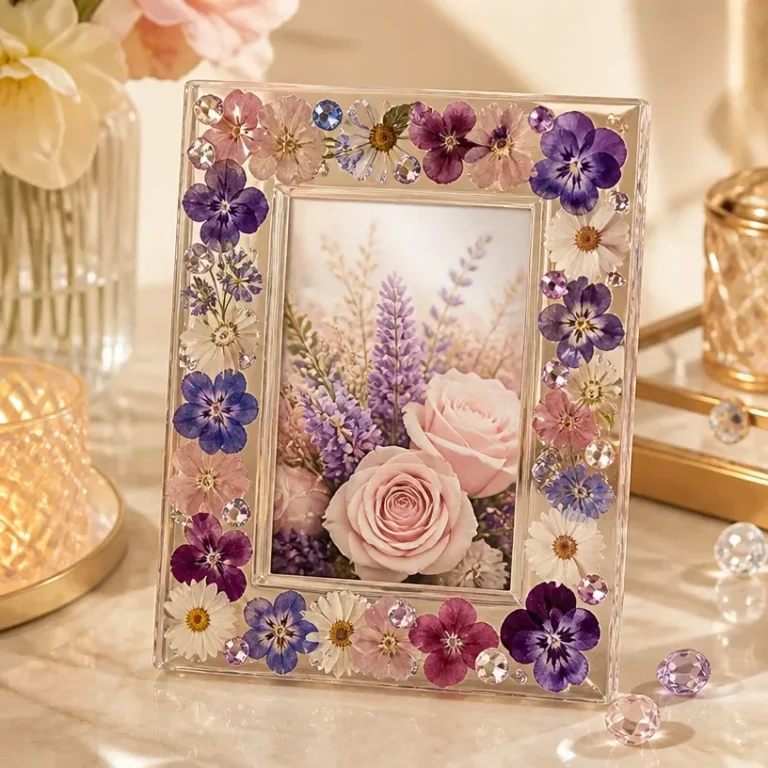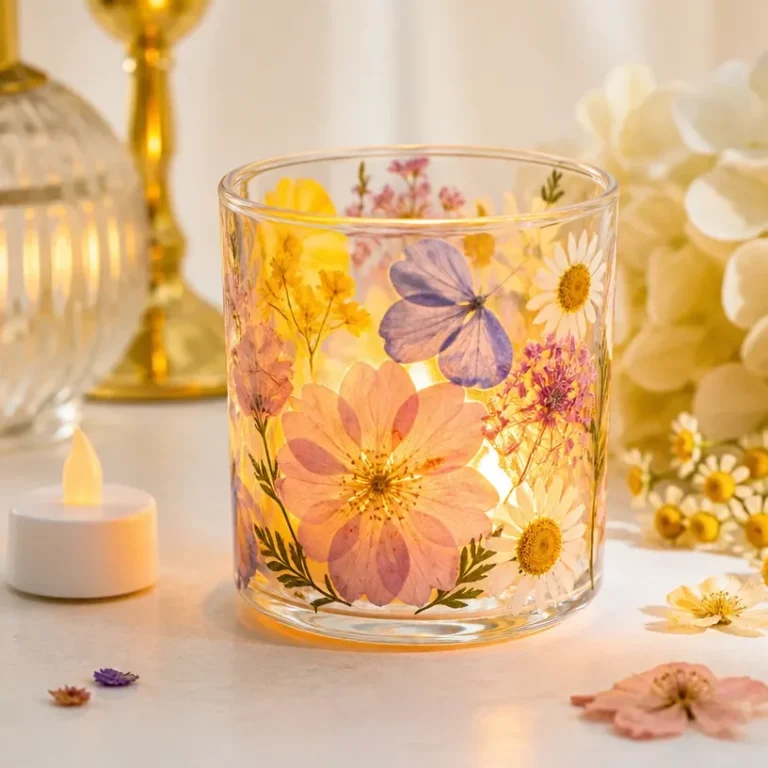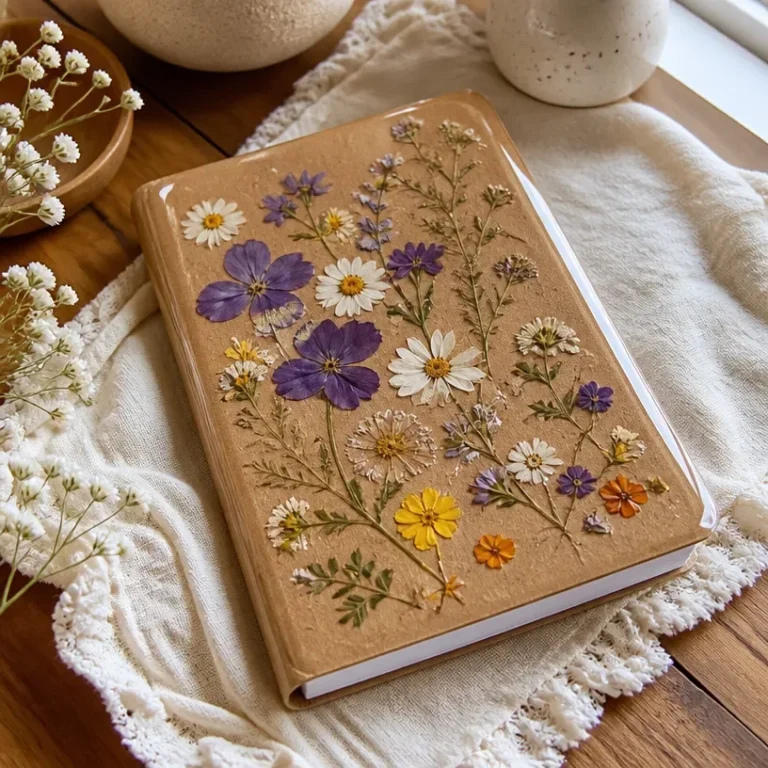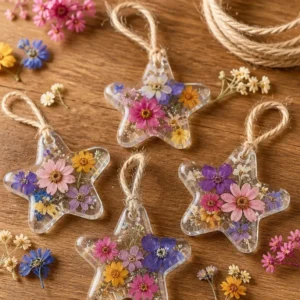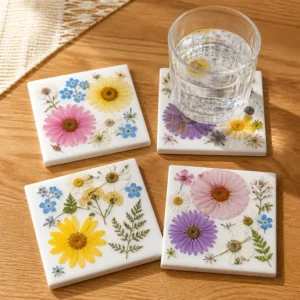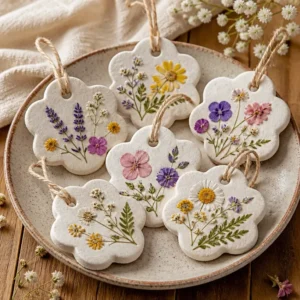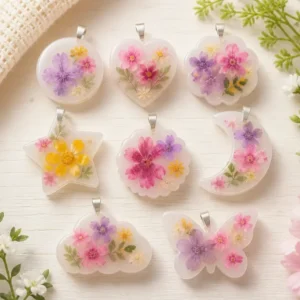
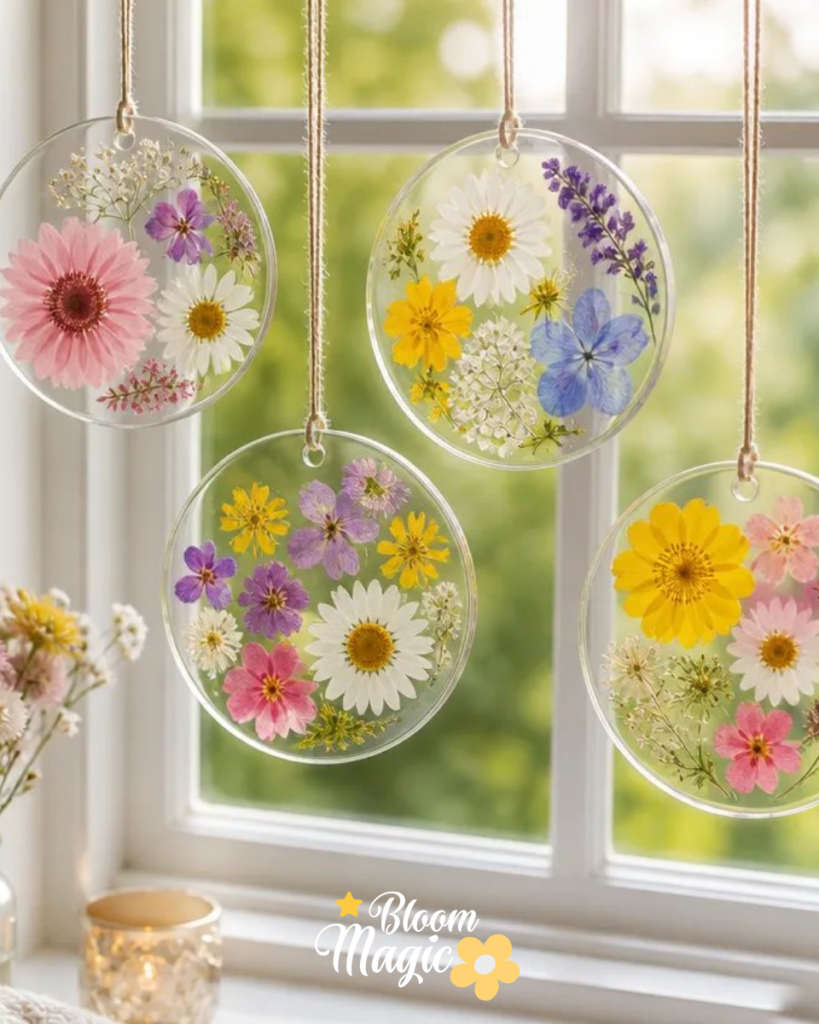
Creating a beautiful floral space can be a rewarding experience. Have you ever found yourself gathering flowers or botanical materials with the desire to preserve those meaningful blooms? Whether you’re setting out some crafting supplies for a cozy afternoon project or simply looking for a handmade way to brighten your home, a Contact Paper Pressed Flower Suncatcher is an ideal endeavor. This project transforms pressed or dried botanicals into a stunning piece of decor that can bring a warm, natural touch to any room. You may also find Pressed Flower Crystal Suncatcher Diy Tutorial useful.
Why This Contact Paper Pressed Flower Suncatcher Works So Well
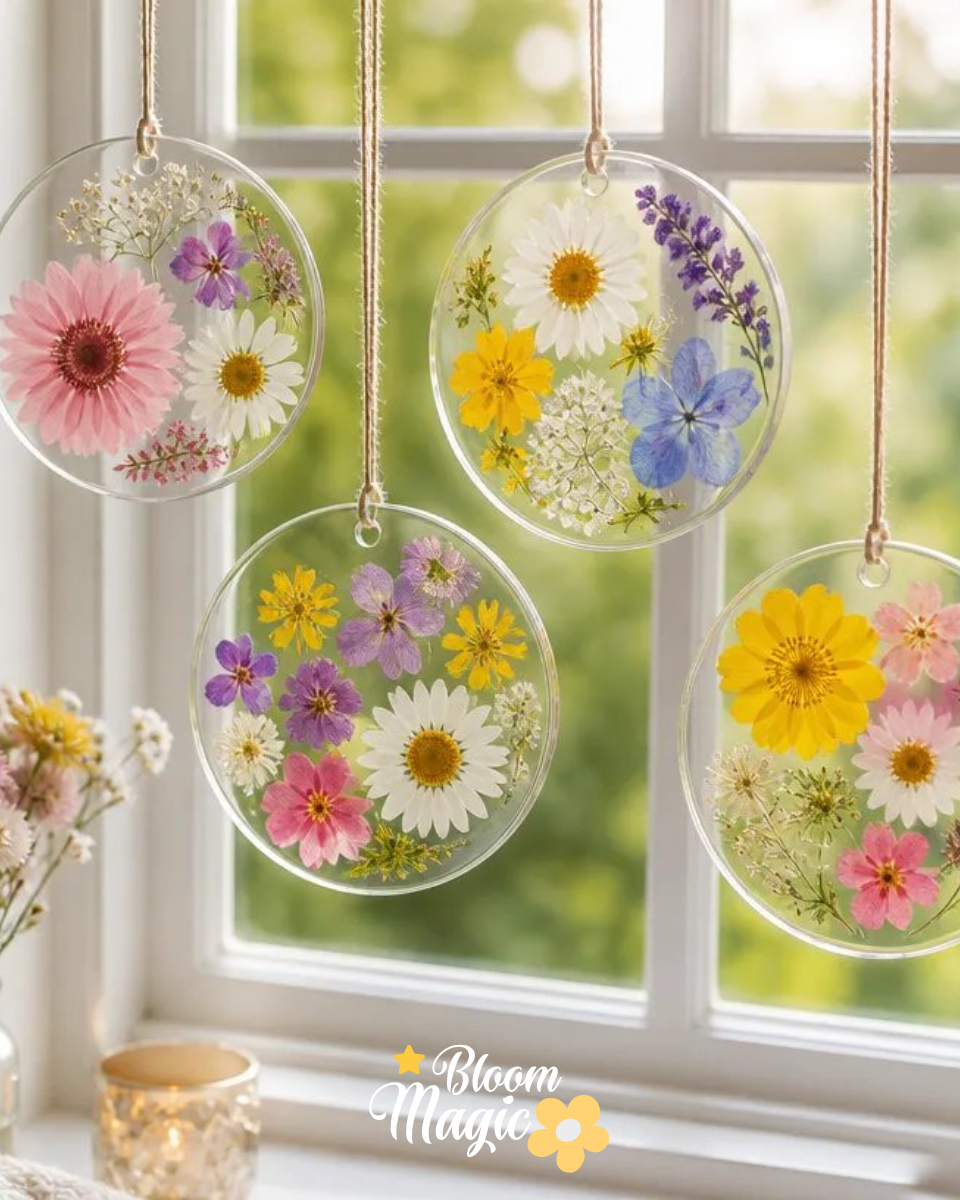
This project is approachable for beginners and offers the satisfaction of creating something beautiful with simple materials. The transparency of the contact paper allows sunlight to filter through the pressed flowers, enhancing their colors and creating enchanting patterns on your walls. It’s a manageable craft that gives you the creative freedom to choose your floral designs, making it a perfect project for decorating your home or gifting to someone special. You may also find Diy Frosted Flower Suncatcher Winter Decor useful.
A Quick Look Before You Begin
The Contact Paper Pressed Flower Suncatcher comes together with ease and thoughtfulness. It’s essential to prepare your workspace by gathering the materials and flowers. The initial phase of pressing flowers can be an exciting journey into floral design, as you select the blooms you love. As you construct your suncatcher, be mindful of how the colors and textures interact. This project provides the opportunity for engaging with nature while creating a stunning piece of decor. You may also find Diy Melted Crayon Rainbow Flower Suncatcher useful.
Materials You’ll Need
- Pressed flowers – Choose your favorites for vibrant designs.
- Clear contact paper – This will keep your flowers secure and visible.
- Scissors – You’ll need these to trim your suncatcher into shape.
- Fishing line or string – For hanging your suncatcher in a sunny spot.
- Optional: frames or hanging materials – Depending on how you wish to display it.
- Heavy books – For pressing the flowers properly.
These materials contribute to the visual and structural integrity of your suncatcher. When selecting flowers, consider their color and texture, ensuring they will hold their beauty after pressing.
Step-by-Step Directions
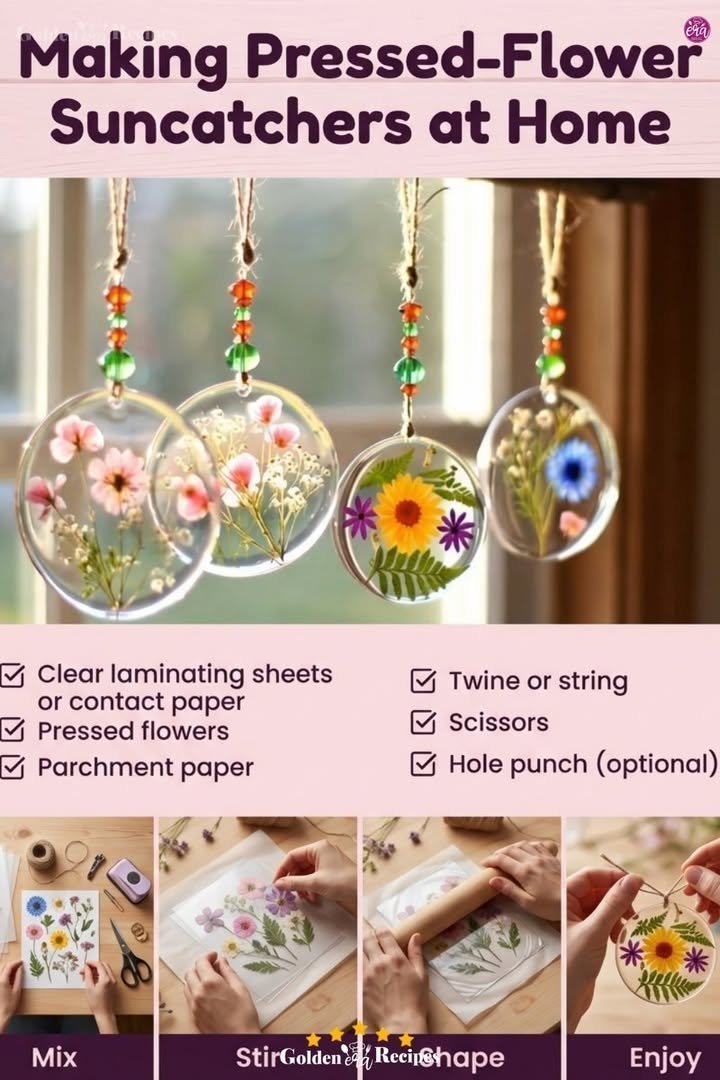
Collect flowers and press them between heavy books for a few days until they are flat. Make sure to choose blooms that retain their color and structure well when dried.
Cut two pieces of clear contact paper to the size you want for the suncatcher. Ensure they are slightly larger than the arrangement you’re planning.
Arrange the pressed flowers on the first piece of contact paper, adjusting their placement until you are satisfied with the look. This is your chance to play around with design – don’t hesitate to try different placements.
Place the second piece of contact paper over the arrangement to enclose the flowers between the two layers. Press down gently but firmly to prevent bubbles and ensure a good seal.
Trim the sealed piece into the desired shape with scissors. You can create round, oval, or more whimsical shapes based on your preference.
Use fishing line or string to hang the suncatcher in a sunny window where it can catch the light. Adjust the height as needed to ensure it’s visible.
The Design Behind This Floral DIY
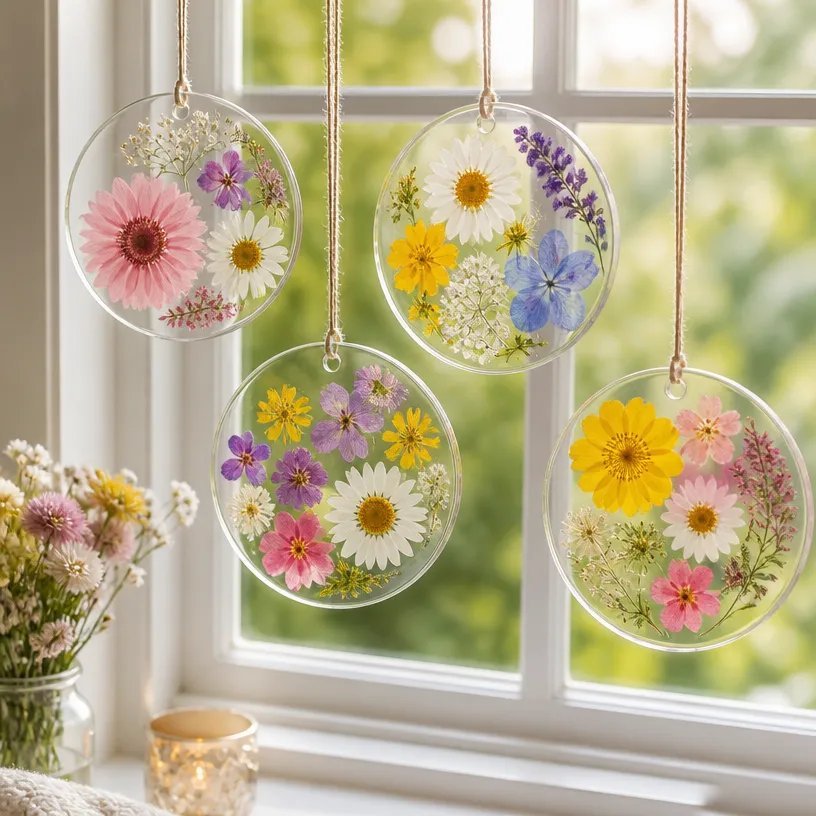
Color and texture play critical roles in the success of your suncatcher. Choose flowers that complement each other, creating a balanced palette. For example, pairing bright colors with soft pastels can create a dynamic visual effect. Consider the sizes of your flowers as you place them; larger blooms can anchor a design, while smaller flowers work well for filling in spaces. Layering flowers at different angles can add depth, and ensuring an even distribution will enhance the overall aesthetic.
Troubleshooting Common Issues
If you find that some flowers appear uneven in placement or shift during assembly, don’t worry. Simply peel back the top layer of contact paper and adjust the placement before sealing it again. If your arrangement seems overly crowded, consider removing a few elements to achieve a more balanced look. Additionally, if you notice visible adhesive around the edges, a gentle trim can help clean up the final product.
Easy Variations to Try
For those looking to personalize their suncatcher, consider these easy variations:
- Experiment with seasonal flowers for a festive touch.
- Try using patterned contact paper as a base layer to add more interest.
- Mix in foliage along with the blooms for additional texture.
- Adjust the size of your suncatcher to suit different window frames or spaces.
- Use complementary colors for distinctive seasonal displays.
Displaying or Keeping Your Project
Once your suncatcher is complete, think about where it will be displayed. Hanging it in a sunny window is ideal, but consider the surrounding decor. You might also frame it for a more polished look or give it as a gift. Handle your suncatcher gently to avoid damaging the pressed flowers, and take care when cleaning surfaces around it.
FAQs About Contact Paper Pressed Flower Suncatcher
One concern that often arises is whether certain flowers will retain their color post-drying. Generally, using vibrant blooms such as pansies or marigolds yields the best results. Another question is about the thickness of the contact paper; a standard thickness will work fine, but ensure there are no creases. As for arrangement, don’t hesitate to lay out your flowers before sealing them to check visual balance. If delicate petals are a worry, press them lightly between the pages to avoid crushing. Lastly, remember that it’s okay if not every flower turns out perfect the charm lies in the uniqueness of each handmade piece.
A Final Helpful Note
Be open to experimenting with your Contact Paper Pressed Flower Suncatcher design. Feel free to mix and match different floral arrangements and colors, allowing yourself the freedom to create something that truly reflects your personal style. Remember, the process is just as enjoyable as the final product, so take your time and enjoy crafting your fresh touch of nature.
Conclusion
Creating your own Contact Paper Pressed Flower Suncatcher is an enriching experience that brings the beauty of nature into your home. For additional ideas and inspiration, consider checking out the guides on DIY: Pressed Flower Suncatchers – Brighter Day Press or Easy DIY Pressed Flower Suncatcher – Sprouting Wild Ones. Whether for a personal touch to your decor or a thoughtful gift, this project promises to brighten your space.