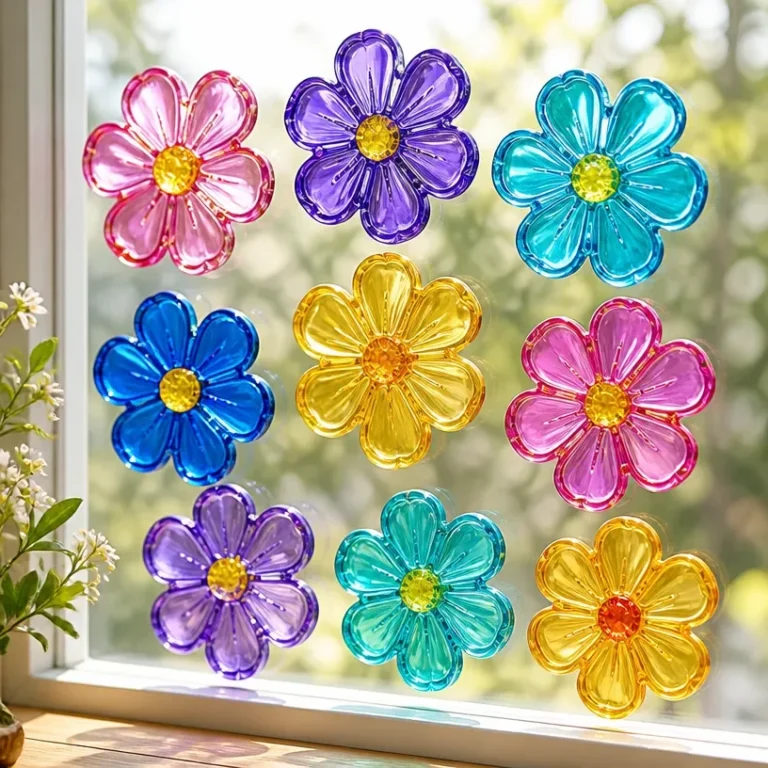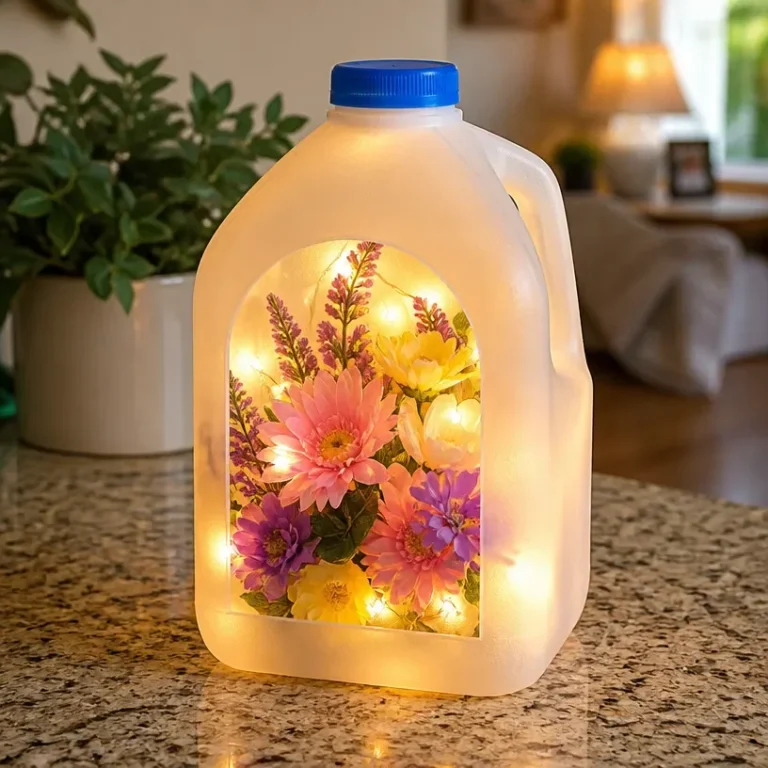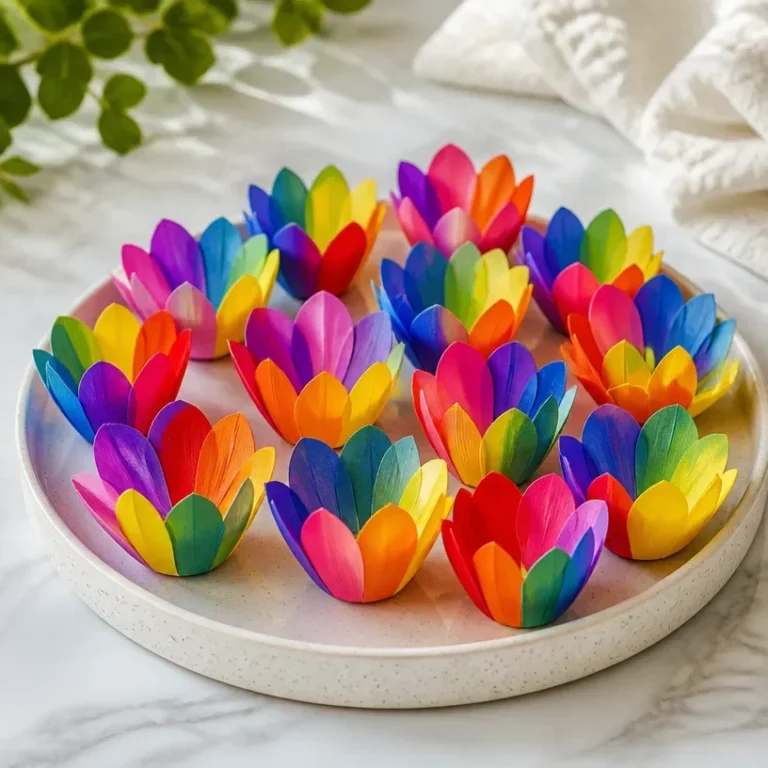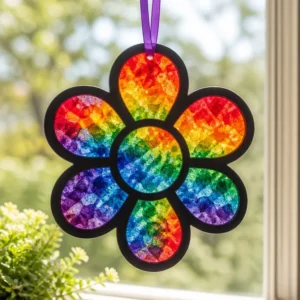
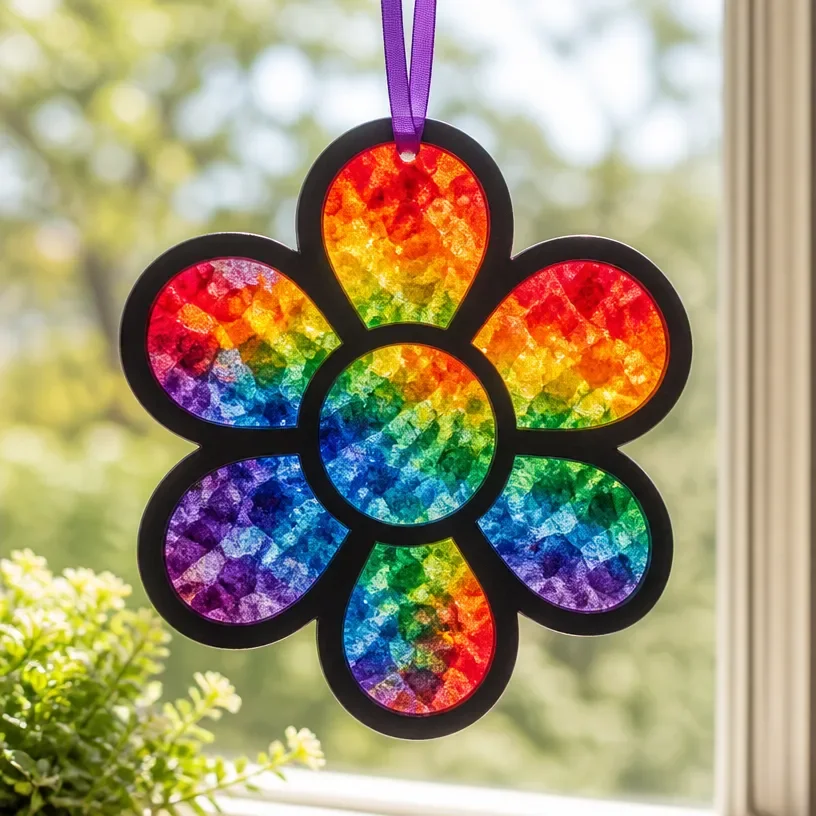
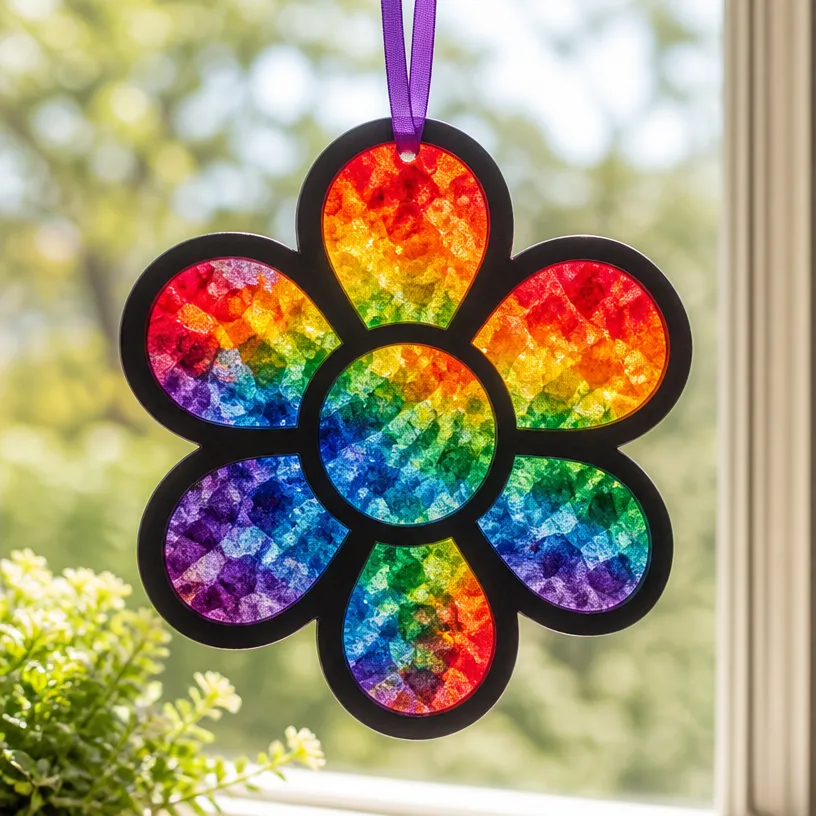
Crafting moments come alive when you find a creative project that connects you to the beauty of nature. Picture this: a sunny afternoon, the gentle breeze flowing through open windows, and you set out the materials for making something beautiful. Today’s adventure centers around the DIY Melted Crayon Rainbow Flower Suncatcher for Spring, a delightful way to incorporate color and light into your home. This project is an exciting way to experiment with colors and shapes using simple materials. So, gather your crayons and let’s dive into this warm and engaging craft that will brighten up your spaces.
Why This DIY Melted Crayon Rainbow Flower Suncatcher for Spring Works So Well
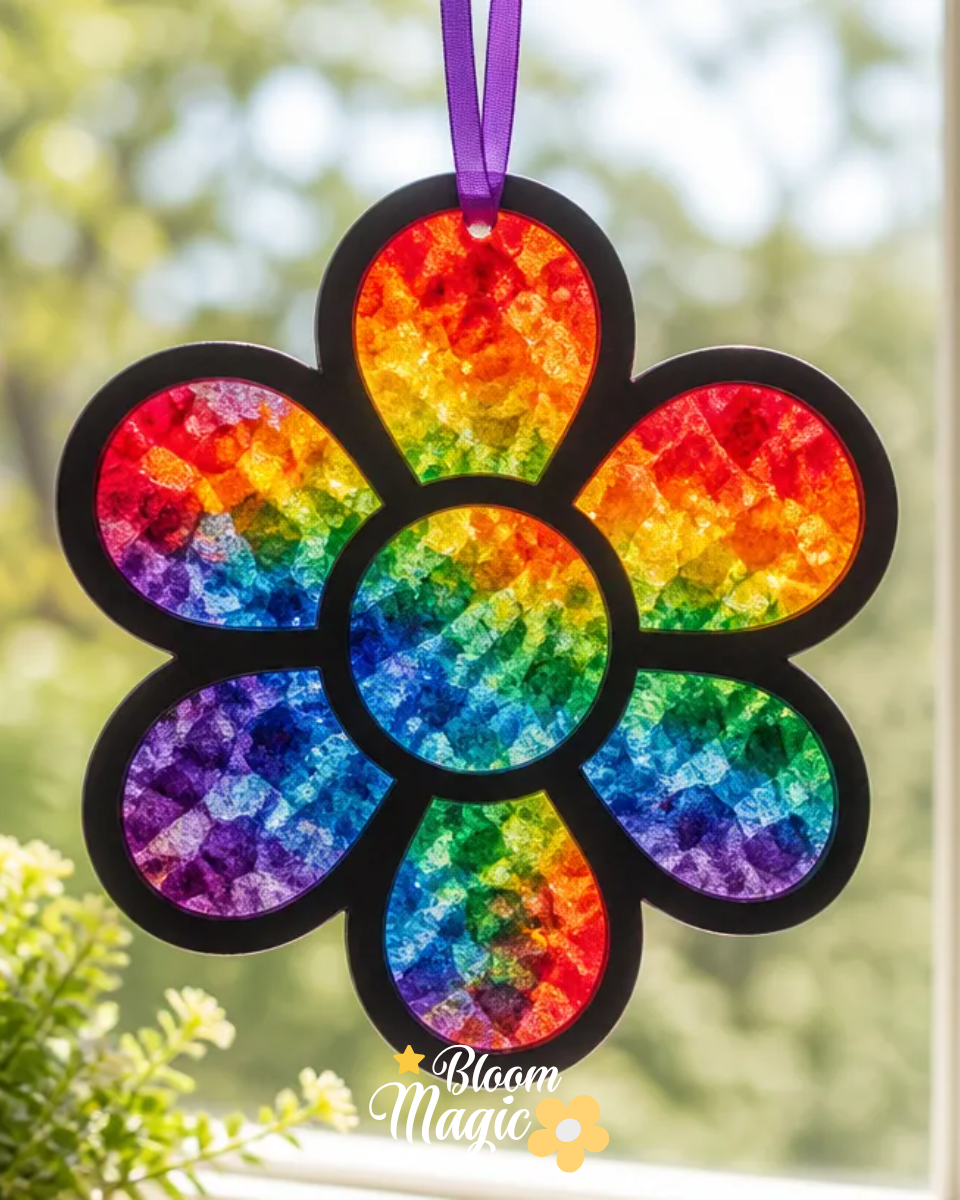
This project promises an approachable and visually rewarding experience. With just a handful of basic materials, you can create something that captures the essence of spring. Children and adults alike will find joy experimenting with vibrant colors as they watch the crayons melt and transform into beautiful floral patterns. It’s an excellent project for anyone looking for a manageable and creative endeavor without needing advanced crafting skills. Once completed, the suncatcher serves as a colorful decorative piece that can light up any room, making it not only fun but also useful for brightening up spaces.
A Quick Look Before You Begin
Creating your DIY Melted Crayon Rainbow Flower Suncatcher involves a straightforward setup and construction process. Before starting, it’s helpful to have a clean workspace with all your materials at hand. The melting process is where the magic truly happens. While there will be some warmth from the oven or microwave, you won’t encounter excessive mess, making this a low-maintenance project. Being patient and observing the melting process is vital, as it leads to beautiful patterns and colors developing in harmony.
Materials You’ll Need
- Crayons (various colors): Choose a range of colors for a vibrant suncatcher. You can pick pastels for a subtler look or bright shades for bold designs.
- Parchment paper: This will line your baking dish and help in releasing the melted crayon creation easily.
- A glass or plastic baking dish: This is where your crayon pieces will melt together.
Using these simple materials, you will create a unique decoration that showcases your personal style. Feel free to experiment with the colors you choose and how you arrange them in the dish.
Step-by-Step Directions
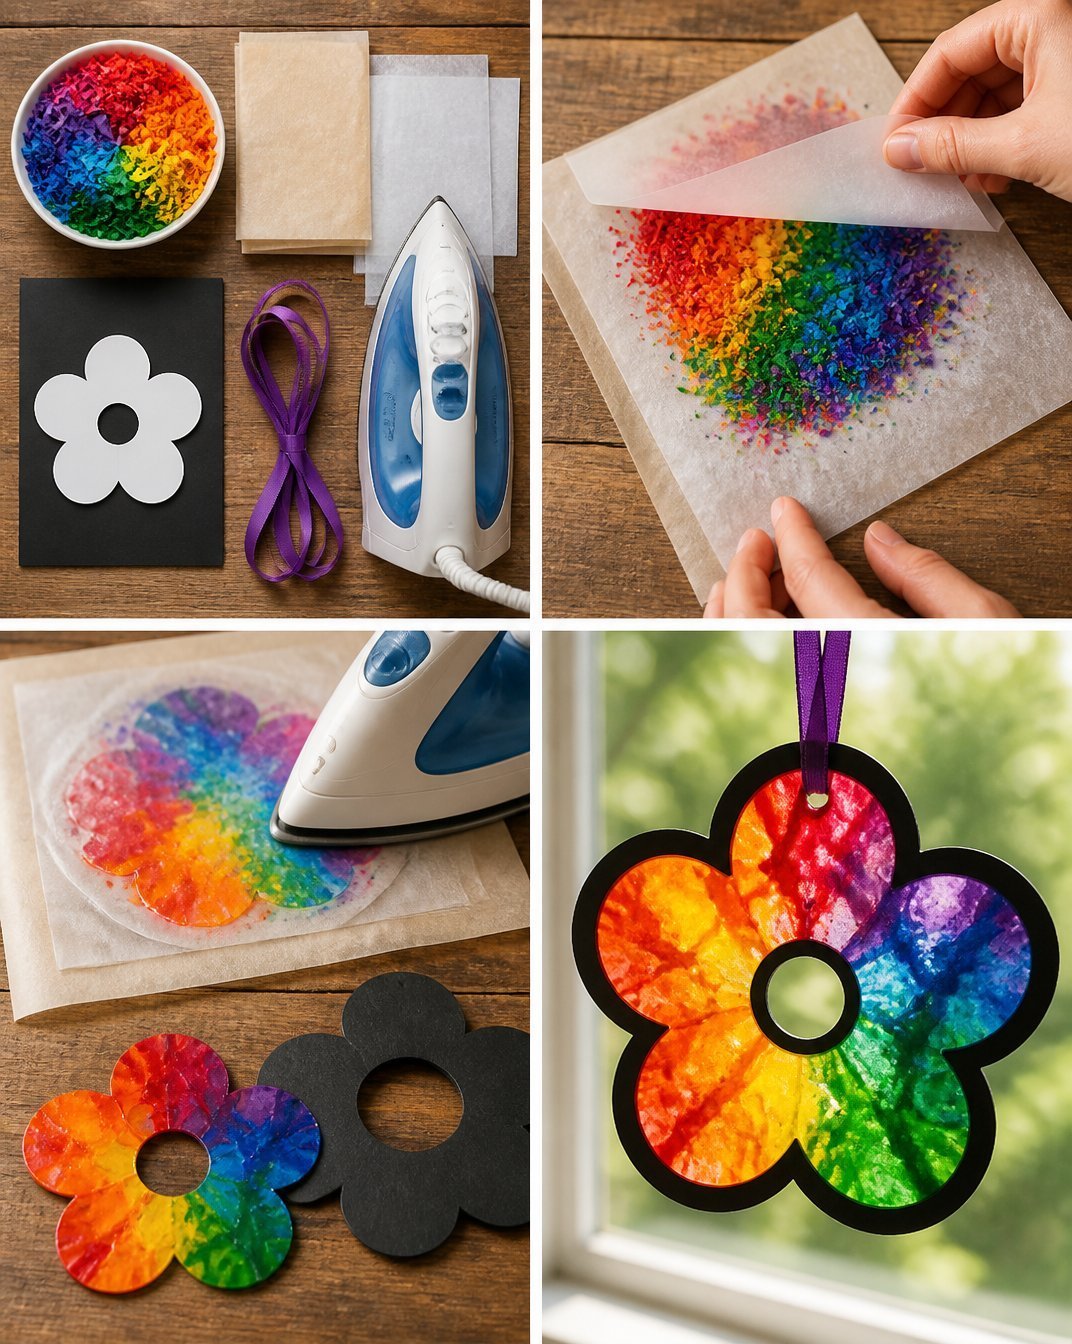
Preheat your oven to 200°F (93°C) or set your microwave to low heat. Make sure to set a timer to remind yourself to check on the melting process!
Remove the paper from the crayons and break them into small pieces, mixing colors to your preference. You might enjoy arranging the colors in patterns or letting them flow together randomly for a more spontaneous look.
Line the baking dish with parchment paper and arrange the crayon pieces in a flower shape if desired. This is your chance to get creative! Think about how petals might overlap or how you want the overall effect to appear.
Place the baking dish in the oven and let it melt for about 10 to 15 minutes, or if using a microwave, melt in short intervals, checking frequently. You’ll notice that the colors blend beautifully as they soften.
Once melted, carefully remove from the oven and allow to cool completely before peeling off the parchment paper. This step is important; be cautious as the melted crayon can be very soft and delicate.
Use clear tape to display your finished suncatcher in a window. Position it where it can catch the sunlight, casting colorful reflections around the room.
The Design Behind This Floral DIY
In this project, color combinations play a pivotal role. You can create a calming effect by using cool shades like blues and greens, or bring in warmth with yellows, reds, and oranges. When arranging your crayon pieces, consider the layering some colors might look more vibrant when placed over others, creating depth and visual interest. Space is also crucial; allowing your colors to breathe will prevent the suncatcher from looking too crowded. Overlaying shapes can also help mimic the natural flow of petals, adding to the organic feel of the final product.
Troubleshooting Common Issues
If you notice your crayon pieces haven’t melted evenly, it may be worth checking your oven settings. Sometimes, crusted crayon bits may stick to the parchment if it hasn’t been sufficiently lined. If your design shifts during melting, try rearranging the crayons to maintain your original flower shape this is a common concern, but with a little vigilance, you can achieve a lovely result.
Easy Variations to Try
Consider trying different color themes like a sunset or pastel floral arrangement to vary your suncatcher. You may also want to experiment with different shapes rather than just flowers, perhaps creating leaves or abstract forms. Changing the size of your baking dish could also influence the overall look smaller molds yield thicker suncatchers, while larger ones can be thinner and more delicate.
Displaying or Keeping Your Project
Once your suncatcher is complete, it’s best displayed in a location where it can bask in the sunlight, enhancing the vibrant colors. You could gift your creation to a friend, or even make multiple pieces to create a colorful windowscape in your home. Always handle your suncatcher with care, especially if it is in delicate shapes.
FAQs About DIY Melted Crayon Rainbow Flower Suncatcher for Spring
What if I don’t have a glass or plastic baking dish? You can use any heat-safe container or even a silicone mold, although be mindful of how the crayon might release after melting.
Can I use crayons that are not in good shape? Absolutely! This is a perfect time to use up broken or less-than-perfect crayons, as they work wonderfully in this melting project.
Will the colors stay bright? While most colors endure the melts, the finished product may darken slightly when cooled. Be sure to test out a few pieces first to see how they blend and appear when dried.
A Final Helpful Note
As you embark on this DIY Melted Crayon Rainbow Flower Suncatcher for Spring, embrace the journey. Let the blending colors inspire you, and don’t worry if things don’t go precisely as planned. The charm of this project lies in its flexibility and the joyful creativity that shines through. Enjoy crafting and watch how these beautiful creations transform your space.
Conclusion
Creating a DIY Melted Crayon Rainbow Flower Suncatcher for Spring is more than just a project; it’s an opportunity to express yourself through art and color. After making your suncatcher, you might find more inspiration in similar crafts. For another creative idea, explore the delightful process of making Spring Garden Playdough. If you’re interested in more colorful creations, check out this April Showers Bring May Flowers Melted Crayon Suncatcher. Happy crafting!