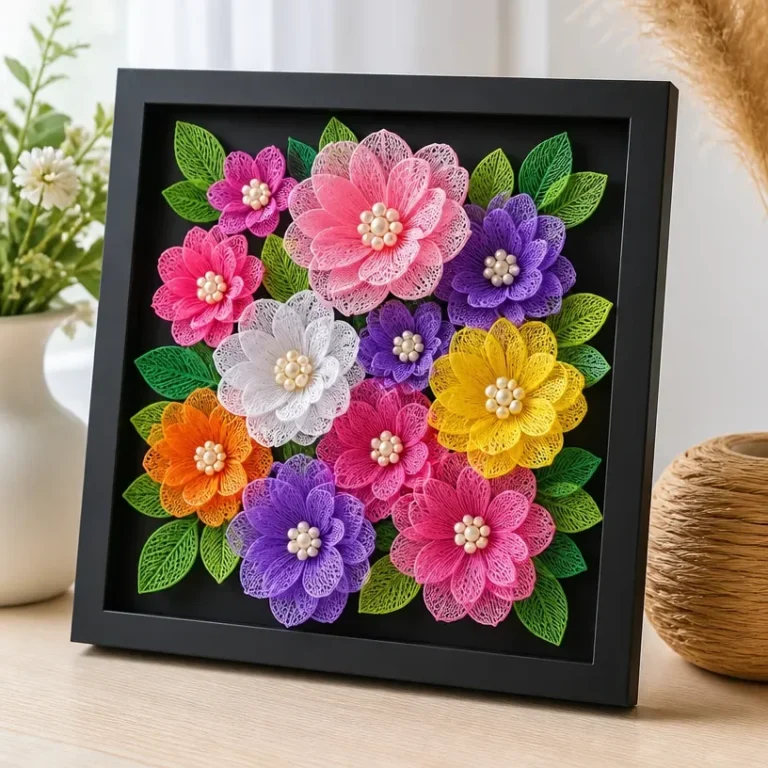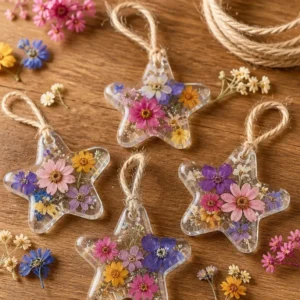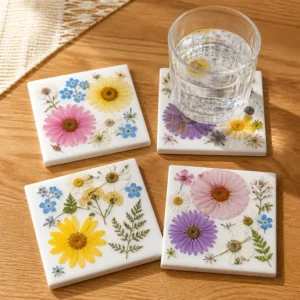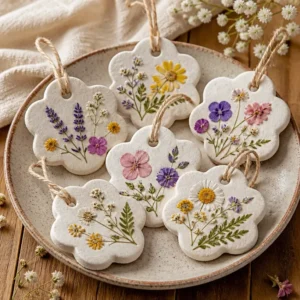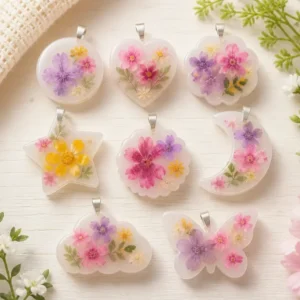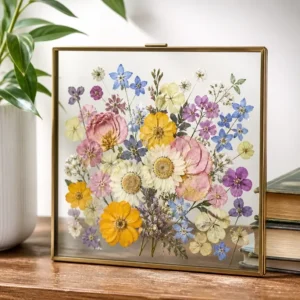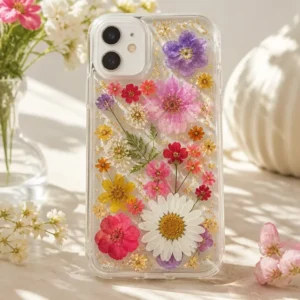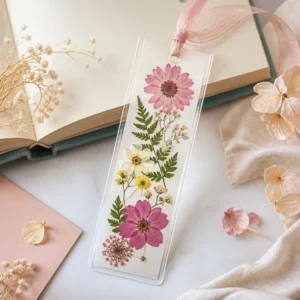
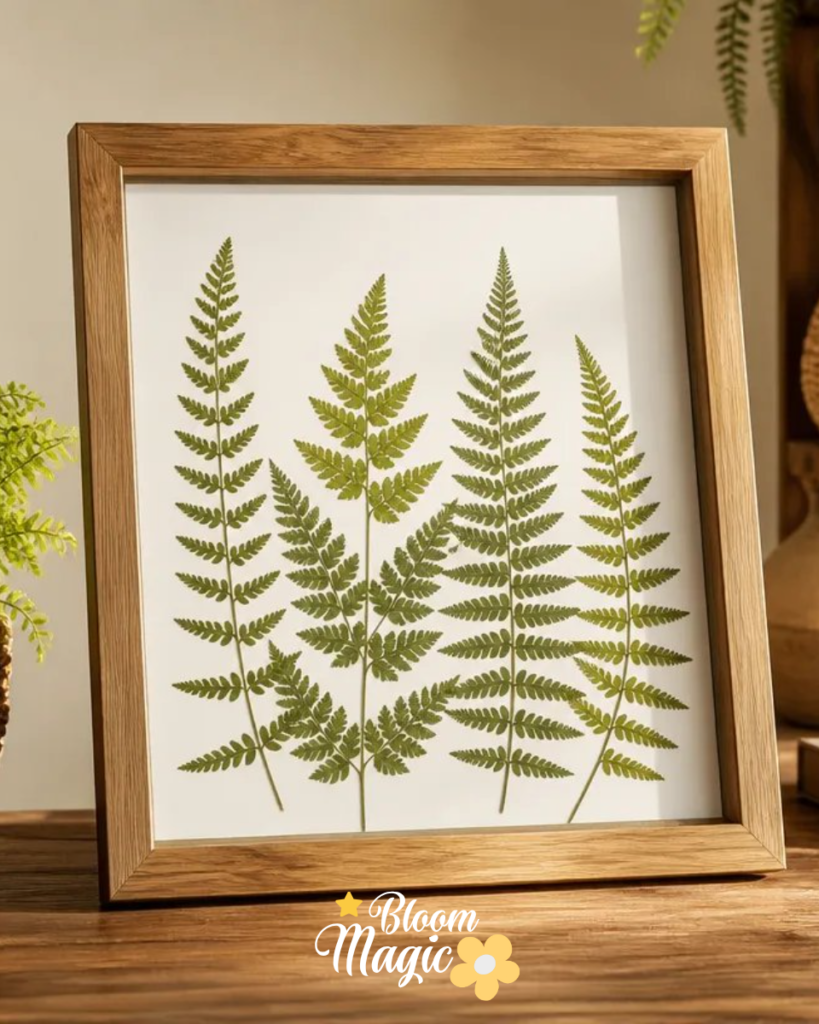
Pressed ferns from your recent walk in nature can transform into beautiful wall art, perfect for adding a touch of greenery to your home. When you take the time to collect and press these delicate ferns, you’re preserving more than just plants; you’re capturing a moment in time, making the art personal. Creating Pressed Fern Wall Art is an excellent way to display the beauty of nature right inside your living space. It’s an approachable project that anyone can start, regardless of your crafting experience. You may also find Diy Flower Hearts Craft Clear Glue useful.
Why You’ll Love Making Pressed Fern Wall Art
You may also find Magic Bloom Diy Pressed Flower Frame useful.
This project is not just visually appealing; it’s also deeply fulfilling. The process of pressing ferns allows you to interact with nature, slowing down to appreciate the details of each frond. The simple materials used ferns, a frame, cardstock, and a heavy book are easy to find and manage. Even if you’re a beginner, you’ll find that creating this wall art feels intuitive. The end result? A stunning piece of decor that reflects your personality and passion for flowers, perfect for personal use or as a thoughtful gift. If you’re looking for more floral projects to explore, check out these 3D flower wall art ideas to add to your crafting repertoire.
A Quick Look Before You Begin
Before diving into your project, it’s helpful to outline what you’ll need and how the steps will flow. The setup is minimal: a workspace to lay out your supplies, a flat surface for pressing, and some time to let nature work its magic.
Typically, the steps involve collecting your ferns, pressing them for a few days until dried, arranging them on cardstock, and finally framing your artwork. It’s a simple process with minimal mess, making it easy to manage in any creative corner of your home. You’ll enjoy the delicate yet robust nature of the pressed ferns, a reminder of the beauty found in nature’s little wonders.
Materials You’ll Need
For this beautiful Pressed Fern Wall Art, gather these easy-to-find materials:
- Ferns: Fresh ones in various shapes and sizes add interest.
- Frame: Choose one that complements your decor and enhances the ferns.
- Cardstock: A sturdy background for your ferns to create contrast.
- Heavy book: This will serve to press your ferns flat, ensuring they dry properly.
Each material plays a crucial role in the final piece, enhancing the overall look. The right frame and cardstock can change the entire appearance of your artwork. Be gentle when handling the ferns to avoid damaging them, especially during the pressing stage.
Step-by-Step Directions
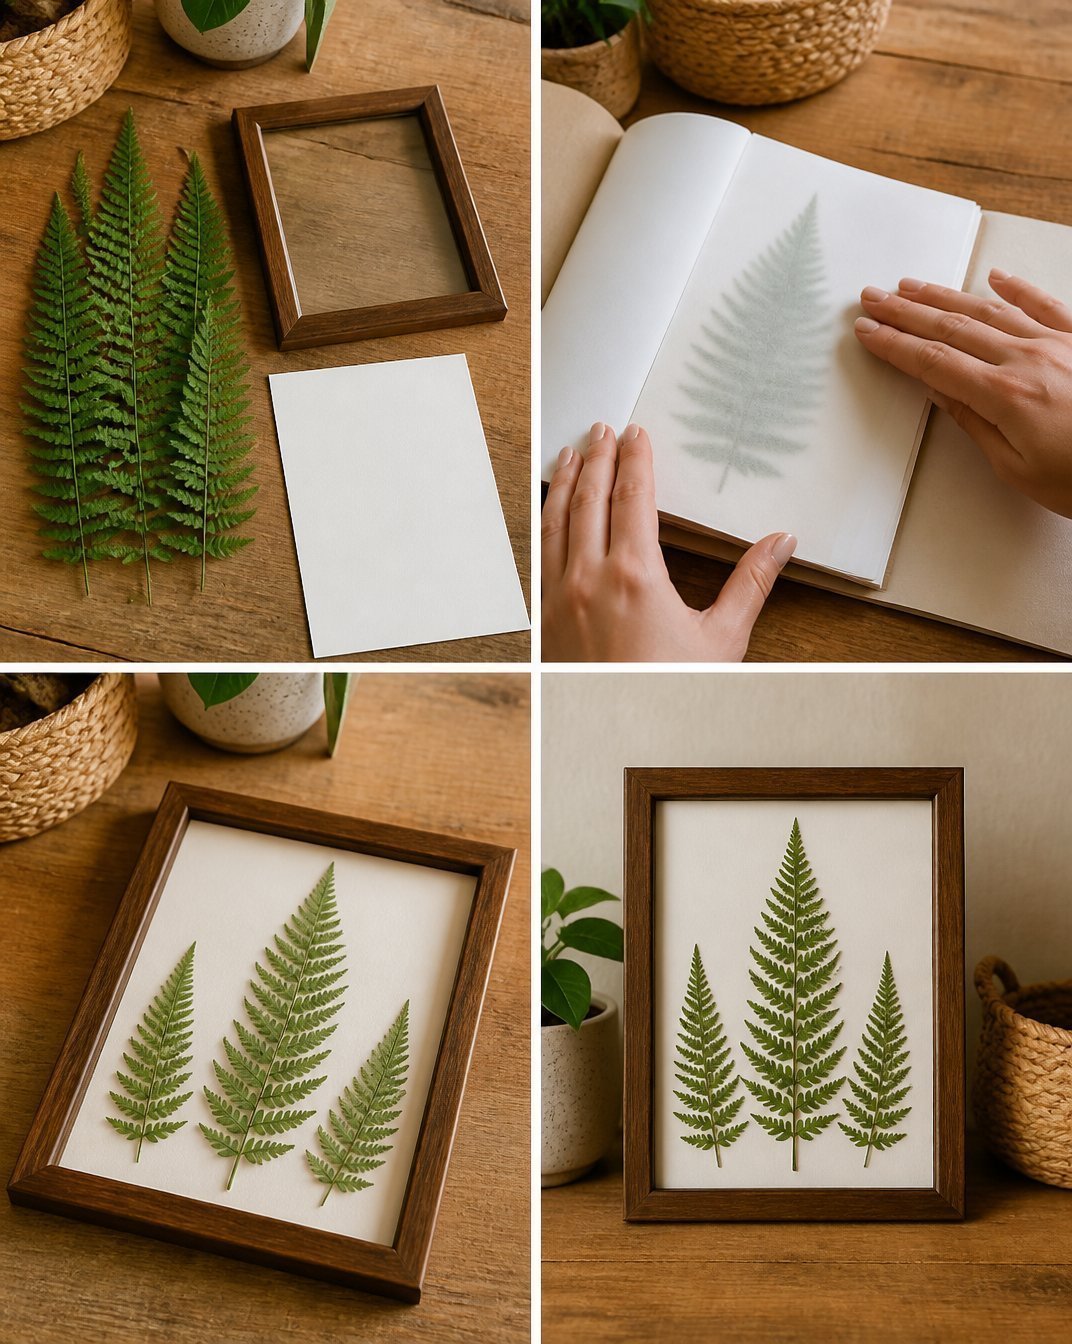
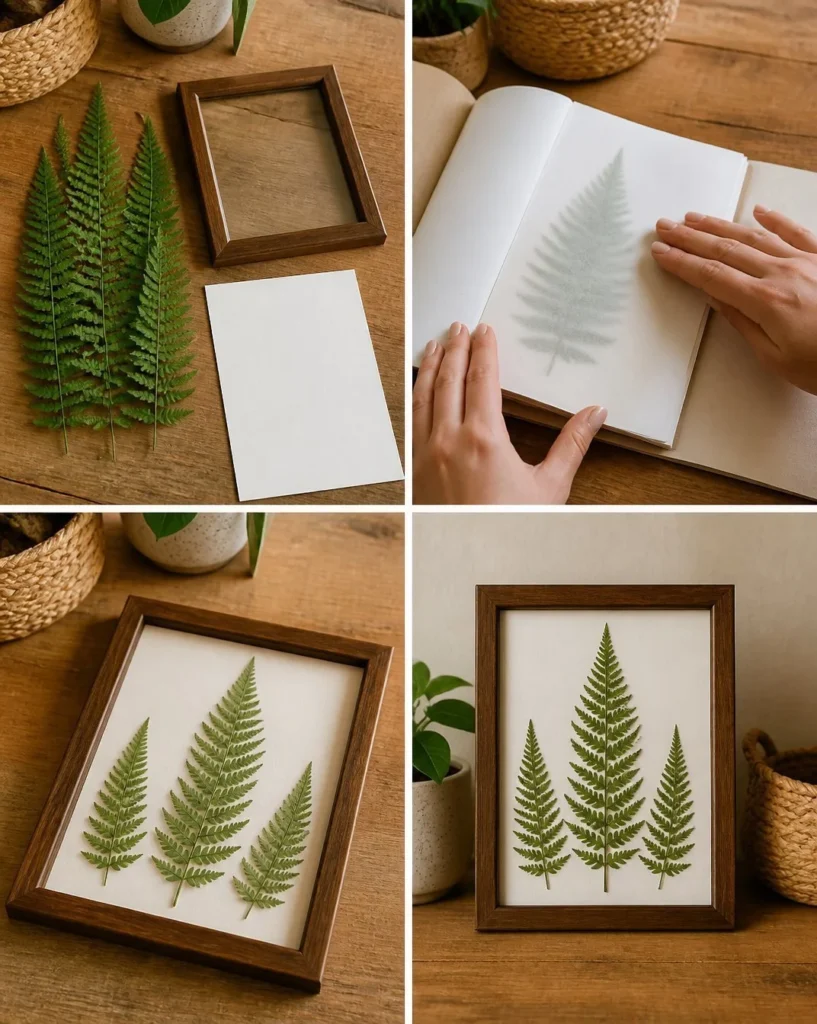
Collect the fresh ferns: Choose a variety that inspires you. Place them between the pages of a heavy book, ensuring that the fronds are flat and not overlapping.
Press the ferns: Leave them to press for a few days, checking periodically. You want to ensure that they are completely dry to maintain their shape and color. This thorough drying is crucial for a long-lasting display.
Arrange the pressed ferns: Carefully remove the ferns from the book. Start placing them on your cardstock, adjusting their positions for the best visual balance. Step back occasionally to check the overall composition.
Frame your creation: Once you’re happy with the arrangement, gently place the cardstock and arranged ferns inside the frame. Make sure everything is secure, and adjust if necessary.
As you progress through these steps, remain mindful of the natural flow and spacing of your design. Balancing different fern shapes can enhance the visual drama of your finished work, a skill you will continue to refine as you gain experience.
The Creative Details That Bring It Together
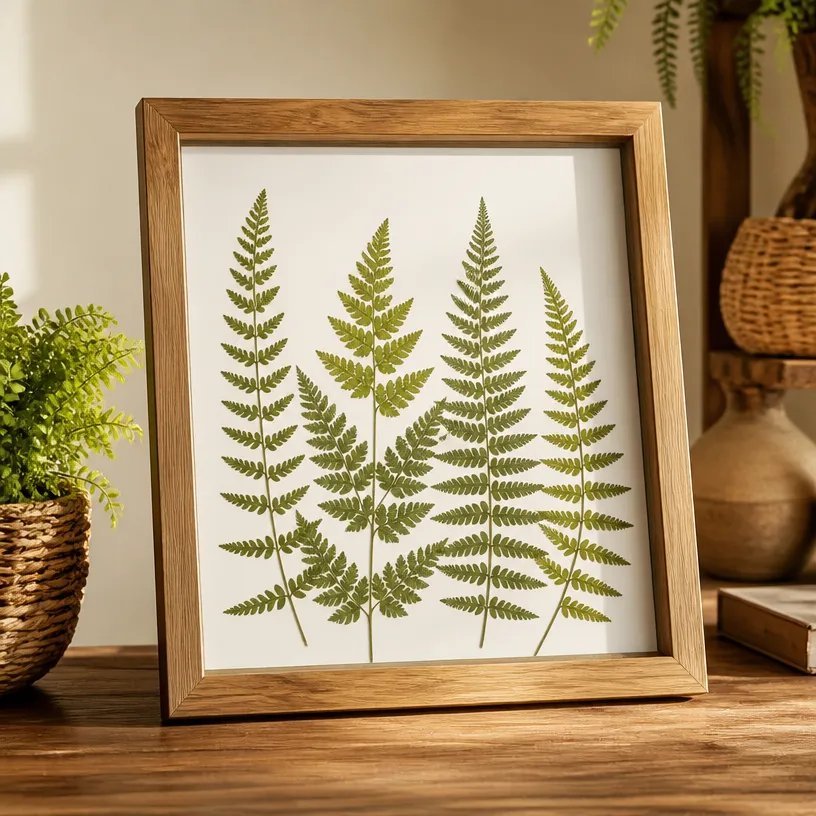
When it comes to arranging your ferns, consider the colors and shapes at play. Lighter ferns can provide a lovely contrast against darker cardstock, while varying sizes can create a dynamic composition. Layering ferns can also add depth, and positioning them at different angles can give your artwork movement.
Texture plays a vital role, too. The structural contrast between the delicate ferns and the solid frame creates a harmonious visual experience. Ensuring that your arrangement feels balanced rather than cluttered will make your art piece a true focal point in any room.
Troubleshooting Common Issues
It’s natural to encounter a few bumps along the way when creating pressed fern wall art. If you notice shifting during your arrangement, gently reposition the ferns with care. Uneven spacing can lead to an unbalanced look; take your time in adjusting the placement. If visible adhesive marks appear, don’t fret. A strategic placement of larger ferns can often cover such imperfections seamlessly.
Easy Variations to Try
Consider experimenting with different styles to make your pressed fern art uniquely yours. You could:
- Use colored cardstock to change the mood of your wall art.
- Combine ferns with other pressed flowers for added texture and color.
- Create themed designs for different seasons by varying the types of ferns or flowers used.
These variations will keep your crafting experience fresh and fun, and encourage creativity in your projects.
Displaying or Keeping Your Project
Once your artwork is framed, think about where to display it. Natural light can enhance the colors, but direct exposure may fade the ferns over time. Choosing a spot that balances both beauty and protection will help your artwork stay vibrant. This piece can also make a thoughtful gift if you’re looking to share your love of crafting. When gifting, consider how to present it, perhaps with some wrapping that aligns with the botanical theme.
FAQs About Pressed Fern Wall Art
What if my ferns don’t flatten well?
Make sure you’re using a heavy book for pressing. If they’re still not flattening out, try adding additional weight on top while they dry.
Can I use any type of fern?
Yes, most ferns will work well, but some may press better than others. Experimenting with various types can yield interesting results.
How do I store leftover materials?
Keep any additional ferns in a dry place. If they aren’t pressed yet, store them in a breathable bag to avoid moisture.
A Final Helpful Note
As you embark on your Pressed Fern Wall Art journey, remember that the process should feel enjoyable and fulfilling. Embrace your creativity, allowing yourself the flexibility to explore different designs and arrangements. Pay careful attention to the materials as they will guide your artistic expression. Enjoy the calming nature of crafting and the beauty you bring into your home.
Conclusion
Turning preserved ferns into wall art is a beautiful way to bring a piece of nature into your living space. If you want to dive deeper into this craft, you can
learn more about making pressed fern wall art. For unique options, consider browsing
framed pressed fern designs on Etsyfor inspiration and ideas to enhance your projects. Happy crafting!
Follow us on social for more floral DIY projects & botanical inspiration!
Pressed Fern Wall Art
Would you like to save this project?
By submitting you agree to receive this project and occasional emails. Unsubscribe anytime.
Materials
Materials
- 1 bunch Fresh ferns in various shapes and sizes Choose a variety that inspires you.
- 1 frame Frame Select one that complements your decor.
- 1 sheet Cardstock A sturdy background for your ferns.
- 1 book Heavy book Serves to press your ferns flat.
Directions
Preparation
- Collect the fresh ferns and place them between the pages of a heavy book, ensuring that the fronds are flat and not overlapping.
- Leave the ferns to press for a few days, checking periodically to ensure they are completely dry.
- Carefully remove the pressed ferns from the book and arrange them on your cardstock for visual balance.
- Once satisfied with the arrangement, place the cardstock and arranged ferns inside the frame, securing everything in place.
Last Step: Don’t forget to leave a rating and comment below! It helps other readers find the best DIY projects — and it helps us too!