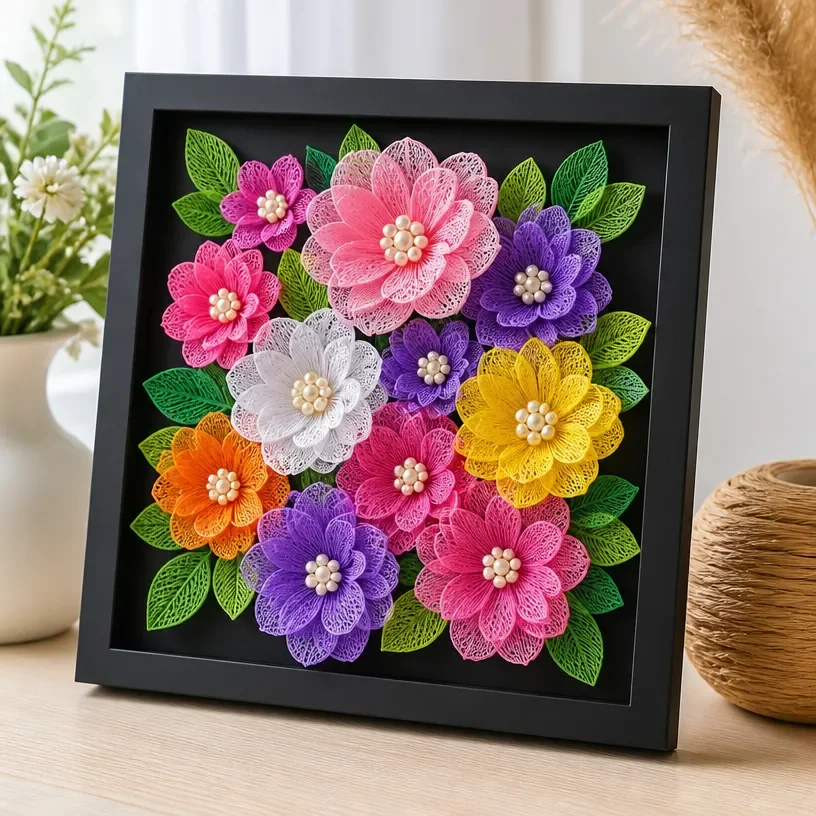
3D Flower Wall Art Ideas for Home Decor
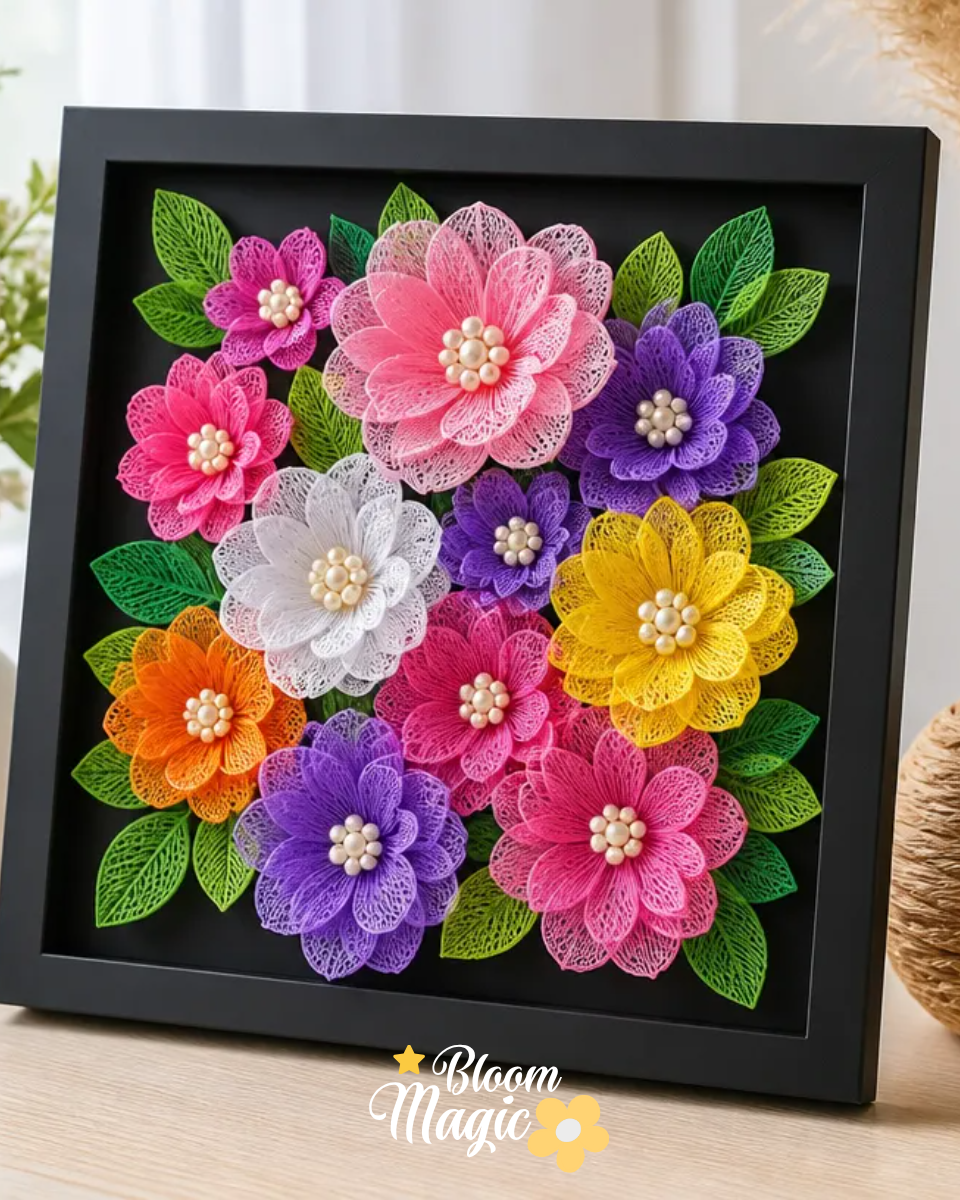
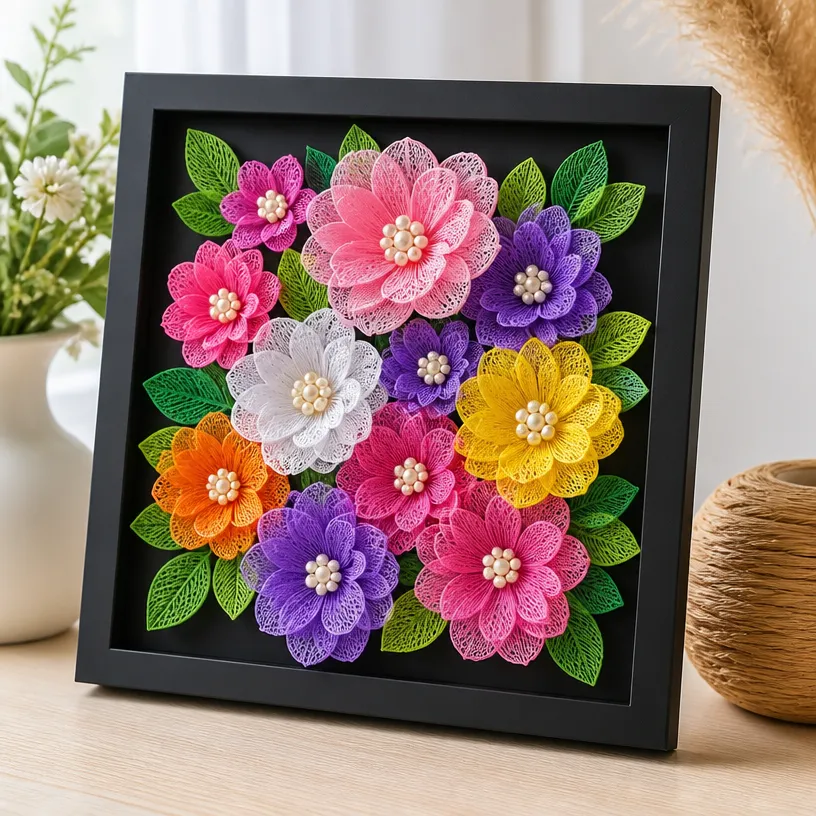
Creating stunning 3D flower wall art can transform any room into a vibrant space full of life. This project allows you to bring the beauty of nature indoors while allowing your creativity to shine. You will learn how to construct art pieces that feature layered blooms, giving a tactile quality to your home decor.
What sets this project apart is the versatility and dimension achieved by using real or artificial flowers. The textures of petals, leaves, and other botanical materials not only create a visual feast but also invite touch, making your wall art a conversation piece.
Why You’ll Love This Project
- Visual Impact: The layered arrangement of flowers creates depth and interest on your walls, making your decor stand out.
- Approachable Construction: The steps involved are straightforward, allowing even beginners to succeed in crafting beautiful art.
- Botanical Materials: Using real or artificial flowers allows you to incorporate personal meaning, whether they are dried flowers from a special occasion or vibrant faux blooms.
- Display Possibilities: The finished art can be hung in various settings from your living room to a children’s room adding character wherever it’s placed.
- Customization: You can select the color palette and arrangement style to perfectly match your home decor.
Materials You’ll Need
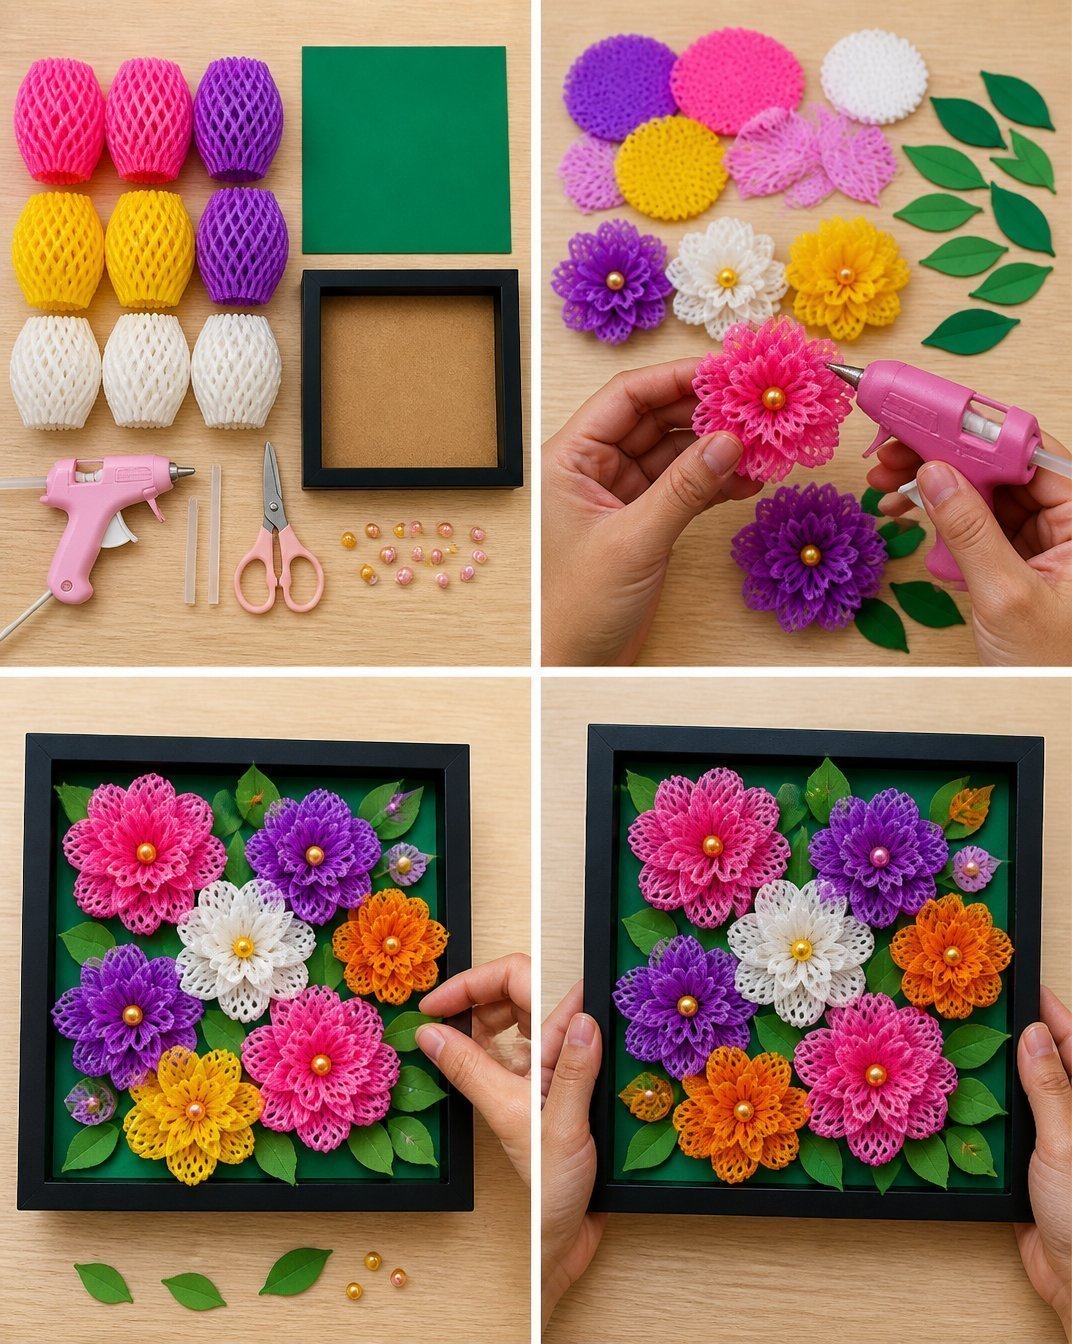
- Frames: Choose shadow boxes or deep-set frames to accommodate the 3D depth of your design.
- Flowers: Select a combination of dried, pressed, or artificial flowers. Consider varying sizes and shapes for an organic look.
- Adhesives: Use hot glue for strong bonding, or craft glue for options that allow adjustment during assembly.
- Background Paper: Strong, decorative paper or cardstock in a color that complements your flowers.
- Scissors: For trimming flower stems and cutting paper.
- Tweezers: Helpful for placing delicate flowers without damaging them.
How to Make 3D Flower Wall Art Ideas for Home Decor
Step 1: Prepare the Background
- Start by cutting your background paper to fit the frame. It should be slightly larger than the frame for a clean edge.
- If using a unique color, lay it against your flowers to ensure a good match.
Step 2: Arrange Your Flowers
- Before gluing, arrange your flowers on the background paper. Start with larger flowers and fill in with smaller ones.
- Step back from your arrangement frequently to check for balance and visual interest.
Step 3: Attach the Flowers
- Use hot glue to adhere each flower, starting from the largest to the smallest. Apply glue to the base of the flower and hold it in place for a few seconds until set.
- For deeper layers, consider adding distance by placing small, rolled pieces of paper or foam under the flowers.
Step 4: Final Assembly
- Once everything is glued in place, gently place your completed background into the frame.
- Secure the backing so that it holds everything in place, checking for any loose flowers before sealing.
Helpful Tips for Better Results
- Arrange the flowers before gluing to get a clear idea of your final design.
- Use tweezers for delicate petals to avoid squishing them.
- Keep a small brush handy to apply glue precisely and cleanly.
- If using real flowers, ensure they’re fully dried to avoid any moisture that may damage your art.
Design and Color Variations
- Color Themes: Opt for bright colors for a cheerful feel or muted tones for a more sophisticated look.
- Floral Combinations: Mix wildflowers with roses for a cottage-style design or tropical flowers for an exotic vibe.
- Background Options: Use patterned paper for added depth, or a solid color for a modern touch.
- Frame Styles: Choose ornate frames for a vintage look or minimalist frames for a contemporary feel.
- Seasonal Decorations: Swap flowers according to seasons, creating spring flowers or autumnal leaves.
Working With the Botanical Materials
When working with dried flowers, be gentle as they can be fragile. If using fresh flowers, make sure they are fully dried before using them in your project to avoid wilting or discoloration. If using faux flowers, feel free to manipulate the petals to achieve your desired look without worrying about breakage.
How to Display or Use Your Finished Project
Your completed art can be hung on walls, placed on shelves, or even gifted to friends and family. Remember to choose a location that minimizes direct sunlight exposure if your art contains real flowers, as they may fade over time. For a striking display, consider grouping several pieces together in varying sizes.
Frequently Asked Questions
1. Can I use fresh flowers for this project? Using fresh flowers is not ideal as they may wilt and discolor. Dried flowers or high-quality faux options are recommended for longevity.
2. How do I secure delicate petals? Using hot glue in small amounts or craft glue with precision applicators helps in securing fragile petals without crushing them.
3. What if I don’t have a shadow box? You can use any frame that allows for depth; just ensure it’s deep enough to accommodate the layered design.
4. Can I change flower arrangements after gluing? Once glued, adjustments are difficult without damaging the flowers. Plan your layout carefully before adhering.
5. How can I ensure my colors complement each other? Consider using a color wheel or palette guide to select harmonious flower colors and background options.
6. What’s the best way to hang my artwork? Use picture hooks that fit the frame’s weight and size securely to ensure it hangs straight and safely on the wall.
Conclusion
Creating beautiful 3D flower wall art can enhance your home decor while showcasing your artistic flair. For more inspiration and options, explore the wide range of 3D flower wall panels on Amazon or find unique designs on Etsy’s marketplace for 3D flower wall art.
With these ideas and tips, you can craft stunning pieces that truly reflect your personal style!
Follow us on social for more floral DIY projects & botanical inspiration!
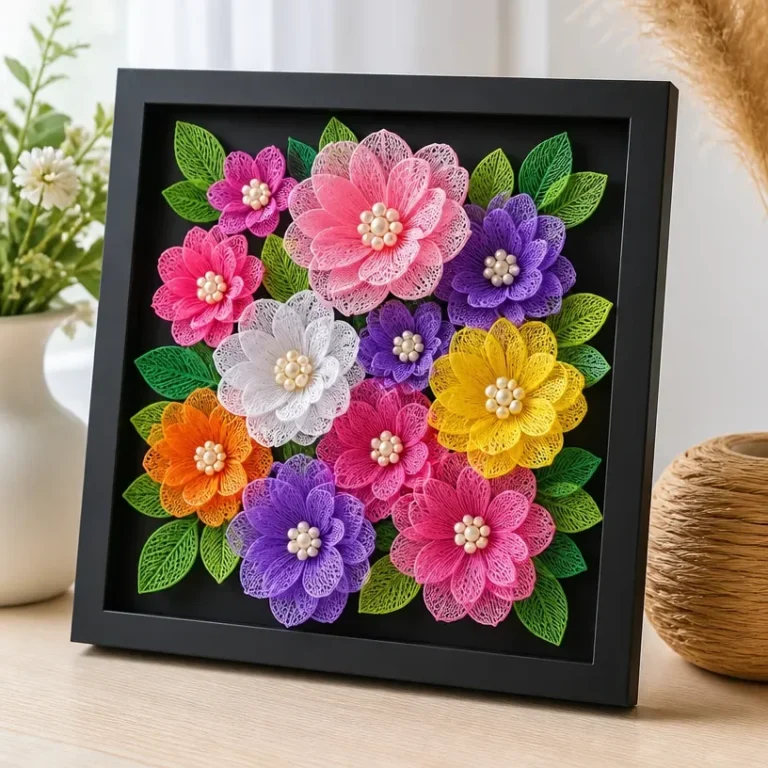
3D Flower Wall Art
Would you like to save this recipe?
By submitting you agree to receive this recipe and occasional emails. Unsubscribe anytime.
Ingredients
Materials
- 1 box Frames (shadow boxes or deep-set) Choose frames that can accommodate depth.
- Assorted pieces Dried, pressed, or artificial flowers Select a variety of shapes and sizes.
- 1 tube Hot glue or craft glue Craft glue allows for adjustments during assembly.
- 1 sheet Background paper or cardstock Choose a color that complements the flowers.
- 1 pair Scissors For trimming flower stems and cutting paper.
- 1 piece Tweezers Helpful for placing delicate flowers.
Instructions
Preparation
- Cut your background paper to fit the frame, making it slightly larger for a clean edge.
- If desired, lay the background paper against your flowers to ensure a good color match.
Arrangement
- Before gluing, arrange your flowers on the background paper, starting with larger flowers and filling in with smaller ones.
- Step back frequently to check for balance and visual interest.
Attachment
- Use hot glue to attach each flower, starting from the largest to the smallest.
- Hold each flower in place for a few seconds until set.
- For deeper layers, add distance by placing small rolled pieces of paper or foam under the flowers.
Final Assembly
- Once everything is glued in place, gently place the background into the frame.
- Secure the backing to hold everything in place, checking for loose flowers before sealing.
Last Step: Don’t forget to leave a rating and comment below! It helps other readers find the best recipes — and it helps us too!
Tips & Notes:
Nutrition Information: Serving: 1 | Calories: 50kcal | Carbohydrates: | Protein: | Fat: | Sodium: | Fiber: | Sugar:
Nutritional information is provided as a courtesy and calculated automatically. Values can vary depending on the brands and ingredients you use, so if you’re tracking closely, I recommend calculating with your own preferred tool.