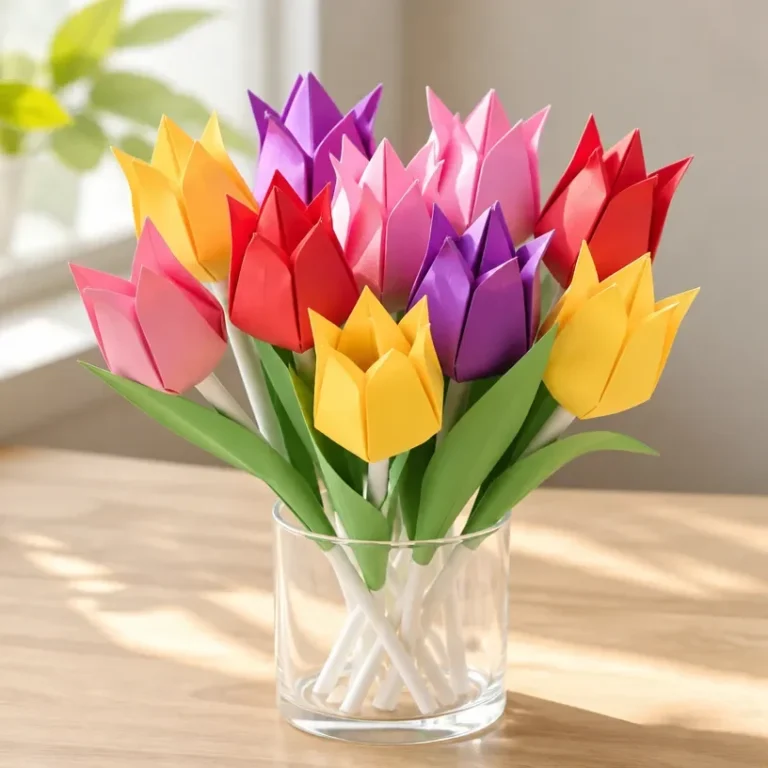
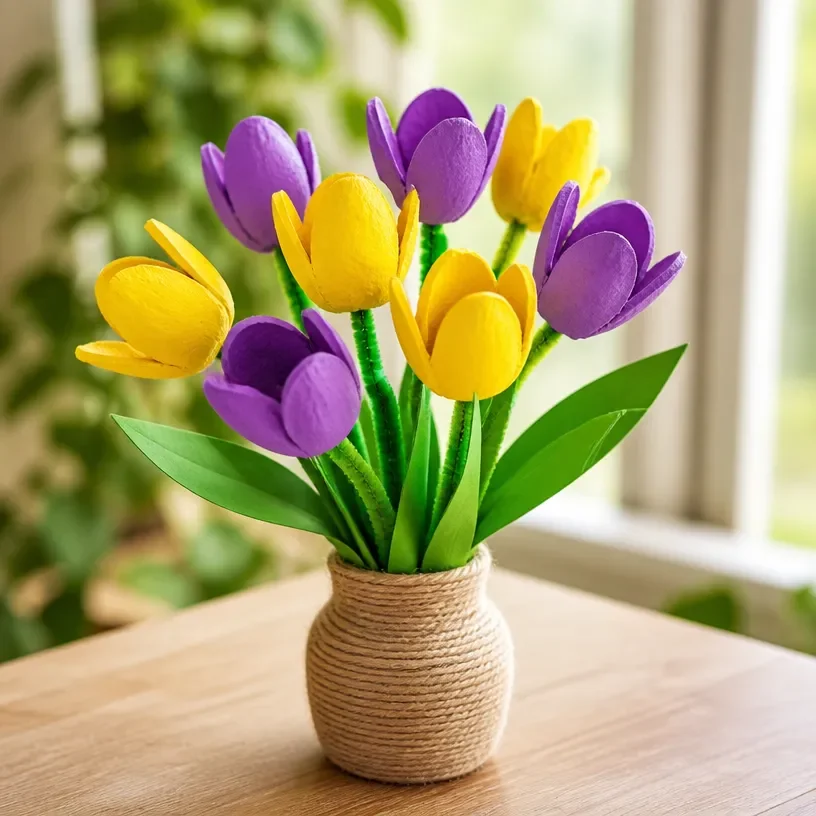
Creating with flowers can be a delightful journey, especially when you have a project like the Egg Carton Tulip Bouquet at your fingertips. Imagine setting up your crafting space, surrounded by vibrant colors, the scent of fabric paint or fresh blooms in the air, eager to transform simple materials into an enchanting floral arrangement. The Egg Carton Tulip Bouquet project perfectly blends creativity and simplicity, allowing you to bring a touch of spring into your home. Plus, it serves as an excellent way to engage with family or friends in a lighthearted crafting session. You may also find Coffee Filter Tie Dye Flower Bouquet useful.
Why You’ll Love Making Egg Carton Tulip Bouquet
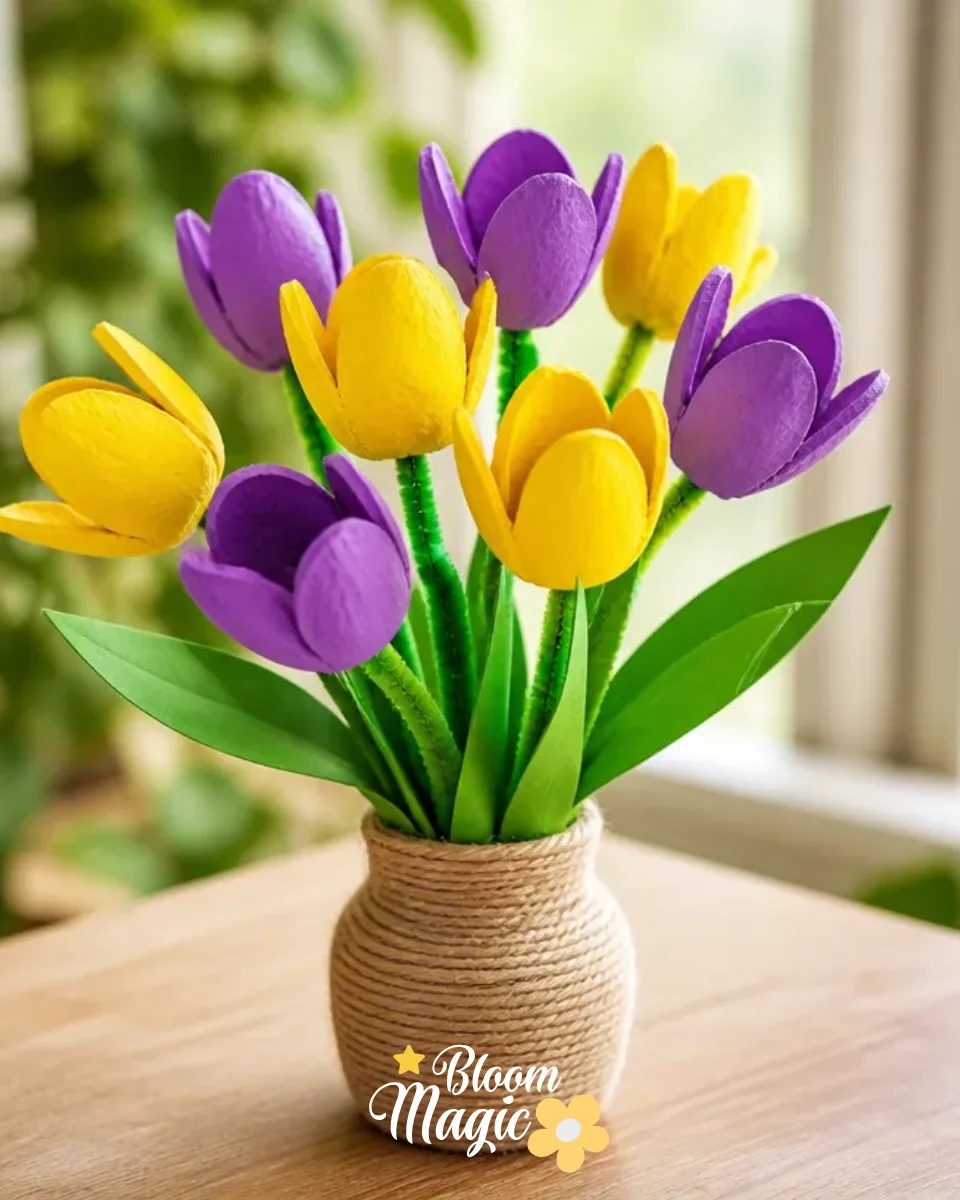
You may also find Fork Pom Pom Flower Bouquet useful.
The Egg Carton Tulip Bouquet stands out as an approachable and visually rewarding craft. It brings together everyday materials that are manageable and easy to find. With this project, you can create beautiful tulips that last longer than their fresh counterparts. The whimsical nature of using egg cartons allows you to explore your artistic side while also being eco-friendly, making it a worthwhile endeavor not just for decoration but also for gifting. You can display your creation proudly in your living space or give it to someone special as an ode to your crafting prowess. You may also find Pressed Wedding Bouquet Frame useful.
A Quick Look Before You Begin
Before diving into the steps, it’s helpful to take a moment to understand how this floral DIY comes together. You’ll be turning a humble egg carton into charming tulips that look stunning in any setting. The crafting process involves painting, cutting, and gluing activities that are not only creative but also invite personalization. There will be some delicate moments as you handle the materials, especially when assembling the petals. Rest assured, with some care and attention, you can maneuver through this process smoothly.
Materials You’ll Need
Here’s a list of materials you’ll need for this project:
- Egg cartons: Provides the main structure; look for ones with a rounded bottom for better tulip shapes.
- Acrylic paint: Adds vibrant color; choose hues that complement your space or theme.
- Craft scissors: Essential for cutting the carton and shaping the tulip petals.
- Glue: Holds the petals and any additional embellishments in place; hot glue works well.
- Floral wire: Serves as the stem; feel free to use pipe cleaners or sturdy straws as alternatives.
- Green floral tape: Covers the wire for a finished look; look for variations that blend seamlessly with your tulips.
- Optional embellishments: Add details like glitter or beads for sparkle and texture; personal choices can elevate your unique touch.
Step-by-Step Directions

Prepare the Egg Carton: Cut the egg carton into individual cups. Each cup will form the base of your tulip. Consider which side will be the top, focusing on the natural shape.
Paint the Petals: Use acrylic paint to color the outside of each cup. Depending on your desired tulip appearance, you might want to layer colors for depth. Remember to let them dry completely before proceeding.
Shape the Petals: After the paint dries, gently press and pull the rim of each cup to create a tulip petal shape, giving it more dimension.
Create the Stem: Cut a length of floral wire to your desired stem height. Wrap the bottom portion with green floral tape for a natural look. If you use pipe cleaners, twist them tightly to form a sturdy stem.
Assemble the Tulip: Apply glue inside the cut end of the egg carton flower and slide it onto the floral wire stem. Hold in place for a moment to let it set.
Add Leaves (Optional): Cut leaf shapes from green paper or use additional egg carton pieces. Glue them to the stem for a more complete look.
Finishing Touches: Once your tulip is fully assembled, you can embellish it as you wish. Consider using glitter to highlight the petals or adding beads for a unique flair.
Create a Bouquet: Repeat the above steps to create multiple tulips. Once completed, gather the stems together and tie them with a ribbon or place them in a vase for display.
The Design Behind This Floral DIY
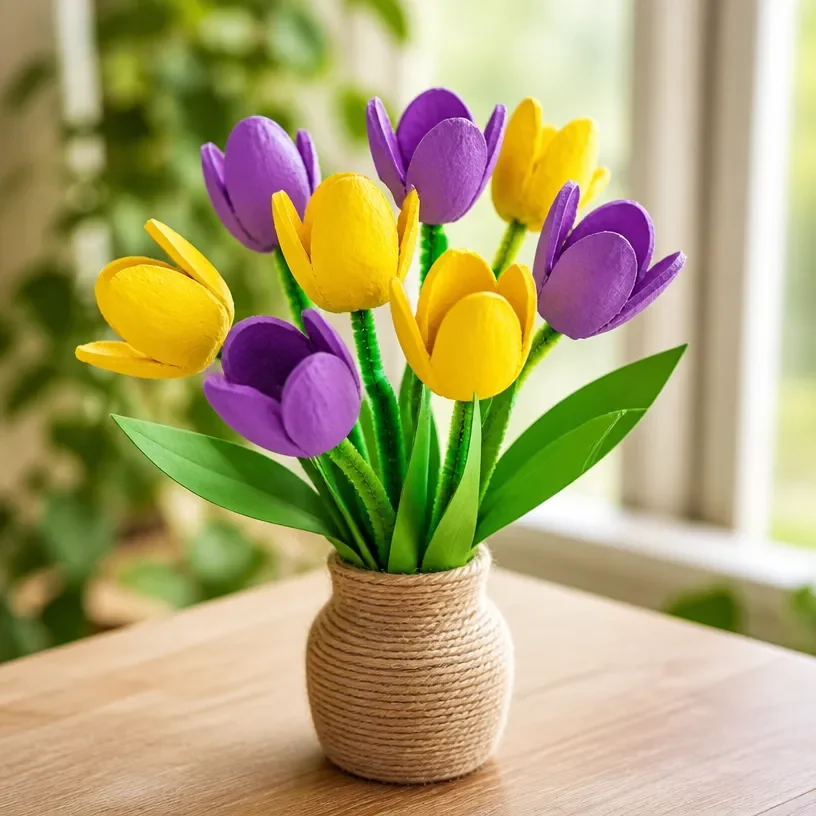
When creating the Egg Carton Tulip Bouquet, keep in mind some design principles such as balance and color. Using contrasting colors can help your tulips stand out, while similar tones can create a harmonious look. Space your flowers thoughtfully when assembling them together. Both texture and shape play pivotal roles in how your bouquet will ultimately be perceived; consider how light interacts with each petal and how your arrangement presents visually from various angles. Layer different colors and materials to add depth and enhance the overall aesthetic appeal of your bouquet.
Troubleshooting Common Issues
Common problems may arise during your crafting journey, such as uneven petal placement or petals that may not adhere properly. Should you notice any flowers shifting after assembly, try reapplying adhesive and holding firmly for a few seconds to secure them. If you find your bouquet too crowded, reassess the spacing and consider trimming some stems to balance the overall look.
Easy Variations to Try
To personalize your Egg Carton Tulip Bouquet further, here are a few variations to explore:
Color Themes: Experiment with seasonal palettes, such as pastel colors for spring or warm tones for autumn.
Mixed Botanic Styles: Combine tulips with other paper flowers or even incorporate dried botanicals for added texture.
Size and Scale: Adjust the height of your stems or the size of your tulips for varied visual interest.
Display Styles: Instead of a traditional vase, consider using a rustic bucket or a decorative pot to present your bouquet.
Gift Presentation: Wrap your bouquet in tissue paper or create a card to personalize your gift for someone special.
Displaying or Keeping Your Project
Once you’ve crafted your Egg Carton Tulip Bouquet, think about how to best display it. A bright windowsill or a simple table centerpiece adds warmth to your space. If you plan to gift the bouquet, consider pairing it with a thoughtful note or a handmade card. Be mindful of the moisture and direct sunlight; crafting is about beauty, but it’s also about preserving your work as long as possible.
FAQs About Egg Carton Tulip Bouquet
What if I don’t have enough egg cartons?
You can use paper cups or other recyclable materials if egg cartons are scarce. Look for options that mimic the tulip shape!
Can I paint the petals any color?
Absolutely! Feel free to choose any color you love. Consider how the color fits within your overall home decor.
How can I make the tulips look more realistic?
Consider adding additional layers layering other materials or using multiple colors can enhance the realism of your tulips.
What should I do if my petals are too hard to shape?
If the egg carton feels too firm for bending, you might try gently heating the edges with a hairdryer to soften them slightly before shaping.
Can I use this project as a centerpiece for an event?
Definitely! Crafting multiple tulips allows you to create a beautiful, meaningful centerpiece that stands out on any table.
A Final Helpful Note
Creating an Egg Carton Tulip Bouquet is a brilliant way to explore your creativity while embracing sustainable crafting. It’s essential to be flexible with your materials and allow your artistic instincts to guide you. Enjoy the process crafting should feel joyful and rewarding, not stressful. Take your time, be open to experimentation, and most importantly, revel in the beauty of your handmade flowers.
Conclusion
If you're inspired to check out similar crafts, explore how to
make your own Egg Carton Tulipsor view this guide on
how to make egg carton tulips as a lovely Mother’s Day gift. Engaging with floral projects like these not only fosters creativity but also connects us to the natural beauty that surrounds us. Enjoy your crafting journey!
Follow us on social for more floral DIY projects & botanical inspiration!
Egg Carton Tulip Bouquet
Would you like to save this project?
By submitting you agree to receive this project and occasional emails. Unsubscribe anytime.
Materials
Materials Needed
- 1 count Egg cartons Look for ones with a rounded bottom for better tulip shapes.
- varied Acrylic paint Choose hues that complement your space or theme.
- 1 pair Craft scissors Essential for cutting the carton.
- 1 tube Glue Hot glue works well for assembly.
- 1 count Floral wire Can substitute with pipe cleaners or sturdy straws.
- 1 roll Green floral tape Covers the wire for a finished look.
- optional Optional embellishments Add details like glitter or beads for extra flair.
Directions
Preparation
- Cut the egg carton into individual cups for tulip bases.
- Paint the outside of each cup with acrylic paint and let them dry completely.
- Shape the petals by pressing and pulling the rim of each cup.
- Cut the floral wire to your desired stem height and wrap the bottom with green floral tape.
- Apply glue inside the cut end of the flower and slide it onto the floral wire stem.
- Cut leaf shapes from green paper or use additional egg carton pieces and glue them to the stem.
- Embellish the tulip as desired with glitter or beads.
- Repeat steps to create multiple tulips and gather the stems together to form a bouquet.
Last Step: Don’t forget to leave a rating and comment below! It helps other readers find the best DIY projects — and it helps us too!