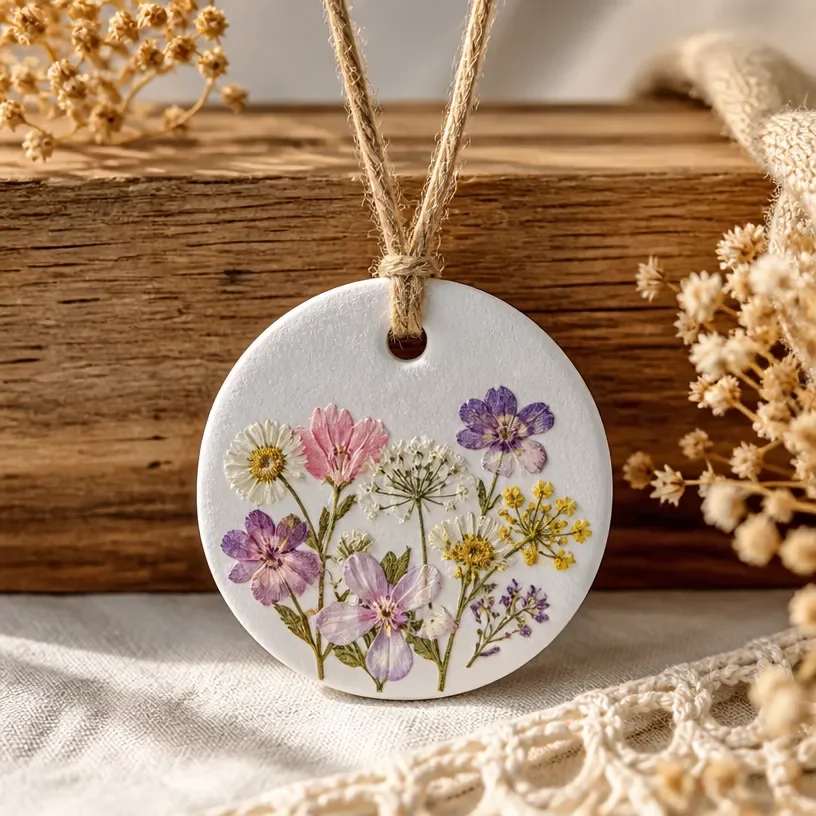
Creating beautiful floral crafts is always a delightful way to embrace nature’s artistry. Imagine sitting down with a handful of pressed flowers, ready to transform them into something unique and personal. With the idea of a Pressed Flower Air-Dry Clay Pendant in mind, you can preserve your favorite blooms while creating a charming decorative piece. This project not only gives you the opportunity to showcase your floral finds but also acts as a heartfelt gift that carries the essence of cherished memories. You may also find Pressed Flower Air Dry Clay Heart Dish Tutorial useful.
Why This Pressed Flower Air-Dry Clay Pendant Works So Well
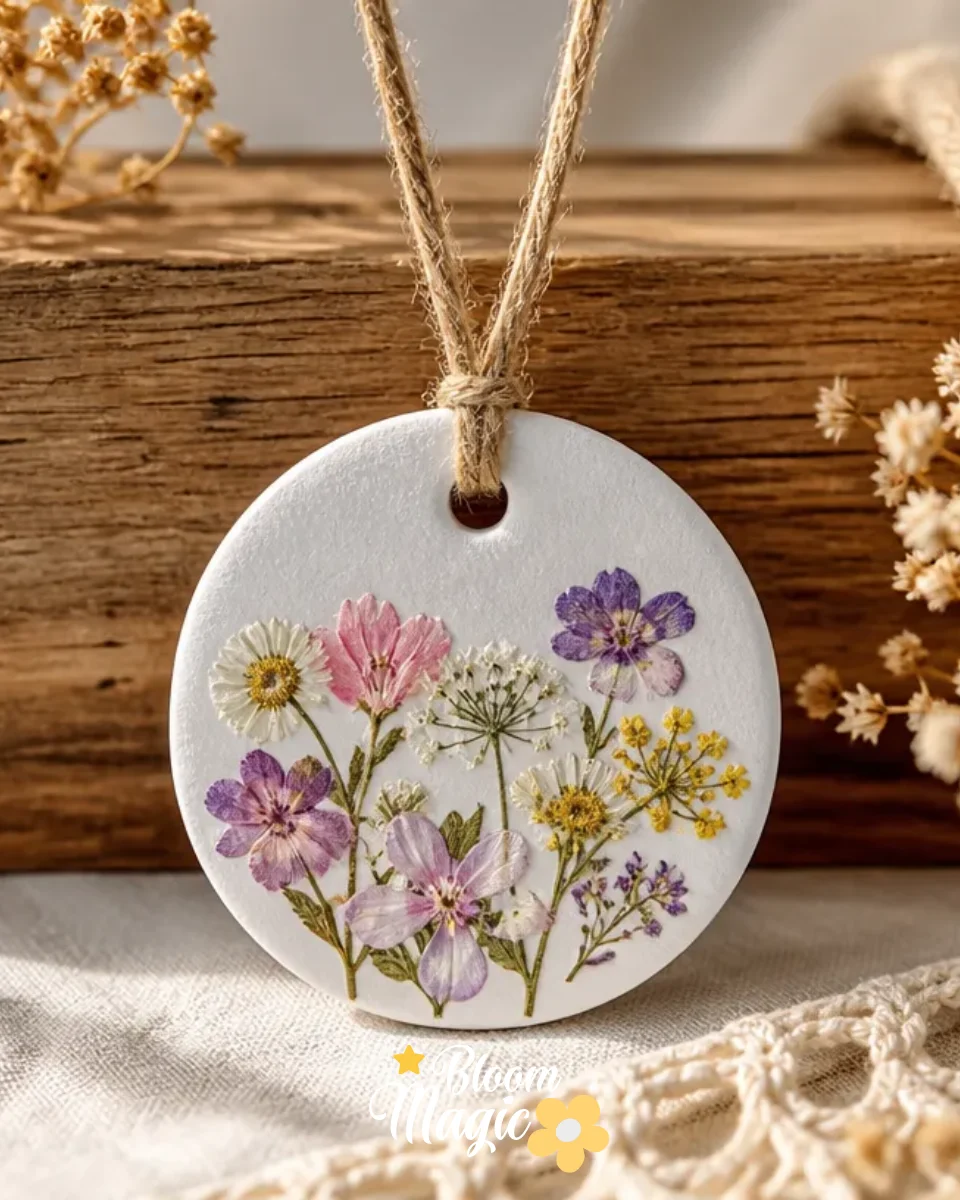
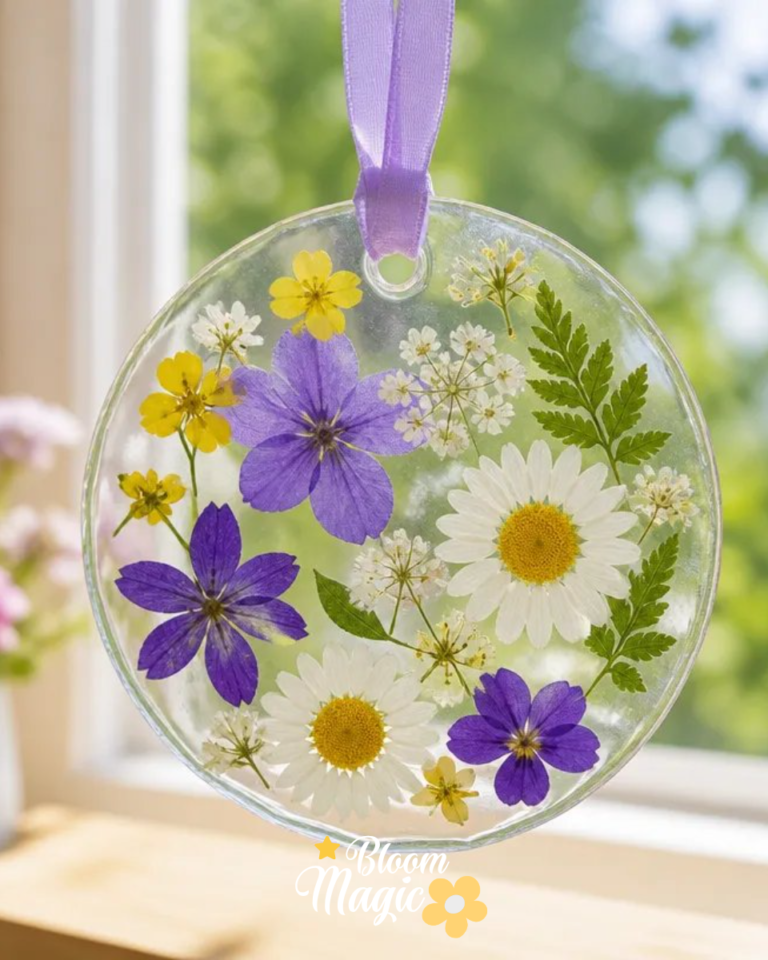
You may also find Clear Glue Pressed Flower Suncatcher useful.
Making a Pressed Flower Air-Dry Clay Pendant is approachable for crafters of all experience levels. Its simplicity allows you to work with various flowers, adapting your designs to suit the seasons or your personal style. The project is both visually rewarding and straightforward, especially since it utilizes readily available materials to create something meaningful. The use of air-dry clay means you don’t have to worry about complicated drying processes or using specialized tools, which makes this an excellent choice for anyone looking to explore floral crafts. You may also find Floating Pressed Flower Glass Frame useful.
A Quick Look Before You Begin
Before diving into crafting, take a moment to gather your supplies and clear a workspace. This project involves creating a pendant, where you’ll combine pressed flowers with air-dry clay to form a striking decorative item. The process is manageable with the provided materials, and you won’t need extensive clean-up afterward. Plan to take your time when arranging the floral elements to ensure a balanced and pleasing composition.
Materials You’ll Need
- Air-dry clay: This will be the base for your pendant, providing a lightweight and durable foundation.
- Pressed flowers: Choose a selection of your favorite blooms that will create visual interest.
- Rolling pin: Useful for flattening the clay evenly.
- Clay knife or cutter: To shape your pendant and cut through the clay cleanly.
- Paintbrush: For applying any desired finishes or sealers.
- Optional: Clear sealant for added protection or luster.
These materials contribute directly to the project’s success, allowing you to embrace nature through crafting. Feel free to use different flower types or colors to adapt the design to your taste.
Step-by-Step Directions
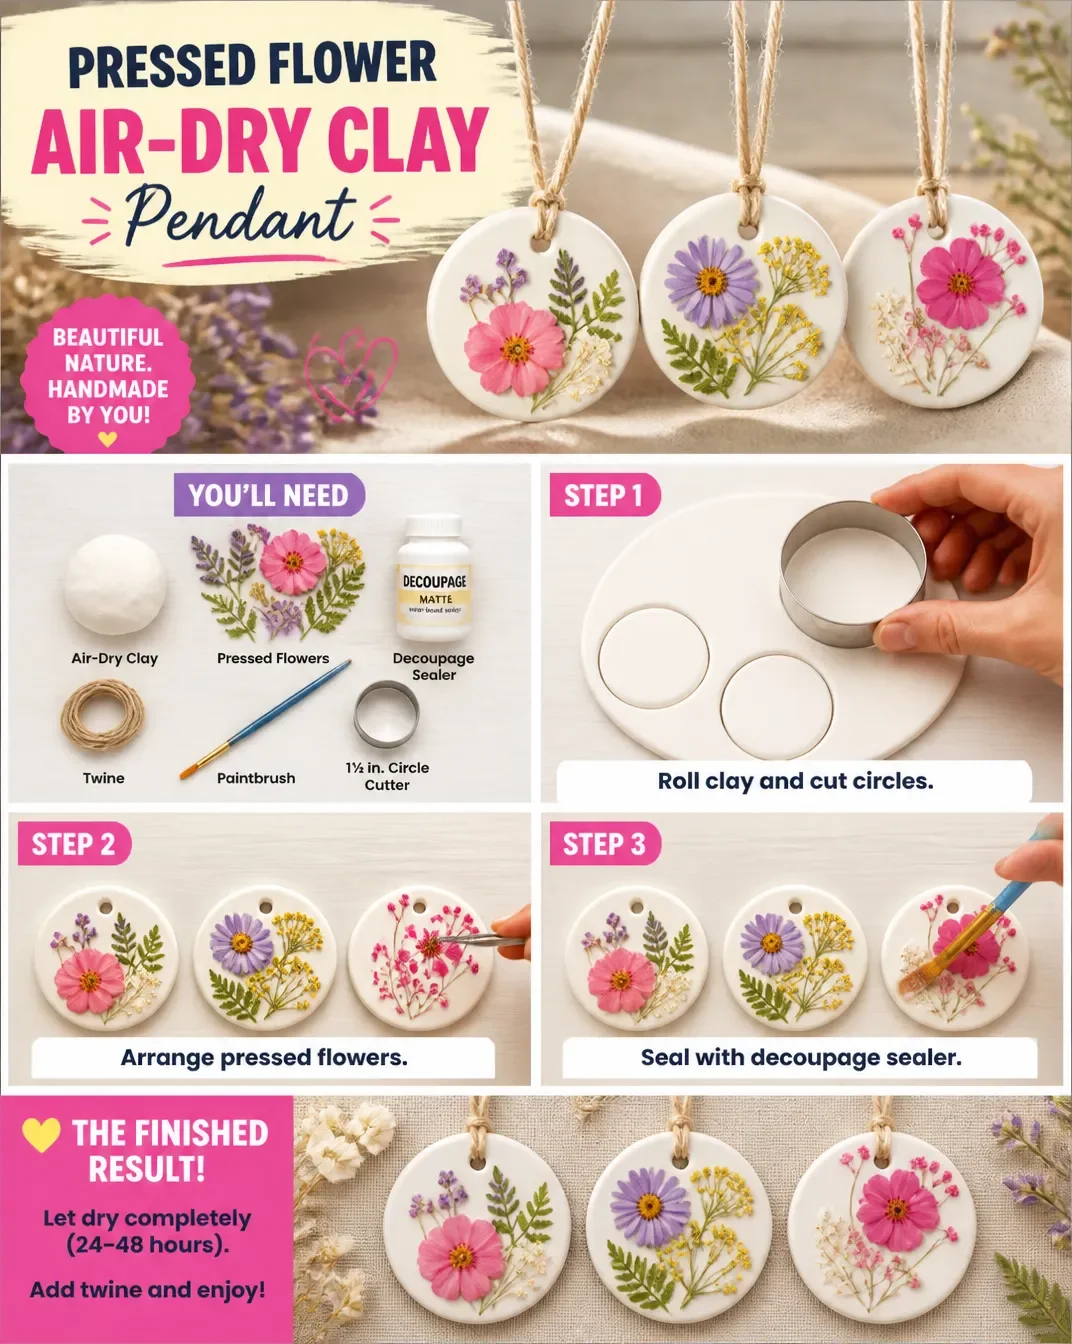
Prepare Your Workspace: Clear a flat surface. Lay down some parchment paper to work on, ensuring easy cleanup.
Condition the Air-Dry Clay: Knead the clay until it’s soft and pliable, which will make it easier to shape.
Roll Out the Clay: Use the rolling pin to flatten the clay to a uniform thickness of about 1/4 inch.
Cut the Pendant Shape: Utilize your clay knife to cut out your desired pendant shape. A simple circle or heart can be charming.
Arrange the Pressed Flowers: Before securing them, place your pressed flowers onto the clay. Adjust their positioning until you are satisfied with the layout.
Embed the Flowers: Gently press the flowers into the clay to ensure they adhere well.
Create a Hole for Hanging: Use a straw or small tool to poke a hole at the top of the pendant for a cord.
Allow to Dry: Follow the manufacturer’s instructions for drying time. This is a crucial step, as the clay needs to be completely dry before moving on.
Finish the Pendant: Once dried, you can paint or seal the pendant if desired. This adds an extra layer of protection and can enhance the colors.
Attach Your Cord: Once the pendant is fully ready and dry, thread a cord or chain through the hole you created and secure it.
The Design Behind This Floral DIY
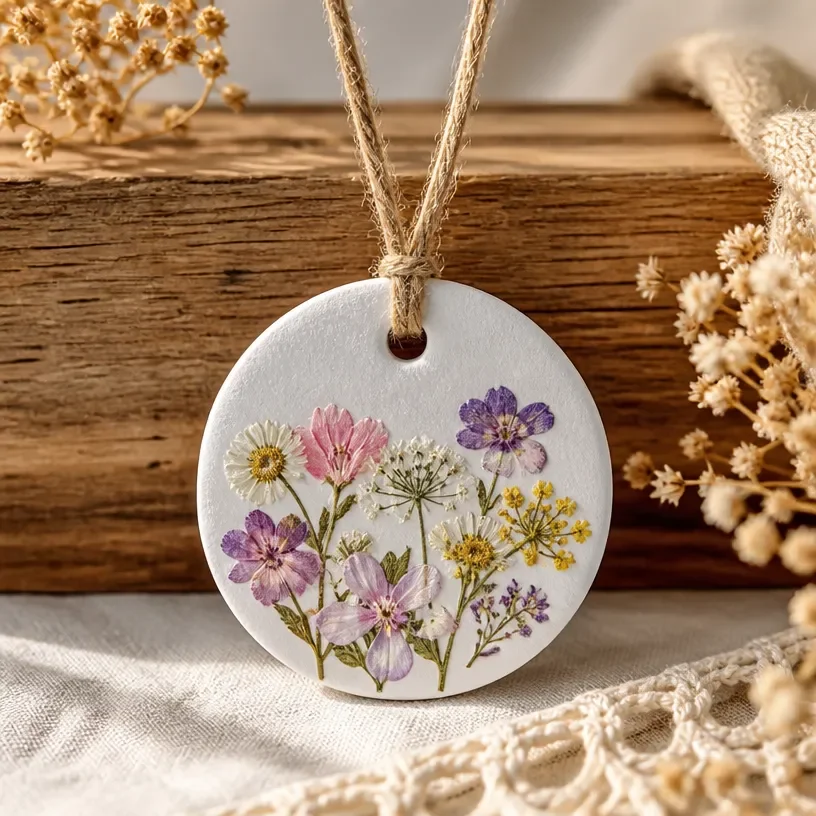
The beauty of this pendant comes from the careful placement and selection of flowers. Think about complementary colors and textures when arranging your pressed flowers. For instance, a vibrant blue flower against a soft pink can create a stunning contrast. Balance is key; ensure that no single flower overpowers the others. Consider layering smaller flowers or petals over larger ones to add depth. The result should be a cohesive piece that feels harmonious and inviting.
Troubleshooting Common Issues
Crafting with delicate flowers can come with its challenges. Sometimes, flowers might shift during the drying process. To avoid this, make sure to secure them well into the clay before it dries. If you notice uneven placement once dried, you can gently trim the edge of the clay around the flower to create a more polished look. Remember that small imperfections can add to the charm of handmade items, so embrace uniqueness!
Easy Variations to Try
If you want to experiment beyond the basic design, consider these variations:
- Swap out flower types for seasonal elements like autumn leaves or spring blossoms.
- Experiment with background colors by mixing in paint with the air-dry clay before rolling it out.
- Try layering clear resin over the pendant after it dries for a glossy finish.
- Explore using different shapes, such as stars or custom outlines, to create personalized designs.
Displaying or Keeping Your Project
Once you’ve finished your Pressed Flower Air-Dry Clay Pendant, think creatively about how to display it. You might wear it as a necklace or perhaps hang it in a bright window. If gifting, consider presenting it in a lovely box that highlights the natural beauty of the pendant. Remember, careful handling will maintain its integrity, so keep it in a safe spot when not in use.
FAQs About Pressed Flower Air-Dry Clay Pendant
Can I use fresh flowers instead of pressed ones?
Fresh flowers might not adhere well and can cause damage to the pendant. It’s best to use dried or pressed flowers for durability.
What if I don’t have air-dry clay?
You can create similar effects using polymer clay, but remember that it requires baking to set properly.
How can I ensure the flowers stay in place?
Make sure to press them firmly into the clay and avoid moving them once positioned.
Can I make this pendant with children?
Yes, with proper supervision, this project can be a fun family activity. Prepping the materials might be best for adult supervision.
What maintenance does the pendant require?
Keep it in a dry area, and gently wipe it with a soft cloth if it gets dusty. Avoid exposure to direct sunlight for prolonged periods.
A Final Helpful Note
Remember that making a Pressed Flower Air-Dry Clay Pendant should be a relaxing and enjoyable process. Feel free to experiment with colors, shapes, and types of flowers as you craft. Your unique touches are what will make your piece special, so allow your creativity to flourish. Enjoy the journey, and take pride in your beautiful handmade creation.
Conclusion
Creating floral keepsakes like this pendant can be a fulfilling way to celebrate nature's beauty. As you explore more floral crafts, you might be interested in learning
how to make dried flower ornamentsto complement your project. Another beautiful option is making a
clay jewelry dish with pressed flowers. These projects allow you to further connect with your favorite blossoms while enhancing your home decor. Happy crafting!
Follow us on social for more floral DIY projects & botanical inspiration!
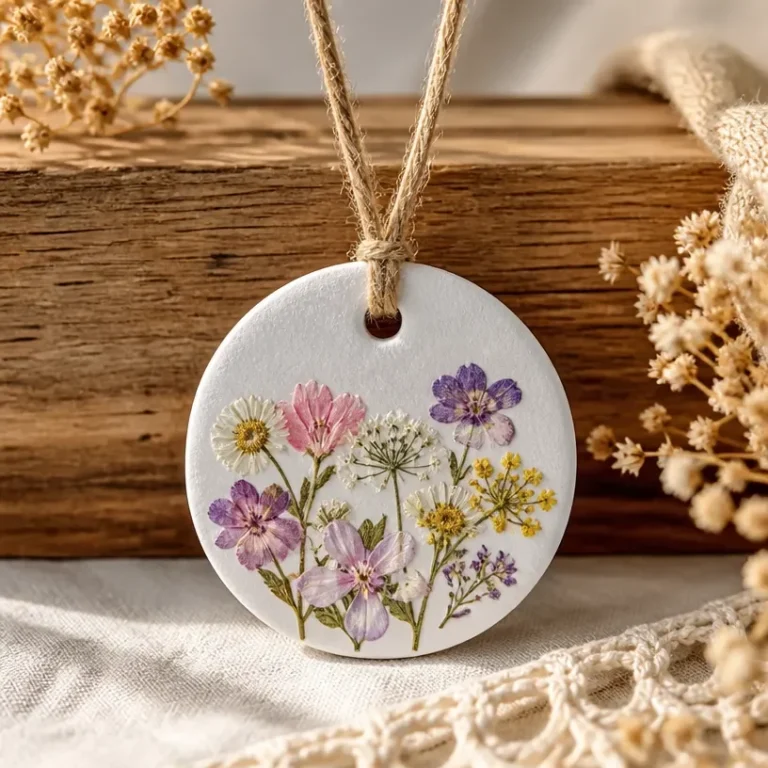
Pressed Flower Air-Dry Clay Pendant
Would you like to save this recipe?
By submitting you agree to receive this recipe and occasional emails. Unsubscribe anytime.
Ingredients
Materials
- 1 package Air-dry clay This will be the base for your pendant, providing a lightweight and durable foundation.
- Variety pieces Pressed flowers Choose a selection of your favorite blooms that will create visual interest.
- 1 piece Rolling pin Useful for flattening the clay evenly.
- 1 piece Clay knife or cutter To shape your pendant and cut through the clay cleanly.
- 1 piece Paintbrush For applying any desired finishes or sealers.
- Optional bottle Clear sealant For added protection or luster.
Instructions
Preparation
- Prepare Your Workspace: Clear a flat surface. Lay down some parchment paper to work on, ensuring easy cleanup.
- Condition the Air-Dry Clay: Knead the clay until it's soft and pliable, which will make it easier to shape.
- Roll Out the Clay: Use the rolling pin to flatten the clay to a uniform thickness of about 1/4 inch.
- Cut the Pendant Shape: Utilize your clay knife to cut out your desired pendant shape. A simple circle or heart can be charming.
- Arrange the Pressed Flowers: Before securing them, place your pressed flowers onto the clay. Adjust their positioning until you are satisfied with the layout.
- Embed the Flowers: Gently press the flowers into the clay to ensure they adhere well.
- Create a Hole for Hanging: Use a straw or small tool to poke a hole at the top of the pendant for a cord.
- Allow to Dry: Follow the manufacturer’s instructions for drying time. This is a crucial step, as the clay needs to be completely dry before moving on.
- Finish the Pendant: Once dried, you can paint or seal the pendant if desired. This adds an extra layer of protection and can enhance the colors.
- Attach Your Cord: Once the pendant is fully ready and dry, thread a cord or chain through the hole you created and secure it.
Last Step: Don’t forget to leave a rating and comment below! It helps other readers find the best recipes — and it helps us too!
Tips & Notes:
Nutrition Information: Serving: 1 | Calories: 50kcal | Carbohydrates: | Protein: | Fat: | Sodium: | Fiber: | Sugar:
Nutritional information is provided as a courtesy and calculated automatically. Values can vary depending on the brands and ingredients you use, so if you’re tracking closely, I recommend calculating with your own preferred tool.