Fork Pom-Pom Flower Bouquet You may also find 3D Flower Wall Art Ideas Home Decor useful.
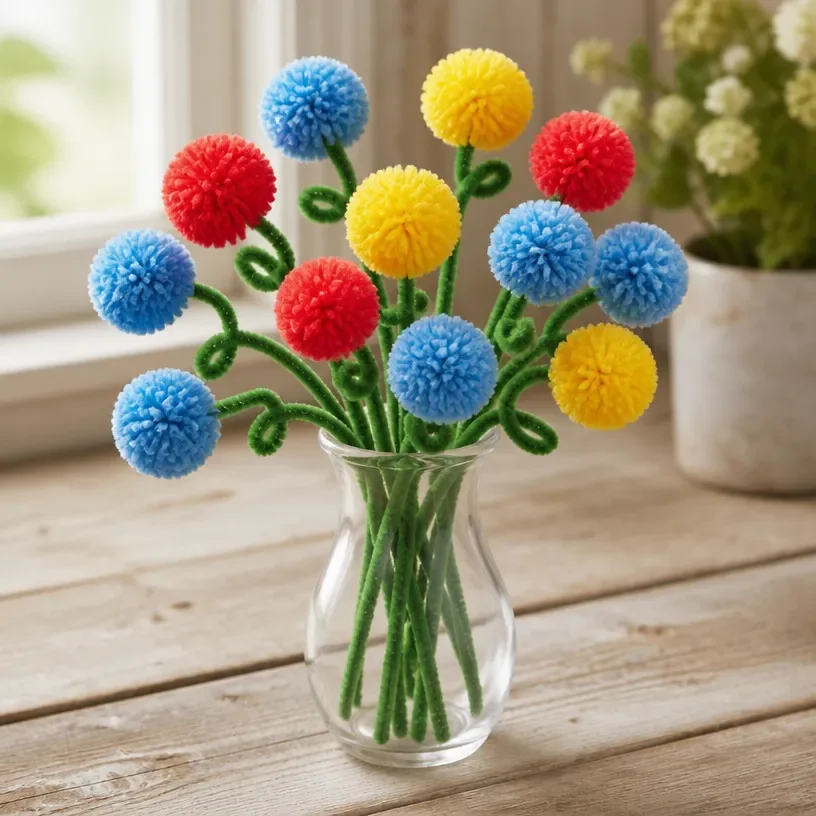
Creating floral crafts brings so much joy, especially when you’re ready to transform simple materials into delightful decor. Imagine sifting through your craft supplies, eager to create something that can bring a little extra life to your space. One engaging project you might consider is the Fork Pom-Pom Flower Bouquet. This approachable craft combines colorful yarn, a fork, and a bit of creativity to result in charming flowers that can brighten any room or make a thoughtful gift. You may also find Clear Glue Pressed Flower Suncatcher useful.
Why This Fork Pom-Pom Flower Bouquet Works So Well
You may also find Diy Flower Hearts Craft Clear Glue useful.
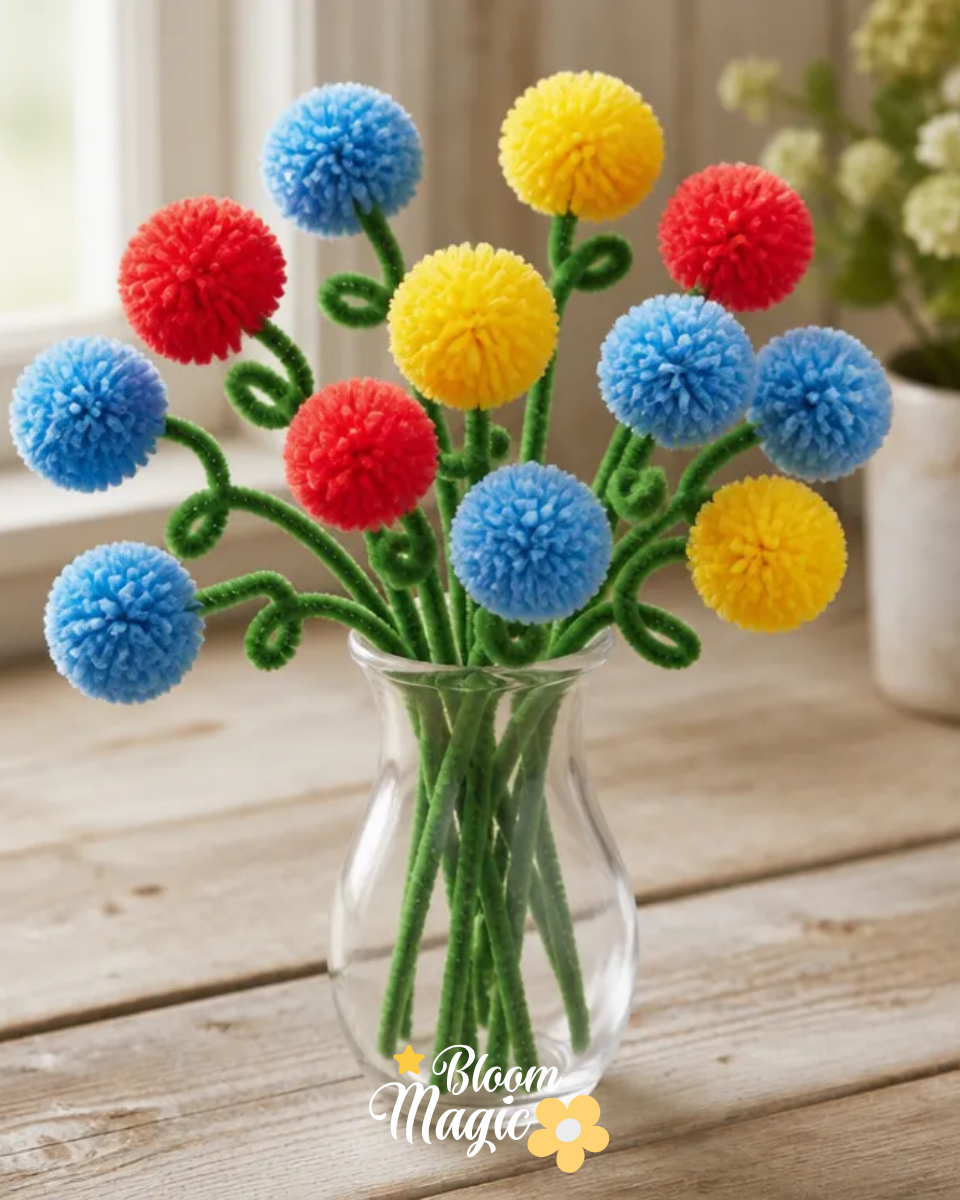
The Fork Pom-Pom Flower Bouquet is a project that truly shines when it comes to creativity and satisfaction. Its easy-to-follow steps make it approachable for beginners, ensuring that you can find success with minimal frustration. The visual reward of seeing your pom-poms come together is especially gratifying, providing immediate feedback on your efforts. This project can serve various purposes, from bringing life to your home decor to creating thoughtful, handmade gifts for friends and family. As you combine yarn colors, you’ll enjoy how versatile these pom-poms can be, fitting seamlessly into any seasonal display.
A Quick Look Before You Begin
Creating the Fork Pom-Pom Flower Bouquet is a straightforward process that allows your creativity to flourish. When you gather your materials, you’ll notice the simplicity of each step. The main construction involves wrapping yarn around the fork and cutting it to form fluffy pom-poms. You’ll need to be mindful of how you secure your flowers, but there’s plenty of room for adjustments along the way. Don’t worry about making a mess; this project is enjoyable and can be tidied up easily after you finish.
Materials You’ll Need
- Yarn: Choose your favorite colors; this is what makes the flowers truly pop.
- Scissors: For cutting the yarn and shaping your pom-poms.
- Fork: The main tool for making your pom-poms.
- Floral Wire or Stems: To attach your pom-poms and create a bouquet shape.
- Decorative Vase (optional): To display your completed bouquet.
The materials mentioned contribute to the overall look of your bouquet. Remember to choose yarn that is soft enough to work with but has good body to hold the shape of the pom-poms effectively.
Step-by-Step Directions
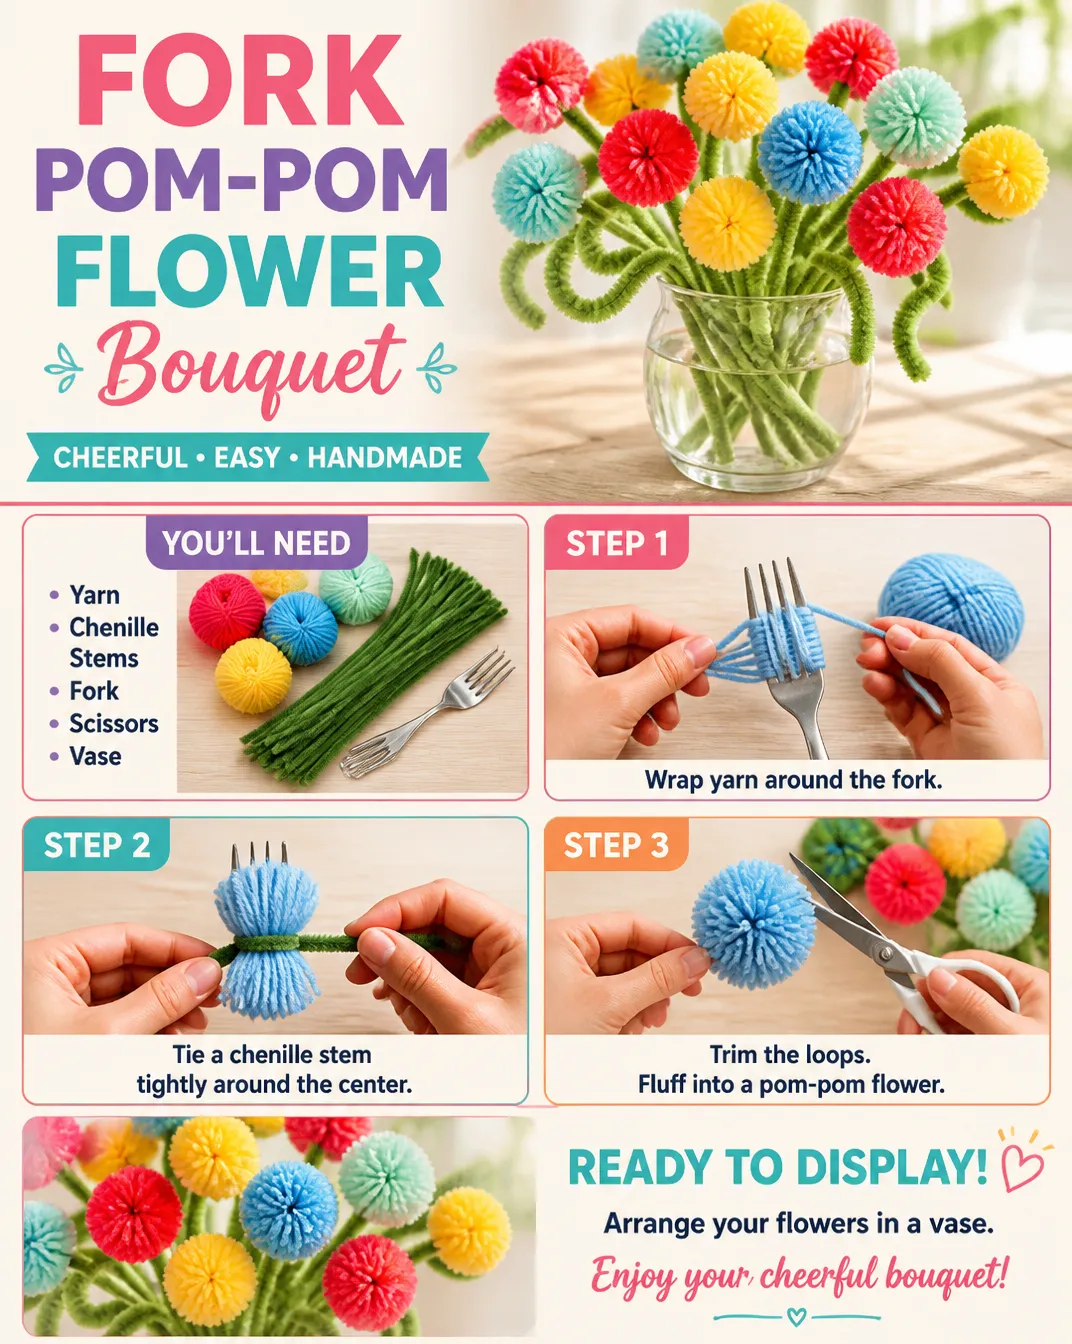
Choose Yarn Colors: Pick two or three colors that you like together. This will set the tone for your pom-poms.
Wrap the Yarn: Take your first color of yarn and start wrapping it around the fork tines. Aim for around 50-100 times, depending on the thickness you want.
Cut the Yarn: Once wrapped, carefully cut a strand of yarn about 10 inches long. This will be used to tie off your pom-pom.
Tie the Center: Slip the cut piece of yarn between the fork tines and tie it securely in the middle to hold the pom-pom together.
Cut the Loops: Gently pull the yarn off the fork and cut through the loops on both ends. This will create your fluffy pom-pom.
Trim Edges: Shape your pom-pom by trimming any uneven ends. Keep shaping until you’re satisfied with the look.
Attach to a Stem: Use floral wire or a stiff stem to attach your pom-poms together and create your bouquet form.
Repeat: Make as many pom-poms as you want to fill out your bouquet. Different sizes can create variety.
Arrange: Once you have several pom-poms, arrange them in your decorative vase, playing with spacing for a balanced look.
Display: Find a lovely spot in your home to show off your creation. The colors and textures should bring warmth to your space.
The Design Behind This Floral DIY
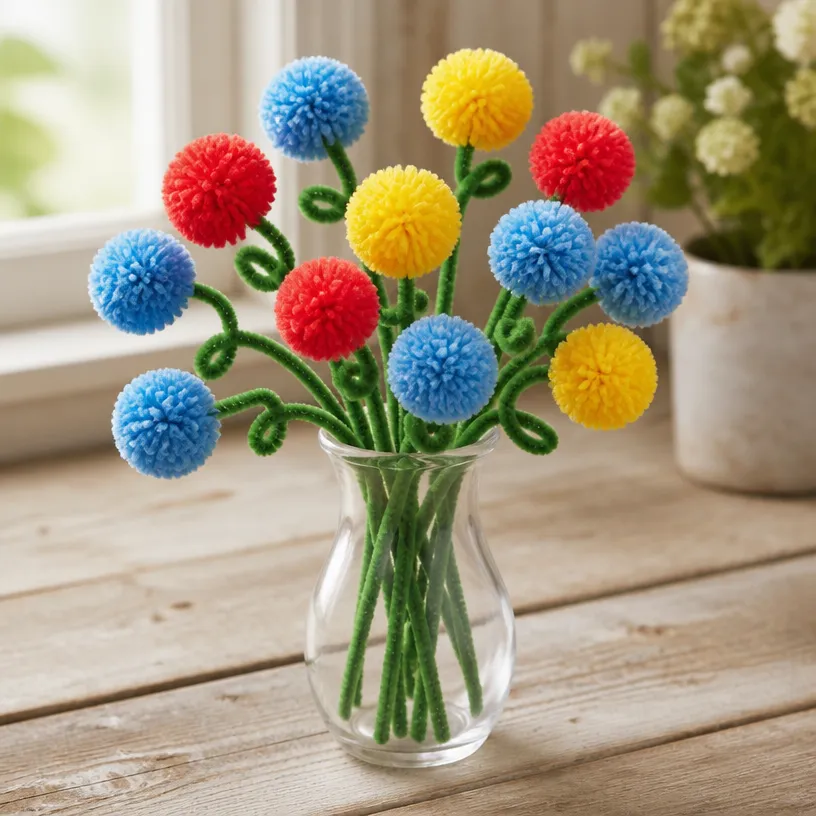
The beauty of the Fork Pom-Pom Flower Bouquet lies in the combination of colors, textures, and shapes. When considering your color relationships, think about complimentary hues and how they play against each other. For instance, a soft pink might beautifully contrast with a vibrant yellow, making each pom-pom stand out. Additionally, layering your pom-poms in different heights can evoke a lively, dynamic look. Pay attention to spacing as you arrange the flowers in your vase; ensure that they are close enough to look full but distant enough to highlight each pom-pom’s unique color and shape.
Troubleshooting Common Issues
If you encounter some bumps in your crafting journey, you’re not alone. Common problems such as uneven pom-pom shapes can occur. If you notice your pom-poms are lopsided, don’t hesitate to give them some extra trimming. When they shift or lose shape during assembly, ensure that the yarn is tied securely in the center before cutting the loops. If the arrangement looks cramped, consider re-spacing the pom-poms for a more balanced appearance.
Easy Variations to Try
- Seasonal Colors: Change your yarn to reflect different seasons rich oranges and browns for autumn or pastels for spring.
- Different Sizes: Experiment with using larger or smaller forks to create pom-poms of varying sizes.
- Mixed Textures: Incorporate different materials such as ribbon or fabric scraps for added texture.
- Personalized Stems: Decorate stems with washi tape or paint for a more personalized touch.
- Basket Display: Instead of a vase, consider using a decorative basket for a charming twist on the presentation.
Displaying or Keeping Your Project
After pouring your heart into creating the Fork Pom-Pom Flower Bouquet, it’s essential to think about its display. Make sure to place your bouquet in a spot with indirect sunlight to maintain the vibrancy of the yarn. If you find yourself with extra materials, don’t shy away from reusing them for another craft. This project not only provides visual charm but also encourages creative repurposing.
FAQs About Fork Pom-Pom Flower Bouquet
Can I use different materials instead of yarn? Yes! While yarn provides a lovely texture, you could use fabric scraps or even paper to create a different look.
What if my pom-poms are too sparse? If your pom-poms seem too sparse, consider wrapping the yarn more times around the fork to create a fuller flower.
How can I store my pom-pom bouquet? If you need to store your bouquet, keep it in a cool, dry place to avoid any crushing or discoloration.
A Final Helpful Note
As you complete your Fork Pom-Pom Flower Bouquet, remember that the most important aspect is to enjoy your creative process. Every pom-pom you make is a step towards a delightful finished piece. Be open to adjusting and experimenting along the way; crafting is about exploration and making something uniquely yours.
Conclusion
Crafting can be a wonderful way to express creativity, and the Fork Pom-Pom Flower Bouquet is no exception. If you’re interested in additional pom-pom inspiration, check out this guide on how to create pom-pom flowers using a fork. For further exploration into making various flower crafts, consider looking at this resource on making pom-pom dandelions. Embrace your crafting journey with warm colors and thoughtful arrangements!
Follow us on social for more floral DIY projects & botanical inspiration!
Fork Pom-Pom Flower Bouquet
Would you like to save this project?
By submitting you agree to receive this project and occasional emails. Unsubscribe anytime.
Materials
Main Materials
- 1 ball Yarn Choose your favorite colors.
- 1 pair Scissors For cutting yarn and shaping pom-poms.
- 1 piece Fork The main tool for making pom-poms.
- 1 bundle Floral Wire or Stems To attach pom-poms and create bouquet shape.
- 1 optional Decorative Vase For displaying your bouquet.
Directions
Creating Pom-Poms
- Choose Yarn Colors: Pick two or three colors that you like together.
- Wrap the Yarn: Take your first color of yarn and start wrapping it around the fork tines, around 50-100 times.
- Cut the Yarn: Carefully cut a strand of yarn about 10 inches long for tying off your pom-pom.
- Tie the Center: Slip the cut piece of yarn between the fork tines and tie it securely in the middle.
- Cut the Loops: Gently pull the yarn off the fork and cut through the loops on both ends.
- Trim Edges: Shape your pom-pom by trimming any uneven ends.
- Attach to a Stem: Use floral wire or a stiff stem to attach your pom-poms together.
- Repeat: Make as many pom-poms as you want to fill out your bouquet.
- Arrange: Arrange your pom-poms in your decorative vase.
- Display: Find a lovely spot in your home to show off your creation.
Last Step: Don’t forget to leave a rating and comment below! It helps other readers find the best DIY projects — and it helps us too!