When looking to add a touch of floral beauty to your home or gift creations, a Folded Paper Tulip Bouquet offers an engaging crafting opportunity. Perhaps you’ve gathered some colorful paper and are eager to create something lovely for a friend or to brighten up your living space. This project is perfect for preserving the spirit of spring and is an incredible way to showcase your creativity and crafting skills. You may also find Folded Paper Tulip Bouquet Tutorial useful.
Why This Folded Paper Tulip Bouquet Works So Well

You may also find Egg Carton Tulip Bouquet Diy Tutorial useful.
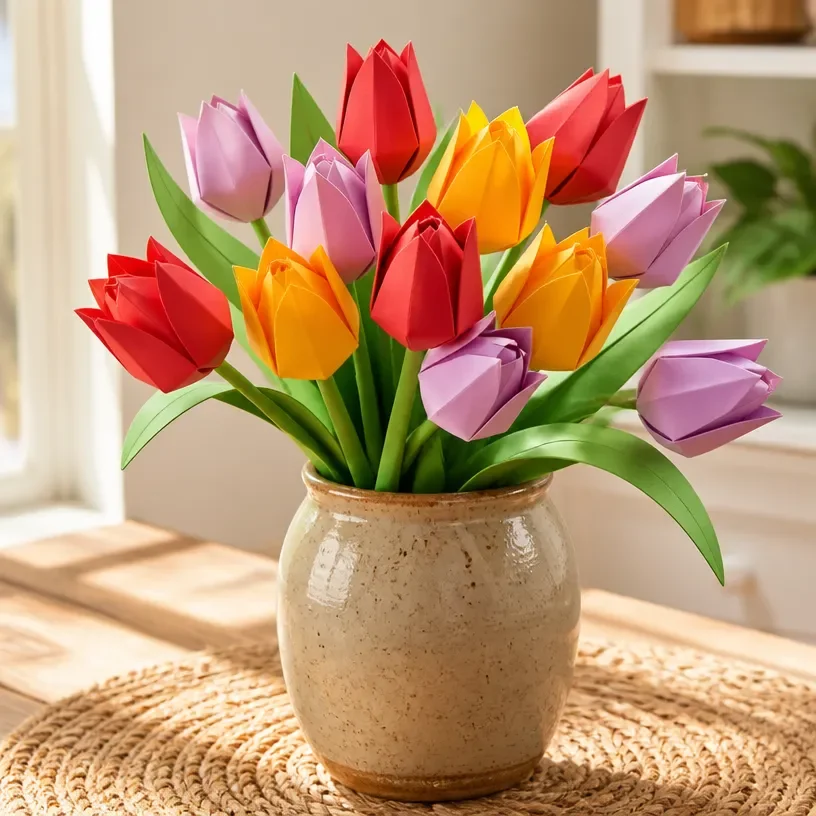
This Folded Paper Tulip Bouquet is an ideal project for anyone from beginners to experienced crafters. Its approachable design means you won’t feel overwhelmed, making it easy to jump right in. Working with paper enhances your skill set and offers a beautiful end result without the need for complex tools. These tulips can be arranged creatively in a vase for bright decor or used as a heartfelt gift. In addition, you can explore other floral creations, such as rolled paper rose bouquets, to expand your crafting repertoire.
A Quick Look Before You Begin
Creating a Folded Paper Tulip Bouquet is a straightforward process that emphasizes the joys of crafting. To get started, prepare your materials and choose a comfortable workspace. You’ll enjoy the repetitive motions of folding and assembling each flower while watching them come to life. The project allows for creativity in how you arrange the flowers and colors, ensuring that each bouquet can be unique.
Materials You’ll Need
Before you start crafting, gather these materials:
- Colored paper: This will make up the petals. Choose vibrant colors that evoke spring.
- Scissors: For precise cutting of paper shapes.
- Adhesive: A glue stick or craft glue works well.
- Floral wire or wooden skewers: These will serve as stems for your tulips.
- Green paper or tape: Use this for leaves or additional decor.
- Ruler and pencil: For measuring and marking folds.
These items are essential and help create the unique charm that each tulip will have in your bouquet.
Step-by-Step Directions

Cut the Paper: Start by cutting your colored paper into squares or rectangles, depending on how large you want your tulips. A good starting size is around 6×6 inches.
Fold the Paper: Take a square piece of paper and fold it diagonally to form a triangle. Then fold the triangle in half, bringing the two corners together. You’ll be creating the tulip shape by modifying this triangle.
Create the Petals: To form the tulip petals, make small folds along the edges of your triangle to round them off. You can adjust the size and depth of your folds to give a variety of petal shapes.
Assemble the Tulip: Open up the folded triangle slightly, and you’ll see the shape of the tulip. Use glue to secure the edges, making sure the petals maintain their shape.
Attach the Stem: Take your floral wire or skewer and insert it into the base of the tulip. Secure it with glue, ensuring it’s stable for display.
Make Leaves: Cut small leaf shapes from the green paper and attach them alongside the stem with glue.
Repeat: Create multiple tulips in different colors and sizes, filling out your bouquet. Play with the arrangement until you’re satisfied with the look.
Final Arrangement: Place your tulips in a vase or wrap them together for a bouquet presentation.
The Design Behind This Floral DIY
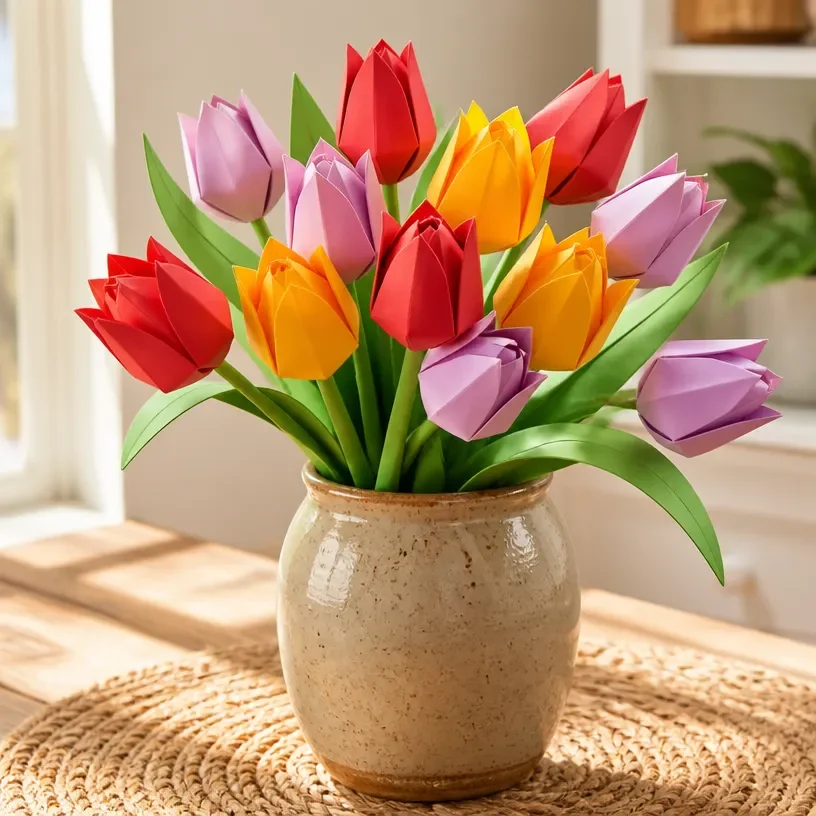
The design elements of your Folded Paper Tulip Bouquet revolve around color and shape. Choosing complementary colors enhances the visual appeal, while varying the sizes of your tulips can add interest to the bouquet. You will notice how the petal shapes create a sense of dimension when arranged together, allowing light to play off the forms. Spacing the flowers evenly in the vase contributes to a balanced presentation, making each tulip stand out while appearing harmonious.
Troubleshooting Common Issues
If you encounter any challenges, don’t worry. Here are a few tips to help address common issues:
Uneven Petal Shapes: If your petals seem unequal, take a moment to revisit your folds. Adjust gently before the glue dries.
Stems Not Sticking: Ensure that you’ve applied enough adhesive where the stem meets the tulip base. You may need to hold it for a few moments to secure it properly.
Crowded Arrangement: If your tulip bouquet feels too crowded, rearranging the spacing or using fewer flowers can help create a more aesthetically pleasing look.
Easy Variations to Try
Consider these variations to personalize your Folded Paper Tulip Bouquet:
Color Combinations: Use a mix of pastel and vibrant colors for a seasonal twist.
Vase Types: Experiment with different types of containers, such as mason jars or ceramic pots, to enhance your display style.
Theme Arrangements: Create holiday-themed bouquets by selecting colors and decorations that reflect the specific event or season.
Displaying or Keeping Your Project
Once your Folded Paper Tulip Bouquet is complete, how you choose to display it can greatly enhance its impact. Place your bouquet in a well-lit area where it can be appreciated. If you’re thinking of gifting it, consider adding a handmade card for a personal touch. Always be gentle when moving your flowers to avoid displacing any of the petals.
FAQs About Folded Paper Tulip Bouquet
What should I do if the petals start curling? A gentle press while the glue dries can help keep them flat. If they curl afterwards, you can use a bit of adhesive to re-secure them.
Can I use different types of paper? Yes, you can experiment with textured or patterned paper, but ensure they are lightweight to maintain the flower shape.
What if I don’t have floral wire? Wooden skewers or even sturdy straws can serve as excellent substitutes for creating tulip stems.
A Final Helpful Note
Remember, creating a Folded Paper Tulip Bouquet is all about enjoying the process. Let your creativity flow as you experiment with colors and arrangements. Focus on the joy that comes from working with your hands and the natural beauty your flowers will bring into your space.
Conclusion
Once you've completed your Folded Paper Tulip Bouquet, don’t forget that there are many other paper flower projects you can explore. For step-by-step guidance on making full paper tulips, check out this
detailed guide on wikiHow. If you're interested in learning how to make origami tulips, this
easy origami tutorialmight inspire your next crafting session. Enjoy crafting your floral masterpieces!
Follow us on social for more floral DIY projects & botanical inspiration!
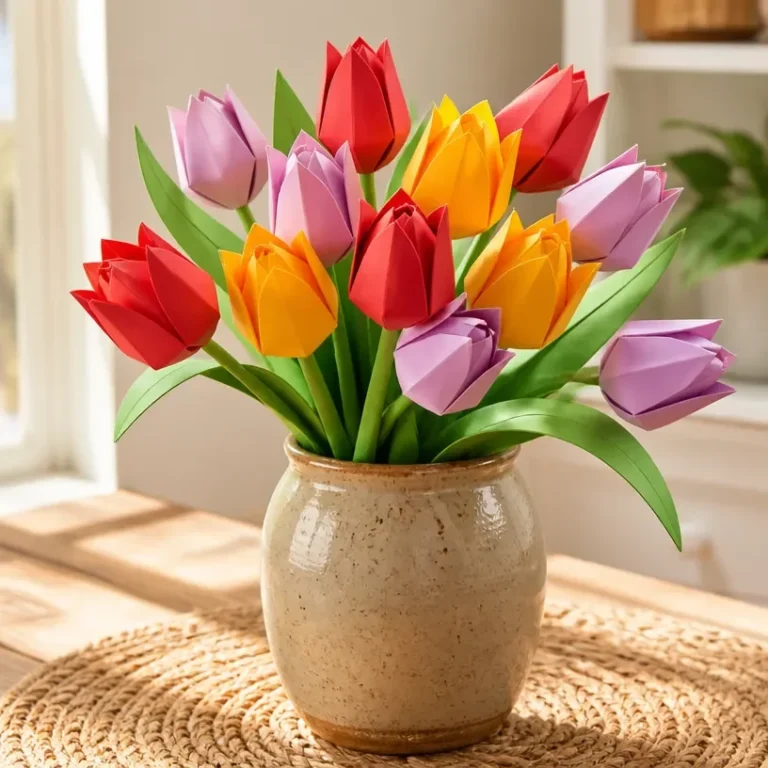
Folded Paper Tulip Bouquet
Would you like to save this project?
By submitting you agree to receive this project and occasional emails. Unsubscribe anytime.
Materials
Materials
- 1 pack Colored paper Choose vibrant colors that evoke spring.
- 1 pair Scissors For precise cutting of paper shapes.
- 1 stick Adhesive A glue stick or craft glue works well.
- 1 bundle Floral wire or wooden skewers These will serve as stems for your tulips.
- 1 roll Green paper or tape Use this for leaves or additional decor.
- 1 each Ruler and pencil For measuring and marking folds.
Directions
Preparation
- Cut your colored paper into squares or rectangles, around 6x6 inches.
- Fold a square piece of paper diagonally to form a triangle.
- Fold the triangle in half, bringing the two corners together.
- Make small folds along the edges of your triangle to round them off, creating petal shapes.
- Glue the edges to secure the tulip shape.
- Insert the floral wire or skewer into the base of the tulip and secure with glue.
- Cut small leaf shapes from green paper and attach them alongside the stem with glue.
- Repeat the process to create multiple tulips in different colors and sizes.
- Arrange the tulips in a vase or wrap them for a bouquet presentation.
Last Step: Don’t forget to leave a rating and comment below! It helps other readers find the best DIY projects — and it helps us too!