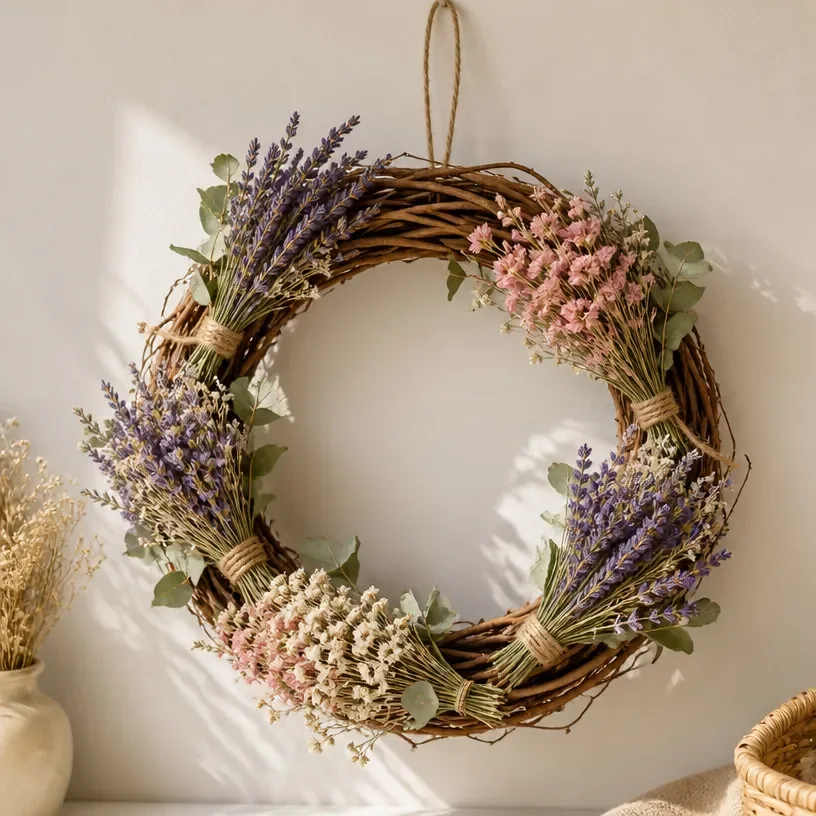
The scent of dried flowers fills the room as you prepare for a creative afternoon. You have your tools laid out, and a collection of blossoms saved from special moments is waiting to be transformed into a beautiful piece of decor. Creating a Dried Flower Grapevine Wall Wreath is the perfect way to honor those meaningful blooms. This project not only serves as a stunning addition to your home but also allows you to express your creativity using nature’s artistry. You may also find 3D Flower Wall Art Ideas Home Decor useful.
Why This Dried Flower Grapevine Wall Wreath Works So Well
You may also find Dried Flower Filled Globe Ornament useful.
The Dried Flower Grapevine Wall Wreath stands out for its approachable and visually rewarding nature. It invites even beginners to engage with floral crafting, as the materials are simple to source and the process is straightforward. The wreath is perfect for decorating your living space, allowing you to elegantly display dried flowers, which boast colors and textures that change through the seasons. Using dried botanicals means your creation will last longer than fresh flowers, making it a memorable piece that can be enjoyed throughout the year. You may also find Dried Flower Lantern Diy Tutorial Guide useful.
A Quick Look Before You Begin
Creating this wreath is easier than you might think. First, you’ll set up a comfortable workspace, ensuring you have everything at hand from your floral elements to adhesives. The making process involves arranging and securing flowers onto a base, often resulting in a delightful mess of petals and twigs. Remember, the health of your materials plays a vital role as you work; gently handle each piece, keeping in mind how placement and spacing can affect the overall appearance.
Materials You’ll Need
- Grapevine wreath base: This serves as the foundation for your design and provides a natural texture.
- Dried flowers: Choose a mix of your favorites; think about the colors and shapes that will complement each other.
- Hot glue gun and glue sticks: An excellent choice for securing flowers in place; just be careful with the glue as it can be quite hot.
- Wire cutters: Essential for trimming long stems and giving you more control over your arrangement.
- Florist wire (optional): Use this if you need additional support when adding heavier elements.
Step-by-Step Directions
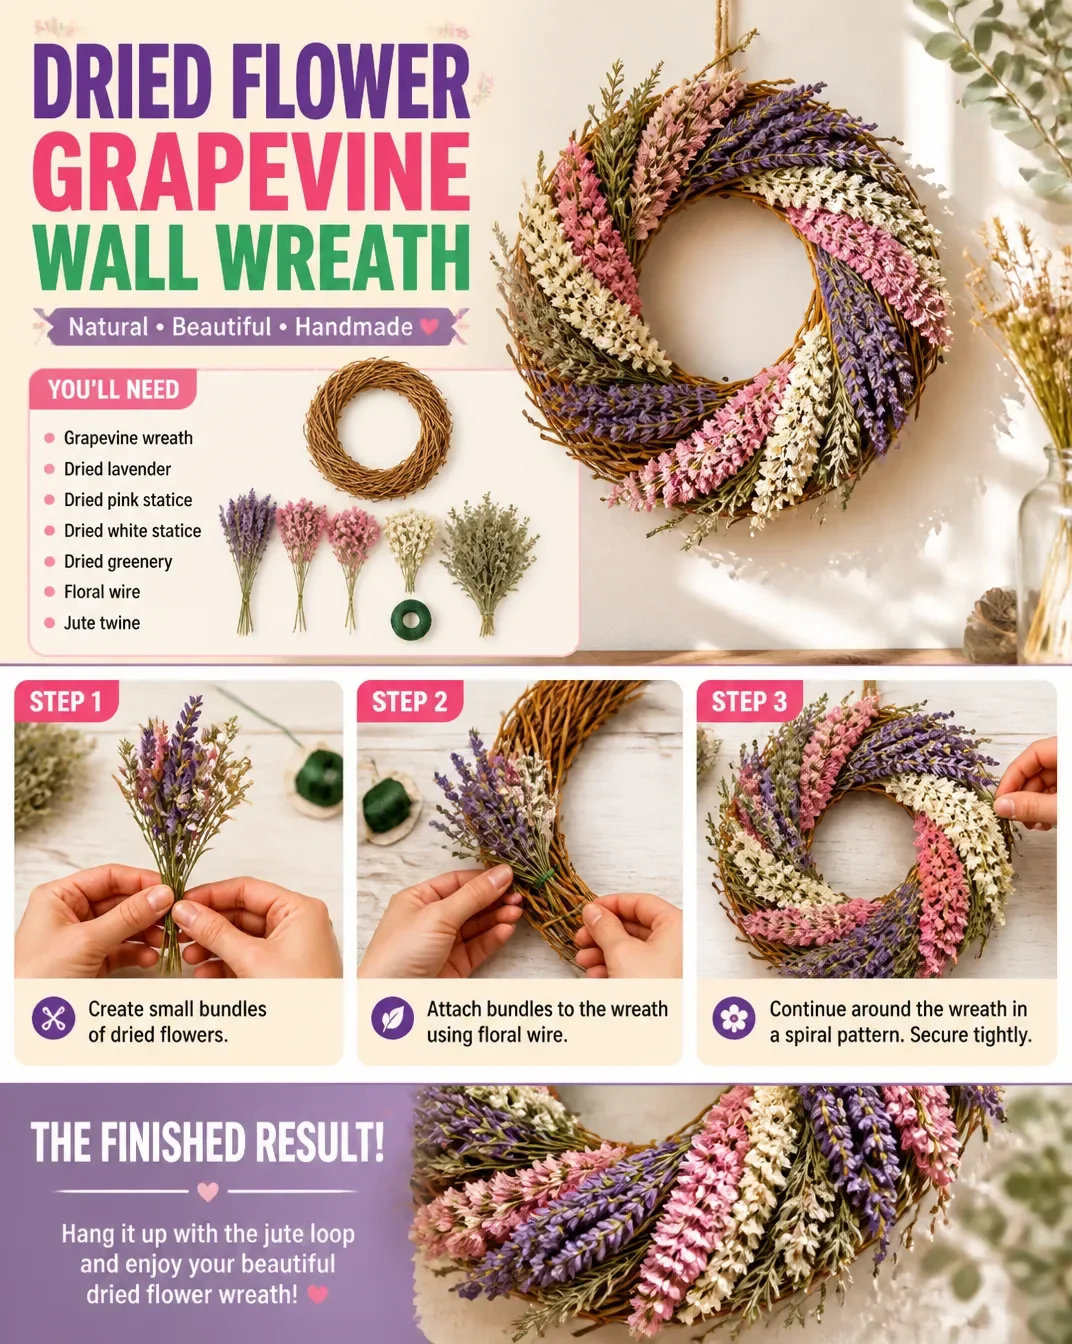
Prepare your workspace: Clear a flat surface where you can lay out all your materials. It’s helpful to have a trash bag nearby for any off-cuts.
Select your dried flowers: Lay your dried flowers out and arrange them in a way that appeals to you. Consider color harmony and visual balance.
Start attaching flowers: Begin by applying small amounts of hot glue to the base of your flowers, then press them firmly onto the wreath base. Work in clusters for a balanced look.
Layer your blooms: Play with layering different shapes and sizes. For instance, larger flowers can serve as focal points, while smaller blossoms can fill gaps.
Check your arrangement frequently: Step back and view your work from different angles. This helps you see any imbalance that may need adjusting.
Add finishing touches: Once you’re satisfied with the flower arrangement, add any additional elements like dried leaves or vines for texture.
Allow to dry fully: Let the wreath rest undisturbed for a few hours before hanging it to ensure everything is firmly secured.
The Design Behind This Floral DIY
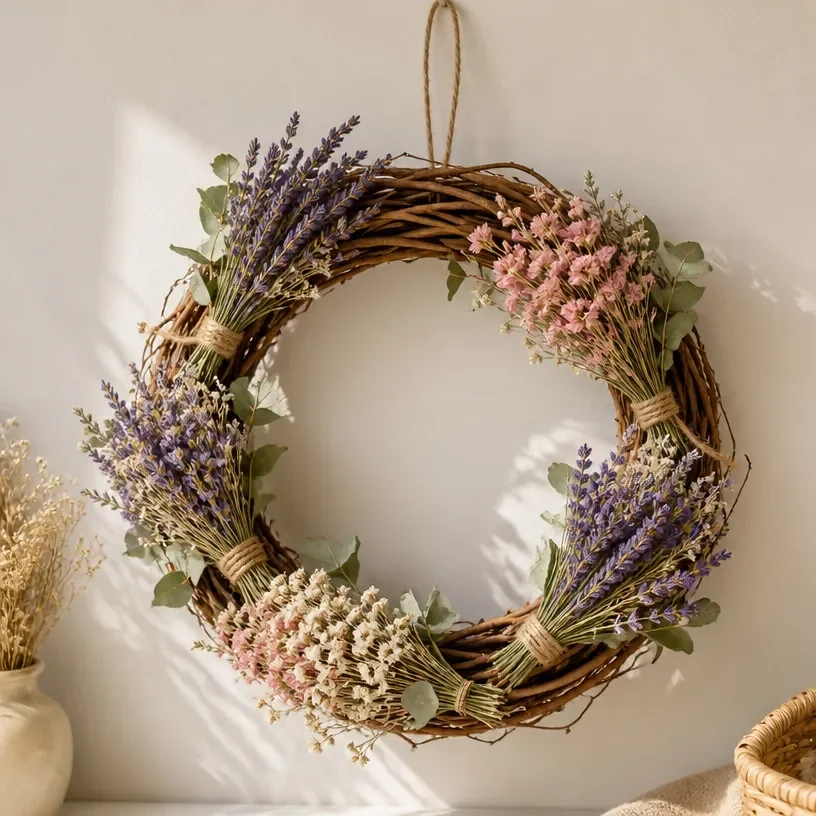
The success of your Dried Flower Grapevine Wall Wreath lies in the thoughtful design choices you make. Consider the color wheel as you select your blooms; complementary colors can create striking contrasts, while analogous colors will yield a more serene appearance. Varying textures is essential; mix smoother petals with rougher leaves or grasses to add visual interest. Pay attention to the balance of shapes, placing round flowers next to spiky or linear forms to achieve a pleasing composition. Layering also plays a role: strategically placing flowers at different heights leads to depth and richness in your design.
Troubleshooting Common Issues
Common issues may arise as you create your wreath. If flowers seem unevenly spaced, don’t hesitate to pull them off and re-glue them in a new position. Shift the flowers around until the arrangement feels natural. If any flowers shift or lift before the glue has set, simply press them down again with your fingers. Should any adhesive be visible, lightly dabbing it with a bit of floral tape can help conceal it and keep the focus on the flowers themselves.
Easy Variations to Try
Consider tweaking your design to make your wreath distinctly yours. You might experiment with seasonal blooms to keep it appropriate for various times of the year. Alternatively, layer in some colored ribbons for added festivity during celebrations. For a minimalistic approach, focus solely on a monochromatic palette. You could also adjust the size of your wreath by using a larger or smaller base, allowing you to create something that fits perfectly within your envisioned space.
Displaying or Keeping Your Project
Think about how you’ll display your Dried Flower Grapevine Wall Wreath once complete. Hanging it in a well-lit space will allow it to shine; natural light can enhance the colors of dried flowers beautifully. If you’re short on space, consider placing it on a shelf or in a corner to draw eye. For gifts, a simple wrapping with a natural twine can make the presentation feel rustic and warm. Remember to handle the wreath carefully, as some dried flowers can be delicate.
FAQs About Dried Flower Grapevine Wall Wreath
Can I use fresh flowers for this project? While fresh flowers won’t last, if you’re keen on going that route, consider drying them first. However, dried flowers are highly recommended for longevity.
What if I can’t find certain dried flowers? Feel free to substitute with other dried botanicals. Many florists carry a wide range of options; explore and find what inspires you.
How do I preserve the wreath after I finish? Keep your wreath out of direct sunlight to prevent the colors from fading. A light dusting with a soft cloth can help maintain its beauty.
What kind of glue works best? Hot glue is reliable, but if you want a less permanent option, consider a craft adhesive that is specifically designed for dried materials.
Is this project suitable for kids? While older kids may enjoy helping under supervision, the use of a hot glue gun requires adult oversight. Consider using a safer adhesive if children are involved.
A Final Helpful Note
Creating a Dried Flower Grapevine Wall Wreath is an engaging way to express creativity and bring a piece of nature into your home. Embrace the process, and remember that small imperfections can add character to your finished piece. Allow yourself to explore different materials and styles, and most importantly, enjoy the time you spend crafting.
Conclusion
As you embark on your floral wreath-making journey, remember that every creation tells a story. For those looking to broaden your floral design skills, consider reading about
making a dried floral wreathto expand your crafting repertoire. If you want to explore even further, check out the guide on creating a
flower grapevine wreathfor more inspiration. Happy crafting!
Follow us on social for more floral DIY projects & botanical inspiration!
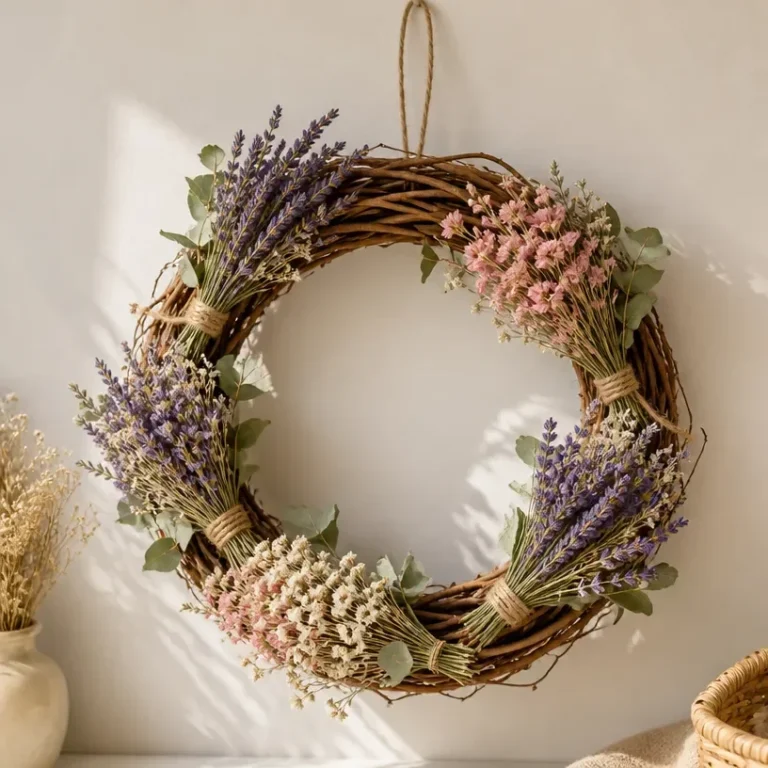
Dried Flower Grapevine Wall Wreath
Would you like to save this recipe?
By submitting you agree to receive this recipe and occasional emails. Unsubscribe anytime.
Ingredients
Materials Needed
- 1 piece Grapevine wreath base This serves as the foundation for your design.
- variety pieces Dried flowers Choose a mix of your favorites.
- 1 piece Hot glue gun Use with glue sticks for securing flowers.
- 1 pair Wire cutters Essential for trimming long stems.
- optional meters Florist wire Use if additional support is needed.
Instructions
Preparation
- Prepare your workspace: Clear a flat surface where you can lay out all your materials.
- Select your dried flowers: Lay them out and arrange in a visually appealing way.
Assembly
- Start attaching flowers: Apply small amounts of hot glue to the base of your flowers, then press onto the wreath base.
- Layer your blooms: Mix different shapes and sizes for depth.
- Check your arrangement frequently to ensure balance.
- Add finishing touches: Incorporate additional elements like leaves or vines.
Drying
- Allow to dry fully for a few hours before hanging.
Last Step: Don’t forget to leave a rating and comment below! It helps other readers find the best recipes — and it helps us too!
Tips & Notes:
Nutrition Information: Serving: 1 | Calories: | Carbohydrates: | Protein: | Fat: | Sodium: | Fiber: | Sugar:
Nutritional information is provided as a courtesy and calculated automatically. Values can vary depending on the brands and ingredients you use, so if you’re tracking closely, I recommend calculating with your own preferred tool.