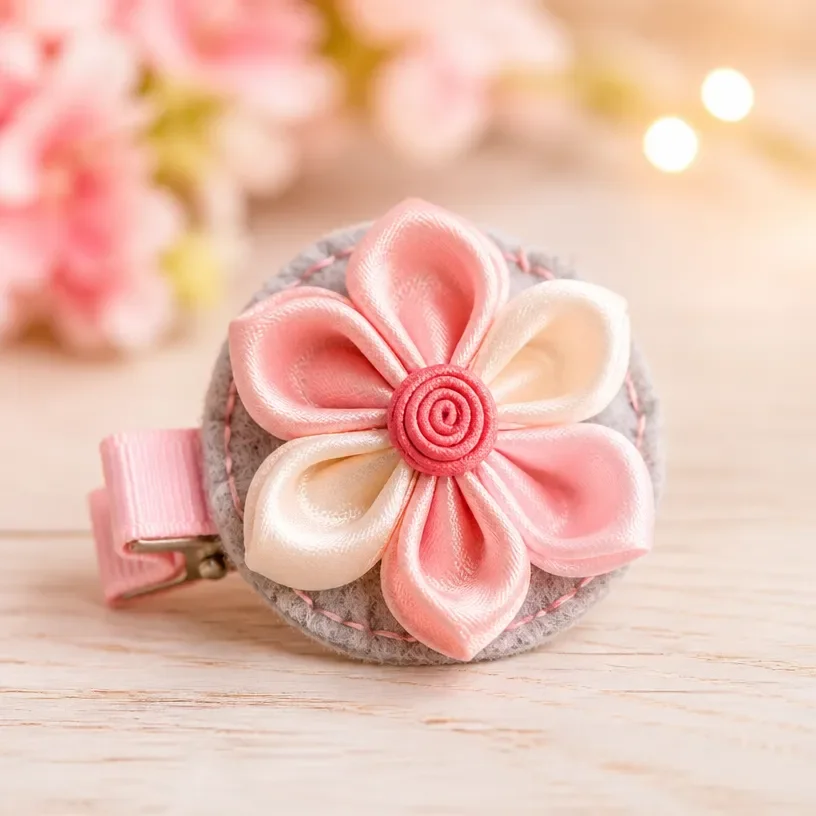
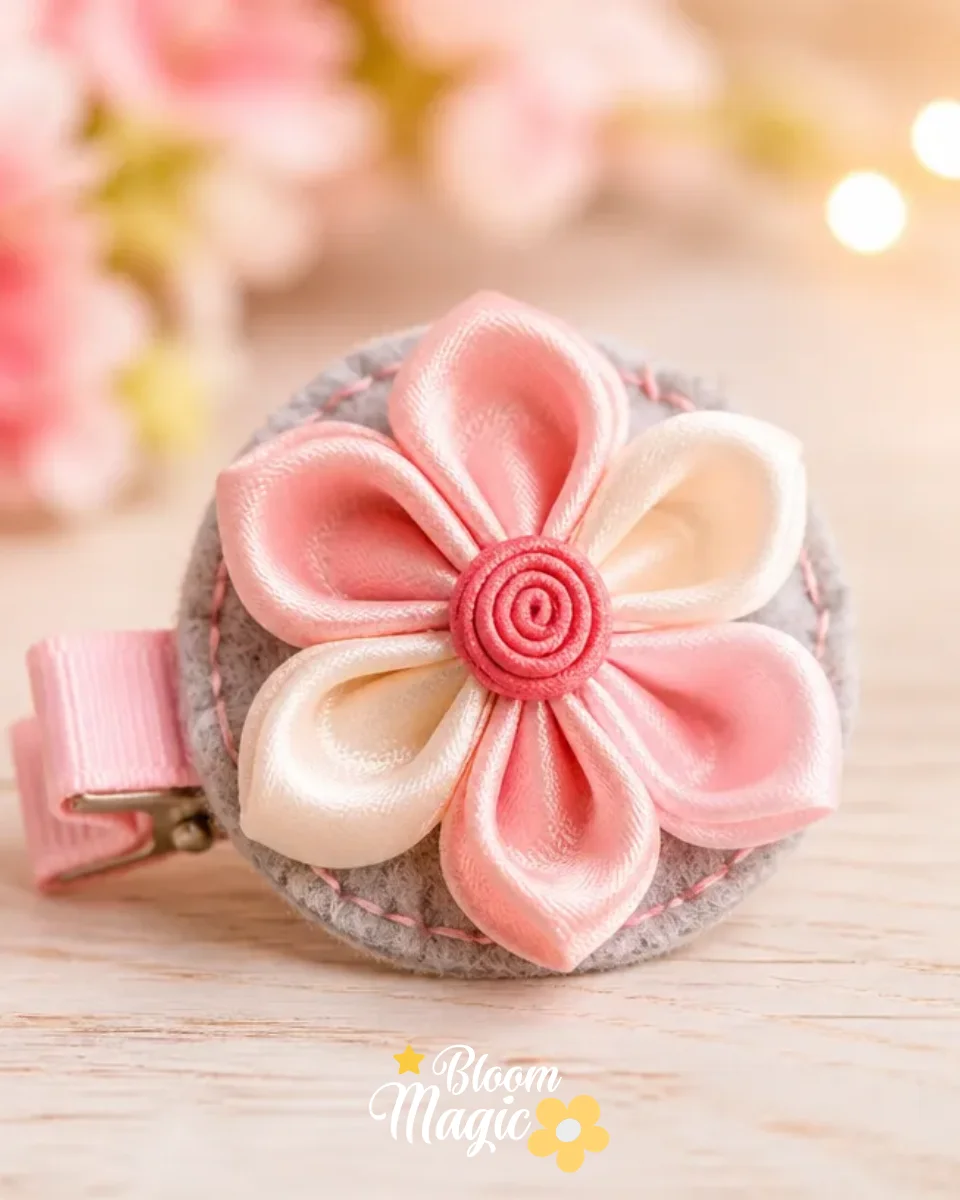
Creating floral crafts can be an enchanting experience, especially when you want to preserve meaningful blooms or decorate with flowers in a unique way. Imagine having vibrant ribbons, fresh blooms, and a desire to create something special. The Ribbon Flower Hair Clip is a perfect project that combines beauty, creativity, and practicality. This delightful craft allows you to showcase the charm of flowers while making a decorative accessory that you can wear or gift to someone special. You may also find 3D Flower Wall Art Ideas Home Decor useful.
Why You’ll Love Making Ribbon Flower Hair Clip
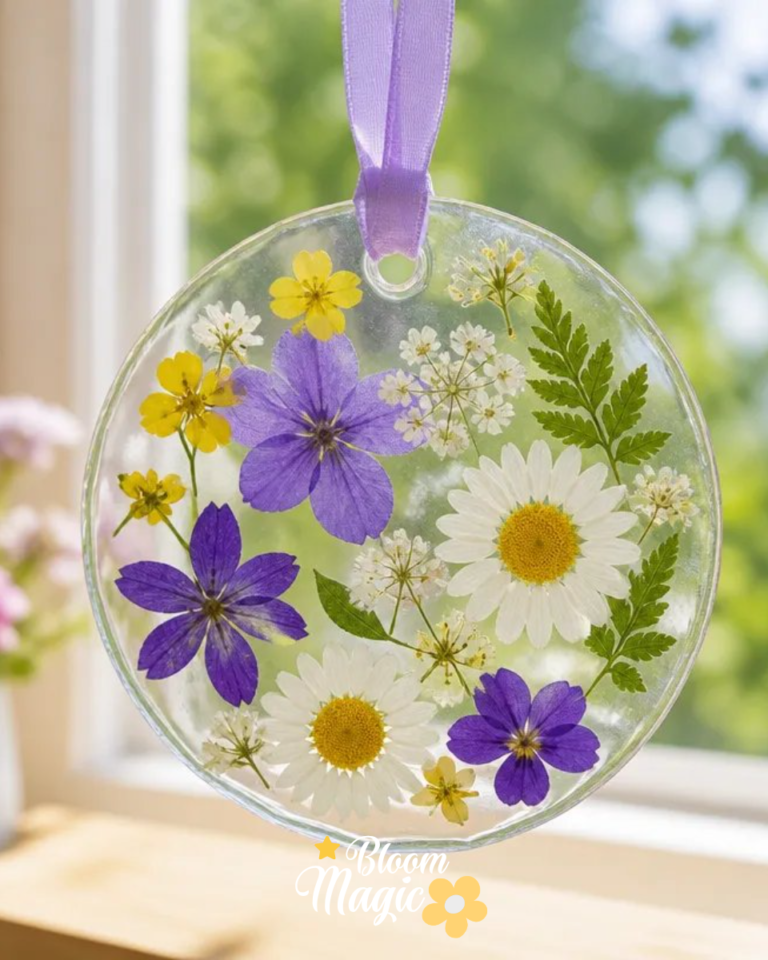
You may also find Clear Glue Pressed Flower Suncatcher useful.
The Ribbon Flower Hair Clip stands out as an approachable project. It offers a visually rewarding experience, allowing you to combine beautiful ribbons with floral elements in a simple yet elegant fashion. The manageable materials mean you won’t feel overwhelmed; rather, you’ll find joy in assembling each piece. This hair clip serves not just as an accessory, but as a thoughtful way to showcase your crafting skills. Such projects can be excellent for personal use, decorating your attire for special occasions, or even gifting it to a loved one.
A Quick Look Before You Begin
Crafting the Ribbon Flower Hair Clip involves some enjoyable steps. To achieve the best result, it’s essential to set up a clean workspace, gathering all your materials within arm’s reach. The primary construction involves layering ribbons and flowers, which will create an attractive visual effect. Expect a moderate level of mess, as working with flowers and ribbons can get slightly chaotic, but that’s part of the process! This project allows for both delicate touches and some moments where you get to use a little more adhesive, so be prepared to embrace both.
Materials You’ll Need
- Ribbons: Use various colors and widths to create a playful and vibrant look. They add texture and dimension to your flower.
- Artificial or dried flowers: They provide longevity and are available in many shapes and colors.
- Hair clip base: A sturdy clip to attach your creation, ensuring it stays securely in your hair.
- Hot glue gun or clear glue: This will be your main adhesive, allowing for a strong hold when assembling the flower.
- Scissors: Essential for cutting the ribbons and arranging the flowers as needed.
- Floral wire (optional): This can help secure the flowers if you prefer a sturdier construction.
Understanding each material’s role enhances your crafting experience. For instance, if you are short on time, using synthetic flowers might be preferable as they are already preserved. If you desire more personalization, consider checking out coffee filter flowers for a creative twist.
Step-by-Step Directions
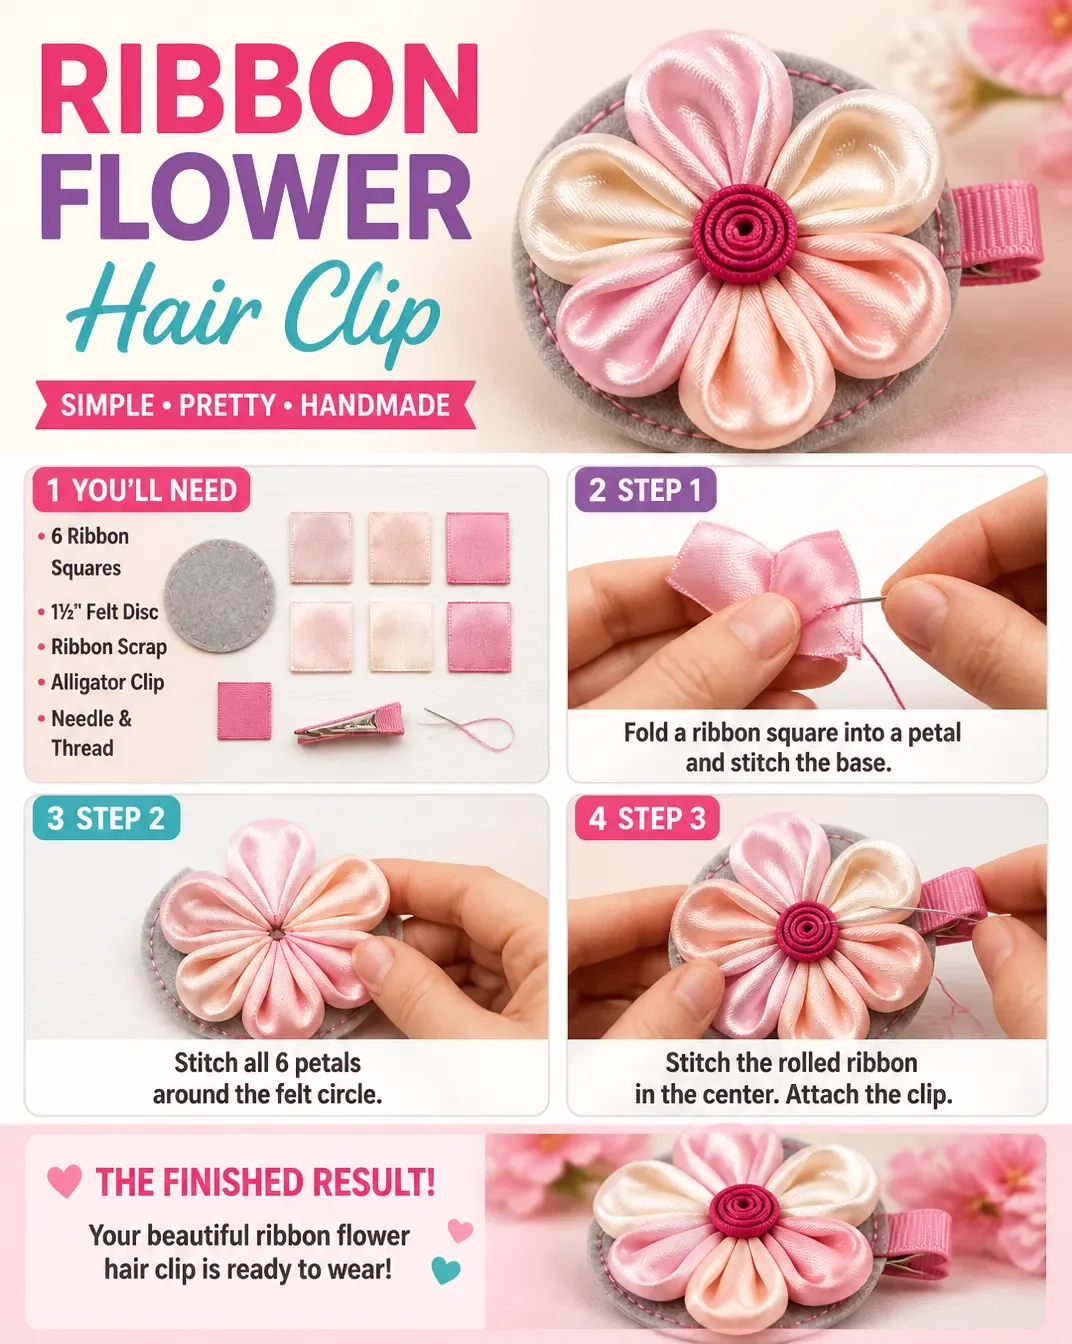
Prepare your materials: Begin by laying out your ribbons, flowers, and hair clip base. Make sure everything is accessible and organized.
Create your flower: Start by cutting multiple lengths of ribbon into strips. Decide on the size and number based on your design preference. Layer these strips in a circular pattern to form the flower shape.
Secure the flower: Use the hot glue to attach the edges of each ribbon strip together. This will create a bloom effect, so don’t rush this step; take your time to create a rounded shape.
Attach the flowers: Once satisfied with the flower, apply additional glue to the center and press in your chosen flowers or decorative elements. This is where you can get creative with different flower types or colors.
Final assembly: Once everything is glued in place and dry, take the entire flower assembly and glue it to your hair clip base. Ensure it is aligned correctly for a balanced appearance when worn.
Let it dry: Resisting the urge to touch or move the clip immediately is key. Allow the glue to fully set for a strong, reliable attachment.
The Design Behind This Floral DIY
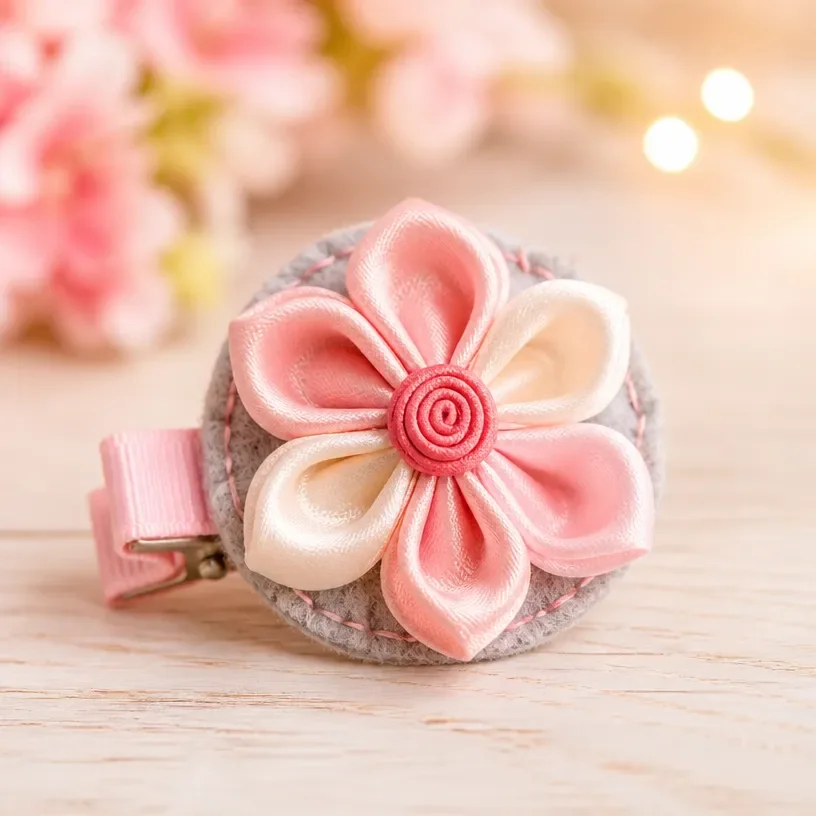
The charm of the Ribbon Flower Hair Clip lies in its design, focusing on the natural beauty of colors and textures. The choice of ribbons can create a vibrant spectrum or a soft, muted palette depending on what you prefer. Layering the ribbons in a circular fashion not only helps form the flower but also adds depth and dimension. Pay attention to the spacing between each layer to ensure a balanced look.
When placing the flowers, consider their size and texture. Mixing different shapes can create an exciting visual interest that draws the eye. Moreover, don’t shy away from experimenting with layering; a well-placed leaf or smaller flower can really elevate your design.
Troubleshooting Common Issues
As with most crafting projects, sometimes things don’t go as planned. Here are some common issues and how to address them:
- Uneven placement: If your ribbons aren’t symmetrical, gently reapply hot glue to move them into place carefully.
- Flowers shifting: If your flowers begin to shift before the glue sets, use floral wire to help secure them temporarily or reapply the glue.
- Visible adhesive: When using glue, be mindful of a clean application to avoid any visible spots. If it happens, you can cover it with a small piece of decorative ribbon.
- Too crowded or too sparse arrangement: Step back and look at your design from a distance. This can help you judge if any components need adjustment for a more balanced look.
Easy Variations to Try
If you’re feeling adventurous, consider these variations to personalize your hair clip:
- Color combinations: Try seasonal color palettes, such as pastels for spring or warm tones for autumn.
- Shape alterations: Experiment with larger or flatter blooms to create an entirely different style.
- Mixed materials: Incorporate other materials like felt or fabric to enhance texture and diversity.
- Size adjustments: Make smaller clips to create a set or larger ones for a statement accessory.
- Gift presentation: Consider presenting your floral clip in a gift box or with a handmade card for a personal touch.
Displaying or Keeping Your Project
Once your Ribbon Flower Hair Clip is complete, consider how you will use it. You can wear it proudly, adding a splash of color to any outfit, or gift it to a friend as a thoughtful gesture. Remember to handle your clip gently to maintain the flower’s integrity. If you have leftover materials, store them carefully for your next crafting adventure to reduce waste.
FAQs About Ribbon Flower Hair Clip
Can I use fresh flowers instead of artificial ones?
Using fresh flowers can be beautiful, but they won’t last as long. Consider using pressed or dried flowers instead for longevity and ease.
What type of ribbons work best?
Soft ribbons like satin or chiffon are ideal since they mold well and create a pretty bloom effect. Stiffer ribbons can also be used but may require more effort to shape.
How should I clean my Ribbon Flower Hair Clip?
Use a soft, dry cloth to gently wipe away any dust. Avoid water for cleaning, as it may damage the flowers and the adhesive.
A Final Helpful Note
Creating your Ribbon Flower Hair Clip is a delightful way to express your love for floral crafts. Embrace your creativity and enjoy personalizing your design. Allow yourself the chance to experiment with different materials and ideas, and remember that imperfections are part of the crafting journey. Enjoy the process, and wear your creation with pride!
Conclusion
In wrapping up your crafting journey, remember that creating unique floral accessories like the Ribbon Flower Hair Clip not only brings joy but also enhances your personal style. If you’re looking for more fun floral ideas to explore, check out a beautiful flower ribbon hair clip, or try a chic claw clip for a practical yet stylish alternative at Amazon. Whatever path you choose, the world of floral crafts is filled with opportunities for creativity and expression.
Follow us on social for more floral DIY projects & botanical inspiration!
Ribbon Flower Hair Clip
Would you like to save this recipe?
By submitting you agree to receive this recipe and occasional emails. Unsubscribe anytime.
Ingredients
Materials
- 1-2 various Ribbons in various colors and widths Use to create a playful and vibrant look.
- 3-5 pieces Artificial or dried flowers Provide longevity and come in many shapes and colors.
- 1 piece Hair clip base A sturdy clip to attach your creation.
- 1 piece Hot glue gun or clear glue Main adhesive for assembly.
- 1 piece Scissors Essential for cutting ribbons and arranging flowers.
- optional Floral wire Use to secure flowers for sturdier construction.
Instructions
Preparation
- Lay out your ribbons, flowers, and hair clip base within reach.
Creating the Flower
- Cut multiple lengths of ribbon into strips appropriate for your design.
- Layer the ribbon strips in a circular pattern to form the flower shape.
- Use hot glue to attach the edges of each ribbon strip together to create a bloom.
Assembly
- Apply glue to the center of the flower and press in your chosen flowers or decorative elements.
- Glue the entire flower assembly to your hair clip base, ensuring it is aligned correctly.
- Allow the glue to set and dry completely.
Last Step: Don’t forget to leave a rating and comment below! It helps other readers find the best recipes — and it helps us too!
Tips & Notes:
Nutrition Information: Serving: 1 | Calories: | Carbohydrates: | Protein: | Fat: | Sodium: | Fiber: | Sugar:
Nutritional information is provided as a courtesy and calculated automatically. Values can vary depending on the brands and ingredients you use, so if you’re tracking closely, I recommend calculating with your own preferred tool.