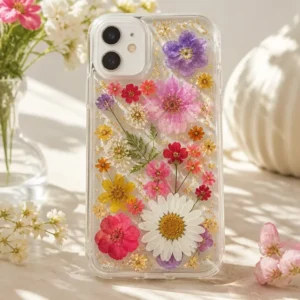
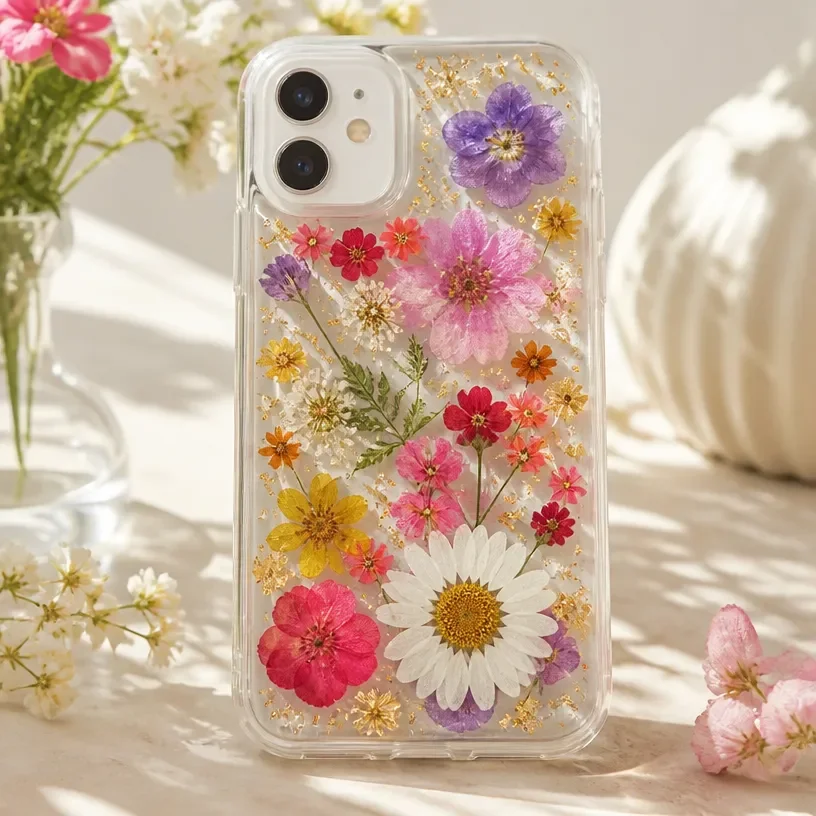
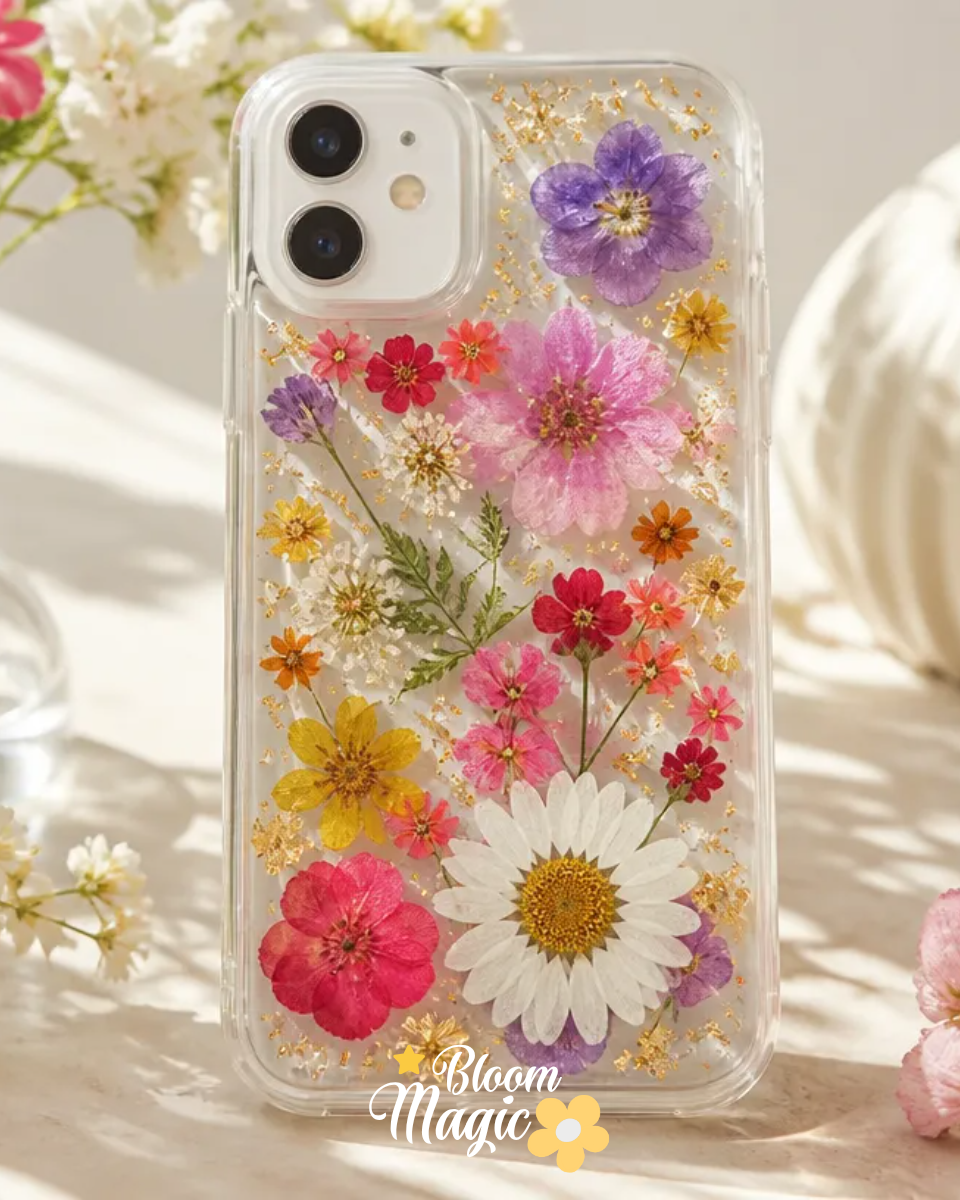
Creating unique floral decorations can bring joy and personal flair to your everyday items. Imagine gathering a few dried petals from your favorite flowers and thinking about a way to showcase them. The Pressed Petal Phone Case is a beautifully simple project that allows you to do just that, transforming your phone into a work of art. By using dried petals, clear glue, and a clear phone case, you can craft a decorative case that reflects your personal style and brings the beauty of nature to your daily life. You may also find Clear Glue Pressed Flower Suncatcher useful.
Why You’ll Love Making Pressed Petal Phone Case
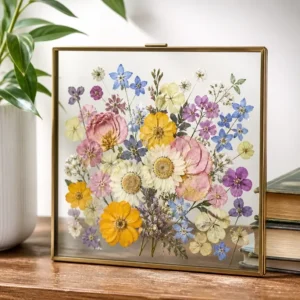
You may also find Floating Pressed Flower Glass Frame useful.
This project is not only visually pleasing but also incredibly manageable. Using simple materials means that anyone can dive in, regardless of crafting experience. The allure of the Pressed Petal Phone Case lies in its approachable nature; once you’ve arranged your petals and secured them with glue, you’ll see how easy it is to create something that feels special. Plus, it makes for a heartfelt gift, perfect for friends who enjoy unique, handmade items. You can celebrate your connection with nature and preserve meaningful blooms, turning them into a personal keepsake. You may also find Magic Bloom Diy Pressed Flower Frame useful.
A Quick Look Before You Begin
Creating a Pressed Petal Phone Case is a straightforward process. First, gather your materials and set up a comfortable workspace. It’s essential to ensure you have everything at hand to minimize mess and maintain focus. You’ll be arranging petals in the case and then gluing them down, so be prepared for a bit of delicacy in your movements. The drying stages will require a little patience, but they’re crucial to achieving the beautiful final product. By approaching this project step by step, you’ll find it less daunting and enjoyable. You may also find Pressed Fern Wall Art useful.
Materials You’ll Need
- Clear phone case: A transparent base showcases your floral design beautifully.
- Dried petals: Select petals that resonate with you; their colors and shapes will dictate the overall look of your case.
- Clear glue: Essential for securing the petals to the case and providing a polished finish.
- Tweezers: Handy for placing your petals precisely where you want them without smudging your design.
Each of these materials plays a significant role in the outcome of your project. Choosing vibrant petals will enhance the visual impact, while the clear glue ensures durability and clarity. You may also find Pressed Flower Air Dry Clay Heart Dish Tutorial useful.
Step-by-Step Directions
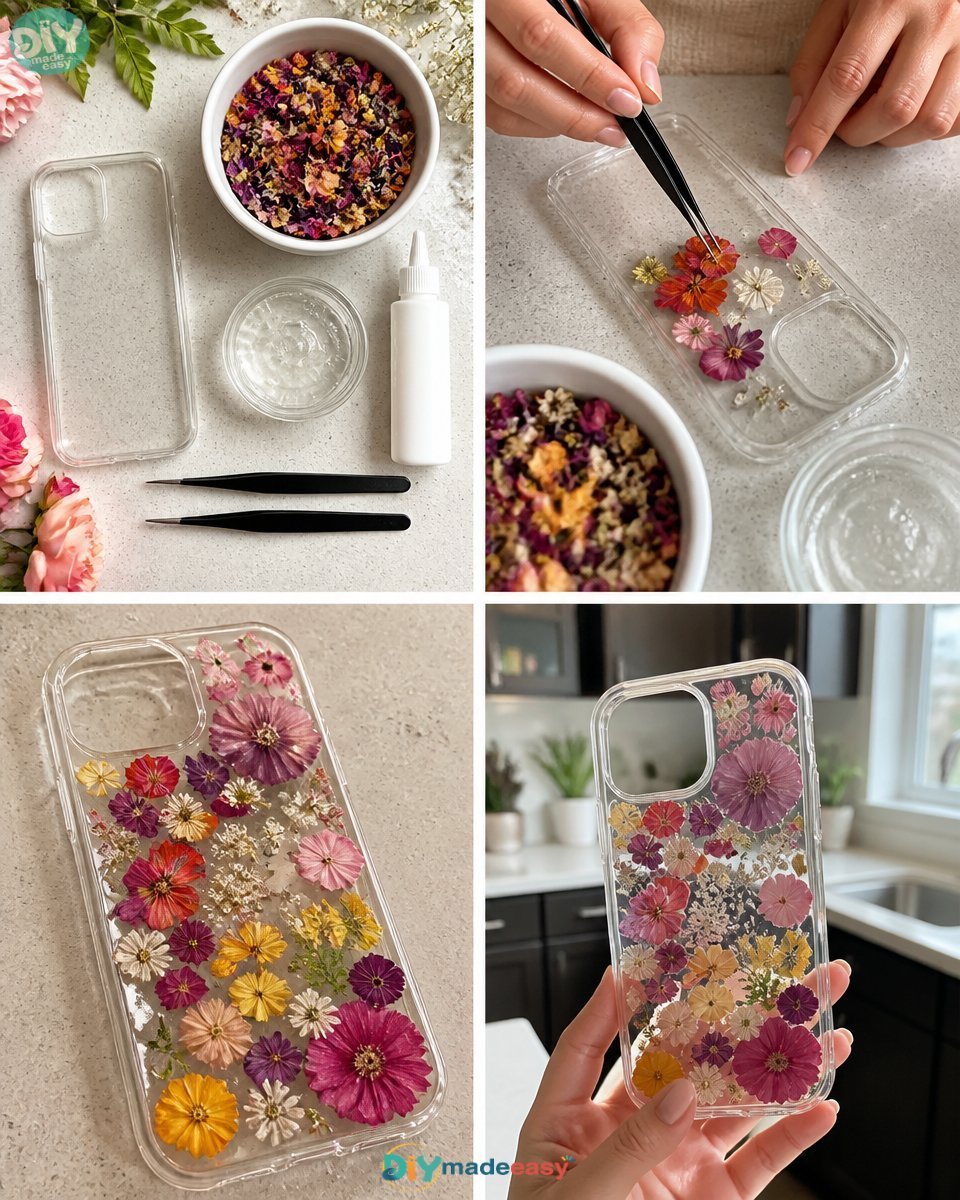
- Arrange the dried petals inside the clear phone case, using tweezers to adjust their positions before applying glue. Take your time with this step to create a pleasing arrangement.
- Dab a small amount of clear glue onto the petals to secure the arrangement. This initial layer will help keep your petals in place as you work.
- Press the petals down lightly so they lie flat, then let the glue set. It’s beneficial to make sure they stay in position before moving on to the next step.
- Once the first glue layer is dry, apply a thin layer of clear glue over the petals to finish the decoration. This will add a glossy finish and protect your work.
- Let this final layer dry before snapping the case onto the phone. Ensure everything is completely dried for the best results.
The Design Behind This Floral DIY
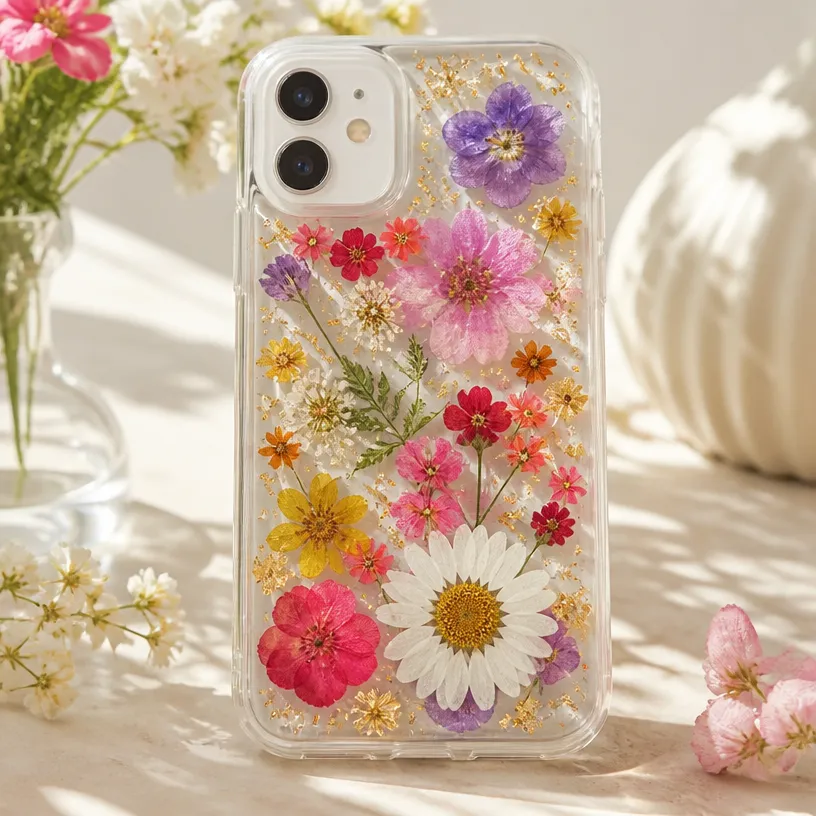
The design of your Pressed Petal Phone Case should reflect personalized aesthetics. Consider how different colors of petals interact with one another; light colors can contrast nicely against darker backgrounds. Pay attention to the texture of the petals; choosing a mix of shapes can create an intriguing visual dynamic. Layer your petals thoughtfully, allowing some to overlap while others stand alone. This balance and spacing will enhance the overall composition and ensure your design feels cohesive.
Troubleshooting Common Issues
Addressing common problems early can save frustration later. If the petals shift during application, don’t panic gently reposition them with your tweezers. If you notice that the arrangement looks crowded, take the time to remove extra petals for a balanced aesthetic. If any adhesive seeps out around the edges, carefully wipe it away with a damp cloth before it dries. These small adjustments can significantly improve the way your floral design turns out.
Easy Variations to Try
Here are a few suggestions to personalize your Pressed Petal Phone Case:
- Experiment with different flower types: Incorporate leaves or ferns alongside petals for added dimension.
- Play with colors: Use a seasonal palette, like pastel hues for spring or rich tones for fall.
- Adjust the arrangement style: Keep it symmetrical or opt for a more organic, free-form design.
- Change the background color: If your clear phone case allows, consider adding colored card stock behind the petals for a custom backdrop.
- Use varying sizes of petals: Larger blossoms can serve as focal points, while smaller ones can fill in gaps.
These variations allow you to create something uniquely yours while keeping the spirit of the original project intact.
Displaying or Keeping Your Project
After crafting your Pressed Petal Phone Case, think about how you want to use it. Protect your case from direct sunlight to prevent fading of the colors over time. This project doubles as an eye-catching display piece, so keep it clean and handle it carefully to maintain its beauty. Should you decide to gift it, consider wrapping it in a way that highlights the thoughtful handmade touch.
FAQs About Pressed Petal Phone Case
What if I can’t find the right type of petals?
You can use any flat dried flowers, such as pansies or thin leaves. Experiment with what you have, or dry flowers you particularly like.
How can I ensure the petals don’t shift after gluing?
Press gently and allow the first layer of glue to set completely. Place a light weight on top for a few minutes if needed.
Can I customize the phone case size?
Yes, using a clear case that fits your specific phone model allows for a perfect, tight fit.
What should I do if I see glue on my petals?
Wipe away excess glue immediately with a damp cloth to avoid residue. If it dries, it can be tricky to clean.
How long will the design last?
While lasting quality varies, avoiding direct sunlight and storing your case properly will help maintain its vibrancy.
A Final Helpful Note
As you create your Pressed Petal Phone Case, remember to enjoy the process. There’s no rush every step is an opportunity to explore your creativity. Focus on the textures and colors of the petals as you arrange them, and embrace the imperfections that may arise. With a little patience and attention to detail, you’ll create a piece that’s meaningful and beautiful.
Conclusion
Decorating your phone with a Pressed Petal Phone Case is a wonderful way to express your personal style while enjoying the process of working with nature. For more inspiration, check out this
DIY Pressed Flower Phone Caseor discover unique options on
Etsy. With each project, you’ll develop confidence and creativity, enhancing your floral crafting journey.
Follow us on social for more floral DIY projects & botanical inspiration!
Pressed Petal Phone Case
Would you like to save this project?
By submitting you agree to receive this project and occasional emails. Unsubscribe anytime.
Materials
Materials
- 1 piece Clear phone case A transparent base showcases your floral design beautifully.
- as needed Dried petals Select petals that resonate with you; their colors and shapes will dictate the overall look of your case.
- 1 bottle Clear glue Essential for securing the petals to the case and providing a polished finish.
- 1 piece Tweezers Handy for placing your petals precisely.
Directions
Preparation
- Gather your materials and set up a comfortable workspace.
- Arrange the dried petals inside the clear phone case using tweezers to adjust their positions.
- Dab a small amount of clear glue onto the petals to secure the arrangement.
- Press the petals down lightly and let the glue set.
- Once the first glue layer is dry, apply a thin layer of clear glue over the petals.
- Let the final layer dry completely before snapping the case onto your phone.
Last Step: Don’t forget to leave a rating and comment below! It helps other readers find the best DIY projects — and it helps us too!