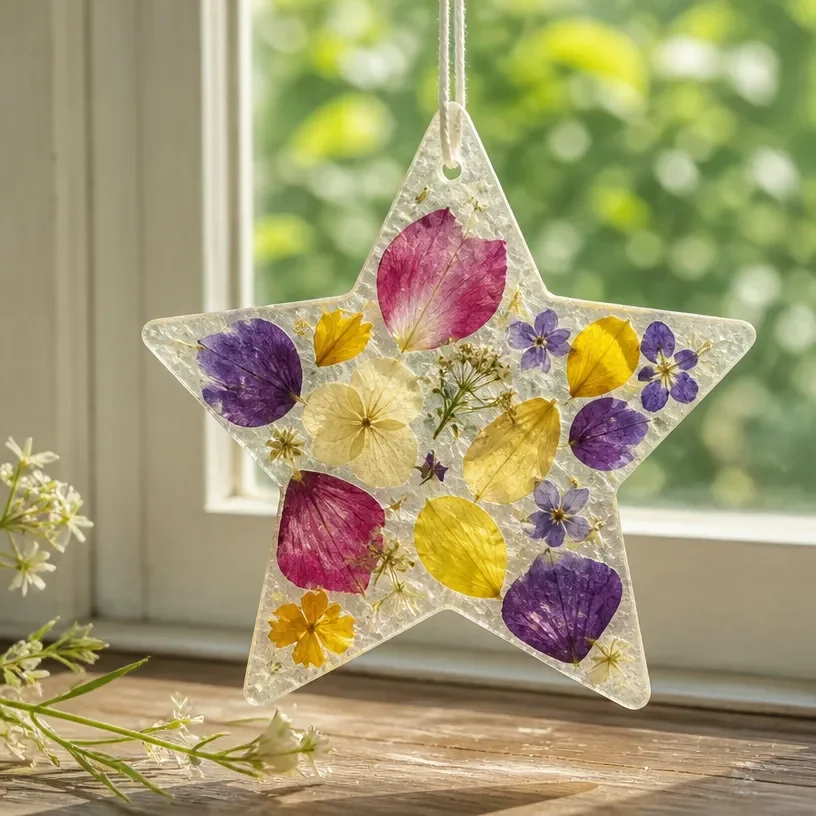
Creating beautiful craft projects can be a rewarding way to spend your time, particularly when it involves preserving the natural world around us. Picture yourself surrounded by an array of flowers or botanical materials, eager to bring them to life in a contemporary décor piece. If you’ve ever wanted to highlight the unique beauty of pressed or dried flowers, then Wax Paper Wildflower Window Stars are a wonderful choice. This project allows you to easily incorporate floral elements into your living space, bringing seasonal freshness indoors and creating a custom display that reflects your favorite blooms. You may also find Tissue Paper Flower Window Suncatcher useful.
Why You’ll Love Making Wax Paper Wildflower Window Stars
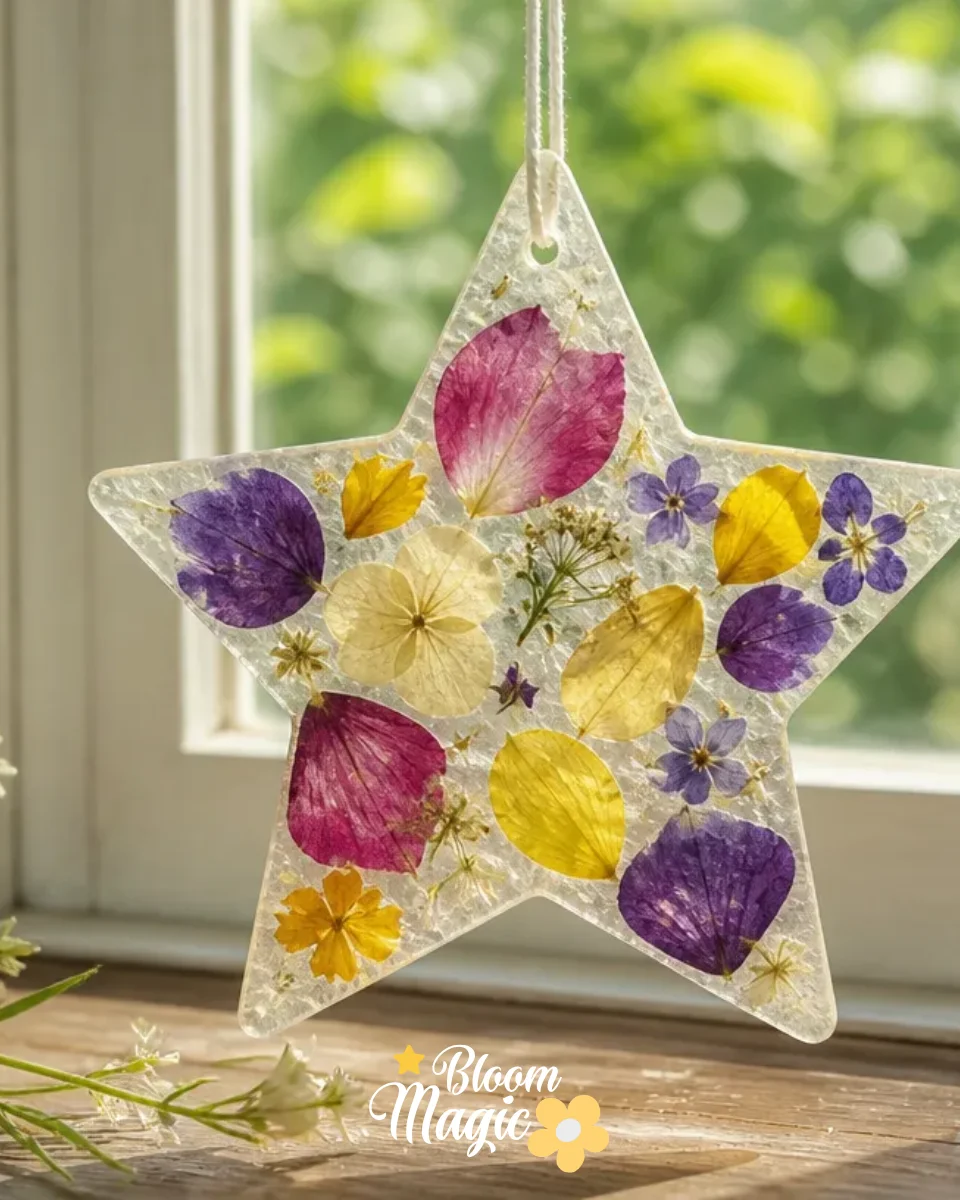
You may also find Folded Paper Tulip Bouquet Tutorial useful.
Wax Paper Wildflower Window Stars offer an enjoyable crafting experience that’s approachable for all skill levels. The beauty of this project lies in its simplicity, as it requires just a few materials to create stunning decorations. As you work, you’ll witness how the pressed petals come together under the transparent layers of wax paper, transforming into a vibrant window display. The comforting process of arranging flowers you’ve curated allows for a personally rewarding touch to your décor. These window stars not only add a pop of color to your home but also serve as a creative way to showcase nature’s wonders. You may also find Glue On Flower Window Cling Decorative Sticker useful.
A Quick Look Before You Begin
Before diving into this project, take a moment to gather your materials and set up your workspace. You’ll want a flat, clean surface covered with parchment paper to protect it while you work. The process is straightforward, with minimal mess involved, making it an excellent choice for crafters of any age. Enjoy the tactile experience of working with dried flowers, making careful choices about placement and arrangement that contribute to the final design. You’ll gain confidence in handling the delicate petals as you bring this beautiful decoration to life.
Materials You’ll Need
To embark on this project, ensure you have the following materials ready:
- 2 wax-paper sheets, 12 × 12 inches
- 12 fully pressed dry petals
- 2 parchment sheets
- Star template, 3 inches
- Household iron (used by an adult)
- Scissors
- Hole punch
- Cotton string (three 12-inch lengths)
Each of these elements plays an essential role in the creation of your window stars, providing the structure and beauty that will make your project shine. Selecting a variety of flower colors for your petals can add a lively touch to your finished décor.
Step-by-Step Directions
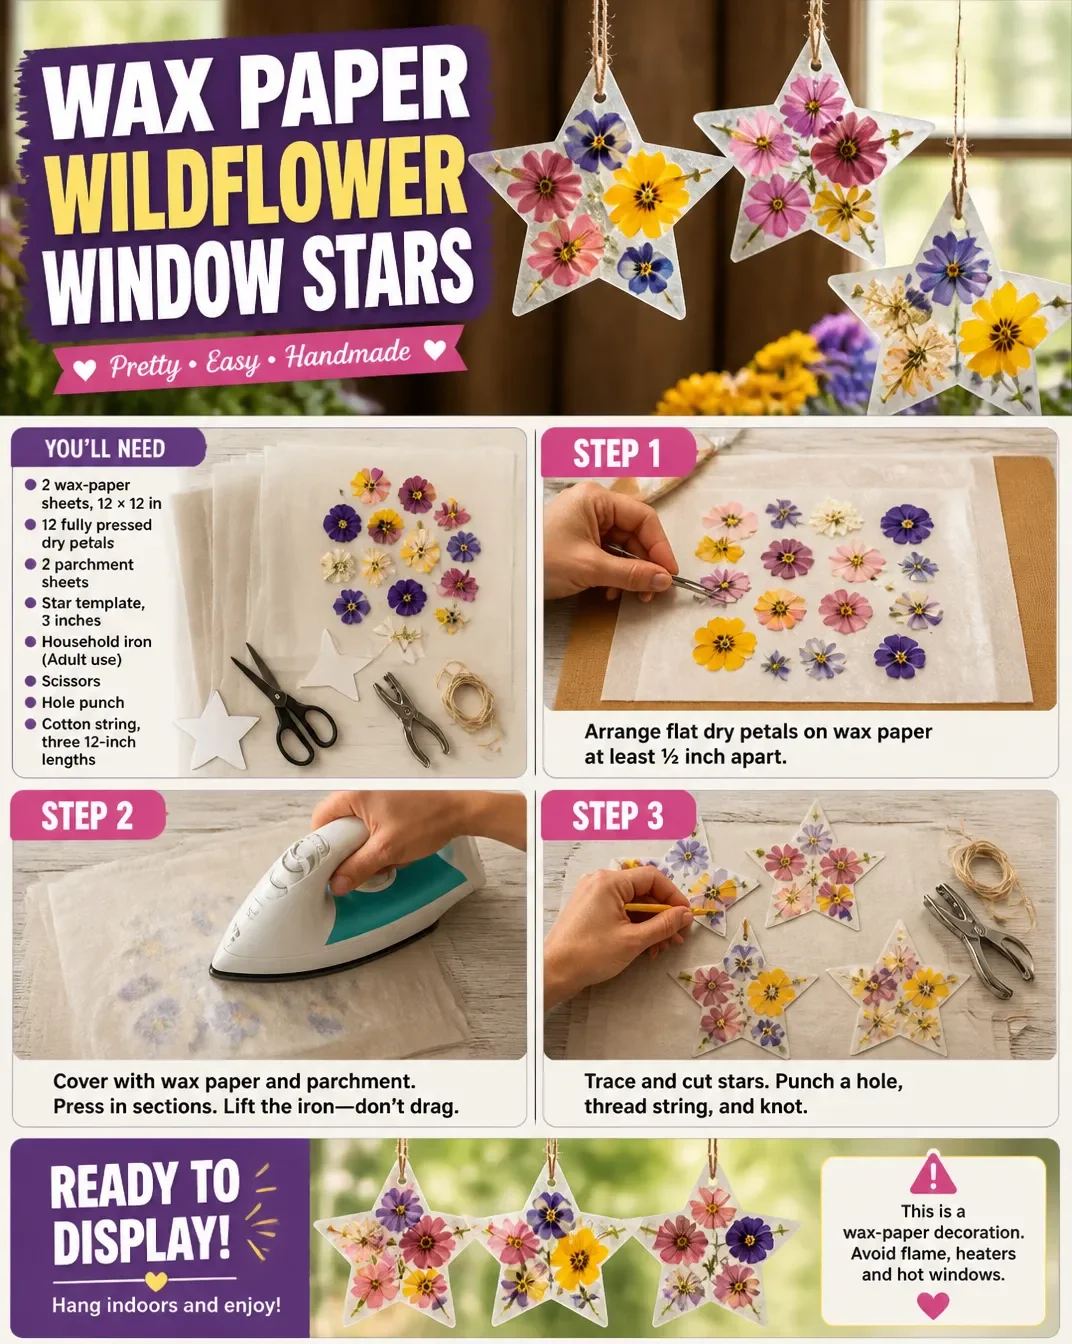
Lay a wax-paper sheet on an ironing surface covered with parchment. Scatter flat dry petals at least ½ inch apart and keep them away from the outer edges. Pay close attention to which flowers you use; arranging varying sizes and colors can enhance the stars’ visual appeal.
Place the second wax-paper sheet above the first, then cover with parchment. An adult should test a corner with a warm iron, steam off, to see whether the wax-paper layers bond without scorching. This step is crucial for ensuring that the flowers stay secure between the layers.
Press the remaining area briefly in sections through the parchment. Lift the iron between sections rather than dragging it across the flowers to avoid disturbing their position. Allow the sandwich to cool completely for the best results.
Trace three stars on bonded areas, keeping flower fragments inside each outline. Cut them out carefully, checking that each edge stays joined; discard pieces that separate. This little detail attention will promote a cleaner look in your finished window stars.
Punch a hole in a clear bonded tip, thread and knot the string, and hang indoors. Since this is a wax-paper decoration, avoid placing it near flames, heaters, or hot windows to retain its quality.
The Design Behind This Floral DIY
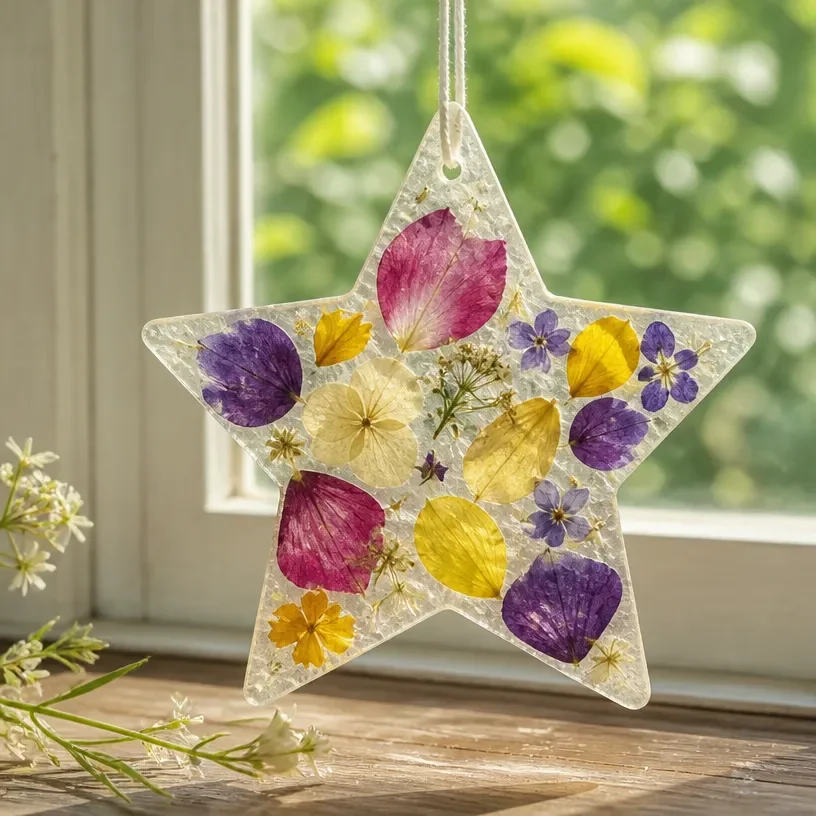
When working with flowers in this project, consider the relationship between your colors. Choose petals that create a harmonious palette and allow their textures to shine. For instance, a mixture of soft pastel tones can evoke a gentle, calming atmosphere, while bright, contrasting colors can energize the space. Key elements to focus on include layering the petals effectively so that each flower’s unique shape is visible, and ensuring spacing that allows light to filter through the wax paper beautifully. Proper alignment will lead to a cohesive star shape that looks professionally crafted.
Troubleshooting Common Issues
When crafting, it’s natural to encounter a few surprises. For example, if some petals shift during assembly, don’t worry. Lightly adjust their positions as needed before the layers fully adhere. Ensure you lift the iron instead of sliding it to help maintain floral placements. If you notice any uneven spaces, that can usually be easily fixed by adding more petals or adjusting the existing arrangement. Maintaining the right balance can elevate your design and prevent any overcrowding.
Easy Variations to Try
Add your own twist to the Wax Paper Wildflower Window Stars with these simple variations:
- Use petals from seasonal blooms to create stars reflecting each time of year.
- Experiment with different background colors by using colored wax paper.
- Vary star sizes by using alternate templates for both larger and smaller displays.
- Combine various floral combinations that may inspire other projects, such as similar petal varieties or contrasting colors to make a statement piece.
These ideas may inspire you to keep creating beyond this project while being mindful of the aesthetic you want to achieve.
Displaying or Keeping Your Project
Focus on displaying your Wax Paper Wildflower Window Stars prominently in your home, such as in windows that receive natural light. This allows them to shine, presenting their beauty effectively. When displaying, be mindful of any potential exposure to direct heat sources or moisture, as this may contribute to wear over time. If needed, find a safe spot for temporary storage until you’re ready to showcase your creations.
FAQs About Wax Paper Wildflower Window Stars
What kind of flowers should I use for the window stars? Using fully pressed dry petals works best for this project. Choose flowers that maintain their shape and color well, such as pansies or violets.
Can I use colored wax paper instead of clear sheets? Absolutely! Colored wax paper can add an exciting twist to your design, providing a different ambiance depending on the color choice.
What if the petals don’t stick well after pressing? If you face this issue, ensure the iron’s temperature is correct test it on a small corner first. Adjusting the pressure on the iron might also help.
How do I store my completed stars when not in use? Store your window stars in a dry, cool place away from direct sunlight, stacked gently between layers of parchment for protection.
Could I make these as gifts? Certainly! Handmade gifts always have a personal touch, and these window stars can be a thoughtful way to celebrate special occasions or show appreciation.
A Final Helpful Note
Wrapping up your Wax Paper Wildflower Window Stars project should feel like a celebration of creativity and nature. Embrace the chance to explore different arrangements, colors, and personal styles. The process of crafting these beautiful window stars is a wonderful way to express yourself while celebrating the beauty of the botanical world.
Conclusion
To enhance your crafting journey, you might want to check out the selection of
Translucent Wax Paper, Kite Paper, Glassine Papersavailable online. If you're looking for premium options specifically tailored for creating window stars, consider the
Waldorf Window Stars Paperfrom Bella Luna Toys. Enjoy bringing your floral designs to life!
Follow us on social for more floral DIY projects & botanical inspiration!
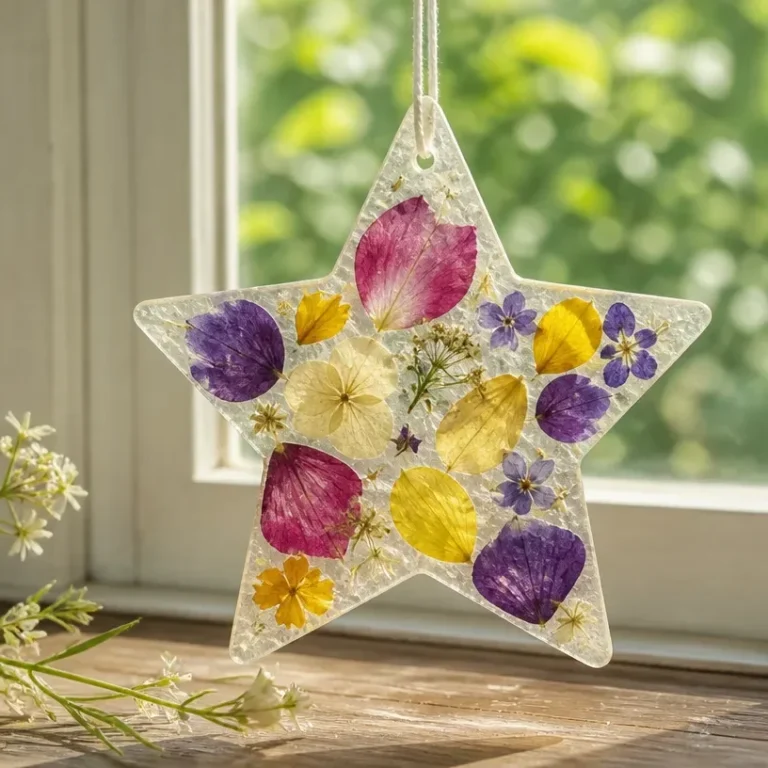
Wax Paper Wildflower Window Stars
Would you like to save this recipe?
By submitting you agree to receive this recipe and occasional emails. Unsubscribe anytime.
Ingredients
Materials Needed
- 2 sheets wax-paper sheets, 12 × 12 inches
- 12 pieces fully pressed dry petals Choose flowers that maintain their shape and color well, such as pansies or violets.
- 2 sheets parchment sheets
- 1 template star template, 3 inches
- 1 unit household iron (used by an adult)
- 1 unit scissors
- 1 unit hole punch
- 3 lengths cotton string, each 12 inches
Instructions
Steps
- Lay a wax-paper sheet on an ironing surface covered with parchment. Scatter flat dry petals at least ½ inch apart and keep them away from the outer edges.
- Place the second wax-paper sheet above the first, then cover with parchment. An adult should test a corner with a warm iron, steam off, to see whether the wax-paper layers bond without scorching.
- Press the remaining area briefly in sections through the parchment. Lift the iron between sections rather than dragging it across the flowers.
- Allow the sandwich to cool completely for the best results.
- Trace three stars on bonded areas, keeping flower fragments inside each outline. Cut them out carefully.
- Punch a hole in a clear bonded tip, thread and knot the string, and hang indoors.
Last Step: Don’t forget to leave a rating and comment below! It helps other readers find the best recipes — and it helps us too!
Tips & Notes:
Nutrition Information: Serving: 1 | Calories: | Carbohydrates: | Protein: | Fat: | Sodium: | Fiber: | Sugar:
Nutritional information is provided as a courtesy and calculated automatically. Values can vary depending on the brands and ingredients you use, so if you’re tracking closely, I recommend calculating with your own preferred tool.