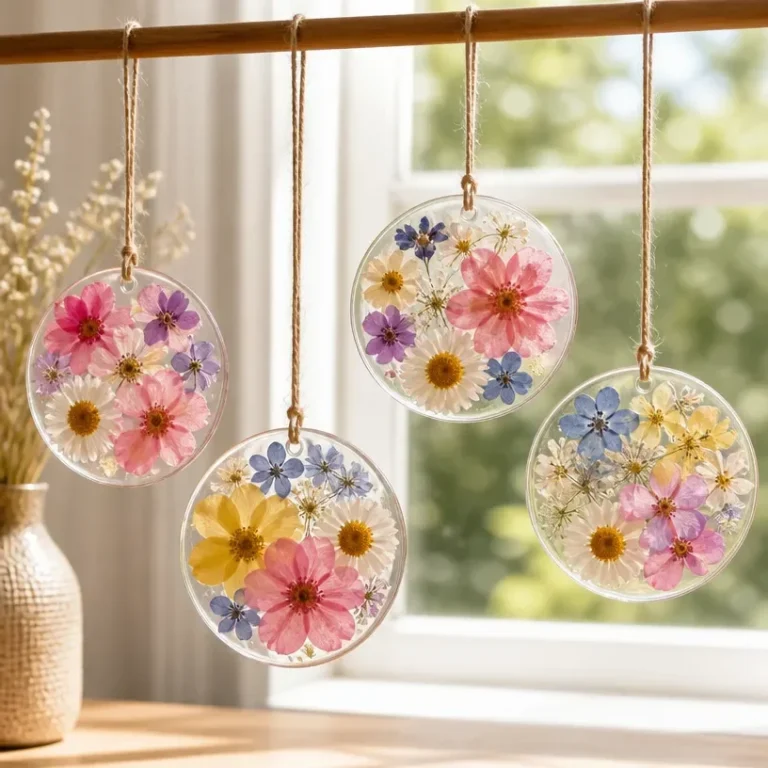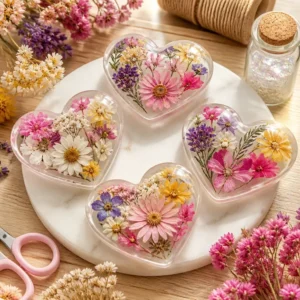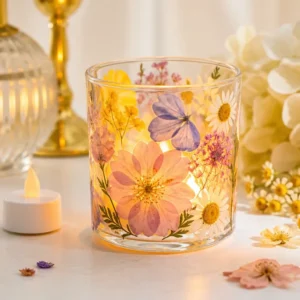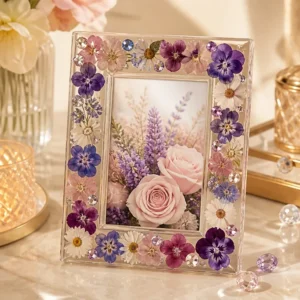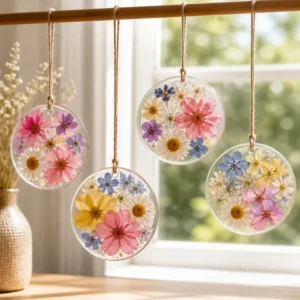
In the spirit of crafting and creativity, imagine an afternoon when you pull together flower petals and simple craft supplies. You might have some freshly picked blooms you want to preserve or colorful dried petals that beckon to be showcased. Setting the stage for a DIY Flower Hearts Craft Using Clear Glue is about immersing yourself in that calming yet invigorating feeling of making something special with your own hands. It’s the perfect opportunity to explore your artistic side while bonding with little ones or indulging in a quiet moment of creativity.
What Makes DIY Flower Hearts Craft Using Clear Glue Easy to Start
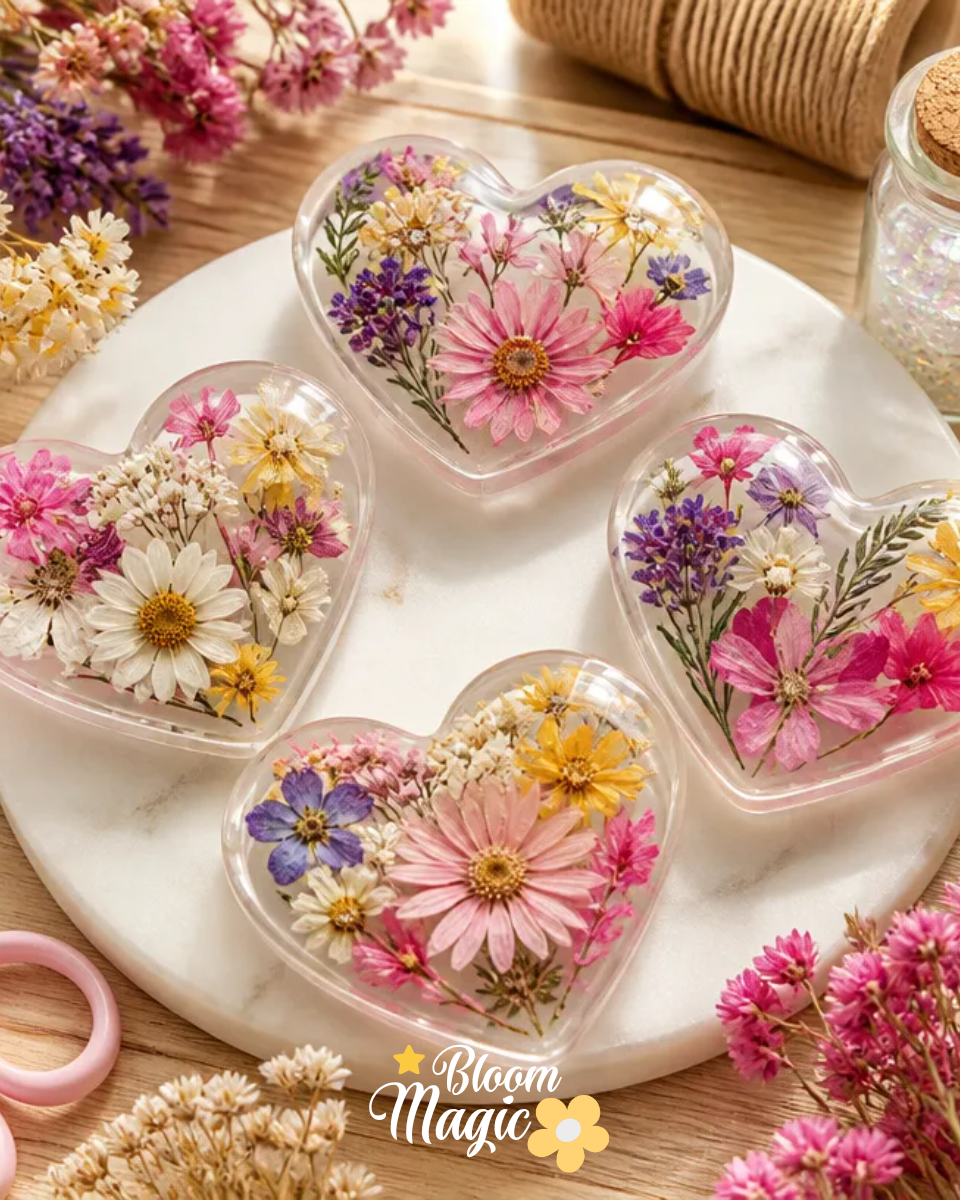
The DIY Flower Hearts Craft using clear glue is a fantastic project that combines both artistry and approachability. One of the key benefits of this craft is how manageable it is, even for absolute beginners. The materials required are straightforward you’ll be working with fresh or dried flowers, transparent glue, and sturdy cardstock. Each of these elements plays an essential role in creating something visually captivating.
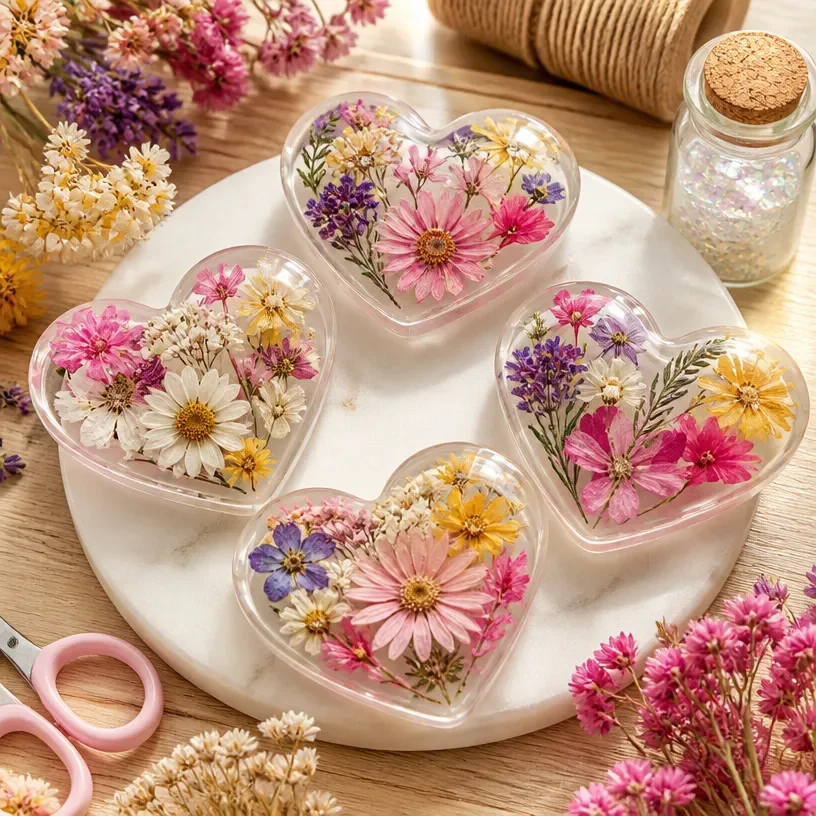
Creating floral hearts offers a chance to express oneself while exploring textures, colors, and whimsical designs. Children and adults alike can engage in this activity, finding it rewarding without the stress that often accompanies more complex projects. This craft is not only accessible but also memorable, allowing you to capture beautiful flower arrangements that can be cherished or gifted.
The Flow of Making DIY Flower Hearts Craft Using Clear Glue
As you prepare for this project, you can expect a delightful flow of creativity. First, you’ll arrange your workspace and materials, which sets a positive tone for what’s to come. The process itself is invitingly simple. You will start by selecting your flowers and shaping them into heart forms. Through this activity, you’ll enjoy natural moments of connection with the materials and the persons you may share the experience with.
Mess levels are pretty minimal; you only need to ensure that your workspace is protected (with wax paper, for instance). After arranging the petals, smoothing over the transparent glue becomes an easy and fulfilling task that helps secure your artistic expression. Once everything is assembled, you will simply have to allow time for drying. Your work will culminate in a unique and personal piece that can be displayed or gifted to someone special.
Materials You’ll Need
- Fresh or dried flowers (colorful and flat petals): Choose blooms that resonate with you. Their vibrant colors and delicate shapes will enhance your final piece.
- Transparent glue: Essential for securing the petals. Ensure it’s clear so it dries without clouding the beauty.
- Cardstock or thick paper: This forms the base of your heart. Choose a color that contrasts nicely with your flowers for a striking look.
- Scissors (optional): While not necessary, scissors may help you fine-tune the paper or petals.
- Wax paper or a tray: Use it to protect your surface during the crafting process.
Step-by-Step Directions
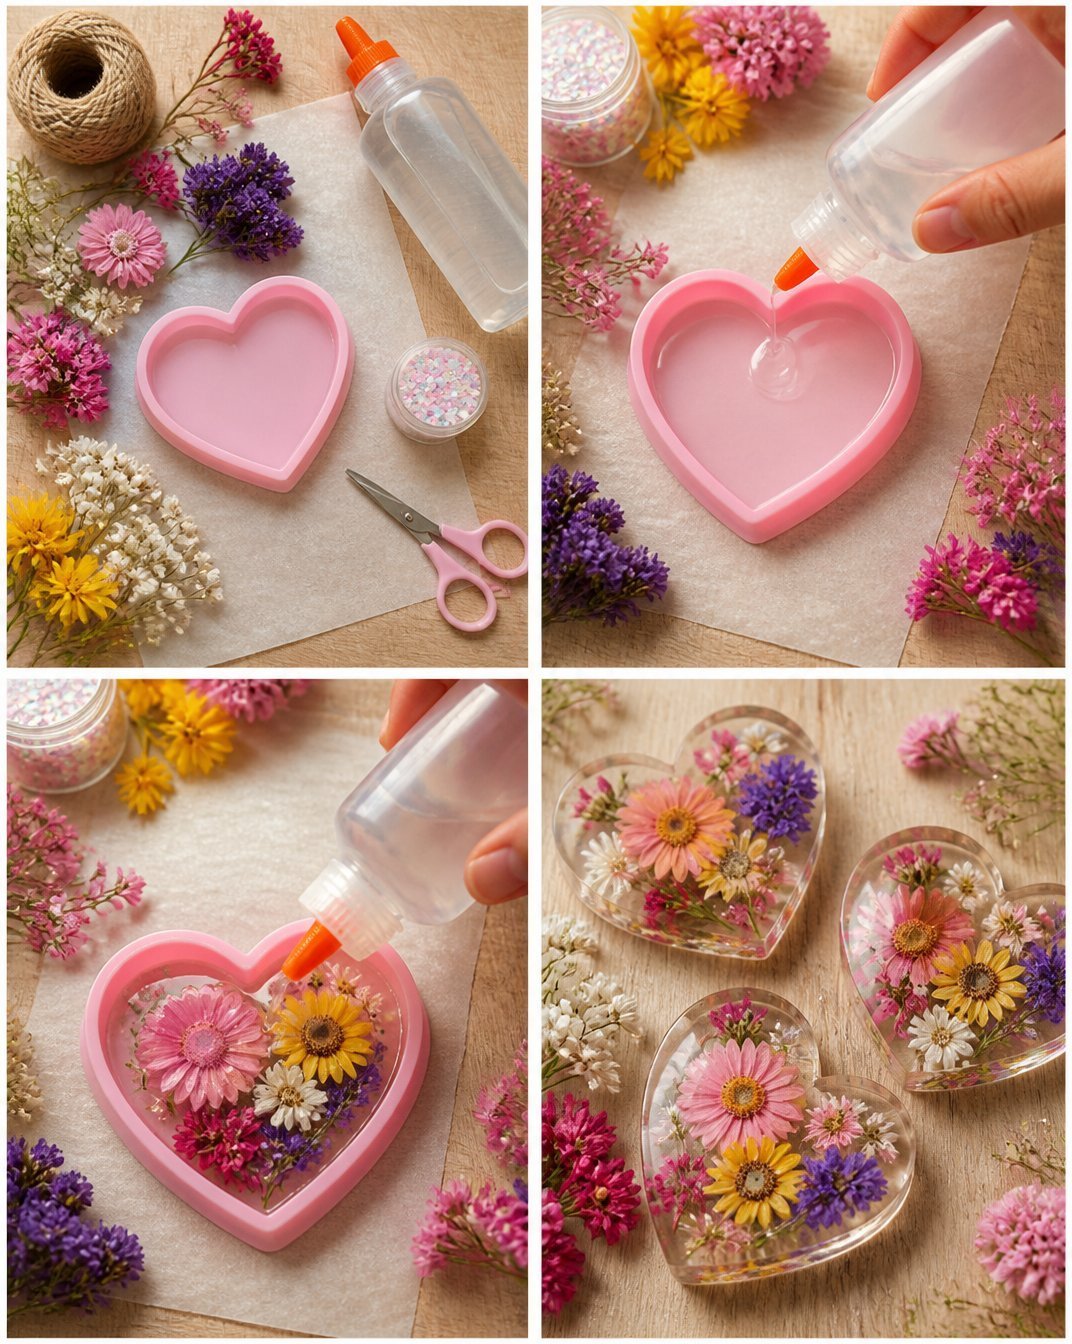
Prepare your workspace by laying out all materials on the table. A tidy setup allows for a smooth crafting experience.
Choose the flowers you’d like to use for your hearts. Look for petals that are colorful, flat, and have a good shape to create striking designs.
Have your children arrange the flower petals in the shape of hearts on the cardstock. This is where creativity thrives; let them experiment with placements!
Assist them in applying transparent glue over the flowers to secure them in place. Be gentle; ensure that every petal is secured well to uphold the design.
Set aside the cardstock to let the glue dry completely. Patience is key here; drying time allows the beauty of the project to shine through.
Once dry, help cut around the flower hearts. Make sure to leave a margin if desired, adding an appealing frame to your hearts.
Encourage them to find a special spot to display or gift their creations. The joy of sharing these heartfelt crafts is a perfect ending to the process.
The Creative Details That Bring It Together
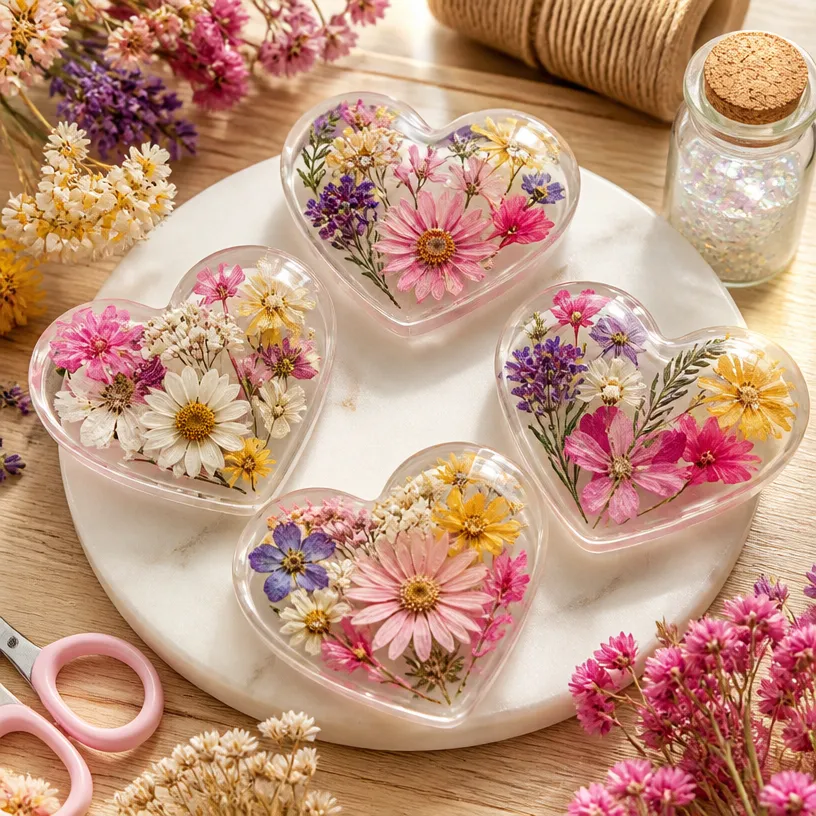
Creating a floral heart involves various elements of design, from color to texture. Balance is vital; if you have a mix of colors, aim for even distribution to create harmony in your piece. Think about how the petals interact; light and dark hues can establish depth and dimension. Layering can enhance visual interest, but be careful not to overcrowd your design. Each petal should maintain its shape, allowing for the heart to breathe and appear delicate.
Spacing also plays a role in composition. Make sure to leave spaces that allow the background cardstock to show, enhancing the artwork itself. The simple heart shape can be customized with different floral varieties, providing opportunities for personalization based on seasonal availability or personal preferences.
Troubleshooting Common Issues
If something doesn’t go as planned during your project, don’t worry. Common issues include uneven placements or petals that shift out of position. If you find that your flowers are not adhering, gently press down on them after applying the glue. For instances where layers feel too full or empty, step back and adjust the arrangement sometimes, the right balance comes with a few shifts. Remember, this creative process is about flexibility, and adjustments can lead to beautiful outcomes.
Easy Variations to Try
Looking to change things up? Consider the following variations:
- Experiment with different types of flowers, such as herbs or foliage, to bring unique textures into the mix.
- Try new cardstock colors or patterns for the background to complement different flower choices, adding more personality to each heart.
- Create a series of hearts in various sizes, making an attractive, cohesive display.
- Incorporate additional decorative elements like glitter or small stones for added flair.
What to Do With It After
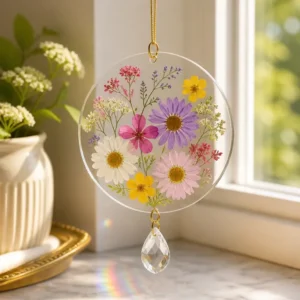
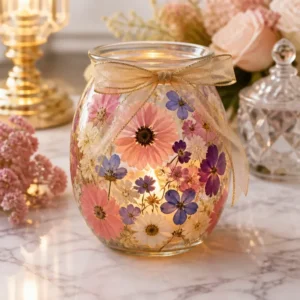
After crafting your flower hearts, think about their display or gift potential. These pieces can be framed or hung as decorations, adding character to your home. If gifting, wrapping them carefully with a ribbon creates a lovely presentation. Make sure they are placed where they won’t be crushed to keep their beauty intact.
FAQs About DIY Flower Hearts Craft Using Clear Glue
What type of flowers work best for this craft? Flat petals like pansies, violets, or even dried roses work exceptionally well. Their shapes suit the heart design and add visual appeal.
Can I substitute the transparent glue with anything else? While transparent glue is recommended for clear results, any strong adhesive might work, just be aware of how it dries and looks.
What if the petals don’t stick as expected? Make sure to apply enough glue to each petal’s base. If needed, you can gently press the petals again to ensure they adhere correctly.
How long should I wait for the glue to dry? Typically, allowing the glue to dry for several hours will ensure everything is set. Check the adhesive package for specific recommendations.
Is it okay to use old or wilted flowers? While fresh flowers are preferable for aesthetics, dried or wilted ones can also be used and add a unique vintage charm.
A Final Helpful Note
Crafting the DIY Flower Hearts with clear glue is an enjoyable and meaningful process. Embrace the opportunity to explore colors and textures while securing your creations with care. Each heart becomes a one-of-a-kind expression, perfect for display or as heartfelt gifts for loved ones. As you begin, remember that confidence in creativity comes from joy in the making. Each step you take creates lasting memories and beautiful reminders of life’s delicate beauty.
Conclusion
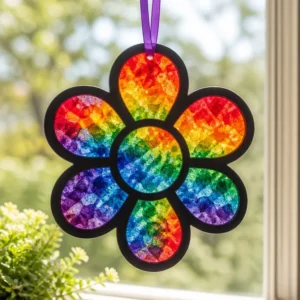
Creating your unique flower hearts is not just a craft but a way to express yourself and connect with nature’s colors and forms. For those seeking more ideas and crafts, consider this Valentine’s Day Heart Suncatcher Craft or explore the joy of fingertip creativity with the Fingerprint Art Glass Magnets Craft Tutorial with DIY VIDEO. These projects further inspire imaginative floral and botanical crafts to make at home.
Follow us on social for more floral DIY projects & botanical inspiration!
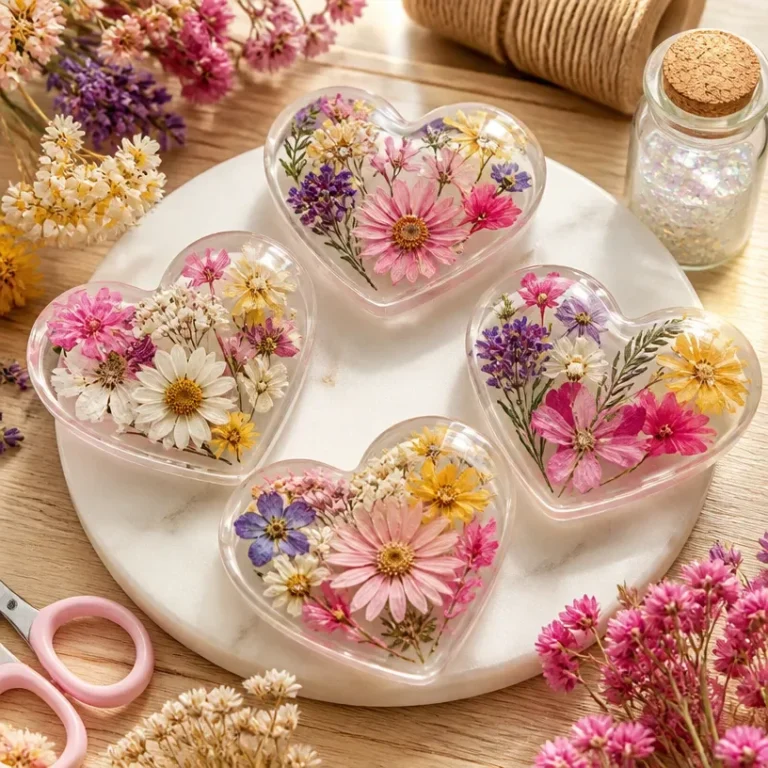
DIY Flower Hearts Craft
Would you like to save this project?
By submitting you agree to receive this project and occasional emails. Unsubscribe anytime.
Materials
Materials
- 1 bunch Fresh or dried flowers Choose colorful and flat petals like pansies or violets.
- 1 bottle Transparent glue Essential for securing the petals, choose clear adhesive.
- 1 piece Cardstock or thick paper Select a contrasting color to enhance your flowers.
- 1 optional Scissors For fine-tuning paper or petals.
- 1 piece Wax paper or a tray Used to protect your surface during crafting.
Directions
Preparation
- Prepare your workspace by laying out all materials on the table to create a tidy setup.
- Choose the flowers you’d like to use for your hearts.
Creating the Hearts
- Have children arrange the flower petals in the shape of hearts on the cardstock.
- Assist them in applying transparent glue over the flowers to secure them in place.
- Set aside the cardstock to let the glue dry completely.
- Once dry, help cut around the flower hearts, leaving a margin if desired.
- Encourage them to find a special spot to display or gift their creations.
Last Step: Don’t forget to leave a rating and comment below! It helps other readers find the best DIY projects — and it helps us too!