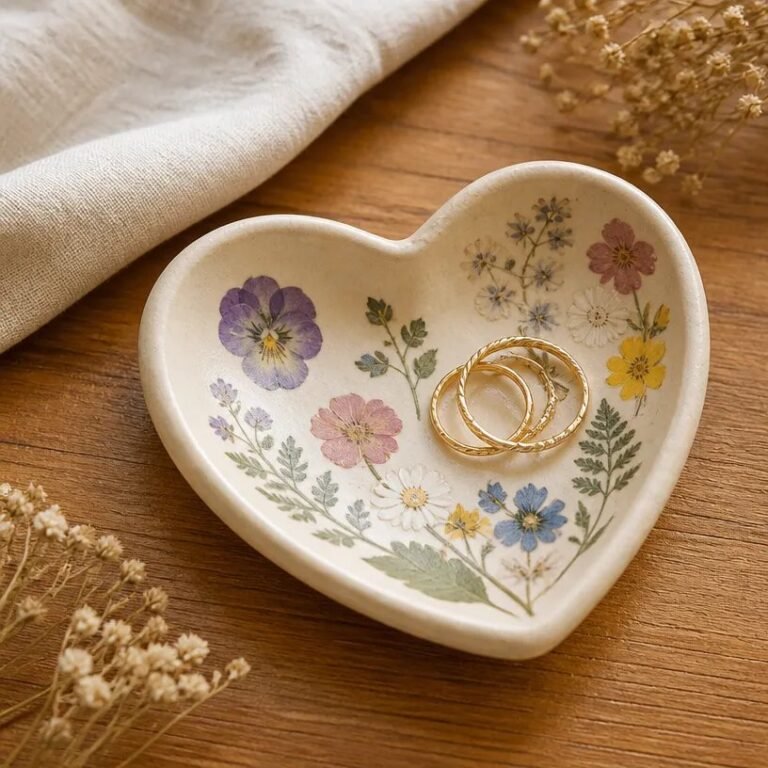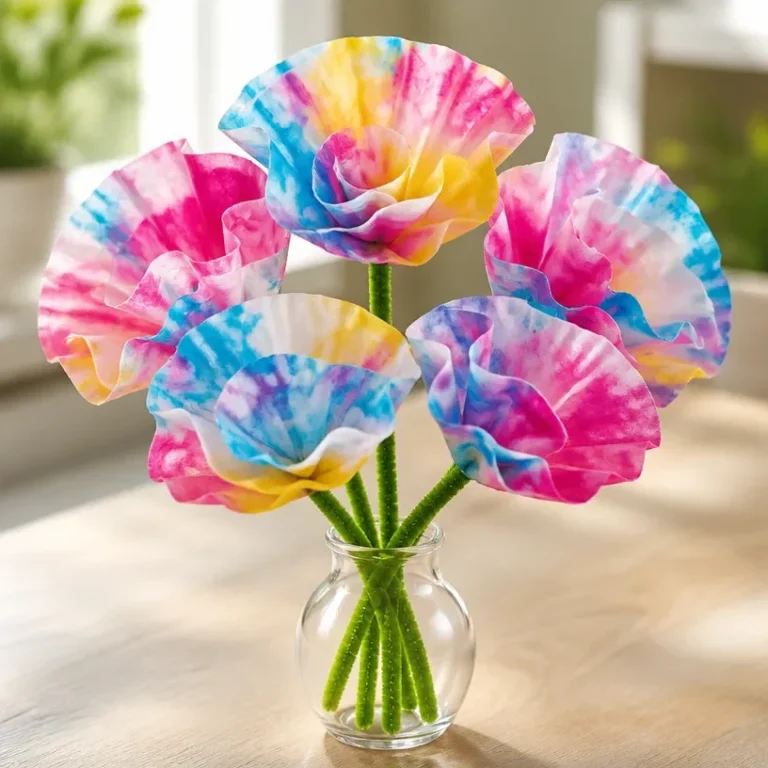
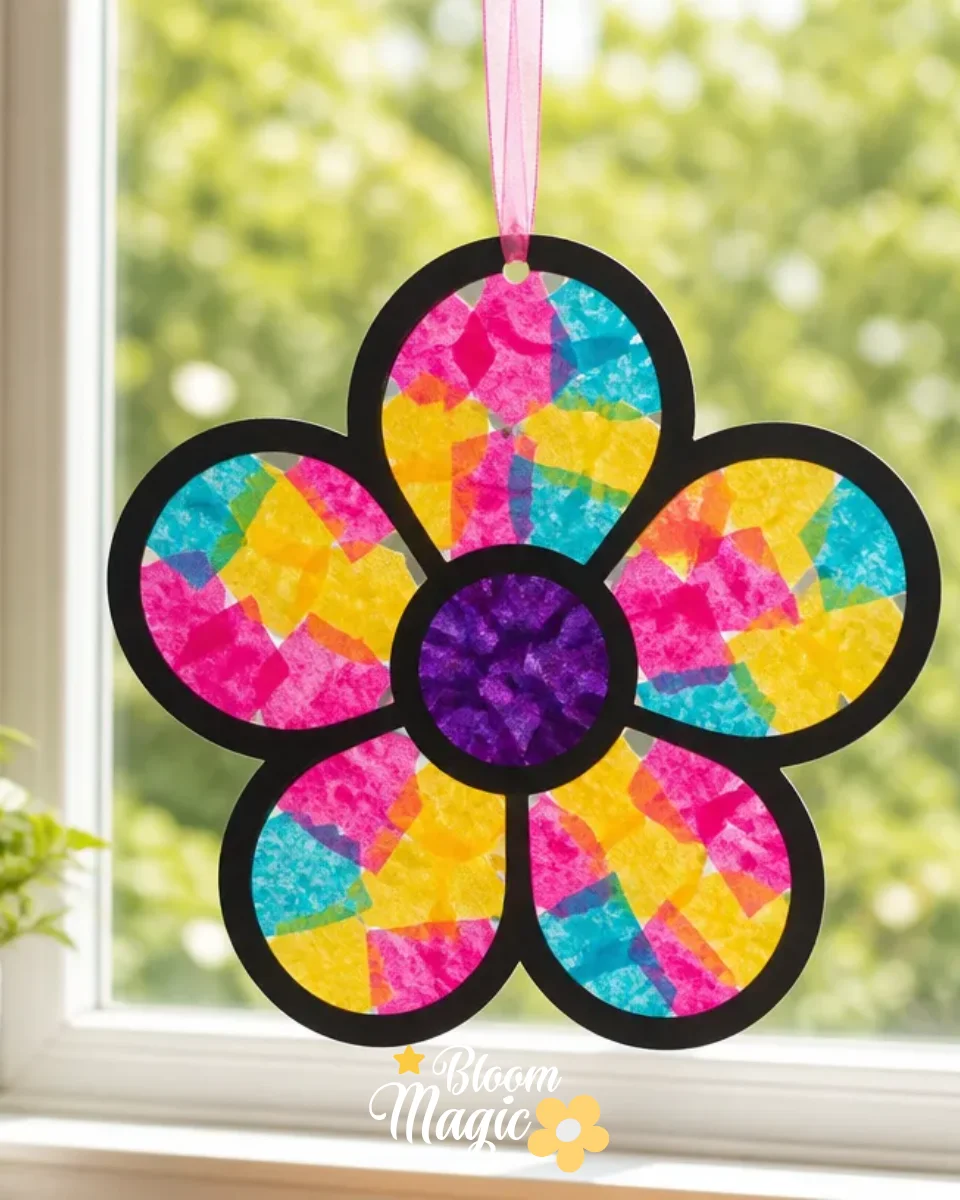
Creating a vibrant and cheerful atmosphere in your home can be as simple as making a Tissue Paper Flower Window Suncatcher. Imagine sorting through your favorite craft supplies vibrant tissue paper, scissors, and clear adhesive on a breezy afternoon, ready to bring a burst of color to your space. This project captures the essence of floral crafting, allowing you to preserve flowers or colorful paper in a way that brightens any window. Not only does it bring beauty into your home, but it also offers an engaging and approachable crafting experience for all ages. You may also find Pressed Flower Suncatcher Contact Paper useful.
Why This Tissue Paper Flower Window Suncatcher Works So Well
You may also find Clear Glue Pressed Flower Suncatcher useful.
This project shines as it combines simplicity with visual appeal. The Tissue Paper Flower Window Suncatcher is not only fun to create, but it’s also an inspiring way to add a splash of color to your decor. The materials are easy to work with, making it accessible for beginners or those with little crafting experience. You get to play with layers of colors, patterns, and textures, which can transform any ordinary window into a canvas of artistic expression. Best of all, it’s a craft that can be shared among family members, making it a delightful activity for children and adults alike. You may also find Diy Frosted Flower Suncatcher Winter Decor useful.
A Quick Look Before You Begin
Making your suncatcher requires minimal setup. You will gather the supplies, outline your design, and prepare to engage with the colorful materials. As you create, you’ll notice the layering of the tissue paper flowers and how they interact with light. It’s a low-mess project that’s manageable in your home. Take your time to arrange the flowers thoughtfully, as this will help you achieve a balanced and aesthetically pleasing design in the end.
Materials You’ll Need
- Tissue paper (varied colors): Adds vibrancy and depth to your suncatcher.
- Scissors: To cut flowers and other shapes from the tissue paper.
- Clear adhesive (glue stick or liquid): Secures your flowers in place, ensuring a clean finish.
- Clear contact paper or laminating sheets: Serves as the base to hold your flowers and to create a smooth surface.
- Optional: Decorative scissors for creating unique edges.
Step-by-Step Directions
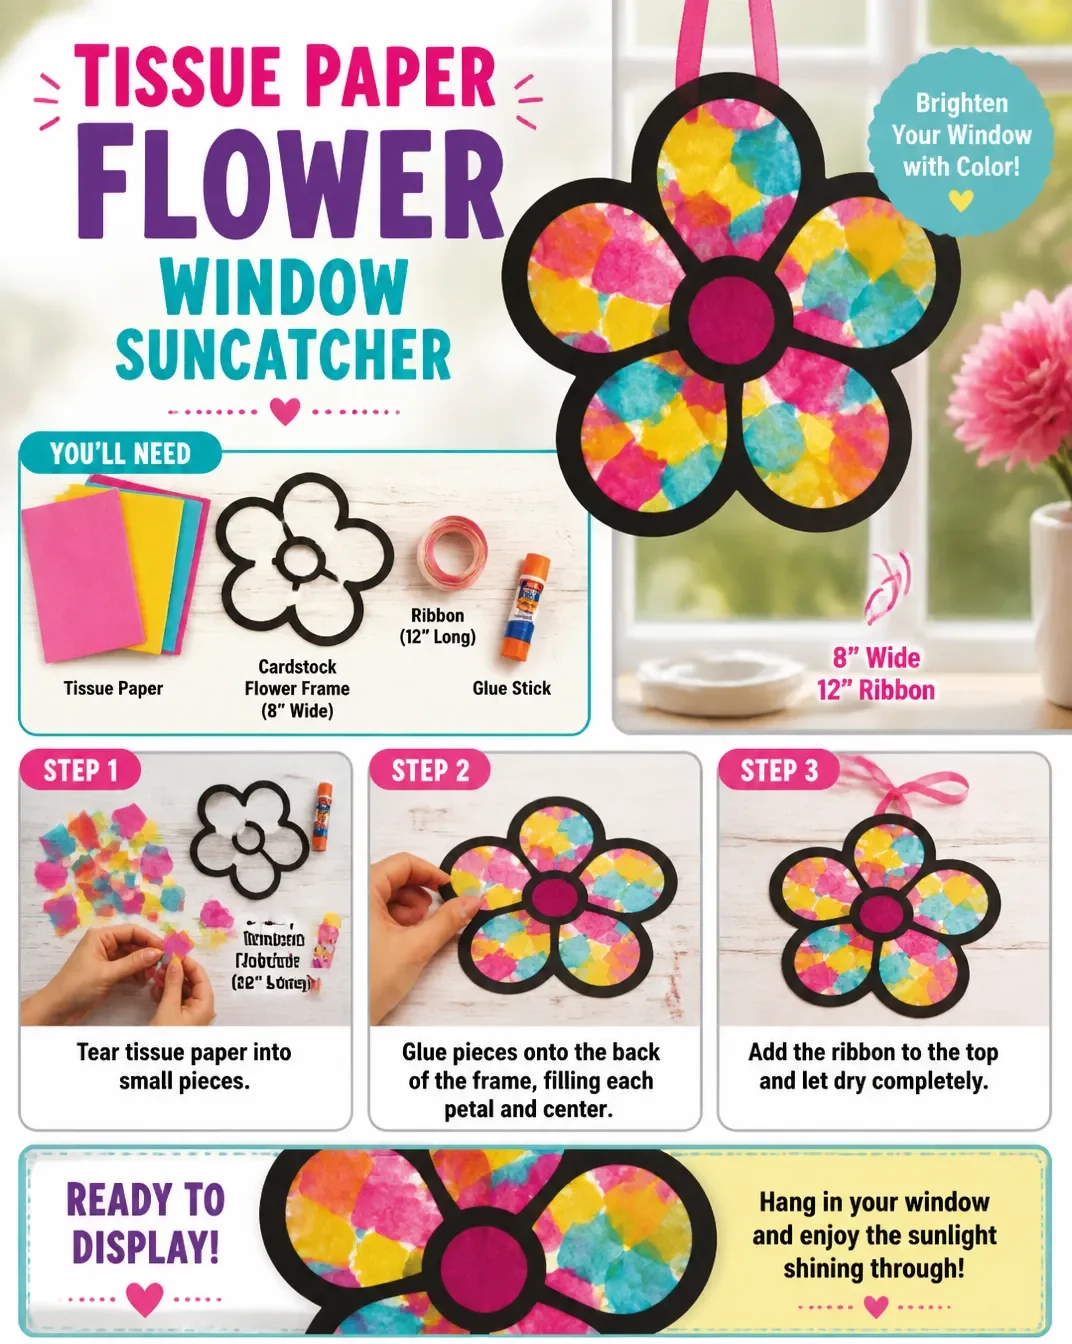
Prepare Your Workspace: Lay down newspapers or a craft mat to catch any mess. Gather all your materials within reach for easy access during the project.
Cut Your Tissue Paper: Begin by cutting the tissue paper into flower shapes or other designs as desired. Aim for varying sizes to create dimension in your suncatcher.
Arrange Flowers: Lay out your cut pieces on a flat surface. Experiment with placement until you find an arrangement that pleases your eye.
Adhere Flowers: Carefully lift the cut pieces and apply a small dab of clear adhesive to each one. Press them onto the contact paper, making sure to secure them well.
Seal Your Design: Once all flowers are in place, carefully lay another piece of clear contact paper over the top to seal the design. Smooth it down to remove any air bubbles.
Trim Edges: Use scissors to trim the excess contact paper for a clean finish. This will also make it easier to hang or display later.
Display Your Suncatcher: Choose a window that receives plenty of light. Use tape or suction cups to hang your beautiful suncatcher where it can shine.
The Design Behind This Floral DIY

When creating this suncatcher, consider the relationships between colors. Selecting complementary hues can enhance the visual impact of your design. For example, pairing warm tones like yellows and reds with cooler blues and greens can create an inviting balance. You’ll also want to think about spacing; giving each flower its own room allows for better visibility and appreciation of each piece. Layering different shapes and sizes adds depth and creates a more dynamic appearance.
Troubleshooting Common Issues
If you encounter uneven placement or shifting flowers, don’t fret. Carefully lift the flowers from the contact paper, reapply your adhesive, and reposition them as needed. If the finished look feels crowded, consider removing a few pieces to allow for better balance in your design. Visible adhesive can sometimes be an issue; ensuring you use a small amount for each piece might help in keeping it clean.
Easy Variations to Try
Getting creative with your Tissue Paper Flower Window Suncatcher can make it even more special. You might choose to experiment with different shapes or seasonal color palettes. For instance, autumn colors like orange, brown, and gold can reflect the changing seasons beautifully. Alternatively, using pastel colors in spring can give a soft, delicate look. You may also want to try various arrangements or even add some dried flowers for added texture.
Displaying or Keeping Your Project
Once completed, your suncatcher deserves a great spot in your home. Consider hanging it in a sunny window where it can be admired by everyone who enters. If you need to store it, keep it flat in a safe place to avoid bending or tearing. You can even make more to gift to friends or family, showcasing your creativity and the beauty of flowers in an inspiring way.
FAQs About Tissue Paper Flower Window Suncatcher
Can I use other types of paper?
Yes, while tissue paper works beautifully, you can also use wrapping paper or even lightweight magazine pages for a different effect.
What if my flowers don’t stick well?
Ensure that you’re using a sufficient amount of adhesive; sometimes a little extra can make a difference. Be gentle when lifting the flowers to avoid tearing.
How can I customize my suncatcher?
Feel free to add embellishments like glitter or ribbon for a more personalized touch. Play with patterns for your tissue paper cutouts to add more interest.
How should I store my finished suncatcher?
If you want to store it away, keep it flat in a protective sleeve or between sheets of cardstock. This will help maintain its shape.
Can I make this project with kids?
Absolutely! This is a perfect project for kids with adult supervision, allowing them to explore creativity while developing fine motor skills.
A Final Helpful Note
Keep in mind that there are no right or wrong designs when it comes to your Tissue Paper Flower Window Suncatcher. Enjoy the process and let your creativity shine through. Pay attention to how colors, shapes, and textures come together, and don’t hesitate to express yourself. This project is all about having fun and bringing a bit of nature into your home.
Conclusion
Creating a Tissue Paper Flower Window Suncatcher can be a delightful way to bring a touch of nature indoors. If you're looking for more creative ideas, consider exploring resources such as
How to Make a Beautiful Flower Suncatcher for Kidsor check out
Easy DIY Tissue Paper Flower Suncatchersfor additional inspiration. Each project offers its unique charm and opportunities for creativity that can make floral crafting a cherished activity in your life.
Follow us on social for more floral DIY projects & botanical inspiration!
Tissue Paper Flower Window Suncatcher
Would you like to save this recipe?
By submitting you agree to receive this recipe and occasional emails. Unsubscribe anytime.
Ingredients
Craft Materials
- 1 pack Tissue paper (varied colors) Adds vibrancy and depth to your suncatcher.
- 1 pair Scissors To cut flowers and other shapes from the tissue paper.
- 1 stick Clear adhesive (glue stick or liquid) Secures your flowers in place, ensuring a clean finish.
- 1 sheet Clear contact paper or laminating sheets Serves as the base to hold your flowers.
- Optional Decorative scissors For creating unique edges.
Instructions
Preparation
- Prepare your workspace by laying down newspapers or a craft mat to catch any mess.
- Gather all your materials within reach for easy access during the project.
Creating the Suncatcher
- Begin by cutting the tissue paper into flower shapes or other designs as desired, aiming for varying sizes.
- Lay out your cut pieces on a flat surface and experiment with placement.
- Once content with the arrangement, apply a small dab of clear adhesive to each flower and press them onto the contact paper.
- Seal your design by laying another piece of clear contact paper over the top to cover all flowers.
- Use scissors to trim the excess contact paper for a clean finish.
- Choose a window that receives plenty of light and use tape or suction cups to hang your beautiful suncatcher.
Last Step: Don’t forget to leave a rating and comment below! It helps other readers find the best recipes — and it helps us too!
Tips & Notes:
Nutrition Information: Serving: 1 | Calories: | Carbohydrates: | Protein: | Fat: | Sodium: | Fiber: | Sugar:
Nutritional information is provided as a courtesy and calculated automatically. Values can vary depending on the brands and ingredients you use, so if you’re tracking closely, I recommend calculating with your own preferred tool.