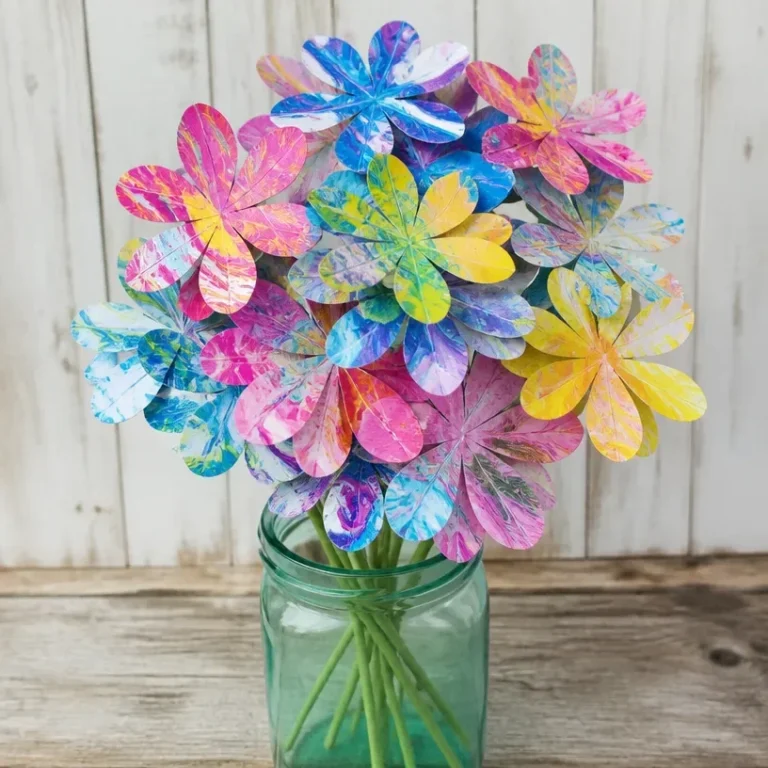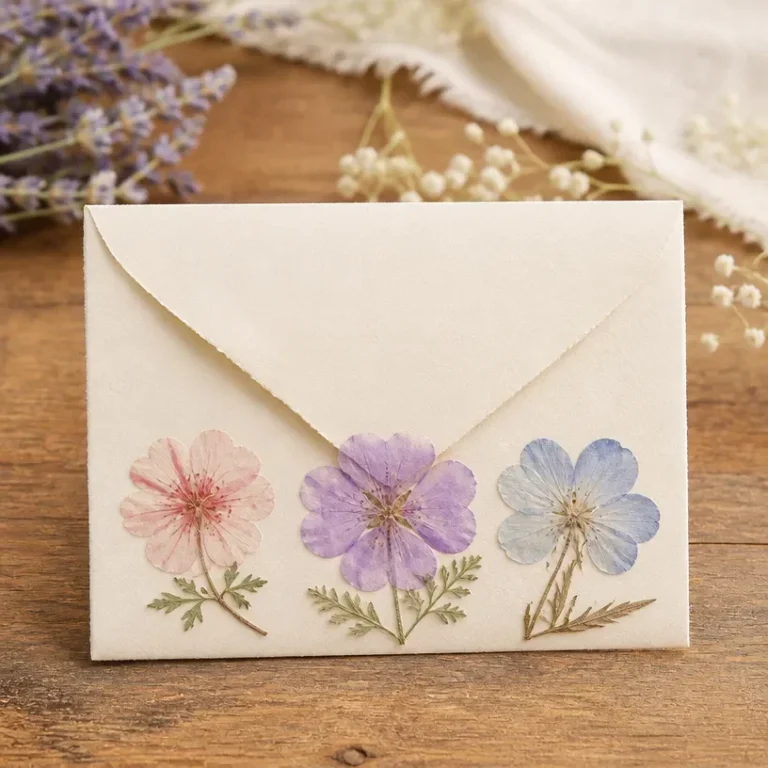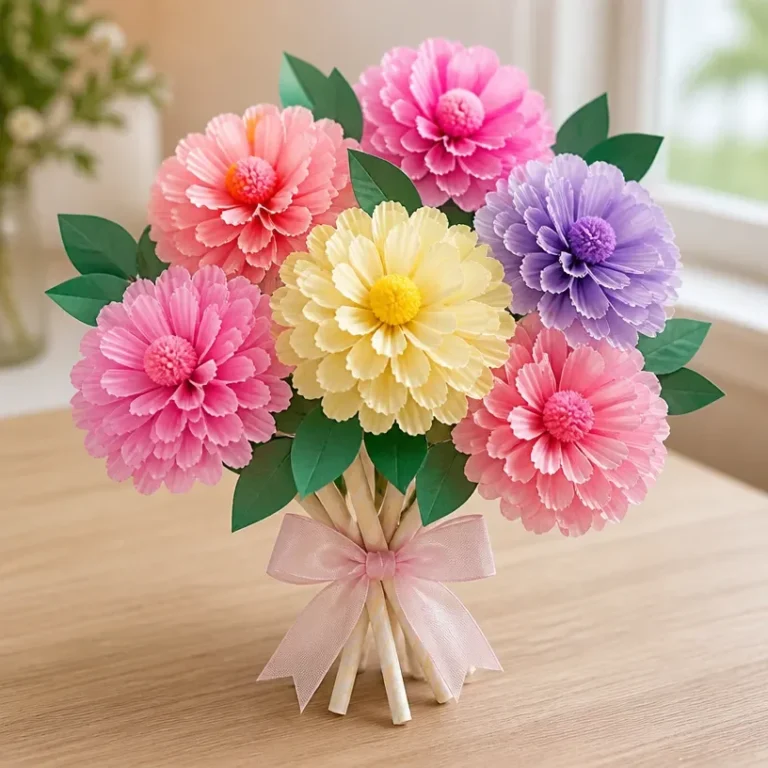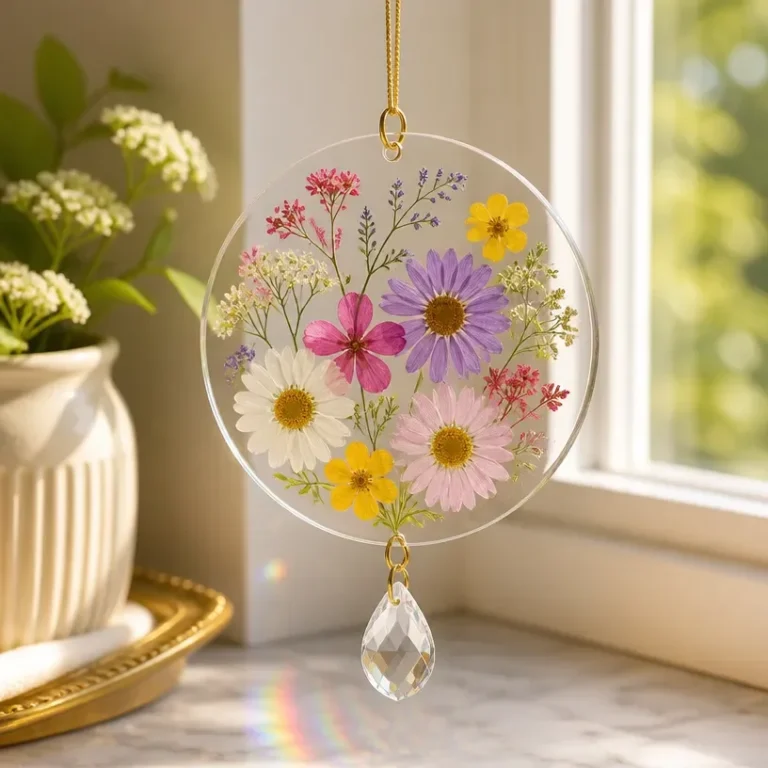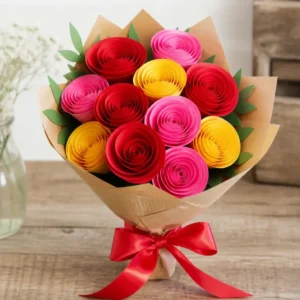

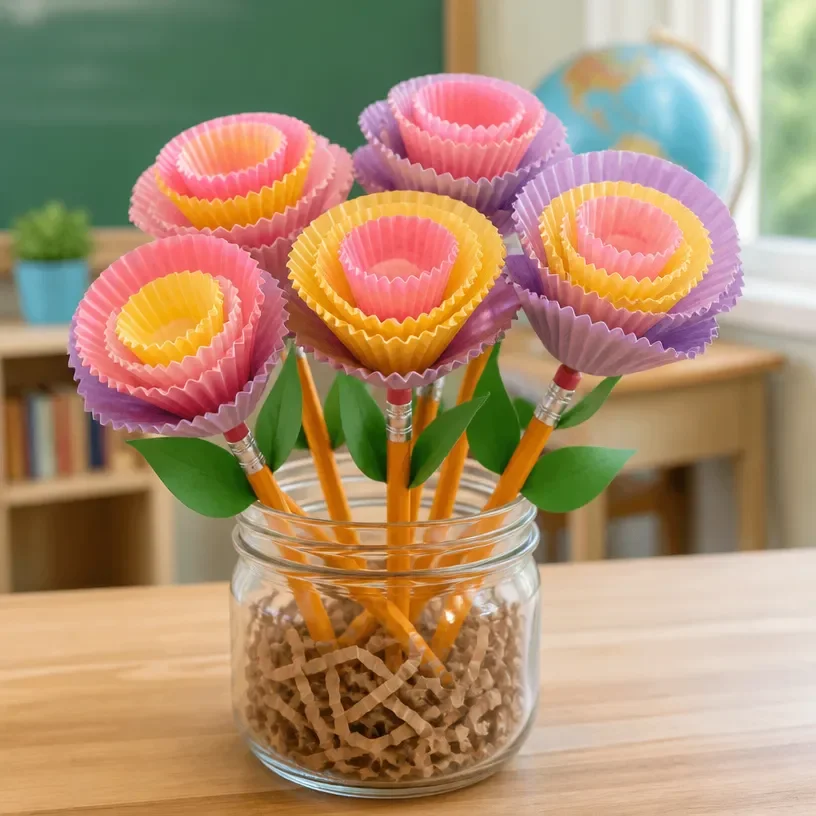
Creating beautiful flower crafts can bring joy and satisfaction, especially when you can repurpose everyday items into meaningful gifts. Imagine setting out a few craft supplies to create something special for a teacher. The idea of a Pencil Flower Bouquet for a Teacher Gift blends functionality with creativity, crafting a unique gift that can brighten their day and serve as a fun decorative piece. This project captures the essence of thoughtful gifting while showcasing a fun twist on traditional flower arrangements. You may also find Fork Pom Pom Flower Bouquet useful.
Why You’ll Love Making Pencil Flower Bouquet for a Teacher Gift
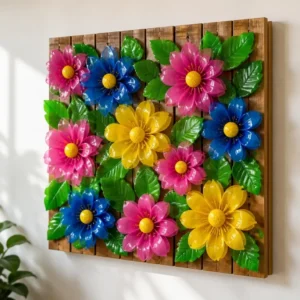
You may also find 3D Flower Wall Art Ideas Home Decor useful.
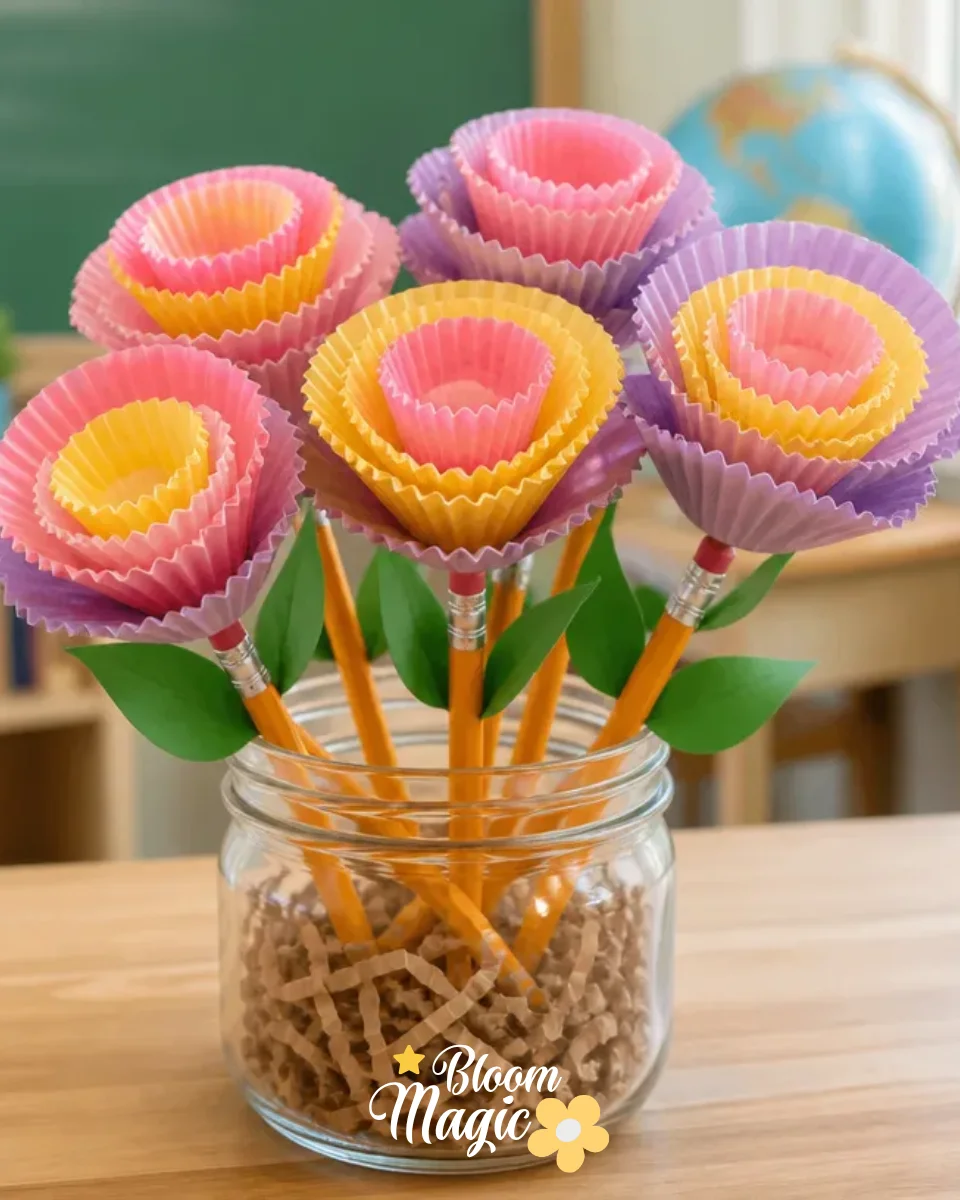
This Pencil Flower Bouquet for a Teacher Gift is approachable and visually rewarding. It allows for creativity in design and the use of simple materials that can easily be gathered. Each pencil acts as a stem, making it functional as well as decorative. An added benefit is that this project is manageable for all skill levels, providing a satisfying crafting experience that results in a lovely bouquet everyone can appreciate. You may also find Clear Glue Pressed Flower Suncatcher useful.
A Quick Look Before You Begin
Before jumping into crafting your bouquet, take a moment to visualize the arrangement. Imagine how the colored pencils will resembled flower stems holding up vibrant blossoms. This project mainly involves assembling different materials and attaching them securely, ensuring everything is well-balanced and pleasing to the eye. You won’t need to worry about excessive mess since most materials can be handled easily, and the steps are straightforward and enjoyable.
Materials You’ll Need
To create the Pencil Flower Bouquet, gather the following materials:
- Colored pencils: These serve as the stems of your bouquet.
- Tissue paper: The perfect choice for crafting delicate flower blossoms.
- Floral tape: Essential for securely attaching the blossoms to the pencils.
- Scissors: Required for cutting the tissue paper to your desired sizes.
- Craft paper or decorative wrapping: Use this to create a beautiful bouquet holder.
Careful handling of the tissue paper will help maintain its delicate shape while creating your flowers.
Step-by-Step Directions
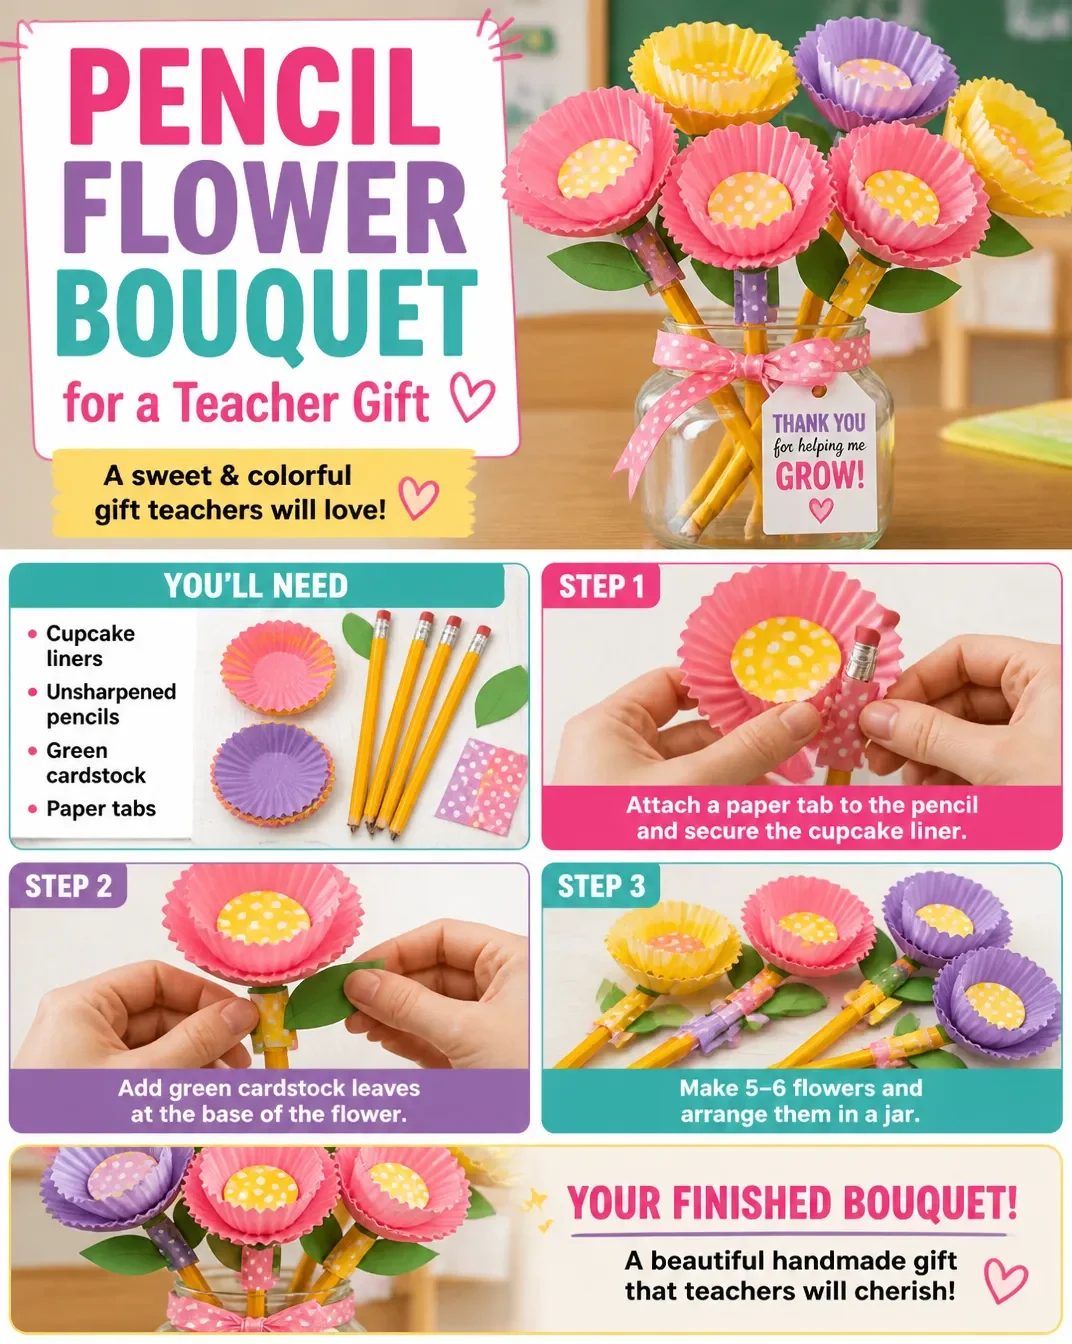
Prepare the Colored Pencils: Start by choosing a vibrant selection of colored pencils that will act as the bouquet’s stems. If there are any special colors you know your teacher loves, incorporate those!
Cut Tissue Paper: Cut squares or circles of tissue paper, about 5-7 inches in diameter, to create flower petals. You can use different colors to add variety.
Form Petals: Layer several tissue pieces together. Gather them at the center and pinch to form a flower shape.
Attach to Pencil: With floral tape, carefully attach the base of the crafted flower to the top of the colored pencil. Ensure it is snug and secure; the flower should hold its shape.
Continue Adding Flowers: Repeat the process for each flower until your bouquet reaches your desired fullness. Try varying the number of layers of tissue for different flower sizes.
Create a Bouquet Holder: Use craft paper to create a holder for your pencils. This could be a simple cone shape that wraps around the stems just below the flowers. Secure it with tape.
Add Final Touches: Ensure all flowers are aligned and evenly spaced out, giving your bouquet a balanced look.
Display or Gift: Share your delightful creation with your teacher, making sure they know how much their hard work is appreciated.
The Design Behind This Floral DIY
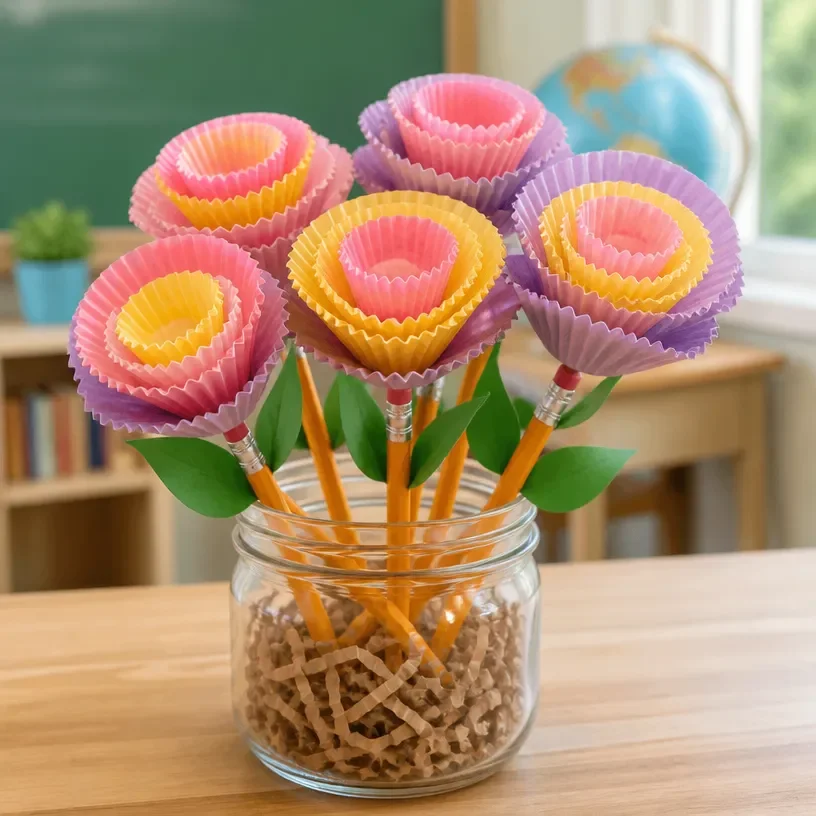
The strength of this Pencil Flower Bouquet lies in its playful combination of color and form. Utilizing vibrant pencils as stems not only adds a unique twist but also reflects creativity in a tangible form. The use of tissue paper provides a soft texture that contrasts well with the structured appearance of the pencils. When arranging the flowers, pay attention to the spacing and balance; ensure that some flowers sit higher while others are slightly lower to create visual interest. This layering method helps achieve a dynamic look while keeping the design light and engaging.
Troubleshooting Common Issues
If at any stage the flowers start to feel uneven or too spaced apart, take a moment to reassess their positioning. Sometimes, gently reshaping the tissue paper petals can help the blooms appear fuller and more vibrant. Ensure the floral tape is tightly secured around the pencil to prevent any flowers from drooping. If your bouquet feels a bit sparse, adding an additional layer to some of the flowers can help enhance fullness quickly.
Easy Variations to Try
Looking to personalize your project even further? Consider trying out these variations:
- Seasonal Colors: Use colors and patterns that reflect different seasons, such as pastel shades for spring or warm colors for fall.
- Different Flower Shapes: Experiment with different types of flowers, like daisies or roses, using varying petal shapes for each floral creation.
- Customized Wrapping: Change up the bouquet holder by using themed wrapping paper or even fabric scraps for a unique touch.
- Add Greenery: Incorporate artificial leaves or greenery to add depth and contrast to your bouquet.
Displaying or Keeping Your Project
Once complete, the Pencil Flower Bouquet is perfect for gifting or personal display. Place it in a decorative container or a vase to showcase at home or your desk at school. If you’re considering a gift, ensure that it’s beautifully wrapped to enhance its appeal. If you choose to keep it, remember to store it in a dry space to maintain its integrity.
FAQs About Pencil Flower Bouquet for a Teacher Gift
Is there a way to substitute materials if I can’t find tissue paper? Yes! You can use wrapping paper or even old magazines as alternatives. Just ensure the material is light enough to create a lovely flower effect.
What if my flowers look too sparse? If your bouquet appears too sparse, you can add more flowers. Layering more tissue paper can make each bloom fuller and add interest to your arrangement.
How do I transport the bouquet without damaging it? When transporting your bouquet, hold it carefully by the base to avoid disturbing the flowers. If possible, place it in a sturdy box for added protection.
A Final Helpful Note
As you embark on crafting the Pencil Flower Bouquet for a Teacher Gift, remember to enjoy the process. Allow your creativity to shine and make choices that feel right for you. The joy of floral crafting is in its flexibility and expressiveness, so take your time and appreciate the beauty of what you create.
Conclusion
This Pencil Flower Bouquet is more than just a gift; it represents appreciation and thoughtfulness. With such a creative approach, you can find inspiration in making personalized presents. For more crafting ideas, check out this
DIY Pencil Flower Bouquet Teacher Gifts with FREE Printable. You might also consider browsing this
Pencil Flowers – Teacher Gifts Project on Pinterestfor additional inspiration and ideas. Happy crafting!
Follow us on social for more floral DIY projects & botanical inspiration!
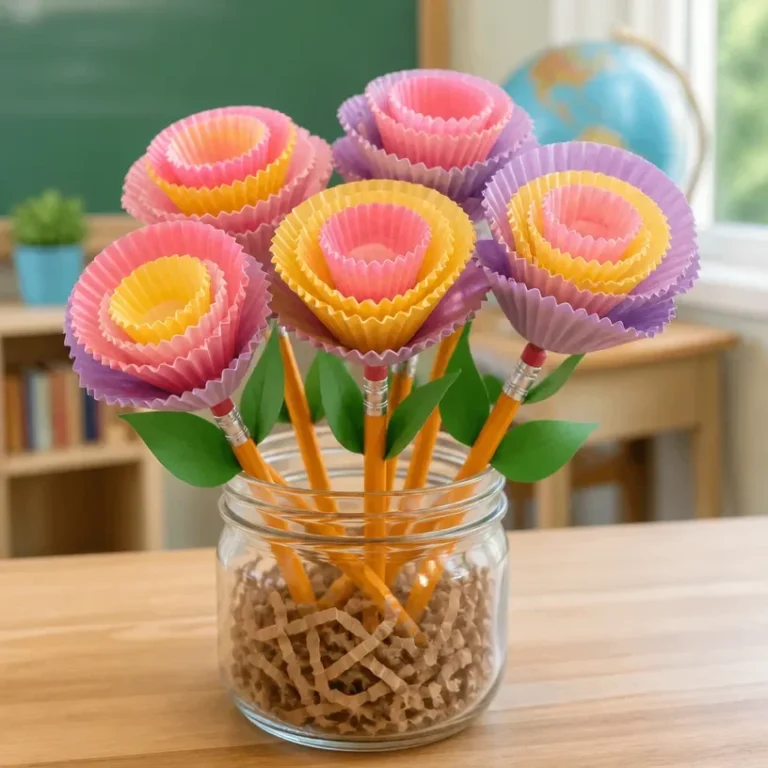
Pencil Flower Bouquet
Would you like to save this recipe?
By submitting you agree to receive this recipe and occasional emails. Unsubscribe anytime.
Ingredients
Materials for Pencil Flower Bouquet
- 1 pack Colored pencils These serve as the stems of your bouquet.
- 1 pack Tissue paper The perfect choice for crafting delicate flower blossoms.
- 1 roll Floral tape Essential for securely attaching the blossoms to the pencils.
- 1 pair Scissors Required for cutting the tissue paper to your desired sizes.
- 1 sheet Craft paper Use this to create a beautiful bouquet holder.
Instructions
Assembly Steps
- Start by choosing a vibrant selection of colored pencils that will act as the bouquet’s stems.
- Cut squares or circles of tissue paper, about 5-7 inches in diameter, to create flower petals.
- Layer several tissue pieces together. Gather them at the center and pinch to form a flower shape.
- With floral tape, carefully attach the base of the crafted flower to the top of the colored pencil.
- Repeat the process for each flower until your bouquet reaches your desired fullness.
- Use craft paper to create a holder for your pencils, securing it with tape.
- Align all flowers evenly and spaced out, giving your bouquet a balanced look.
- Share your delightful creation with your teacher or display it proudly at home.
Last Step: Don’t forget to leave a rating and comment below! It helps other readers find the best recipes — and it helps us too!
Tips & Notes:
Nutrition Information: Serving: 1 | Calories: | Carbohydrates: | Protein: | Fat: | Sodium: | Fiber: | Sugar:
Nutritional information is provided as a courtesy and calculated automatically. Values can vary depending on the brands and ingredients you use, so if you’re tracking closely, I recommend calculating with your own preferred tool.