Would you like to save this recipe?
By submitting you agree to receive this recipe and occasional emails. Unsubscribe anytime.
Ingredients
Materials
- 1 package Air-dry clay This will be the base for your pendant, providing a lightweight and durable foundation.
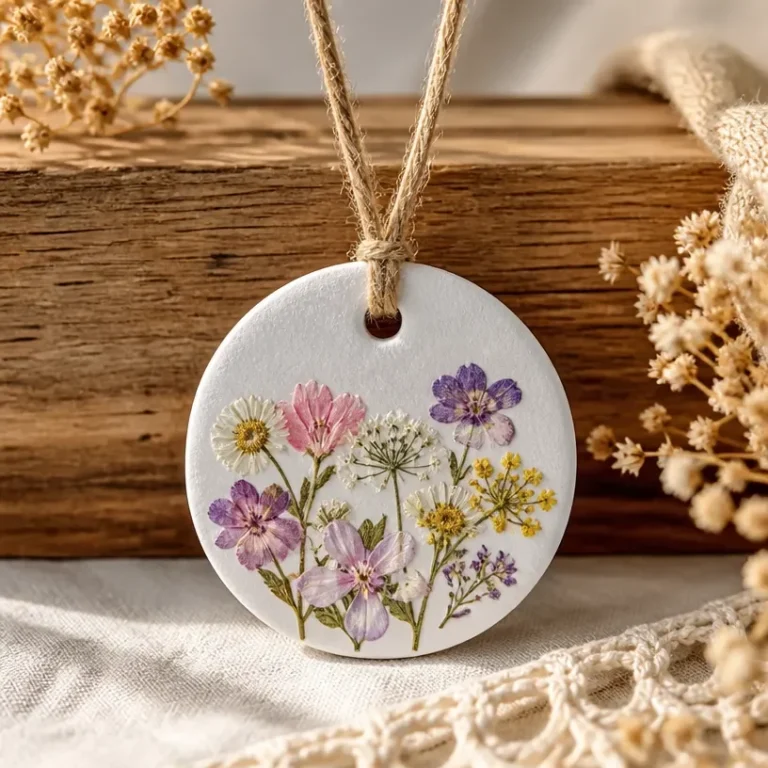
- Variety pieces Pressed flowers Choose a selection of your favorite blooms that will create visual interest.
- 1 piece Rolling pin Useful for flattening the clay evenly.
- 1 piece Clay knife or cutter To shape your pendant and cut through the clay cleanly.
- 1 piece Paintbrush For applying any desired finishes or sealers.
- Optional bottle Clear sealant For added protection or luster.
Instructions
Preparation
- Prepare Your Workspace: Clear a flat surface. Lay down some parchment paper to work on, ensuring easy cleanup.
- Condition the Air-Dry Clay: Knead the clay until it's soft and pliable, which will make it easier to shape.
- Roll Out the Clay: Use the rolling pin to flatten the clay to a uniform thickness of about 1/4 inch.
- Cut the Pendant Shape: Utilize your clay knife to cut out your desired pendant shape. A simple circle or heart can be charming.
- Arrange the Pressed Flowers: Before securing them, place your pressed flowers onto the clay. Adjust their positioning until you are satisfied with the layout.
- Embed the Flowers: Gently press the flowers into the clay to ensure they adhere well.
- Create a Hole for Hanging: Use a straw or small tool to poke a hole at the top of the pendant for a cord.
- Allow to Dry: Follow the manufacturer’s instructions for drying time. This is a crucial step, as the clay needs to be completely dry before moving on.
- Finish the Pendant: Once dried, you can paint or seal the pendant if desired. This adds an extra layer of protection and can enhance the colors.
- Attach Your Cord: Once the pendant is fully ready and dry, thread a cord or chain through the hole you created and secure it.
Last Step: Don’t forget to leave a rating and comment below! It helps other readers find the best recipes — and it helps us too!
Tips & Notes:
Consider complementary colors and textures when arranging your pressed flowers. Small imperfections can add to the charm of handmade items, so embrace uniqueness!