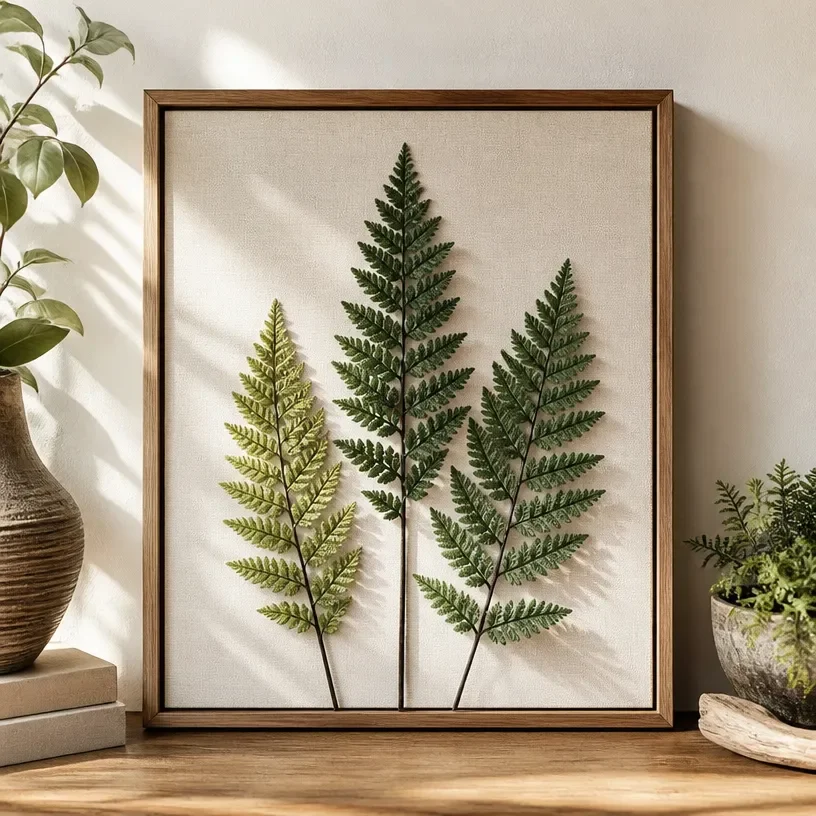
Faux Fern Botanical Canvas Art allows you to preserve the beauty of nature within your home through a creative and enjoyable project. Imagine gathering various faux ferns and art supplies, excited to spend an afternoon crafting a unique piece that will brighten your living space. This art allows for a hands-on approach while providing a stunning decorative touch that recalls the tranquility of a lush garden. It’s not just about creating a piece of art; it’s about the joy of turning simple materials into something meaningful and beautiful, making it a delightful activity for any flower lover. You may also find 3D Flower Wall Art Ideas Home Decor useful.
Why This Faux Fern Botanical Canvas Art Works So Well
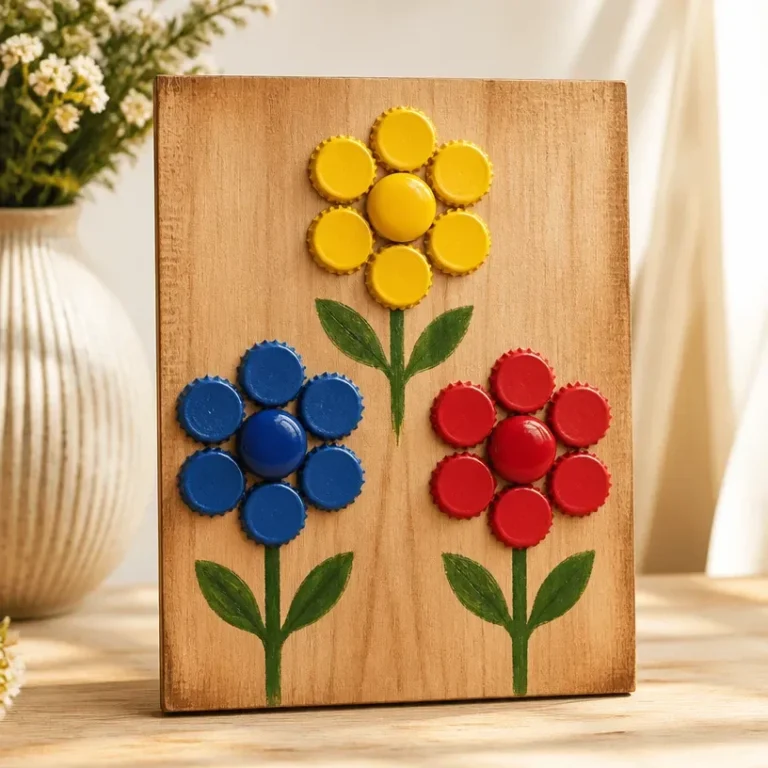
You may also find Bottle Cap Flower Relief Wall Art useful.
Creating Faux Fern Botanical Canvas Art is highly approachable for anyone, regardless of crafting experience. The combination of vibrant faux ferns and canvas provides a visually rewarding result that can elevate any area in your home. With the supplies readily available and suitable for beginners, this project allows you to express personal creativity while making decor you can be proud of. You won’t just hang a piece of art; you’ll display a symbol of your handiwork and engagement with nature.
A Quick Look Before You Begin
Before diving into the crafting process, it’s helpful to understand how the project will come together. You’ll set up your workspace, gather the necessary materials, and appreciate the visual elements of the faux ferns. Keep in mind that while some parts of the process are delicate, it’s primarily easy and manageable. You won’t need a vast array of tools; just the basics will suffice to succeed in creating your own botanical masterpiece.
Materials You’ll Need
To make your Faux Fern Botanical Canvas Art, here’s what you will need:
- Canvas: Choose a size that fits your space. This is the base for your design.
- Faux Ferns: Select a variety of colors and textures to give depth. Look for ones that appear realistic.
- Adhesive: A clear-drying craft glue or hot glue works well to secure the ferns in place.
- Scissors: For trimming the ferns to your desired length or shape.
- Paint or Background Material: If you wish to add a splash of color behind the ferns, consider acrylic paint or patterned paper.
It’s wise to think about how each material contributes to your final piece. For instance, considering colors that complement each other will enhance the overall look of your canvas.
Step-by-Step Directions
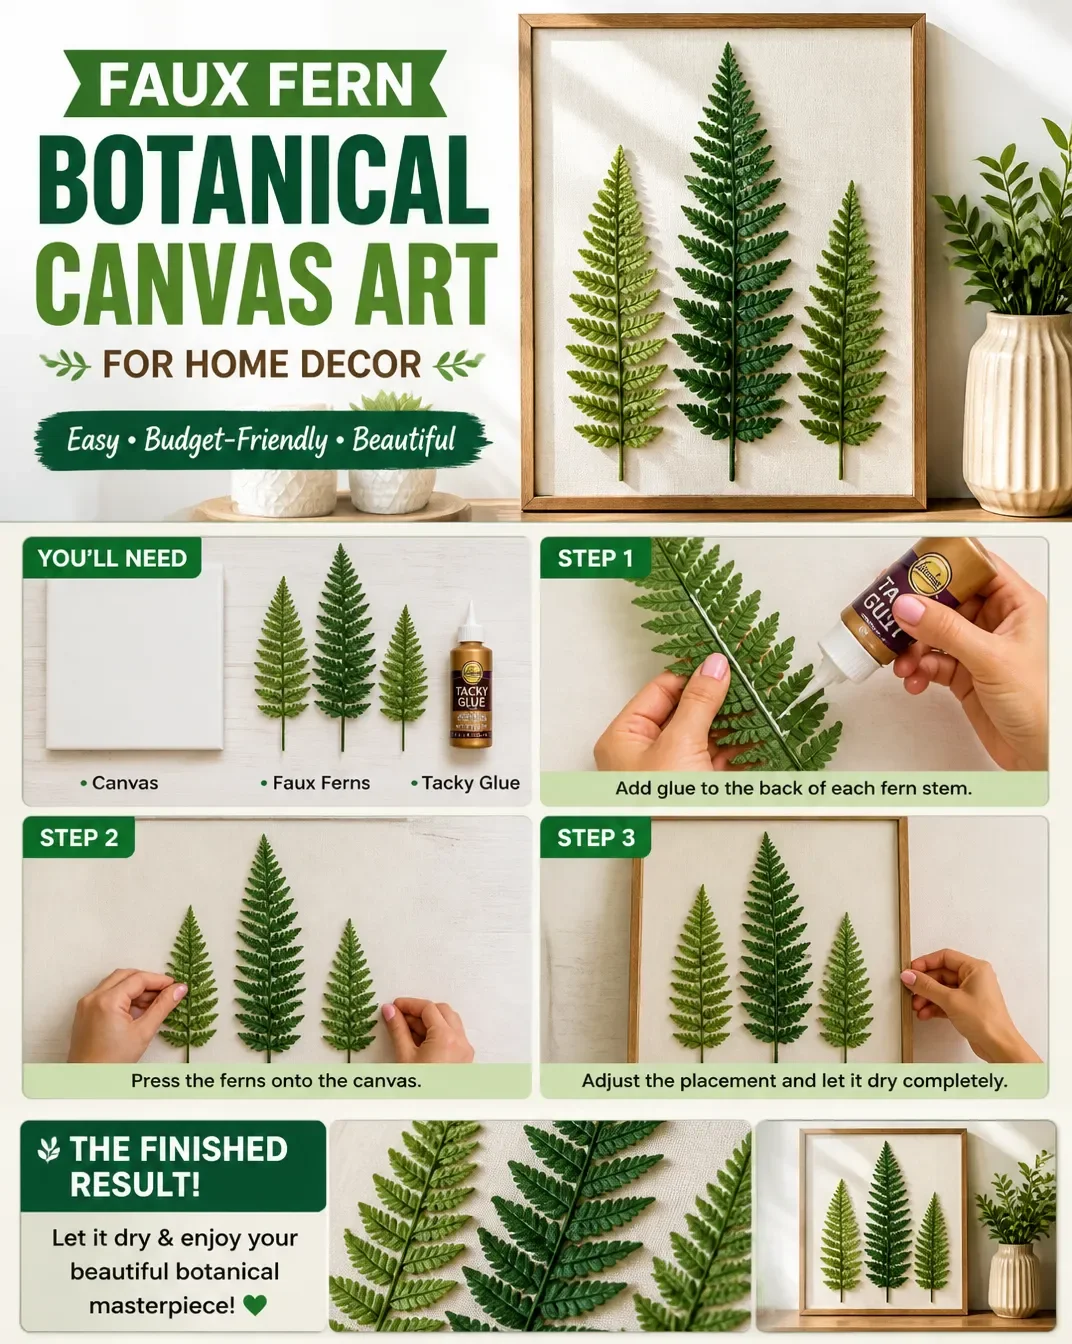
Prepare Your Workspace: Lay down newspaper or a protective covering on your work surface to catch any excess glue or paint drips.
Design the Background: If applying paint to the canvas, choose your desired color and apply it evenly. Let it dry completely before moving on to the next step.
Lay Out the Foliage: Without glue, arrange the faux ferns on the canvas until you’re happy with how they look. Vary the placement to create a more natural appearance.
Attach the Foliage: Begin gluing the ferns down one by one. Apply a small amount of adhesive, press firmly, and hold for a few seconds to ensure it sticks well.
Layer the Elements: For a richer design, layer smaller pieces of ferns on top of larger ones to add dimension. This layering helps achieve a balanced and visually appealing arrangement.
Check for Balance: Step back and examine your piece from a distance. Look at how the colors interact. You may want to add or shift elements for better balance.
Finalize: Once satisfied with the arrangement, let everything dry thoroughly. This will ensure your piece holds its shape and looks great when displayed.
The Design Behind This Floral DIY
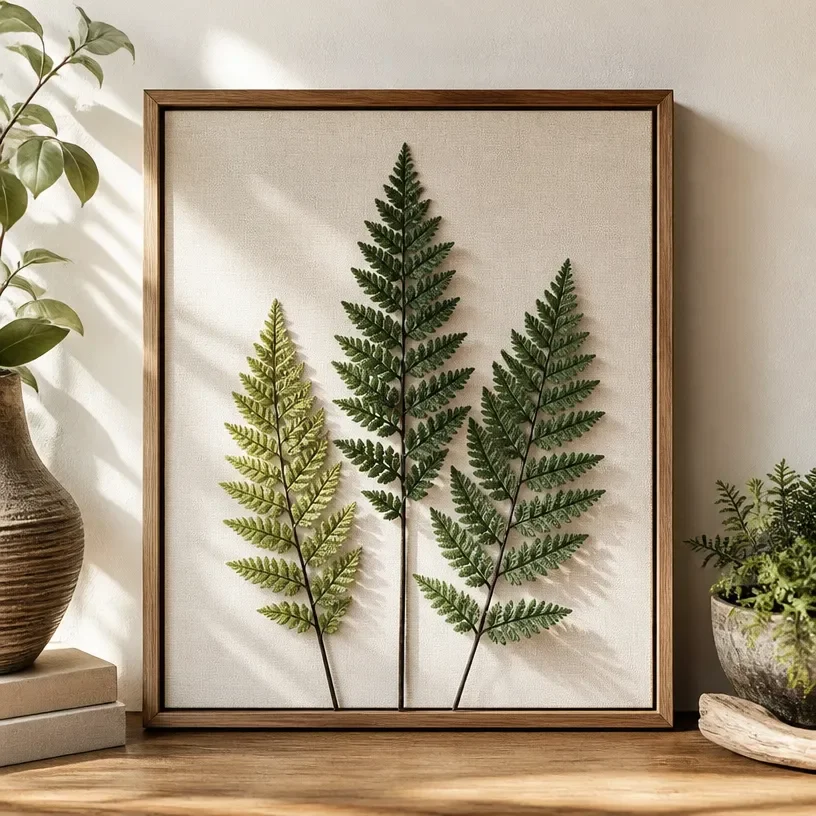
Understanding the design aspects of your Faux Fern Botanical Canvas Art is essential in crafting a visually stunning piece. The use of color relationships plays a significant role in your arrangement. When choosing faux ferns, consider how each one complements the overall color palette of your space.
Texture is another important factor, as it adds depth and interest to the artwork. Combining soft and textured ferns creates a dynamic visual experience. Pay attention to spacing; leaving enough room between ferns creates a sense of openness, while overlapping can give a lush, dense effect.
Balance in your design ensures that the piece feels harmonious. Try to distribute visual weight evenly across the canvas, which may involve adjusting sizes and placements of the ferns.
Troubleshooting Common Issues
If you encounter any challenges during the creation of your Faux Fern Botanical Canvas Art, remember that many issues have simple solutions.
- Uneven Distribution: If your ferns are clumped together, take a step back and reassess placements to create a more balanced look.
- Ferns Shifting: If the ferns slide before the glue sets, try using a small amount of painter’s tape to hold them in place temporarily.
- Visible Adhesive: If it’s clear you’ve used too much glue, carefully wipe away the excess before it dries, opting for a q-tip or small cloth.
These small fix-ups can help you overcome typical DIY hurdles and keep your project moving smoothly.
Easy Variations to Try
Creating Faux Fern Botanical Canvas Art offers ample opportunities for personalization. Here are a few suggestions to easily change it up:
- Use colored canvas or backgrounds that align with your existing decor.
- Experiment with holiday-themed decorations, like adding autumn leaves or winter greenery for seasonal designs.
- Incorporate other faux elements, such as flowers or twigs, to enrich your composition while keeping the fern theme intact.
- Adjust the size of the canvas to suit different areas, like a larger piece over a couch or a smaller version for a cozy corner.
Each variation keeps the project recognizable but allows for unique interpretations perfect for any occasion.
Displaying or Keeping Your Project
Once you’ve completed your Faux Fern Botanical Canvas Art, consider how to display or care for it. Hanging it in a well-lit area will showcase the colors and textures beautifully. If it’s placed in a spot without direct sunlight, it’ll also help maintain the integrity of the materials long-term.
If you ever want to change up your decor or give it as a gift, the canvas makes for a thoughtful, personal presentation. Keep it away from moisture to avoid damage to the faux materials and consider using a gentle dusting method to keep it clean.
FAQs About Faux Fern Botanical Canvas Art
What if I don’t have faux ferns? Can I use real ones?
Using real ferns can be tricky, as they wilt. If you want a botanical look, consider using dried ferns or looking into alternative dried botanical crafts, like pressed fern wall art.Can I use a different adhesive?
Yes! While clear-drying craft glue is often ideal, you can use hot glue if you’re careful with application to avoid excess.How do I ensure my arrangement looks balanced?
Take your time arranging the ferns without adhesive first. It may help to photograph it from different angles to assess balance before finalizing the design.What if I mess up the background color?
Don’t worry! You can always repaint over a mistake once the previous layer dries.Can I change the design later?
Certainly! If you feel inspired, you can disassemble and create a new design with the same materials as long as they remain undamaged.
A Final Helpful Note
As you create your Faux Fern Botanical Canvas Art, I encourage you to embrace the process. The joy is in crafting, experimenting with arrangements, and celebrating the natural elements you choose. This project not only beautifies your home but cultivates a creative mindset. Keep your options open, be patient with your materials, and enjoy the journey of turning faux fern elements into a finished piece that truly reflects your personal style.
Conclusion
Creating your own Faux Fern Botanical Canvas Art blends artistry and an appreciation for nature, enhancing your decor in a personalized way. For further inspiration and guidance, you may find it helpful to explore resources like
DIY Botanical Wall Art How To – Lora Bloomquist. If you're looking for other decorative choices, check out
Fern Wall Art | Framed Nature Decor for Home – Target.
Follow us on social for more floral DIY projects & botanical inspiration!
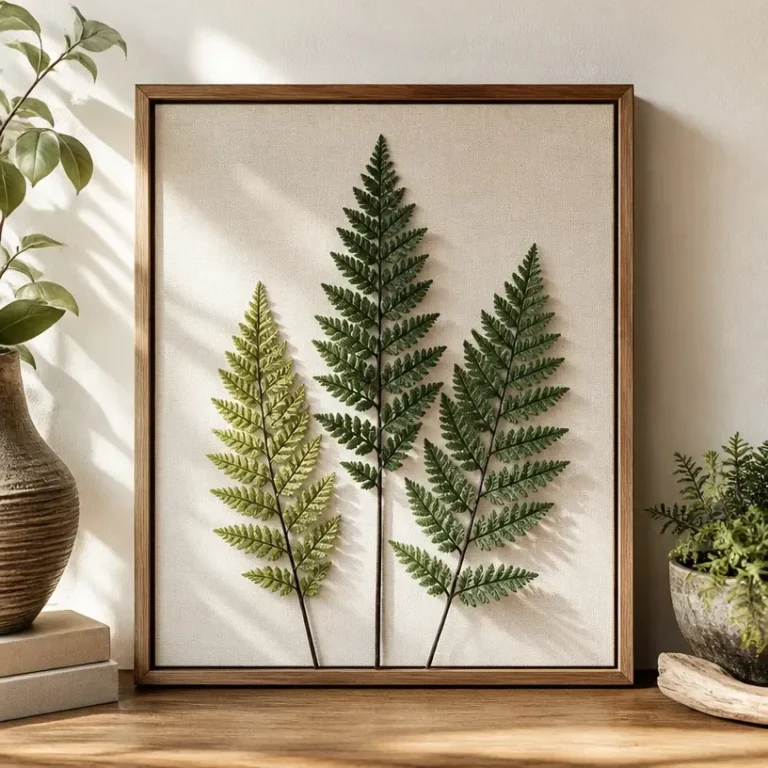
Faux Fern Botanical Canvas Art
Would you like to save this project?
By submitting you agree to receive this project and occasional emails. Unsubscribe anytime.
Materials
Materials Needed
- 1 piece Canvas Choose a size that fits your space.
- Variety pieces Faux Ferns Select different colors and textures for depth.
- 1 bottle Adhesive Use clear-drying craft glue or hot glue.
- 1 pair Scissors For trimming ferns to desired lengths or shapes.
- Optional Paint or Background Material Consider using acrylic paint or patterned paper.
Directions
Preparation
- Prepare your workspace by laying down newspaper or a protective covering.
- Design the background by applying paint evenly to the canvas, if desired. Let it dry completely.
- Without gluing, arrange the faux ferns on the canvas until satisfied with the design.
Assembly
- Start gluing the ferns down one at a time. Apply adhesive, press firmly, and hold for a few seconds.
- Layer smaller fern pieces on top of larger ones for a balanced design.
- Step back to check the balance and adjust as necessary.
- Once satisfied with the arrangement, let everything dry thoroughly.
Last Step: Don’t forget to leave a rating and comment below! It helps other readers find the best DIY projects — and it helps us too!