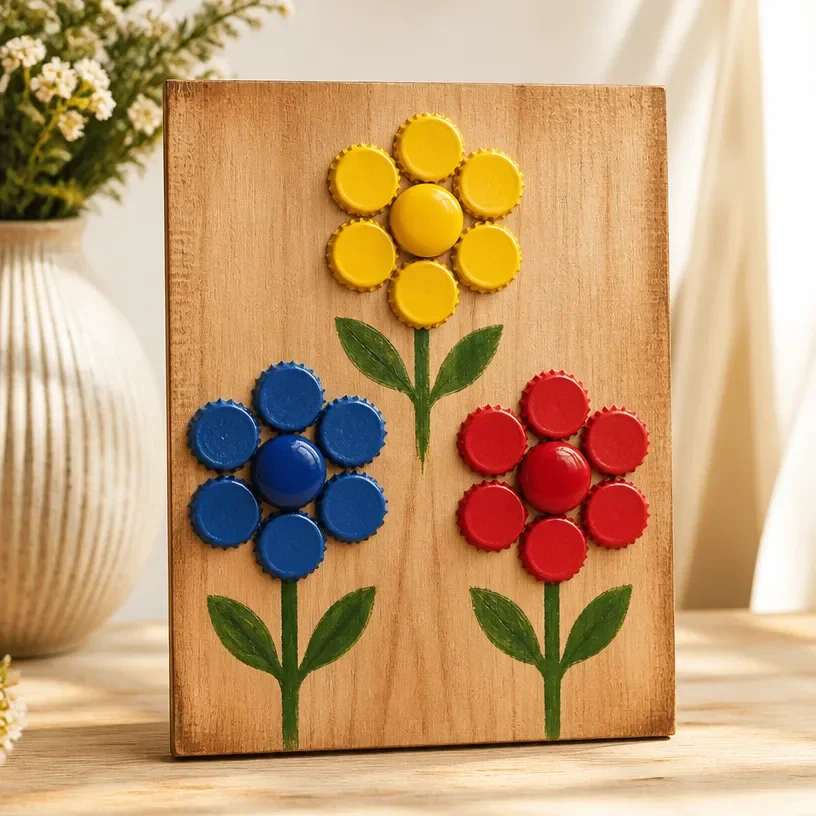
As the seasons change, gathering flowers and other botanical materials for craft projects is a rewarding way to celebrate nature’s beauty. Whether you’re preserving special blooms from a recent event or simply looking for an afternoon craft idea, creating a stunning piece of wall art can be both fulfilling and enjoyable. The Bottle Cap Flower Relief Wall Art project is an excellent way to transform what might seem like ordinary materials into a captivating display for your home. Not only does it offer a chance to unleash your creativity, but it also provides a unique way to showcase your love for flowers.
Why This Bottle Cap Flower Relief Wall Art Works So Well
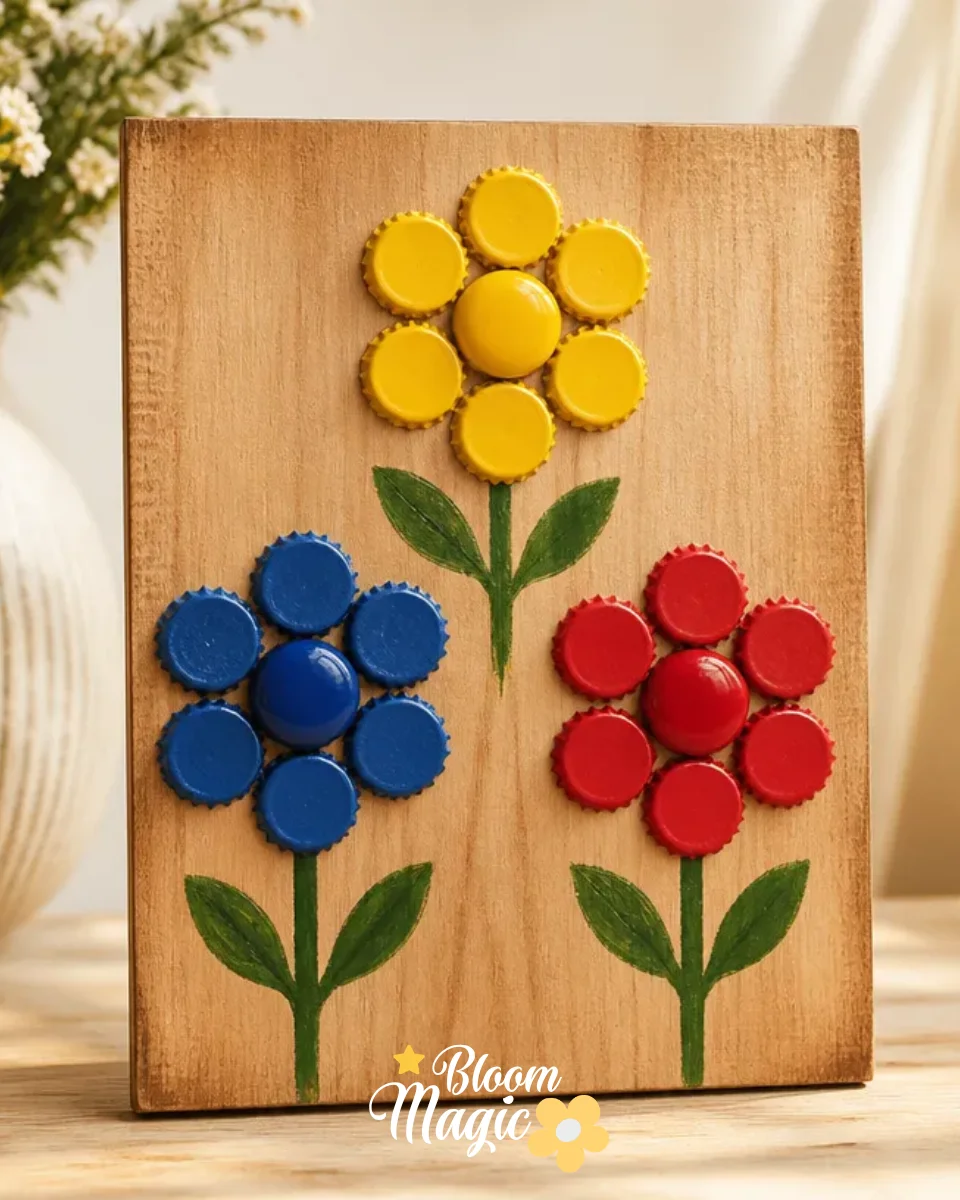
This project is approachable for crafters of all experience levels. By using easily accessible materials and straightforward techniques, you can create something visually rewarding without feeling overwhelmed. The beauty of this craft lies in its simplicity, yet the effect of the finished piece is striking. The colors and textures of the flowers can brighten up any space, making it useful as both home decor and a thoughtful gift. Alternatively, if you’re interested in enhancing your crafting skills even further, check out these 3D flower wall art ideas for home decor.
The Flow of Making Bottle Cap Flower Relief Wall Art
Creating a bottle cap flower relief wall art piece is not only about the individual components but also about how they work together. Setting up your workspace involves arranging your materials in a way that feels comfortable and organized. As you progress, you’ll discover how the floral elements come together harmoniously, allowing your creativity to shine. There’s minimal mess involved, making this a low-stress project that you can comfortably complete in one sitting.
Materials You’ll Need
Here is a list of the materials required for your Bottle Cap Flower Relief Wall Art project:
- Bottle caps: These will act as the base for your flowers, providing a sturdy frame.
- Dried or pressed flowers: These add color and personality to your art piece; consider the types and colors that resonate with your style.
- Craft glue: Choose a quality adhesive that bonds well with both the caps and the plant materials.
- Scissors: For trimming flowers and adjusting your materials.
- An adhesive sheet or canvas: This will serve as the background for your design.
By carefully selecting these materials, you set the stage for a captivating creation. Choose flowers that are in good condition, and keep in mind that some textures and colors may stand out more effectively than others.
Step-by-Step Directions
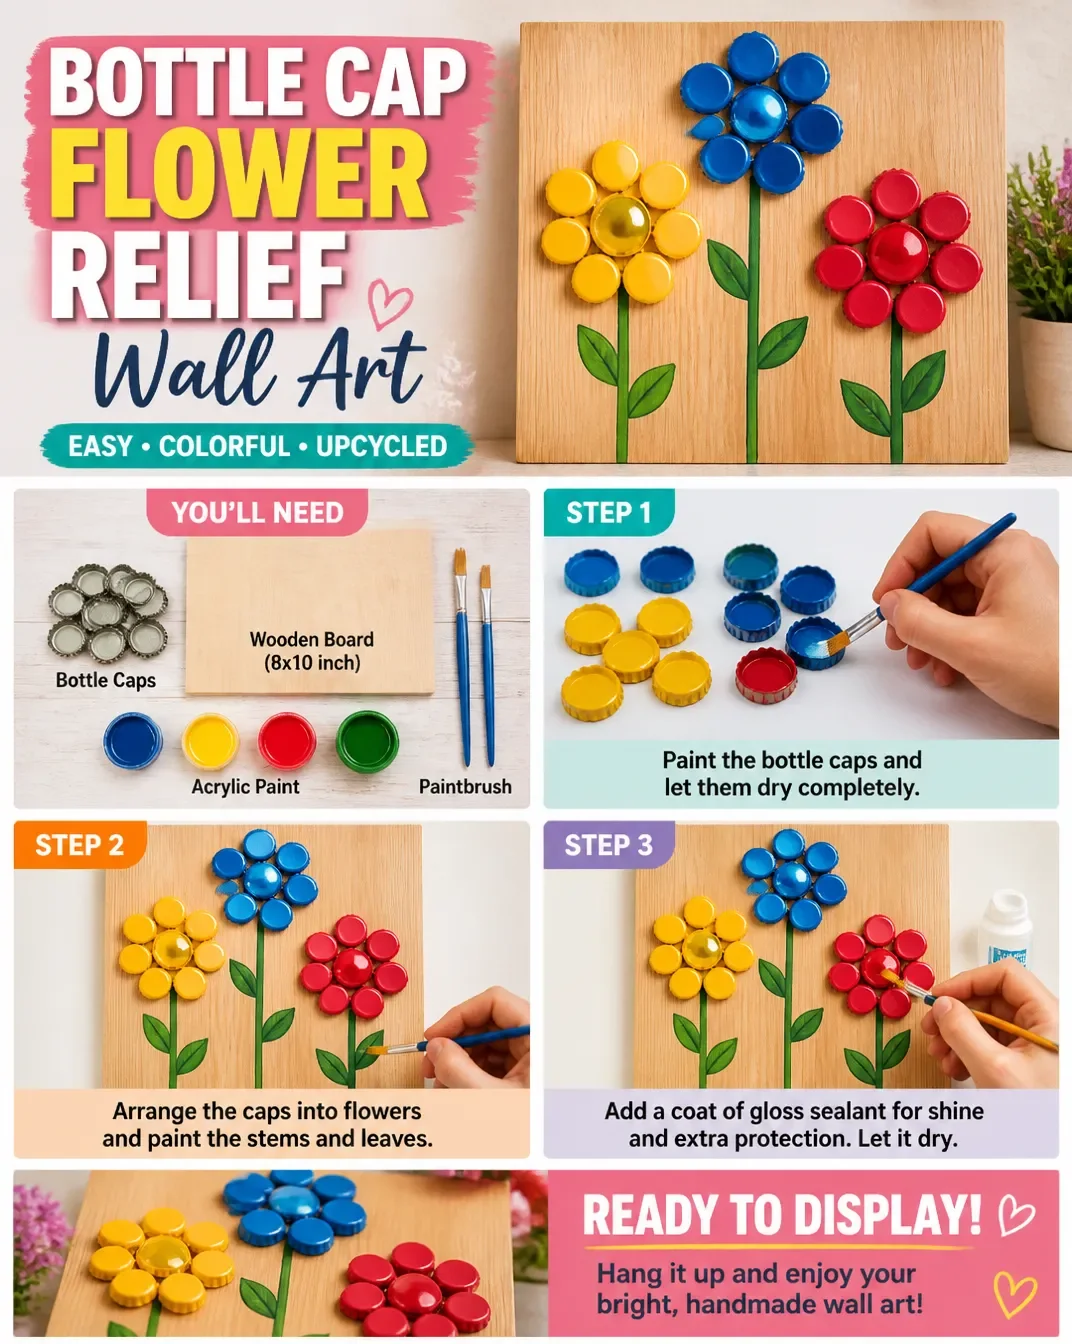
- Begin by preparing your bottle caps by cleaning them and ensuring they’re free of any labels or residue. This creates a clean canvas for your floral arrangement.
- Next, select your dried or pressed flowers. Lay them out to get a sense of how you want to arrange them within the caps. Consider combining different textures and colors for a more dynamic look.
- Trim your flowers as needed to fit within the confines of the bottle caps, making sure you leave enough stem to glue down.
- Apply a small amount of craft glue to the bottom of each cap. Carefully place the flowers inside, arranging them so they create balance and visual interest.
- Allow the glued components to dry fully before moving on. This ensures that the flowers stay securely in place while you work on the next steps.
- Once everything is dry, attach the bottle caps onto the adhesive sheet or canvas. Arrange them in a way that feels visually pleasing and ensures a balanced composition.
Throughout the project, keep an eye on the placement and arrangement of the flowers, as this will significantly affect the overall look. Remember that even small adjustments can lead to big changes in your design.
The Creative Details That Bring It Together
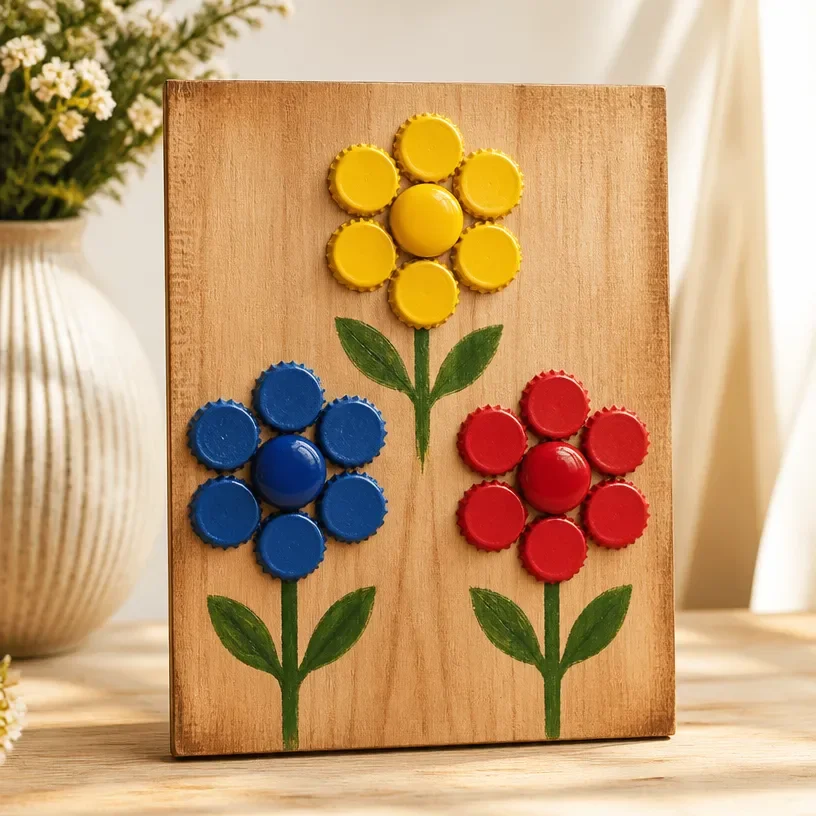
When creating your Bottle Cap Flower Relief Wall Art, consider how elements contribute to the final visual outcome. Color relationships play a crucial role; aim for combinations that either complement each other or create a striking contrast. Think about the shape of the flowers, the spacing between each element, and the way textures interact. Layering flowers within the caps can add depth, while thoughtful placement can guide the viewer’s eye across the piece.
Troubleshooting Common Issues
If you encounter problems while crafting, remember that they are often easy to fix. If you notice uneven flower placement, feel free to gently reposition them while the glue is still wet. If some petals have shifted or come loose, simply reapply a small amount of glue to secure them. And if the arrangement feels too crowded or sparse, take a moment to step back and reassess; sometimes less is more.
Easy Variations to Try
You may want to consider exploring some variations of this project. For instance, you could alter the colors of the bottle caps to match your decor or seasonal themes. Alternatively, experiment with different flower combinations or backgrounds using dark surfaces can create a dramatic contrast, while light fabrics can add a softer touch.
What to Do With It After
After completing your artwork, think about how you’d like to display it. Hanging it in a well-lit space can enhance its visibility and charm. If gifting, be sure to package it aesthetically, potentially including a small card explaining the handmade nature of the piece.
FAQs About Bottle Cap Flower Relief Wall Art
What kind of flowers should I use? Opt for dried or pressed flowers that hold their shape and color. Look for unique shapes and textures that appeal to you.
Can I use fresh flowers for this project? Fresh flowers may wilt quickly, so it’s best to aim for dried or pressed options for a longer-lasting impact.
What if my arrangement doesn’t look balanced? Don’t worry; you can always adjust the flowers as you go. Take a step back to view your work and make any necessary tweaks.
A Final Helpful Note
Creating your Bottle Cap Flower Relief Wall Art is a wonderful opportunity to explore your creativity. Embrace the process, be flexible in your approach, and let your unique style shine through. The most important aspect is to enjoy the crafting journey while you produce something that reflects your love for flowers.
Conclusion
If you enjoyed this craft, you might also find inspiration in making a
dried flower heart wall plaqueto complement your artwork. For a fun gift idea, consider creating
painted bottle cap flower magnetsas a charming addition to your home or a friend's space. Remember, every crafting project is a chance to express yourself and bring a little bit of nature indoors.
Follow us on social for more floral DIY projects & botanical inspiration!
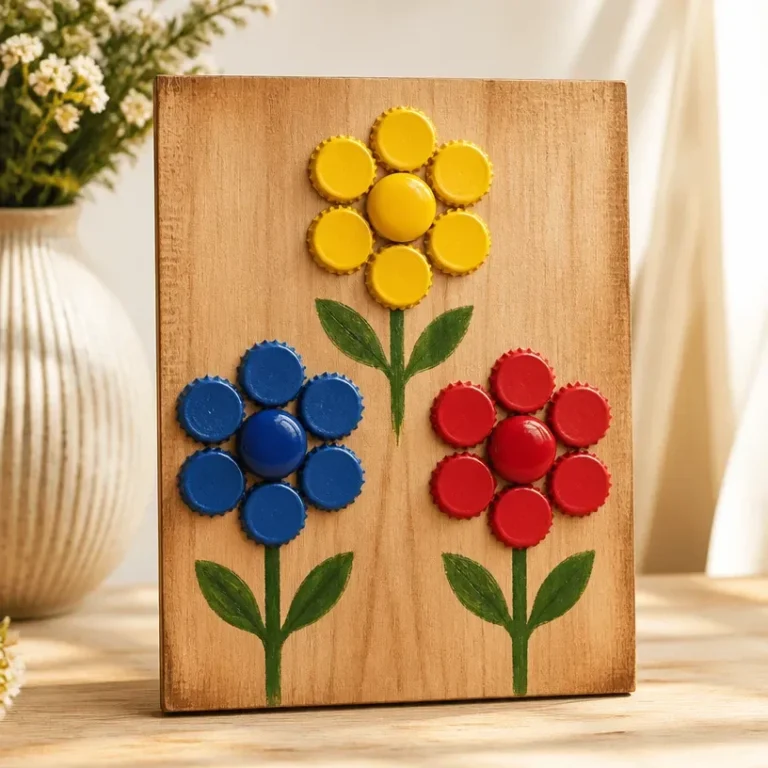
Bottle Cap Flower Relief Wall Art
Would you like to save this project?
By submitting you agree to receive this project and occasional emails. Unsubscribe anytime.
Materials
Materials Needed
- 10 pieces Bottle caps These will act as the base for your flowers.
- 5-10 pieces Dried or pressed flowers Choose flowers that resonate with your style.
- 1 bottle Craft glue A quality adhesive that bonds well with the caps and flowers.
- 1 piece Scissors For trimming flowers and adjusting materials.
- 1 piece Adhesive sheet or canvas This will serve as the background for your design.
Directions
Preparation
- Begin by cleaning the bottle caps and ensure they’re free of labels or residue.
- Select your dried or pressed flowers and lay them out to decide on the arrangement.
- Trim flowers as needed to fit within the bottle caps.
Assembly
- Apply a small amount of craft glue to the bottom of each cap and place the flowers inside, arranging them for balance.
- Allow the glue to dry fully before proceeding.
- Attach the bottle caps onto the adhesive sheet or canvas in a visually pleasing arrangement.
Last Step: Don’t forget to leave a rating and comment below! It helps other readers find the best DIY projects — and it helps us too!