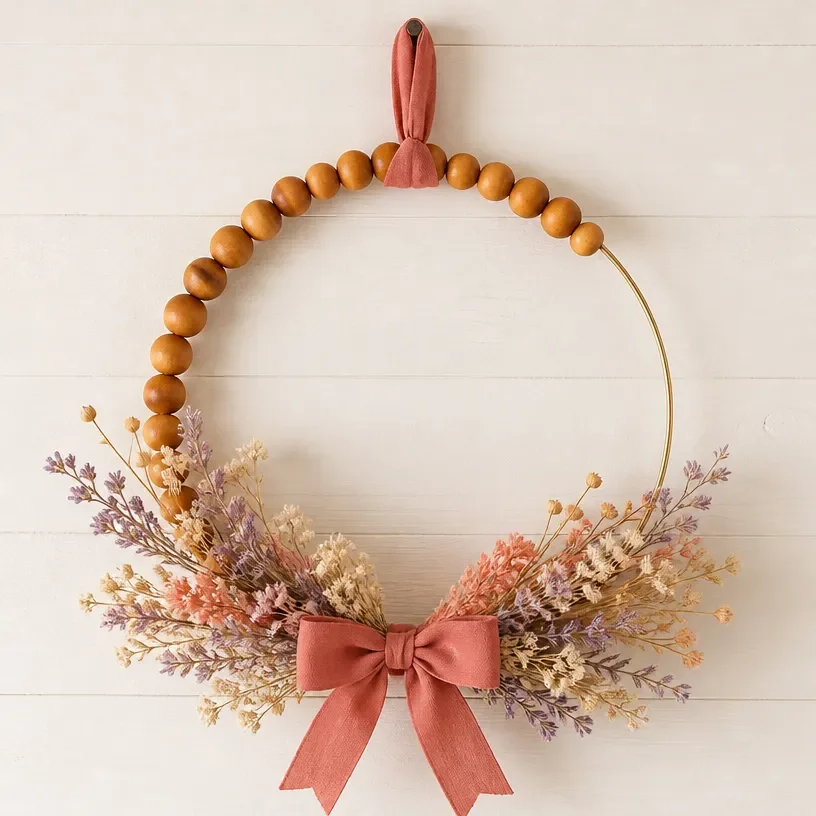
Creating a floral decoration can bring a welcoming warmth to any space, and the Wood Bead Wreath with a Dried Floral Accent is a beautiful way to express your creativity. Imagine gathering your favorite dried flowers and setting up your craft supplies for an afternoon of relaxed crafting. The calming process of arranging these flowers into a wreath can be both fulfilling and visually rewarding. It turns out, preserving cherished blooms and showcasing them has never been easier. This project combines the rustic charm of wood beads with the delicate beauty of dried flowers, making it a versatile piece for your home decor or a thoughtful gift for someone special. For those who love floral design, this wreath offers an approachable way to engage with nature-inspired crafts. You may also find Dried Flower Filled Globe Ornament useful.
Why This Wood Bead Wreath with a Dried Floral Accent Works So Well
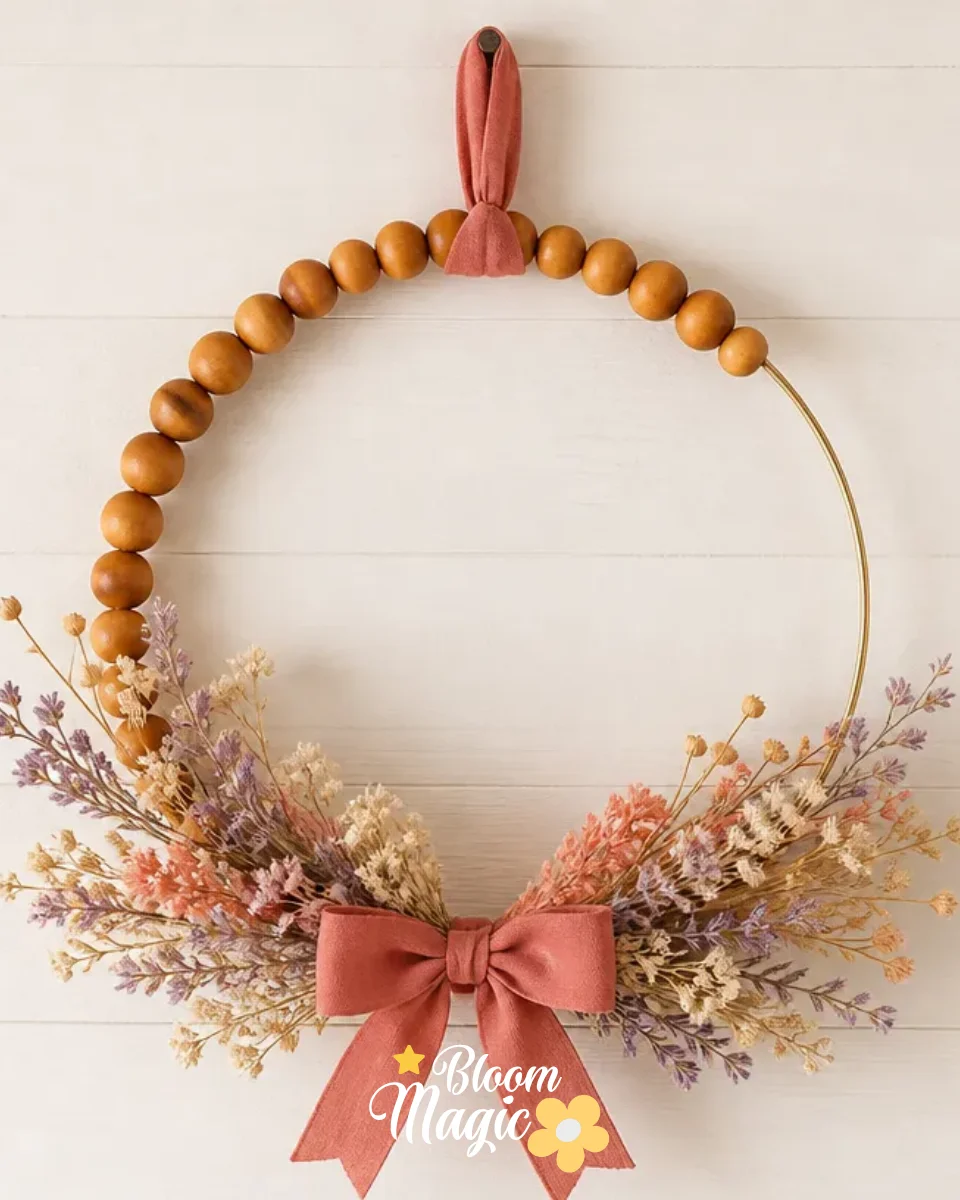
You may also find Dried Flower Grapevine Wall Wreath useful.
This project is easy to start, making it perfect for crafters at all skill levels. The wood beads provide a sturdy framework that contrasts beautifully with the delicate floral accents. This combination makes the wreath not only visually appealing but also manageable with the materials provided. Additionally, the dried flowers allow for personal expression and the opportunity to preserve seasonal flowers or special blooms, making each wreath uniquely yours. You’ll find that creating such a charming decoration feels rewarding, whether you plan to display it in your home or give it as a handmade gift. You may also find Dried Flower Heart Wall Plaque Tutorial useful.
A Quick Look Before You Begin
Before jumping into making your wreath, it’s helpful to understand how everything will come together. You’ll set up your workspace with the necessary materials and create a layout for your flower arrangement. The initial stages will be light and carefree, allowing you to play with the placement of the beads and blooms. Remember, this project can create slight messiness as you work with floral materials, so it’s a good idea to cover your work surface. This exploration will lead to a balanced and lovely final piece.
Materials You’ll Need
- Wood beads (various sizes for texture and interest)
- Dried flowers of your choice (lavender, eucalyptus, or rose petals all work beautifully)
- Floral wire (for securing the flowers)
- Wire cutters (to trim the wires)
- Hot glue gun (to secure flowers in place)
- A wreath base (straw or foam works well)
These materials contribute distinctly to your wreath. Choose dried flowers that you love and that resonate with the theme of your decor. For instance, soft pastel colors evoke a calm atmosphere, while vibrant hues can add a lively touch. Be mindful to handle your flowers gently to preserve their shapes and textures during crafting.
Step-by-Step Directions
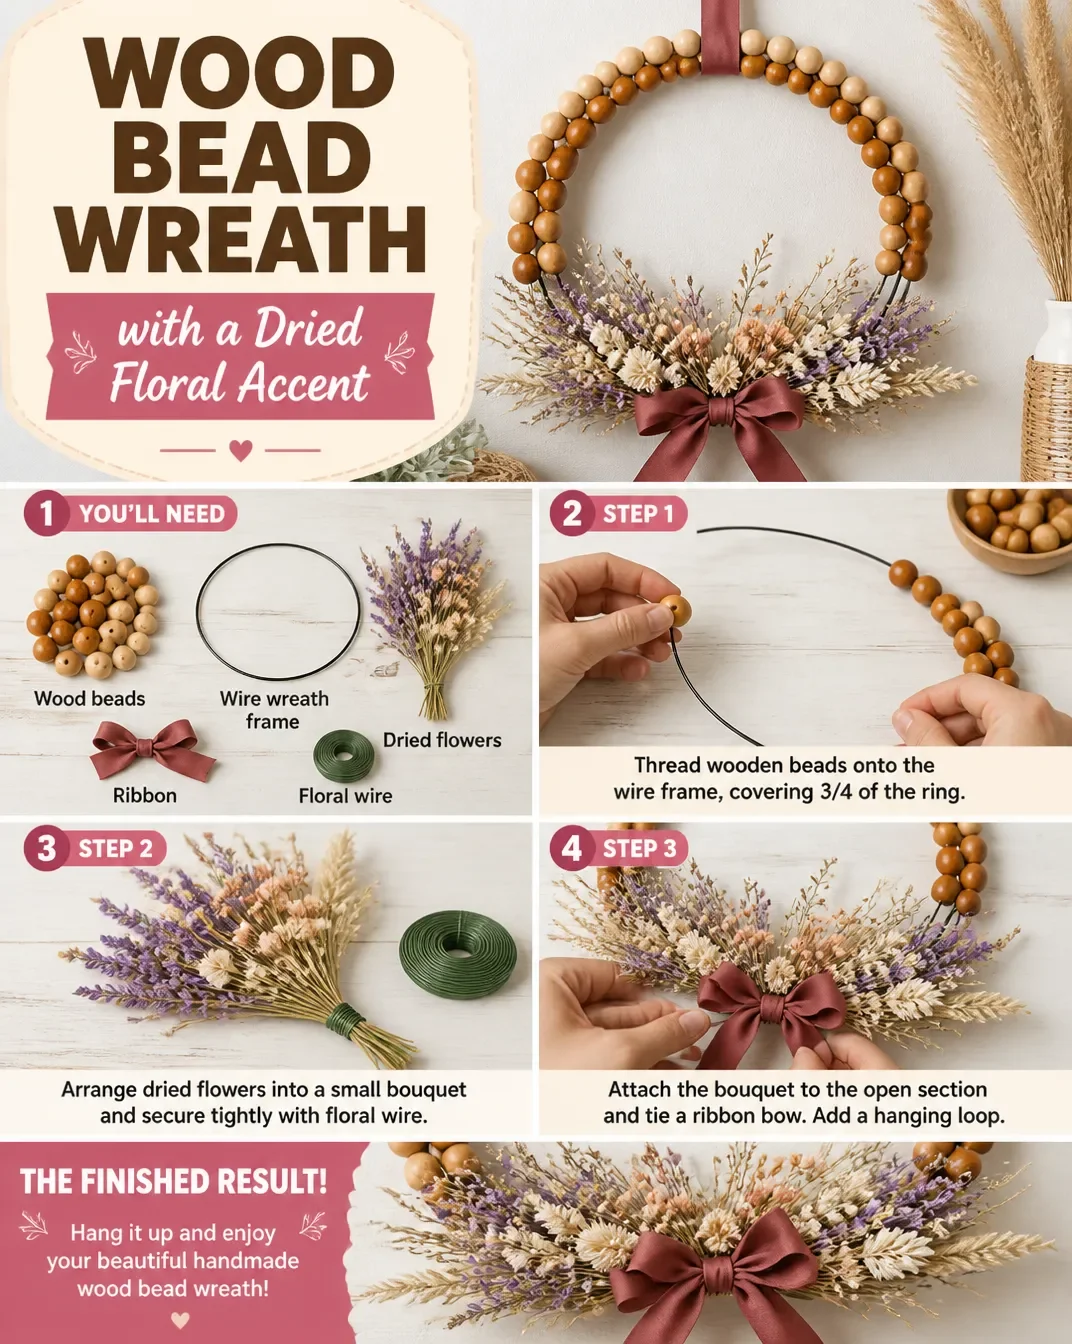
Prepare Your Workspace: Clear a flat area where you can comfortably work. Lay out your materials and tools, ensuring everything is within reach.
Create the Wreath Base: If you’re using a straw base, cover it with floral wire to give a base for your flowers and beads. This helps secure everything when you add your flowers.
String the Wood Beads: Start threading the wood beads onto the wire or ribbon you’ve prepared for the wreath. Arrange them in a pattern that you find pleasing, alternating sizes if desired.
Arrange Dried Flowers: Begin positioning your dried flowers around the wreath. Play with different placements to find a balance that feels right to you, keeping in mind color and texture.
Secure the Flowers: Once you’re satisfied with the flower arrangement, use the hot glue gun to secure them to the wreath base. Ensure to secure both the flower stems and any delicate petals.
Finish the Wreath: Once all elements are attached and secure, check for any loose items. Use the wire cutters to trim any excess wire or to clean up the arrangement.
Add a Hanging Element (Optional): If you want to hang your wreath, attach a piece of ribbon or additional wire to the top.
Creating the Wood Bead Wreath with a Dried Floral Accent involves a blend of careful planning and playful creativity. You’ll start to see your vision come to life as you layer and compose your design.
The Design Behind This Floral DIY
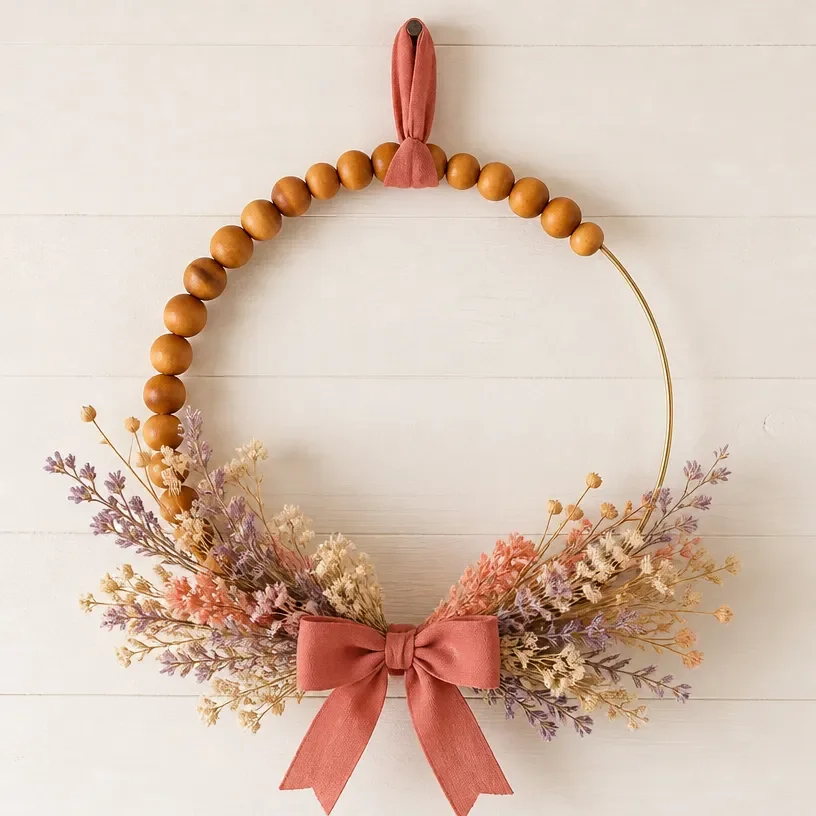
A successful wreath combines numerous design elements. Begin by considering the color palette of your flowers against the wooden tones of the beads. Lighter blooms can create an airy feel, while rich colors will draw attention. Texture plays a crucial role, too; the contrast between the smooth surface of the beads and the varied textures of the dried flowers can add depth to your composition. Spacing is important; ensure that the flowers are distributed evenly to maintain balance without overcrowding certain sections of the wreath.
Troubleshooting Common Issues
As with any DIY project, you may encounter a few challenges along the way. If the arrangement feels unbalanced, take a step back and evaluate the placement of your flowers and beads. Sometimes, simply shifting things around will help restore harmony. If petals become dislodged or fall off, using a bit more adhesive or additional floral wire can secure them back into place. It’s essential to be patient and flexible during this creative process.
Easy Variations to Try
Consider interpreting this wreath to reflect different themes or styles:
- Use seasonal flowers, such as sunflowers for summer or pine cones and evergreens for winter.
- Experiment with color combinations; try a monochromatic look or a vibrant mix of colors.
- Add additional elements like pine twigs or feathers to create an even more unique design.
Feel free to make the wreath your own! These variations can even change with the seasons, keeping your decor fresh throughout the year.
Displaying or Keeping Your Project
After crafting your wreath, consider the various ways you can display it. Hanging it on your front door is a classic approach, welcoming guests into your home. Alternatively, you can place it on a wall or prop it on a shelf. When it comes to caring for your wreath, keep it away from direct sunlight to maintain the integrity of the dried flowers. If they begin to look faded, gently dust them off to restore their appearance.
FAQs About Wood Bead Wreath with a Dried Floral Accent
What if I can’t find the flowers I want? You can substitute with other dried flowers or even artificial ones if you need more durability. Just ensure that the colors and textures complement each other.
How do I ensure my flowers stay in place? Use a good quality hot glue gun and ensure that each flower is firmly affixed to the wreath base. If using delicate flowers, be gentle during application to avoid breaking them.
Can I customize the size of my wreath? Yes! Simply adjust the amount of floral wire and wood beads according to how large or small you want your wreath to be.
A Final Helpful Note
Creating a Wood Bead Wreath with a Dried Floral Accent is a rewarding endeavor. Embrace the process with creativity and patience, and remember that while you might encounter challenges, each step is an opportunity for exploration. So, gather your supplies, unleash your creativity, and enjoy the beauty of this floral DIY project.
Conclusion
In the world of handmade decor, the Wood Bead Wreath with a Dried Floral Accent stands out as a simple yet beautiful project. Whether you're looking for a seasonal decor piece or a heartfelt gift, this wreath can fulfill both roles elegantly. To explore more floral decorating ideas, consider the
14 Inch Beaded Wreath – Etsyfor inspiration. You can also check Amazon for amazing finds like the
TEMPUS 16″ Artificial Fall Wooden Beads Wreath with …. Happy crafting!
Follow us on social for more floral DIY projects & botanical inspiration!

Wood Bead Wreath with a Dried Floral Accent
Would you like to save this project?
By submitting you agree to receive this project and occasional emails. Unsubscribe anytime.
Materials
Wreath Materials
- 1 set Wood beads (various sizes) Choose a variety for texture and interest.
- 1 bunch Dried flowers of your choice (e.g., lavender, eucalyptus, rose petals) Select blooms that resonate with your decor theme.
- 1 roll Floral wire For securing the flowers.
- 1 piece Wire cutters To trim the wires.
- 1 piece Hot glue gun To secure flowers in place.
- 1 base Wreath base (straw or foam) Use as the base for the wreath.
Directions
Preparation
- Clear a flat area to work comfortably and lay out your materials.
- If using a straw base, cover it with floral wire to provide a framework.
Assembly
- Thread the wood beads onto the wire or ribbon and arrange them in a pleasing pattern.
- Position dried flowers around the wreath, adjusting placements for balance and visual appeal.
- Secure flowers using a hot glue gun, attaching both stems and delicate petals.
- Trim any excess wire with wire cutters to clean up the arrangement.
- To hang the wreath, attach a piece of ribbon or wire at the top.
Last Step: Don’t forget to leave a rating and comment below! It helps other readers find the best DIY projects — and it helps us too!