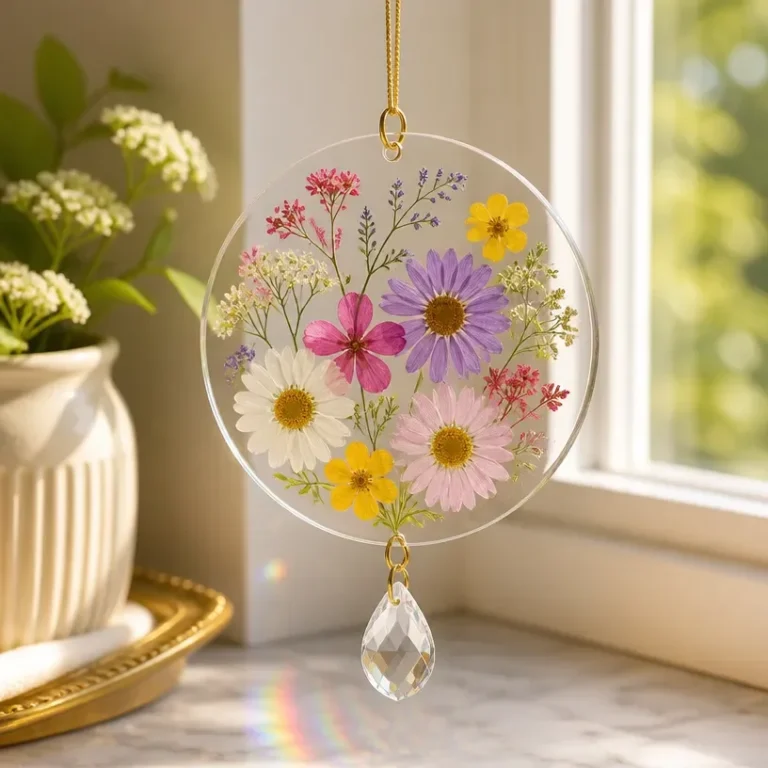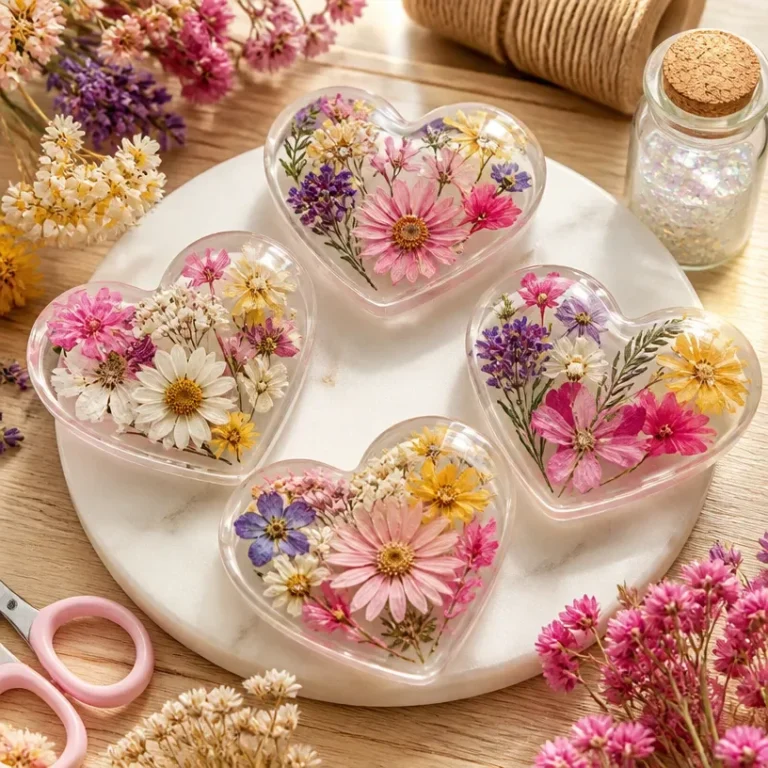
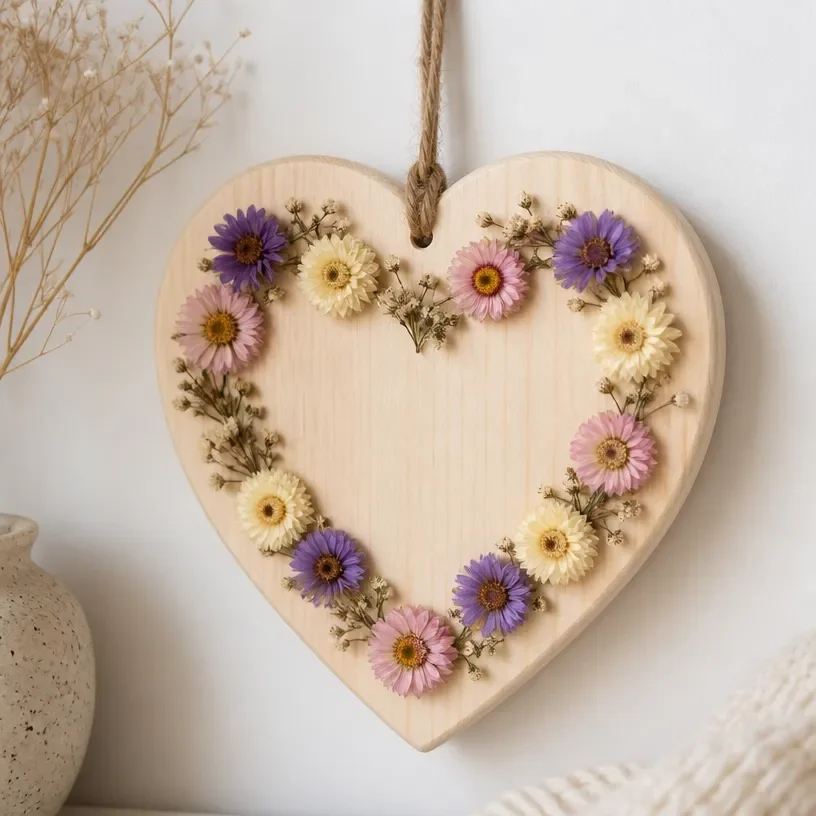
Creating floral crafts can be a delightful way to express your creativity and bring a touch of nature into your home. Imagine sitting down with a collection of dried flowers, ready to transform them into a unique piece of art. One fantastic project that encapsulates this idea perfectly is the Dried Flower Heart Wall Plaque. This project not only allows you to showcase your favorite blooms but also adds an artistic flair to your decor. The heart shape symbolizes love and beauty, making it a perfect gift for someone special or a personal treasure to display in your living space.
Why This Dried Flower Heart Wall Plaque Works So Well
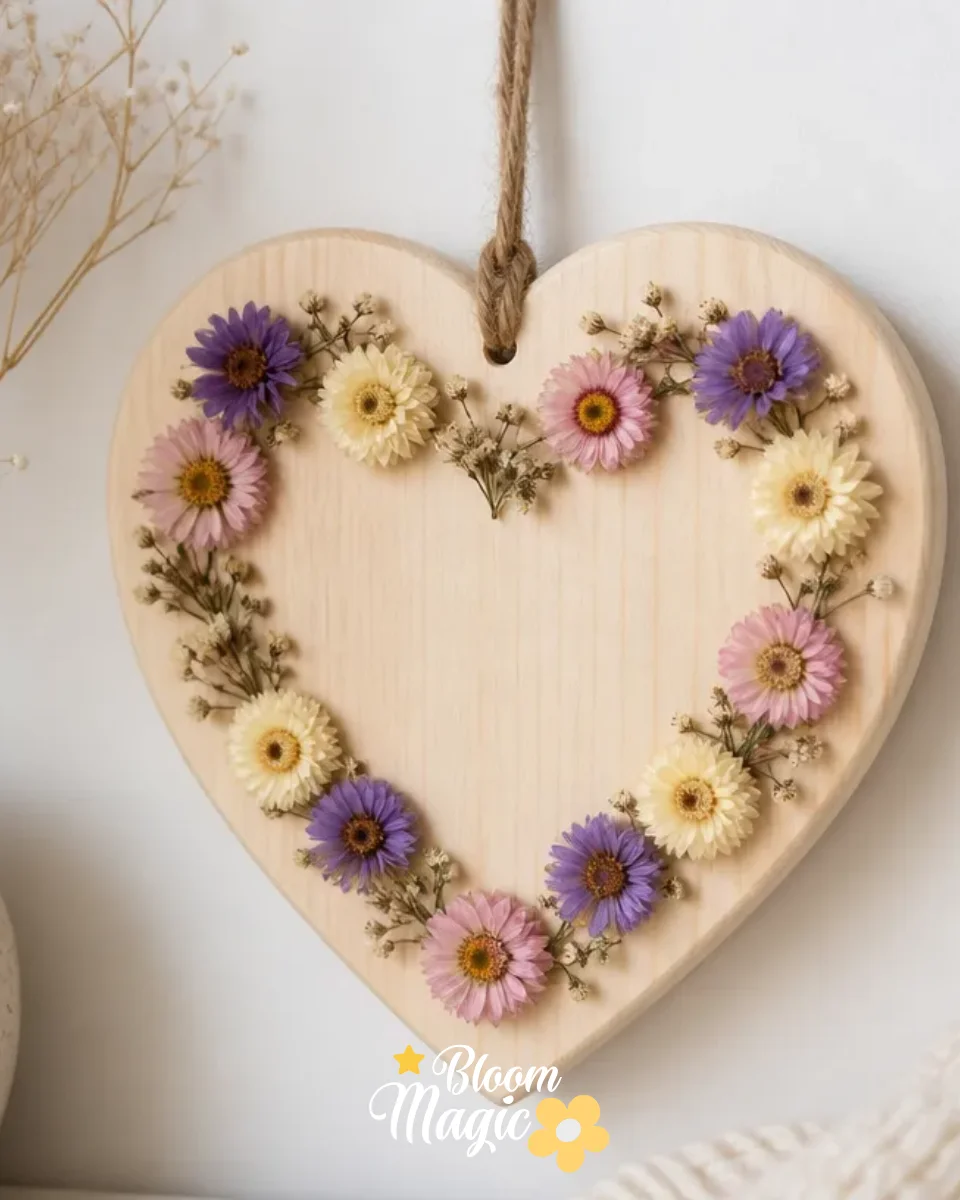
The Dried Flower Heart Wall Plaque stands out because it is both visually rewarding and approachable for crafters of all skill levels. Its simple design allows for flexibility in the choice of botanicals, letting you work with whatever dried flowers you have on hand. Whether you prefer vibrant colors or subtle shades, this project allows you to create a piece that reflects your personal style. Additionally, the use of dried flowers means that it can be preserved for a long time, allowing your creative work to be enjoyed for years. The finished piece can serve as a striking focal point in any room while also acting as a beautiful reminder of cherished memories.
A Quick Look Before You Begin
Before diving into the crafting process, it’s good to prepare yourself for how this floral DIY will come together. You will set up a workspace that serves both as a creative haven and a practical area for crafting, which helps in maintaining organization. This project mainly involves layering dried flowers in a heart-shaped design, allowing each bloom to show its unique textures and colors. Expect a moderate level of mess; dried petals can shed, so consider having a vacuum or a small hand broom handy. Additionally, this project has some delicate stages and permanent stages, which is crucial to accounting for as you make decisions about flower placement and adhesive application.
Materials You’ll Need
To create your Dried Flower Heart Wall Plaque, gather the following materials:
- Dried flowers: Choose a variety of colors and textures to enhance visual interest. Popular choices include lavender, strawflower, and statice.
- Heart-shaped base: A sturdy frame that can support the weight of the flowers.
- Adhesive: Use a clear glue that dries transparent, ensuring that it won’t distract from your design.
- Scissors: Handy for trimming flower stems and arranging them neatly.
- Tweezers: Useful for precise placements of smaller flowers or details.
- Protective covering: A drop cloth or newspaper to catch falling bits from your crafting process.
With these materials, you’ll be ready to bring your floral creation to life.
Step-by-Step Directions
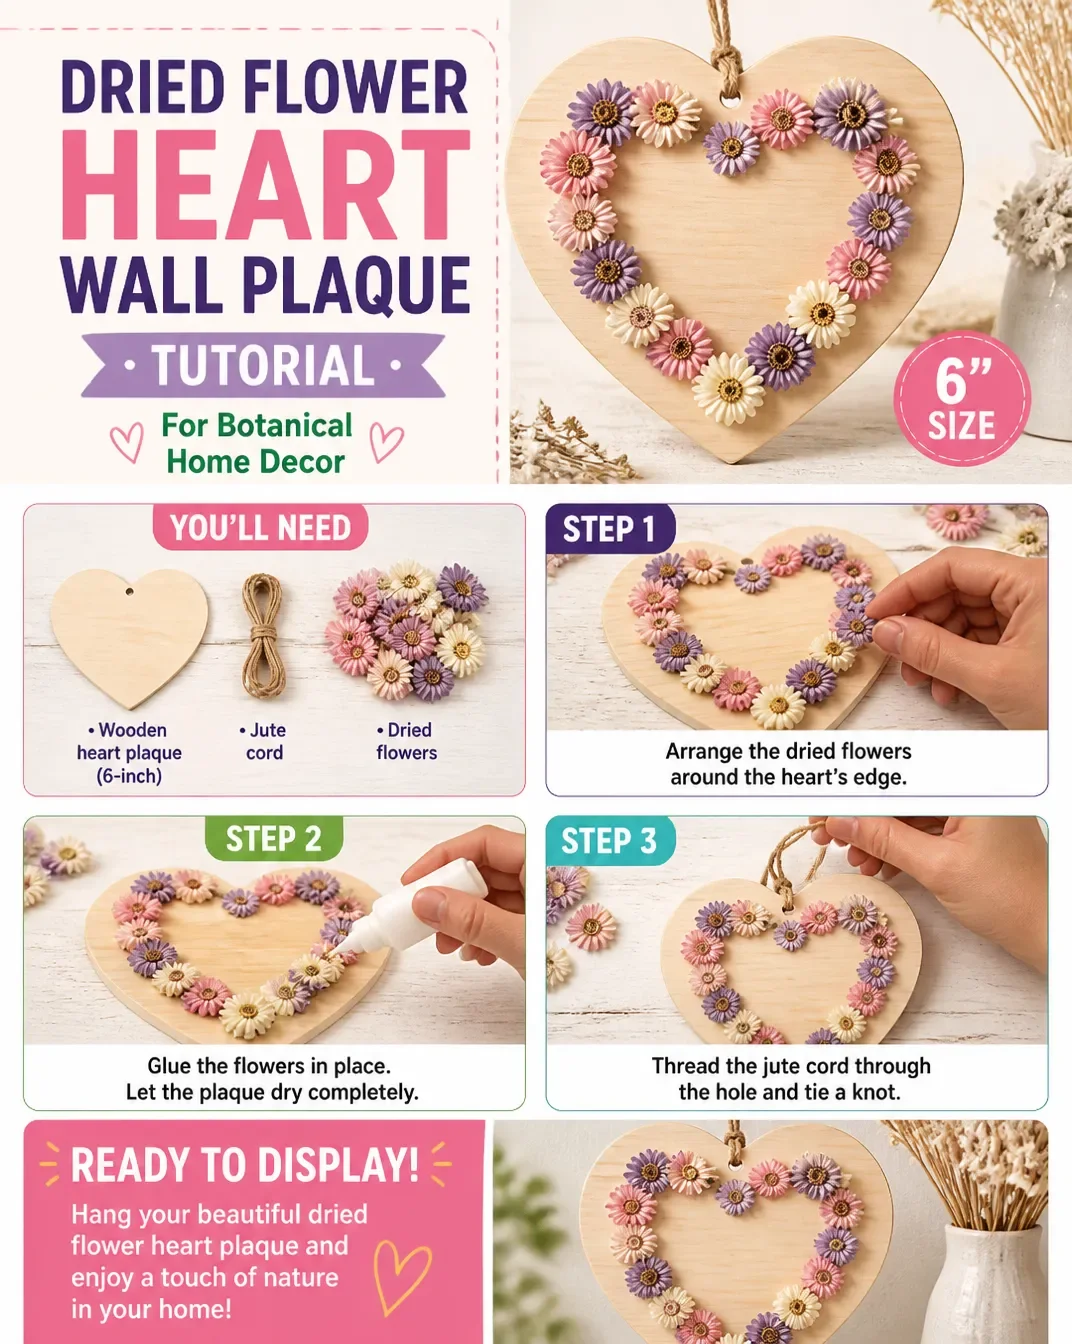
Prepare the base: Start by ensuring your heart-shaped base is clean and free of dust. A smooth surface is essential for optimal adhesion.
Select your flowers: Lay out your dried flowers and begin choosing which blooms will form your main design. Consider colors and textures for balance.
Trim stems: Use scissors to cut the flower stems to desired lengths, making sure they can lay nicely on the heart shape without bulkiness.
Arrange without glue: Before gluing, arrange the flowers on the base to visualize your design. Feel free to move pieces around until you achieve a balanced composition.
Start gluing: Once satisfied with the layout, begin applying glue to the back of each flower. Carefully place them on the heart shape, holding for a moment to ensure a good bond.
Fill in gaps: After the main flowers are attached, use smaller blossoms or filler flowers to fill in any gaps. This creates a more cohesive look.
Let it dry: Allow the entire plaque to dry completely according to the glue’s instructions, ensuring all flowers are securely attached before moving it.
Final touches: Inspect your plaque and make any adjustments as needed. You can add a ribbon or twine at the top for easy hanging.
The Design Behind This Floral DIY
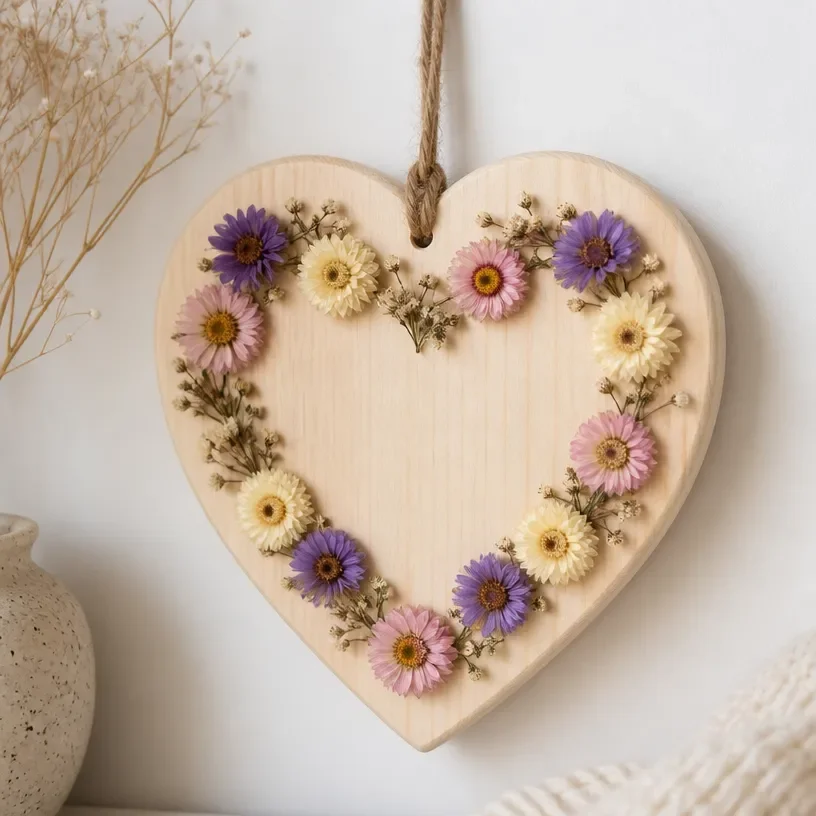
When creating your Dried Flower Heart Wall Plaque, consider the placement and layering of your flowers. Choose a color palette that is harmonious or creates a beautiful contrast. For instance, pairing soft pastels with stronger colors can really make the arrangement pop. Think about how different textures can play a role; mixing smooth petals with coarse foliage can add depth. Spacing is equally important in achieving a balanced look; ensure flowers are positioned to draw the eye across the entire design, preventing any crowding in one area. Creating a visual flow helps lead the viewer’s gaze throughout the piece.
Troubleshooting Common Issues
While making your Dried Flower Heart Wall Plaque, you may encounter a few common challenges. If the placement seems uneven, don’t worry; simply take a moment to step back and assess the arrangement from different angles. Shifting flowers can often be remedied by gently lifting them and reapplying glue. Be cautious with delicate petals, as they can easily tear or break when handled too roughly. To avoid an overly crowded design, trust your instincts about spacing; it’s better to give your blooms room to breathe than to cramp them together.
Easy Variations to Try
Consider personalizing your Dried Flower Heart Wall Plaque with these simple variations:
- Seasonal themes: Change up the flowers based on the season for a fresh look year-round.
- Color palette: Experiment with monochromatic tones or bold, contrasting hues to create a striking effect.
- Different shapes: If a heart isn’t your style, try different shapes like circles or stars for a unique twist.
- Add embellishments: Incorporate elements like small decorative stones or glitter for added texture and sparkle.
Each variation maintains the core idea, allowing you to express your creativity while keeping the project recognizable.
Displaying or Keeping Your Project
After completing your Dried Flower Heart Wall Plaque, consider where it will live. This piece can be hung on a wall as art or displayed on a shelf or table. Ensure you select a location where it won’t be exposed to direct sunlight for extended periods, as this can degrade the colors over time. When polishing or dusting, use a soft cloth to avoid disturbing the delicate flowers. If gifting the plaque, consider accessorizing it with a simple card that explains the significance of the flowers used in its creation.
FAQs About Dried Flower Heart Wall Plaque
What should I do if my flowers don’t stick properly?
Sometimes, the adhesive may not bond immediately. If this happens, gently press the flower down again and allow more drying time, or consider applying additional adhesive as needed.
Can I use fresh flowers instead of dried ones?
While fresh flowers are beautiful, they won’t preserve well in this project. Dried flowers work best due to their durability and longevity.
How can I customize the shape of my heart plaque?
You can create your own shape by using cardboard to cut out a heart outline. Just make sure it’s sturdy enough to hold the flowers.
What if I can’t find the flowers I want?
Feel free to substitute any similar-looking flowers that fit your desired color scheme or texture. There are no strict rules here.
Can I display my plaque outside?
It’s best to keep your dried flower projects indoors, as exposure to the elements can lead to discoloration and deterioration.
A Final Helpful Note
Creating a Dried Flower Heart Wall Plaque is a wonderful way to celebrate your creativity and the beauty of nature. Trust your instincts throughout the process and feel free to play around with different floral combinations and designs. This project allows for flexibility and personal touch, so embrace your style and enjoy the journey of crafting something uniquely yours.
Conclusion
Your Dried Flower Heart Wall Plaque can become a treasured piece in your home. For those interested in exploring similar projects, you might enjoy checking out a variety of creative ideas for home decor like 3D Flower Wall Art Ideas or consider adding a floral heart using DIY flower hearts craft techniques. If you’re especially interested in incorporating dried elements into your designs, the options for a dried flower boutonniere could be a lovely next step! Elevate your floral crafting experience by exploring diverse resources.
Follow us on social for more floral DIY projects & botanical inspiration!

Dried Flower Heart Wall Plaque
Would you like to save this recipe?
By submitting you agree to receive this recipe and occasional emails. Unsubscribe anytime.
Ingredients
Materials for Dried Flower Heart Wall Plaque
- Variety items Dried flowers: Choose a variety of colors and textures. Popular choices include lavender, strawflower, and statice.
- 1 base Heart-shaped base: A sturdy frame to support the flowers.
- 1 bottle Adhesive: Use a clear glue that dries transparent.
- 1 pair Scissors: Handy for trimming flower stems.
- 1 pair Tweezers: Useful for precise placements of smaller flowers.
- 1 covering Protective covering: A drop cloth or newspaper to catch bits.
Instructions
Preparation
- Prepare the base: Ensure your heart-shaped base is clean and free of dust.
- Select your flowers: Lay out your dried flowers and choose the main design blooms.
- Trim stems: Cut flower stems to desired lengths for a neat arrangement.
- Arrange without glue: Visualize your design by arranging flowers on the base.
Gluing and Finalizing
- Start gluing: Apply glue to the back of each flower and place it on the heart shape.
- Fill in gaps: Use smaller or filler flowers to complete the look.
- Let it dry: Allow the plaque to dry completely before moving it.
- Final touches: Inspect the plaque and add a ribbon or twine for hanging.
Last Step: Don’t forget to leave a rating and comment below! It helps other readers find the best recipes — and it helps us too!
Tips & Notes:
Nutrition Information: Serving: 1 | Calories: | Carbohydrates: | Protein: | Fat: | Sodium: | Fiber: | Sugar:
Nutritional information is provided as a courtesy and calculated automatically. Values can vary depending on the brands and ingredients you use, so if you’re tracking closely, I recommend calculating with your own preferred tool.