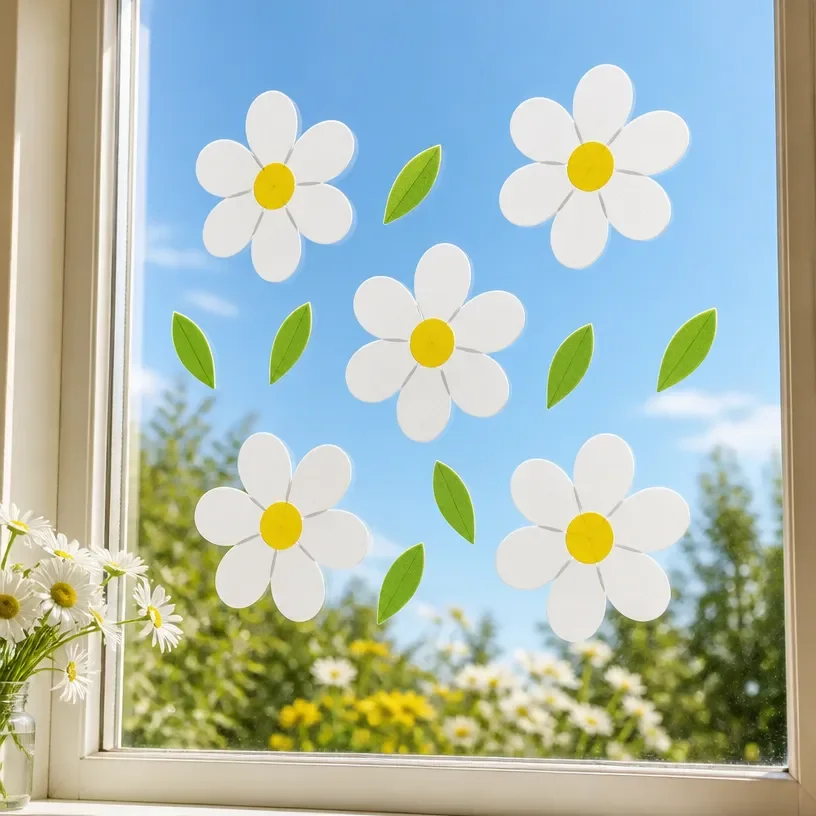
Using floral elements in your home decor can be a delightful way to express creativity. If you’re in search of a novel project that combines functionality with the charm of flowers, making Removable Daisy Window Clings can be perfect. This simple yet engaging craft allows you to showcase flowers in an innovative and visually pleasing way, whether you’re brightening up a dull window or adding a personal touch to a festive occasion. Additionally, if you’ve enjoyed other floral projects, such as creating a felt daisy brooch, you’ll find that making window clings is an equally rewarding experience.
Why You’ll Love Making Removable Daisy Window Clings
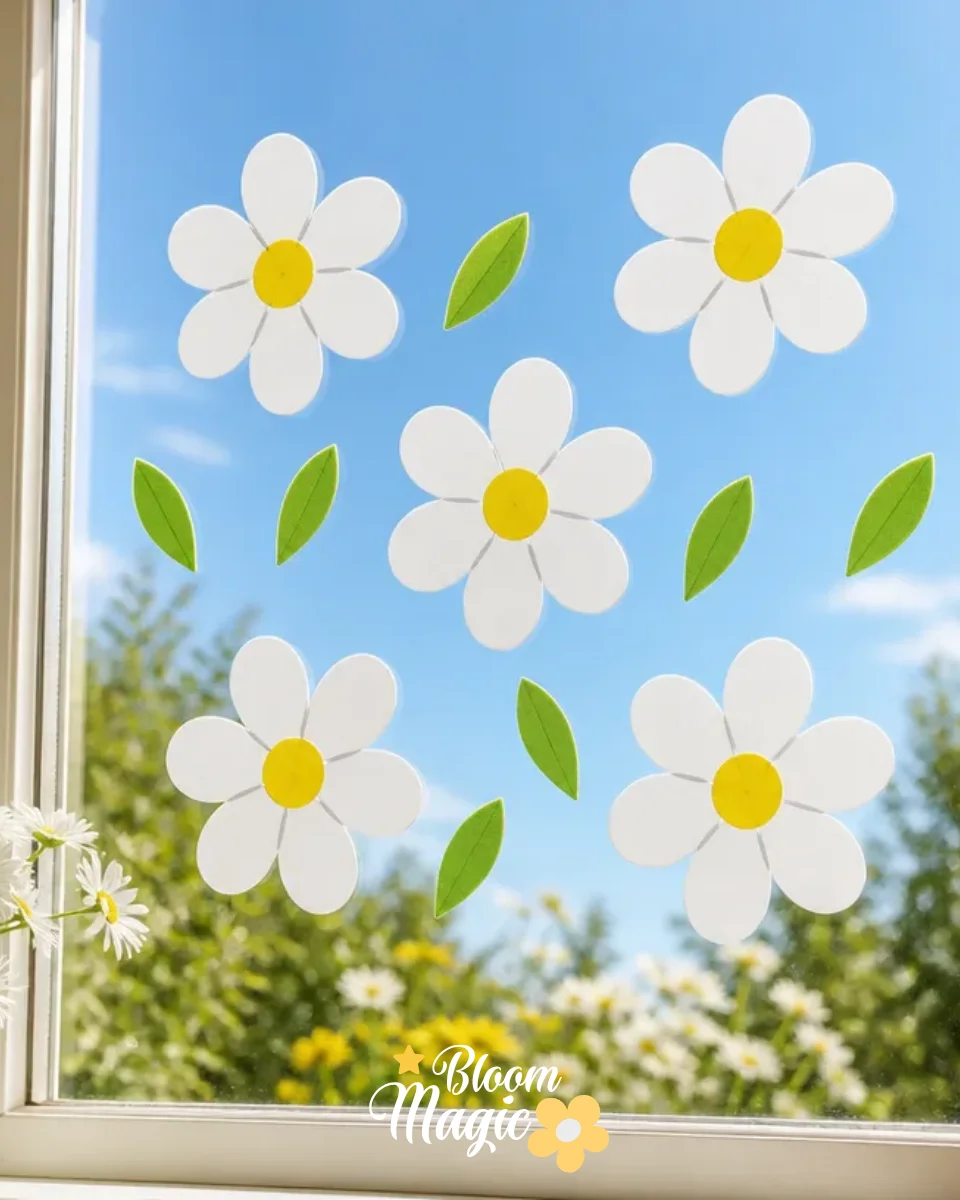
You may also find Glue On Flower Window Cling Decorative Sticker useful.
Creating Removable Daisy Window Clings is approachable for anyone, regardless of their crafting experience. The idea is uncomplicated: you create beautiful designs that can be easily removed and repositioned without leaving sticky residue. This makes decorating for different seasons or occasions a breeze, allowing you to change your decor as often as you like. You may also find Tissue Paper Flower Window Suncatcher useful.
Visually, these clings can add cheerful splashes of color and whimsical charm to any room. They’re also manageable in terms of cleanup and space requirements, making this project perfect for a leisurely afternoon. The satisfaction of seeing your crafted flowers dance in the sunlight through the window can enhance the ambiance of your living space.
The Flow of Making Removable Daisy Window Clings
Crafting your window clings involves a straightforward setup and a rewarding assembly process. Gather your flowers or preferred floral elements, along with the adhesive and backing sheets, to prepare for a creative session.
Rest assured that the mess level is minimal; using clear adhesive trays helps contain any overflow. The construction approach is fluid, and once you begin layering your flowers, you’ll find an instinct for placement that feels right. It’s important to remember that you can rearrange elements as needed, fostering a sense of freedom in your designing process.
Materials You’ll Need
To create your Removable Daisy Window Clings, you’ll need the following materials:
- Transparent adhesive sheets: These form the base of your window cling.
- Daisies (or other flower shapes): Choose colorful options for visual impact.
- Scissors: For trimming any excess around your flower designs.
- Craft glue (optional): To secure delicate elements if needed.
- Backing paper: To help with the transfer process.
- A clean work surface: To keep everything organized and tidy.
Make sure to handle floral materials gently to preserve their shape and vibrancy during the crafting process.
Step-by-Step Directions
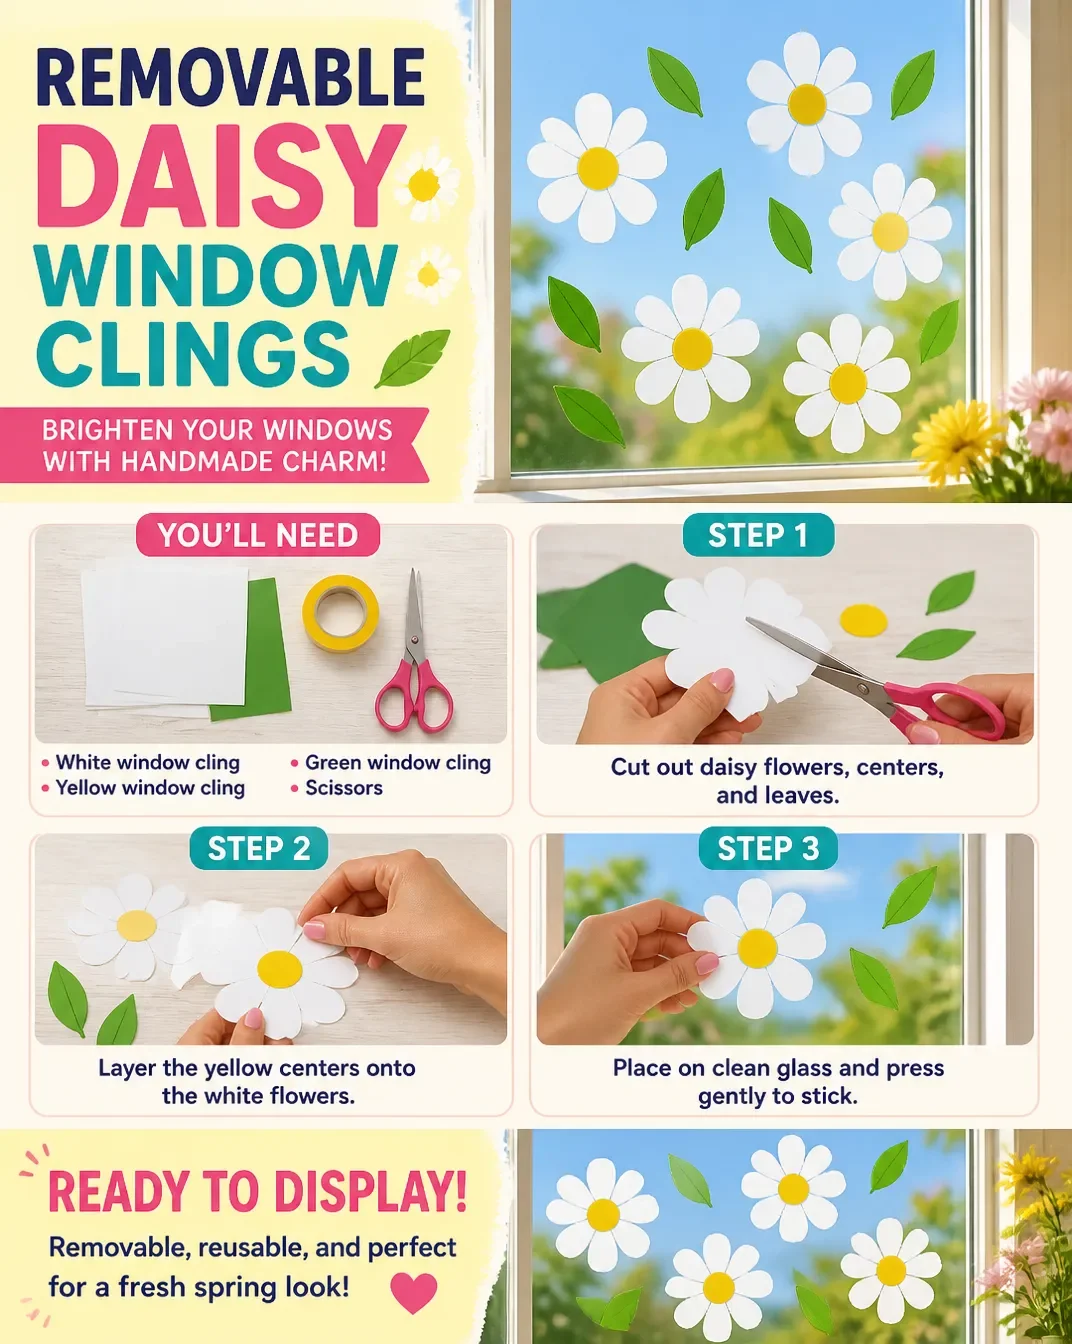
Select Your Flowers: Choose fresh or artificial daisies. Ensure they have a good shape and vibrant colors. Lay them out for planning and visual confirmation.
Cut the Adhesive Sheets: Measure and cut your adhesive sheets to the desired size. Make them large enough to encompass your flower arrangements.
Trace and Cut Flowers: If you’re using fresh flowers, tuck them beneath the adhesive and trace around their shapes on the adhesive sheets. Carefully cut out the silhouettes.
Attach Daisies: Place the flowers strategically on the adhesive sheets, giving them space for balance. You can layer them for a dimensional look.
Seal the Design: If needed, apply a thin layer of craft glue to secure the edges. This is especially useful for delicate petals.
Prepare the Backing Paper: Press your design onto the backing paper. Make sure it is flat and positioned correctly for transfer.
Finishing Touches: Allow everything to set for a short time before peeling off the backing to apply to your window.
The Creative Details That Bring It Together
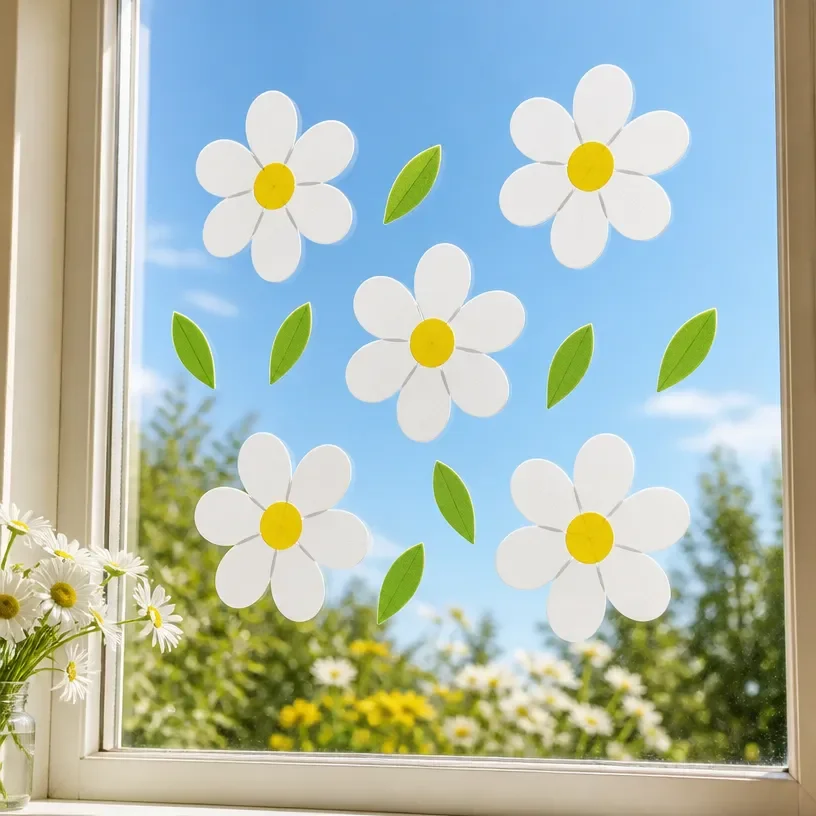
The colors and textures of the flowers used in your window clings are crucial for an effective display. Consider color relationships, ensuring that contrasting hues work harmoniously to catch the eye.
Placement affects visual balance; for instance, a single prominent daisy can serve as a focal point, while clusters create rhythm across the window. Think about layering shapes and varying the heights of petals to create dimension, making your project feel dynamic and alive.
Troubleshooting Common Issues
Creating Removable Daisy Window Clings is generally a smooth process, but some challenges may arise. If you find your flowers shifting after laying them out, pause and adjust them before they set.
Sometimes, adhesive can show through if not applied carefully; maintaining a thin layer during application ensures a clean finish. If you’re experiencing uneven placement, don’t hesitate to take a moment to pause and step back, reassessing the overall composition.
Easy Variations to Try
Adding your unique twist can enhance the project. Here are some variations to consider:
- Different Flower Types: Experiment with other flowers, such as tulips or daffodils, for a seasonal look.
- Color Palettes: Use warm colors for a sunlight effect or cooler shades for a calming aesthetic.
- Background Colors: Adjust the color of the backing paper to enhance visibility and complement the flowers.
- Size Adjustments: Scale your designs for larger windows or smaller spaces; try mini versions for a subtle artistic touch.
Displaying or Keeping Your Project
Once your Removable Daisy Window Clings are crafted, displaying them on clean glass surfaces ensures they catch light effectively. When not in use, store them carefully on their backing sheets to maintain shape and avoid dust accumulation. If you choose to give them as gifts, present them in a well-decorated envelope for a personalized touch.
FAQs About Removable Daisy Window Clings
Can I use real flowers for this project?
Yes, real flowers can be used, but keep in mind that they may wilt over time. If you want durability, consider using artificial options.What if the adhesive isn’t sticking well?
Ensure your window surface is clean and dry. Rubbing alcohol can help remove any residue that might affect adhesion.How do I customize my window clings?
You can customize them by varying flower types, colors, and sizes. This flexibility lets you tailor your project to different occasions or seasons.How do I remove the clings without damage?
Carefully peal them off the window; they should come off easily without leaving residue.Are there alternative materials for this project?
If you lack adhesive sheets, you may experiment with other clear films or suitable transfer papers.
A Final Helpful Note
Creating Removable Daisy Window Clings offers a wonderful blend of art and craft. Trust that your choices in flower type, color, and arrangement result in something uniquely charming. Embrace the possibilities, allow your creativity to flow, and enjoy the satisfaction that comes with displaying your handcrafted window clings.
Conclusion
Crafting Removable Daisy Window Clings not only enhances your home decor but also nurtures a creative outlet. If you're interested in purchasing ready-made options, consider browsing some delightful
Daisy Window Clings on Amazonfor inspiration. Alternatively, you can explore the seasonal
Spring Summer Daisy Window Clings, adding a fresh touch to your crafting journey.
Follow us on social for more floral DIY projects & botanical inspiration!

Removable Daisy Window Clings
Would you like to save this recipe?
By submitting you agree to receive this recipe and occasional emails. Unsubscribe anytime.
Ingredients
Materials
- 1 sheet Transparent adhesive sheets These form the base of your window cling.
- 3-5 pieces Daisies (or other flower shapes) Choose colorful options for visual impact.
- 1 piece Scissors For trimming any excess around your flower designs.
- 1 bottle Craft glue (optional) To secure delicate elements if needed.
- 1 sheet Backing paper To help with the transfer process.
- 1 space A clean work surface To keep everything organized and tidy.
Instructions
Preparation
- Select your flowers: Choose fresh or artificial daisies and lay them out for planning.
- Cut the adhesive sheets to the desired size, making them large enough to encompass your flower arrangements.
- If using fresh flowers, tuck them beneath the adhesive and trace around their shapes on the adhesive sheets, then cut out the silhouettes.
Assembly
- Place the flowers strategically on the adhesive sheets. You can layer them for a dimensional look.
- If needed, apply a thin layer of craft glue to secure the edges of delicate petals.
- Press your design onto the backing paper, ensuring it is flat and correctly positioned.
- Allow everything to set for a short time before peeling off the backing to apply to your window.
Last Step: Don’t forget to leave a rating and comment below! It helps other readers find the best recipes — and it helps us too!
Tips & Notes:
Nutrition Information: Serving: 1 | Calories: | Carbohydrates: | Protein: | Fat: | Sodium: | Fiber: | Sugar:
Nutritional information is provided as a courtesy and calculated automatically. Values can vary depending on the brands and ingredients you use, so if you’re tracking closely, I recommend calculating with your own preferred tool.