
Flowers often captivate us with their beauty and temporary presence. As you gather colorful papers to create a warm, inviting atmosphere in your home, you may find a special delight in crafting a Rolled Paper Rose Bouquet. This project combines creativity and a personal touch, allowing you to replicate your favorite blooms with simple materials. Whether you want to preserve memories, decorate a space, or create a heartfelt gift, crafting a bouquet of rolled paper roses is a wonderful way to express your artistic side. If you’re also interested in turning pressed botanicals into beautiful decor, you might consider exploring the options of pressed flower suncatchers.
Why This Rolled Paper Rose Bouquet Works So Well
You may also find Pressed Wedding Bouquet Frame useful.
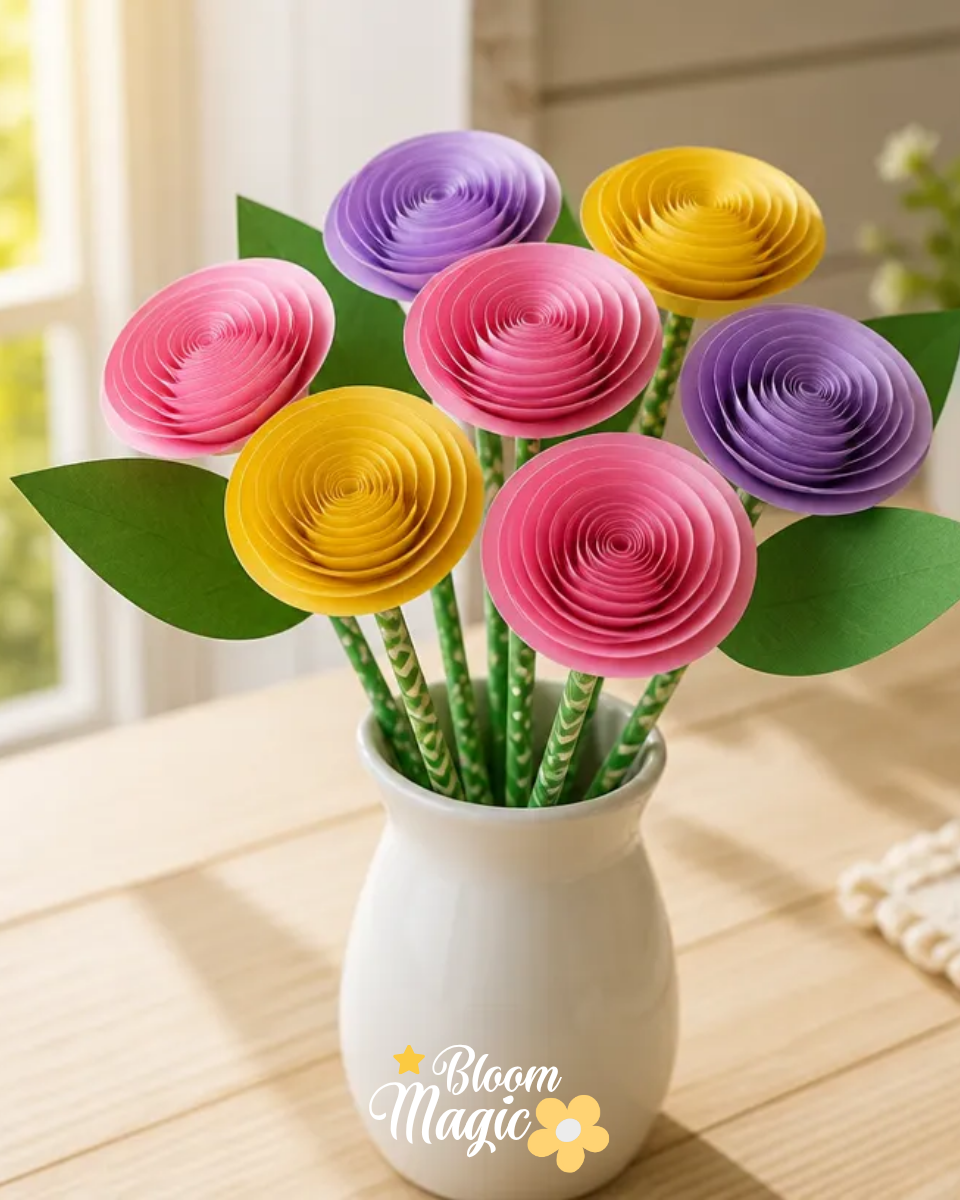
Creating your own Rolled Paper Rose Bouquet is approachable for crafters at any skill level. The materials required are minimal, and the process unfolds with clear steps, making it easy to achieve a visually rewarding result. As you work with paper, you can embrace the tactile experience of rolling and shaping each rose this hands-on aspect allows for creativity while giving you the satisfaction of watching each bloom come to life.
Moreover, this bouquet is adaptable for decorating your living space or gifting to loved ones. The colors and textures you choose can reflect personal tastes or complement seasonal themes, making it a versatile project. The little effort required will yield a stunning display, enhancing your home or sending a heartfelt message when given away.
A Quick Look Before You Begin
As you prepare to make your Rolled Paper Rose Bouquet, take a moment to set up your workspace. Ensure you have all your materials organized and accessible. Consider the overall arrangement before you begin rolling, as envisioning the end product will help guide your color choices and flower placement. Not only does this method minimize stress, but it also enhances your crafting experience.
Expect a slight mess with all the paper rolling, but the cleanup is simple. Take your time during the delicate assembly phases, especially as you secure each rose. This way, you won’t rush through the process, allowing your creativity to flourish.
Materials You’ll Need
To create your Rolled Paper Rose Bouquet, you will need the following materials:
- Colored paper or cardstock: Choose vibrant colors for visual interest.
- Scissors: For cutting the petals into the desired shapes.
- Hot glue gun and glue sticks: For securing the rolled roses.
- Floral wire or plain wire stems: To provide structure to each rose.
- Optional decorative elements: Consider adding embellishments, such as leaves or ribbons.
Each of these materials plays a specific role in crafting your bouquet, contributing to its overall appearance and stability. For example, the cardstock adds sturdiness, while the glue helps secure your flowers in place.
Step-by-Step Directions
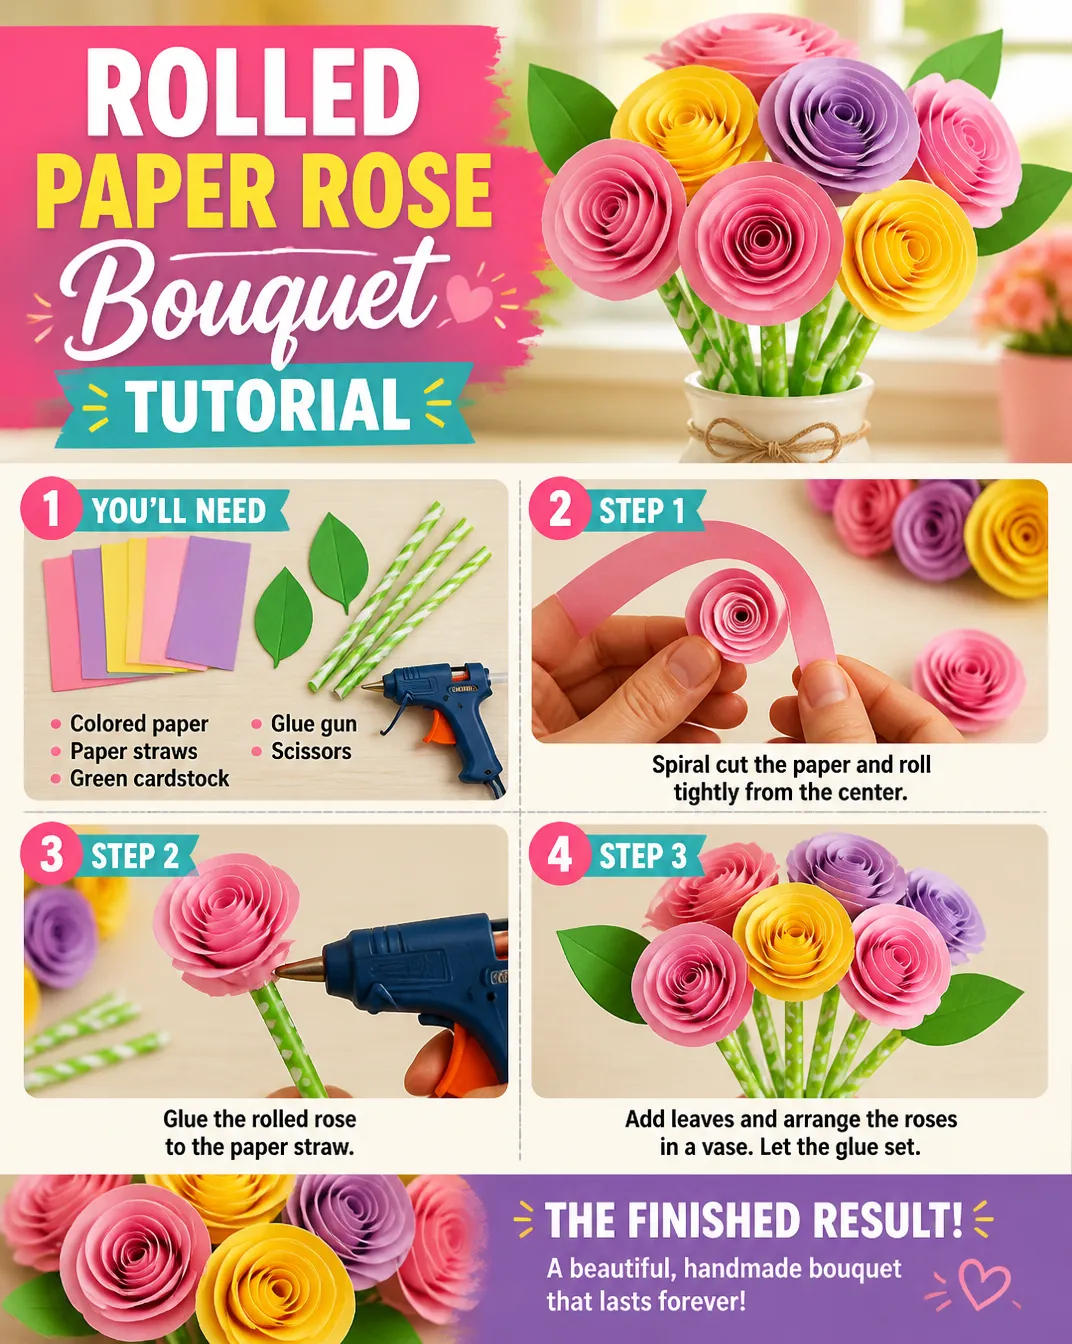
Prepare the Petals: Cut your colored paper into petal shapes. You can use a petal template or freehand your designs. Aim for various sizes for each rose to create depth.
Roll the Roses: Starting from the outer edge of the petal, gently roll the paper inwards, using your fingers to shape the petal into a tight spiral. Work your way toward the center.
Secure the Base: Once rolled, apply a small dot of hot glue at the base to hold the shape together.
Add Additional Petals: Repeat the rolling process with additional petals, surrounding the initial rose to give it fullness. Add glue as needed to secure each new layer.
Attach to Wires: Cut the floral wire to your desired length. Add a bit of glue to the bottom of your rose and gently press it onto the wire stem for support. Hold it until secure.
Create Your Bouquet: Repeat the process to make several roses. Arrange them together and secure their bases with more hot glue or floral tape to bind the stems.
Finishing Touches: Once your bouquet is assembled, you can wrap the stems with decorative ribbon or fabric to enhance the presentation.
This step-by-step approach ensures that each rose is formed with care and precision, contributing to a beautiful overall composition. Pay attention to how you position and shape each bloom balance is key!
The Design Behind This Floral DIY
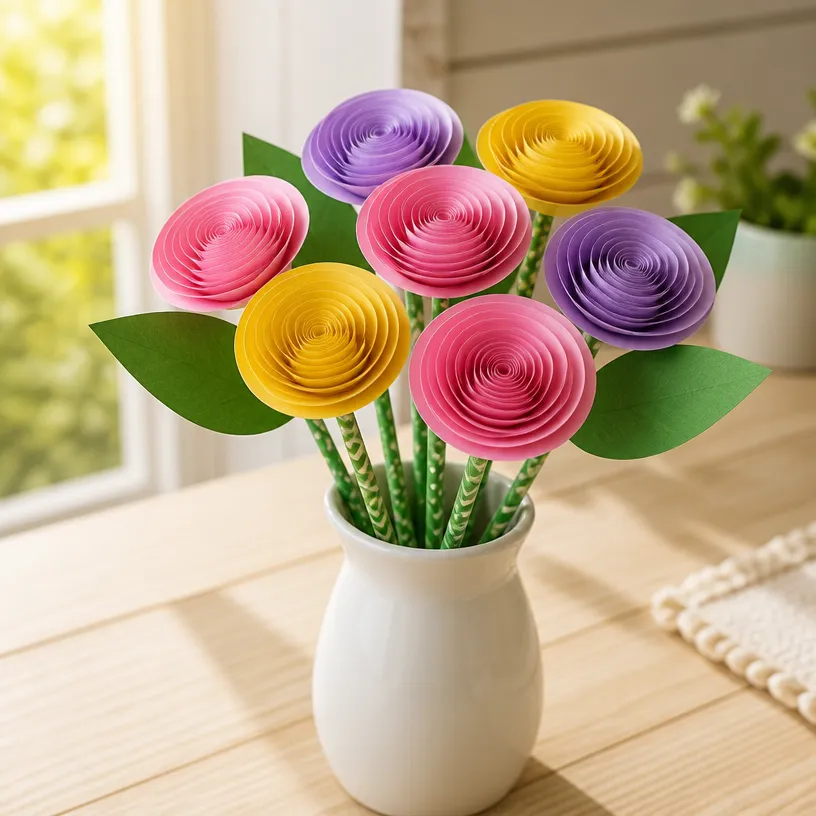
The visual appeal of your Rolled Paper Rose Bouquet stems from the careful consideration of color, texture, and arrangement. Choosing complementary colors brings harmony to your composition. For instance, pairing soft pastels with vibrant tones can create depth and interest.
Texture also plays an important role; consider using different paper textures for your petals to emphasize the uniqueness of each bloom. When arranging the roses, vary the heights and angles of the stems to create a natural, organic look.
Furthermore, consider layering and spacing when placing your roses together. Too close can create a cluttered appearance, while too far apart can make the bouquet seem sparse. Strive for a balanced arrangement that draws the eye and invites appreciation of your work.
Troubleshooting Common Issues
If something doesn’t go as planned, don’t fret. Here are common problems and easy fixes:
Uneven Petals: If your petals appear uneven or misshapen, try adjusting the way you roll them. Go slow and make adjustments with your fingers while securing with glue.
Loose Flowers: If roses aren’t holding their shape, reinforce with additional glue at the base or consider using more petals for strength.
Crowded Appearance: If the bouquet looks too crowded, rearrange your flowers to create more space or remove one or two roses. This will enhance the visual balance.
Taking the time to assess and adjust your arrangement can lead to a much more harmonious final piece.
Easy Variations to Try
You can customize your Rolled Paper Rose Bouquet with these ideas:
Color Themes: Change the color palette based on the season or occasion. Bright colors for summer, warm tones for fall, or pastel shades for spring can completely change the bouquet’s vibe.
Background Colors: Consider using patterned or textured paper as a base layer for your roses to add dimensionality.
Size Adjustments: Alter the scale of the roses to create a dramatic “large-scale” bouquet using bigger petals, or go for a delicate look with tiny roses.
Incorporate Greenery: Craft leaves using green paper to add depth and a natural touch to your bouquet.
These variations keep the project engaging and allow your creativity to shine.
Displaying or Keeping Your Project
Once you’ve completed your Rolled Paper Rose Bouquet, consider how you’ll showcase it. Here are a few ideas:
Display: Place your bouquet in a decorative vase that complements your home decor. This adds charm and highlights your crafting efforts.
Storage: If you need to store your bouquet, keep it in a cool, dry place, away from direct sunlight to maintain its colors and integrity.
Gifting: Wrap your bouquet with a beautiful ribbon if you decide to gift it, showcasing the personal touch you’ve put into each flower.
Displaying your crafts in thoughtfully curated spaces promotes their beauty and extends the joy of your creation.
FAQs About Rolled Paper Rose Bouquet
What if I can’t find the right colored paper? You can easily substitute with any paper material you have at home, like old wrapping paper or magazines. Just ensure the paper is not too thick to roll.
Is it difficult to handle the hot glue? Hot glue can be tricky for beginners. Try using a low-temperature glue gun or let the glue cool slightly before attaching your petals to avoid burns.
Can I use different types of adhesive? While hot glue is effective for this project, you may also use craft glue or double-sided tape. Just note that these alternatives may not hold as firmly.
How do I clean up after crafting? Gather scraps of paper and dispose of any remnants. A vacuum can help pick up small bits left behind.
A Final Helpful Note
As you embark on your Rolled Paper Rose Bouquet journey, remember to embrace the creativity that comes with crafting. Let the process inspire you and don’t hesitate to explore your unique design choices. Confidence in your crafting will inspire others, and thoughtful attention to detail will yield a truly beautiful finished product. Enjoy every moment as you bring a little piece of beauty and warmth into your home with this delightful project!
Conclusion
Creating a Rolled Paper Rose Bouquet is an enjoyable experience that allows for personal expression through craft. The tactile nature of rolling each bloom brings a rewarding sense of accomplishment. As you explore additional floral projects, consider checking out this article on
how to make DIY rolled paper rosesfor more inspiration or dive into a detailed
rolled paper rose tutorialthat offers insightful tips for success. Happy crafting!
Follow us on social for more floral DIY projects & botanical inspiration!

Rolled Paper Rose Bouquet
Would you like to save this project?
By submitting you agree to receive this project and occasional emails. Unsubscribe anytime.
Materials
Materials Needed
- 1 pack Colored paper or cardstock Choose vibrant colors for visual interest.
- 1 piece Scissors For cutting the petals into the desired shapes.
- 1 piece Hot glue gun and glue sticks For securing the rolled roses.
- 1 pack Floral wire or plain wire stems To provide structure to each rose.
- optional Decorative elements Consider adding embellishments, such as leaves or ribbons.
Directions
Preparation
- Cut your colored paper into petal shapes. You can use a petal template or freehand your designs. Aim for various sizes for each rose to create depth.
Rolling the Roses
- Starting from the outer edge of the petal, gently roll the paper inwards, using your fingers to shape the petal into a tight spiral. Work your way toward the center.
- Once rolled, apply a small dot of hot glue at the base to hold the shape together.
Finishing the Roses
- Repeat the rolling process with additional petals, surrounding the initial rose to give it fullness. Add glue as needed to secure each new layer.
- Cut the floral wire to your desired length. Add a bit of glue to the bottom of your rose and gently press it onto the wire stem for support. Hold it until secure.
Assembling the Bouquet
- Repeat the process to make several roses. Arrange them together and secure their bases with more hot glue or floral tape to bind the stems.
- Once your bouquet is assembled, you can wrap the stems with decorative ribbon or fabric to enhance the presentation.
Last Step: Don’t forget to leave a rating and comment below! It helps other readers find the best DIY projects — and it helps us too!