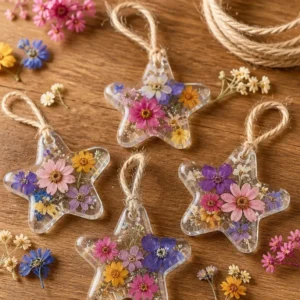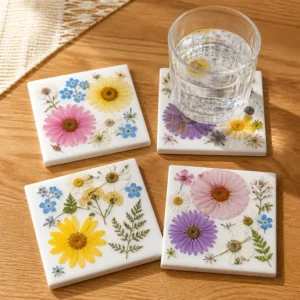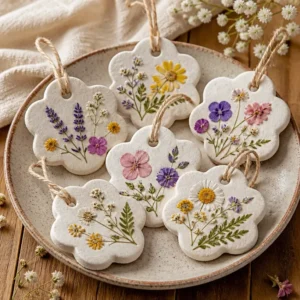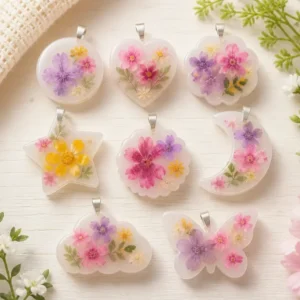
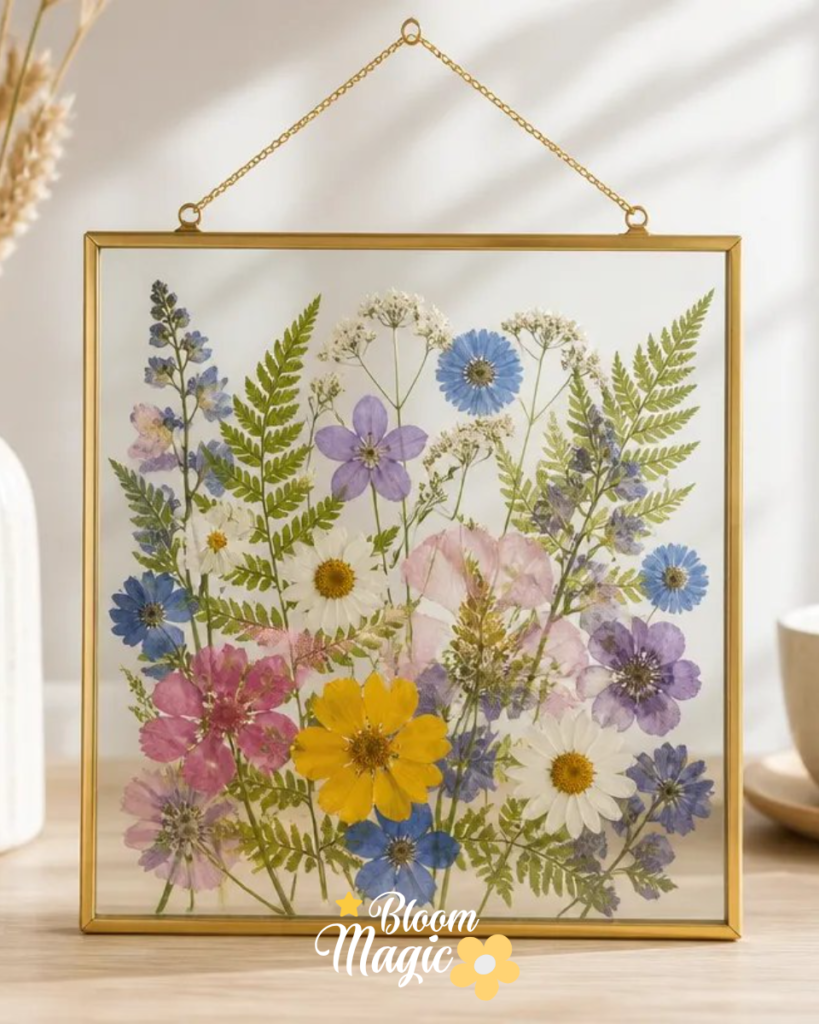
Creating something beautiful and unique can often begin with a single thought: to preserve memories or bring a touch of nature into your home. As you gather dried flowers or other botanical materials, you may find yourself contemplating how to transform them into an eye-catching piece of art. A great project for this is the Floating Pressed Flower Glass Frame, where you can showcase your floral treasures in a way that’s both elegant and personal. Not only does this project allow creativity to bloom, but it also provides a lovely display that can brighten any room. You may also find Magic Bloom Diy Pressed Flower Frame useful.
Why This Floating Pressed Flower Glass Frame Works So Well
You may also find Pressed Flower Candle Holder Diy useful.
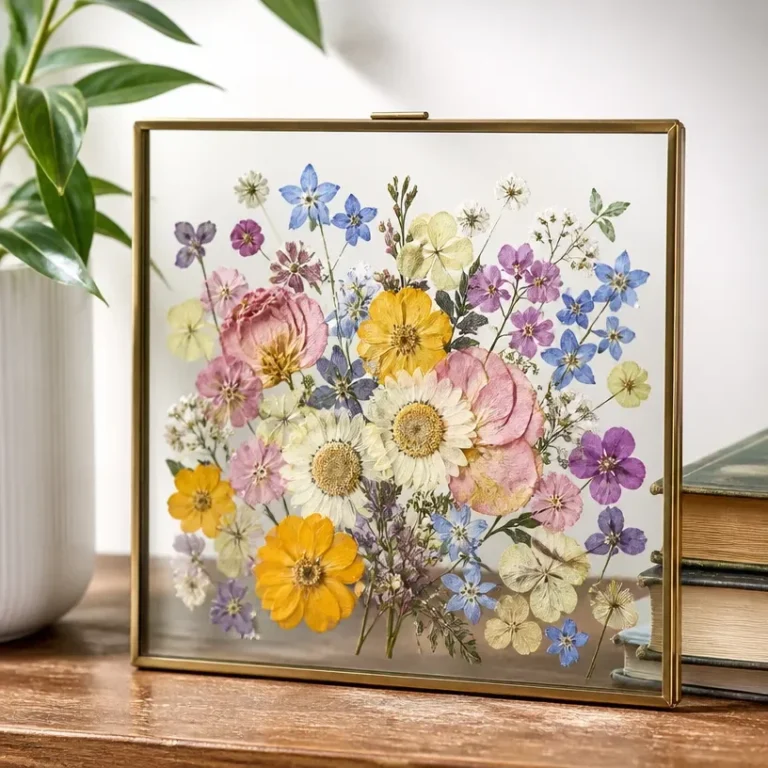
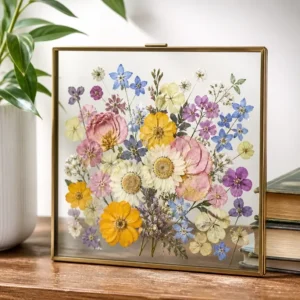
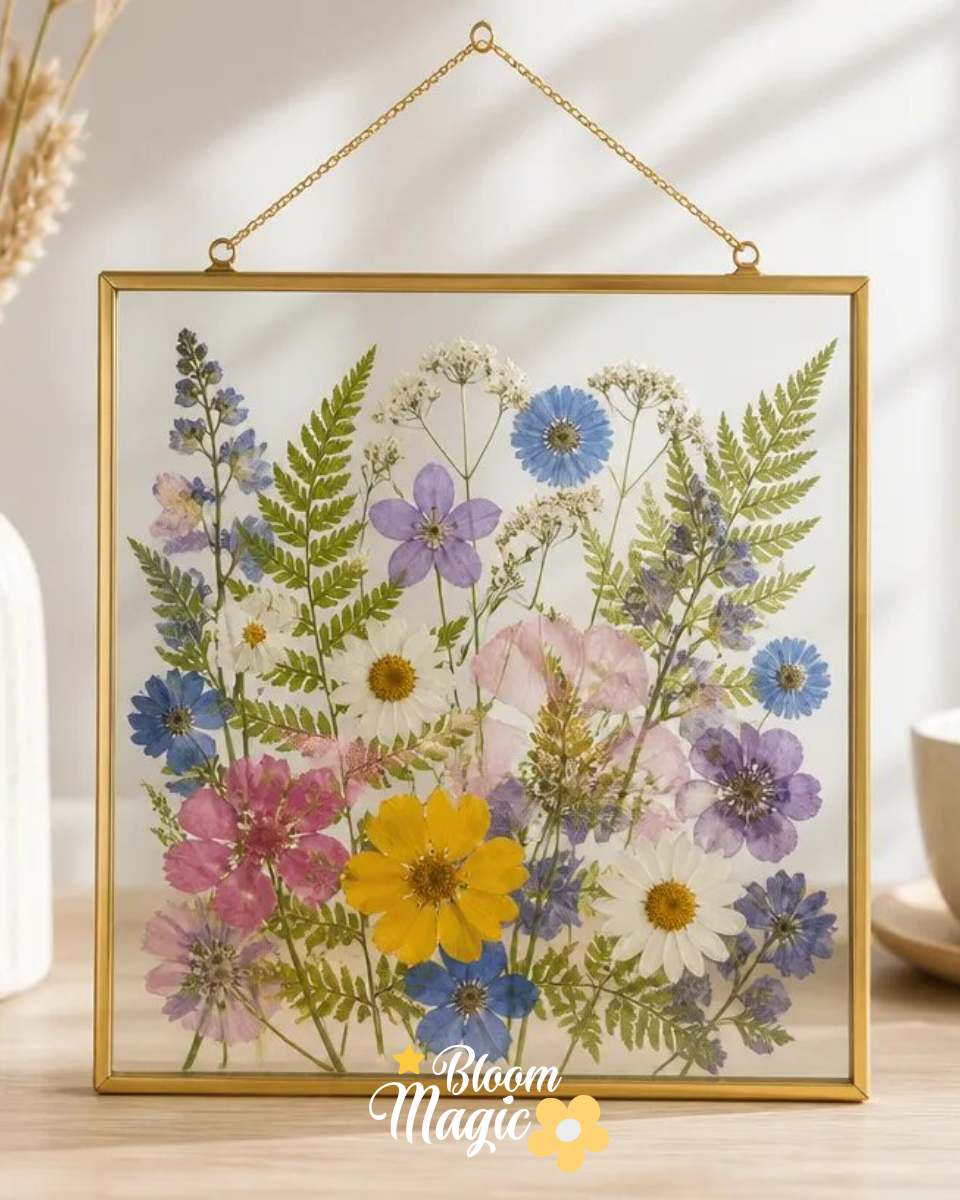
The Floating Pressed Flower Glass Frame is appealing for several reasons. First, the two-piece glass design gives a minimalistic, modern look while allowing light to filter through the flowers. This transparency creates depth and dimension, making your pressed blooms appear as if they’re floating. Additionally, this project is approachable; it requires only a few materials and is manageable for all skill levels. Whether you’re creating a piece for yourself or a gift for someone special, this project beautifully combines creativity with meaningful memories. You may also find Pressed Flower Crystal Suncatcher Diy Tutorial useful.
A Quick Look Before You Begin
The overall flow of creating this floating frame is smooth and intuitive. You start by arranging your pressed flowers on clean glass, a step that allows for experimentation and creativity. Using tweezers, you can easily adjust the flowers until you find the perfect layout. After securing the blooms with clear craft adhesive, you’ll close the frame carefully to maintain your design. The task is simple and not overly time-consuming, allowing you to enjoy the process but also produce an impressive result.
Materials You’ll Need
- Two-piece glass frame: Provides the structural integrity and transparency for showcasing flowers.
- Pressed flowers: Your choice of botanicals will personalize the piece.
- Tweezers: Useful for delicate handling of flowers and arranging them.
- Clear craft adhesive: Ensures that flowers stay in place once positioned.
- Hanging hardware: To allow for easy display in any desired location.
Each material plays a crucial role in your project, from the frame that houses your arrangement to the tweezers that help with careful placement and adjustment.
Step-By-Step Directions
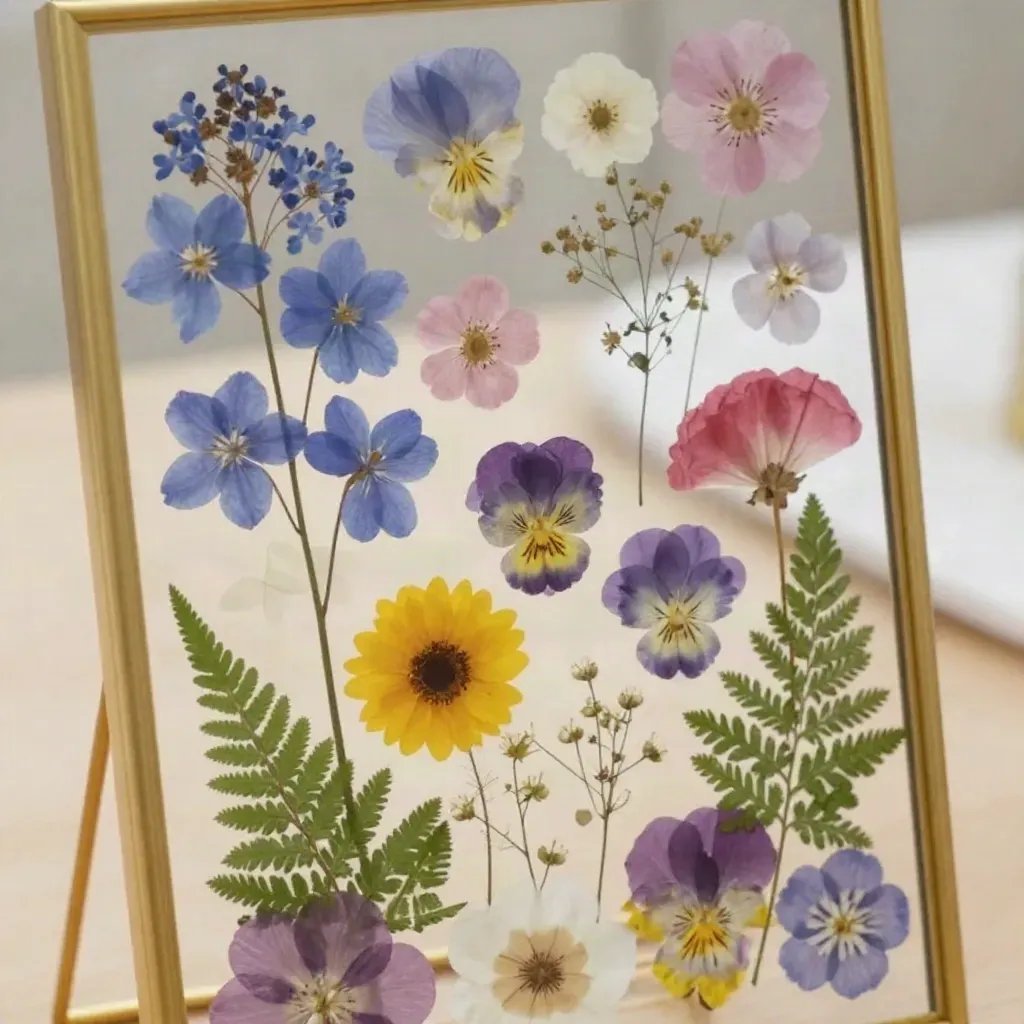
Arrange the pressed flowers on the clean glass of the two-piece frame before applying adhesive. Take your time to explore different arrangements, considering balance and color.
Use tweezers to adjust the flowers and the spaces between them until the composition is ready. This detail helps create a visually pleasing overall look.
Apply a small amount of clear craft adhesive where necessary to hold the flowers in place. Be cautious not to use too much; you want it to be effective while maintaining the clarity of the glass.
Carefully close the frame, checking that the flowers remain in their intended positions between the glass panes. This step requires a gentle touch to avoid disturbing your arrangement.
Attach the hanging hardware and hang the finished frame where natural light can show the botanical arrangement. Positioning it near light enhances the colors and details of the flowers.
The Design Behind This Floral DIY
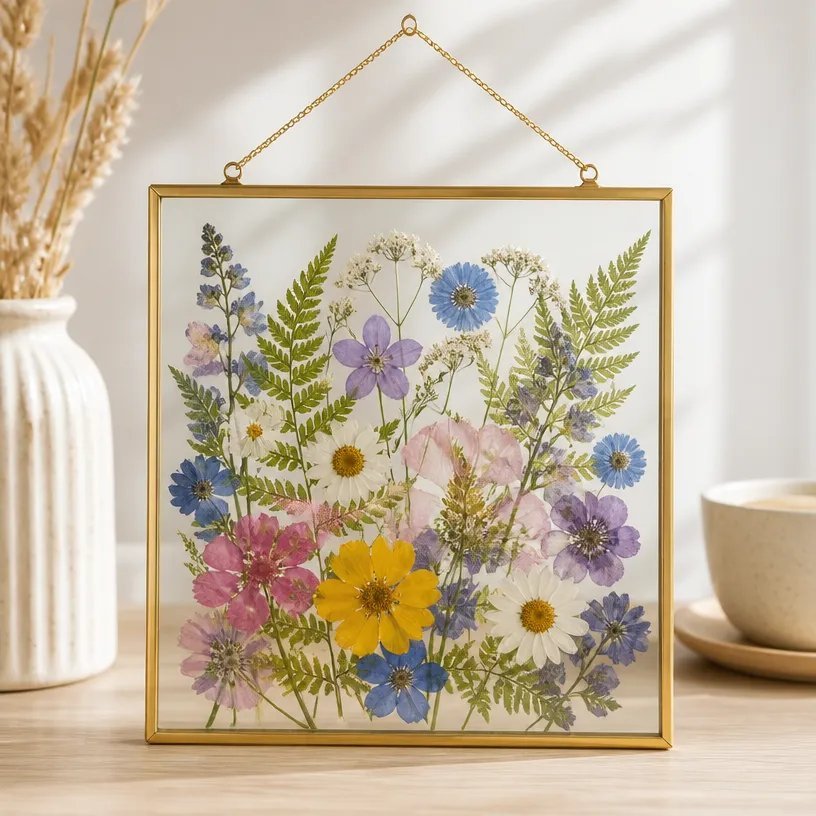
Creating a beautiful design involves thoughtful consideration of several elements. The interplay of colors within your pressed flowers is essential. Choose blooms that complement each other or contrast nicely. Texture also plays a significant role; mixing flowers with varying textures can add visual interest.
Spacing is another critical aspect. Be mindful of how far apart your flowers are, as this affects how crowded or airy your arrangement will appear. Layering some flowers while leaving others more isolated can create depth, allowing the eye to explore the entire piece. By keeping these design principles in mind, you can create a stunning floating frame that resonates aesthetically and emotionally.
Troubleshooting Common Issues
Common issues may arise as you work on your frame. For instance, you might find uneven placement of your blooms, which can throw off the overall look. To remedy this, step back and reevaluate your arrangement periodically. If flowers shift during assembly, use a bit more adhesive to secure them gently.
Sometimes, visible glue can be a concern. If this happens, try to apply a very thin layer in discreet areas or utilize flowers that will likely cover any mistakes. If the finished arrangement looks too crowded, consider removing a few elements to simplify and balance the design.
Easy Variations to Try
Looking to personalize your design further? Here are some variations to consider:
- Use seasonal flowers to give your frame a time-specific feel, such as bright daisies in summer or muted tones in autumn.
- Experiment with the background color of the frame by placing colorful paper behind the glass to enhance your flowers.
- Create a theme around a color palette, using only white and pastel flowers for a soft, subtle effect, or vibrant, eclectic colors for a lively statement piece.
These small adjustments can help make your project even more uniquely yours.
Displaying or Keeping Your Project
After crafting your floating pressed flower frame, think about its display. It can be hung on a wall or placed on a shelf, making a lovely focal point. Ensure it is positioned where you can enjoy the natural light, further enhancing the visual appeal.
If you ever wish to change it up, you can always swap out flowers or even repurpose the frame for a different season or occasion, allowing for continual enjoyment and tailored decor.
FAQs About Floating Pressed Flower Glass Frame
What flowers work best for pressing? Flowers with flat, thin petals like pansies or daisies are ideal. Avoid bulky flowers that won’t dry well.
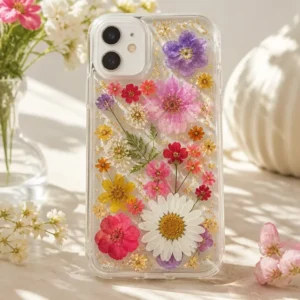
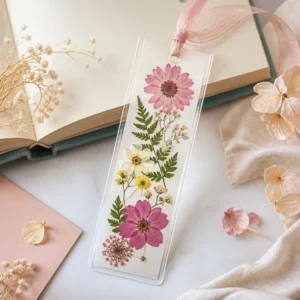
Can I use other materials in the frame? Absolutely! Dried leaves, herbs, or even small feathers can add variety. Just ensure they complement your overall design.
How do I prevent the flowers from fading? Keep your frame away from direct sunlight, as UV light can cause colors to fade over time.
A Final Helpful Note
Before embarking on your Floating Pressed Flower Glass Frame project, embrace the process with an open mind. Creativity thrives when you allow yourself to explore and experiment. Trust your instincts about placements and combinations, and take care with your materials. With patience and attention to detail, you’ll create a stunning, personalized display that brings a little piece of nature indoors.
Conclusion
Creating your Floating Pressed Flower Glass Frame is not just about the final product; it’s about the journey of crafting something meaningful. Whether you’re looking for inspiration for a gift or a way to adorn your home, this project fits beautifully. For more options, consider exploring a glass frame for pressed flowers on Amazon or delve into other creative ideas on DIY pressed flower art in a floating frame. Your crafted piece will surely be a cherished treasure.
Follow us on social for more floral DIY projects & botanical inspiration!
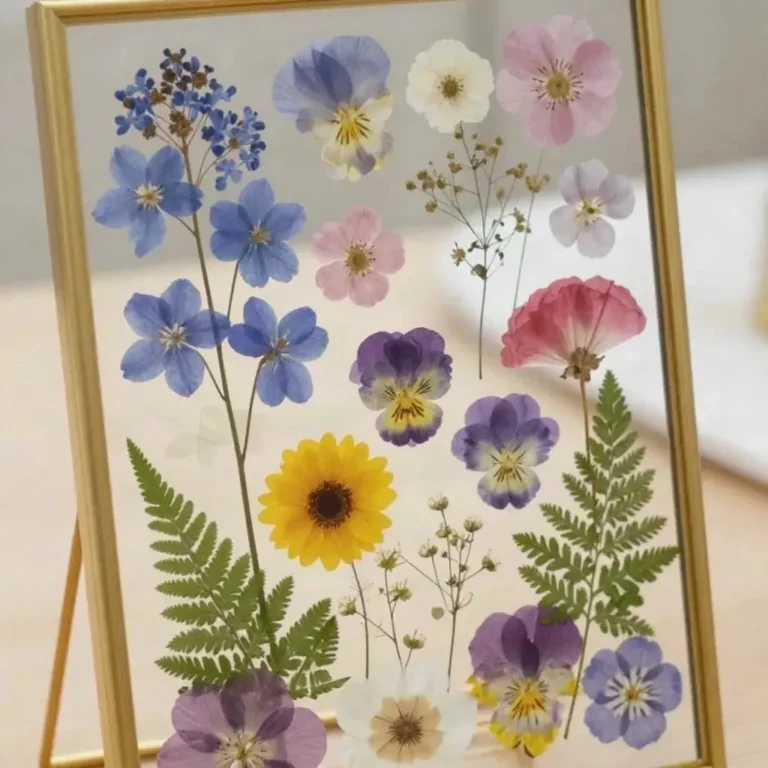
Floating Pressed Flower Glass Frame
Would you like to save this project?
By submitting you agree to receive this project and occasional emails. Unsubscribe anytime.
Materials
Materials
- 1 piece Two-piece glass frame Provides the structural integrity and transparency for showcasing flowers.
- Assorted bunches Pressed flowers Your choice of botanicals will personalize the piece.
- 1 tool Tweezers Useful for delicate handling of flowers and arranging them.
- 1 bottle Clear craft adhesive Ensures that flowers stay in place once positioned.
- 1 set Hanging hardware To allow for easy display in any desired location.
Directions
Arranging the Flowers
- Arrange the pressed flowers on the clean glass of the two-piece frame before applying adhesive. Take your time to explore different arrangements, considering balance and color.
- Use tweezers to adjust the flowers and the spaces between them until the composition is ready. This detail helps create a visually pleasing overall look.
Securing the Design
- Apply a small amount of clear craft adhesive where necessary to hold the flowers in place. Be cautious not to use too much; you want it to be effective while maintaining the clarity of the glass.
- Carefully close the frame, checking that the flowers remain in their intended positions between the glass panes. This step requires a gentle touch to avoid disturbing your arrangement.
- Attach the hanging hardware and hang the finished frame where natural light can show the botanical arrangement. Positioning it near light enhances the colors and details of the flowers.
Last Step: Don’t forget to leave a rating and comment below! It helps other readers find the best DIY projects — and it helps us too!