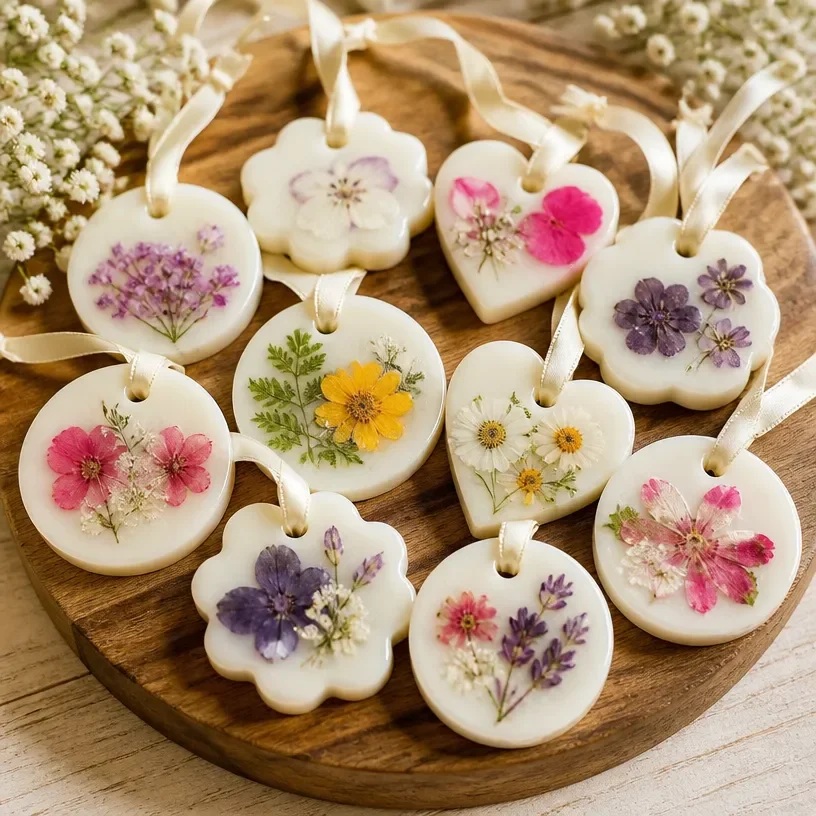
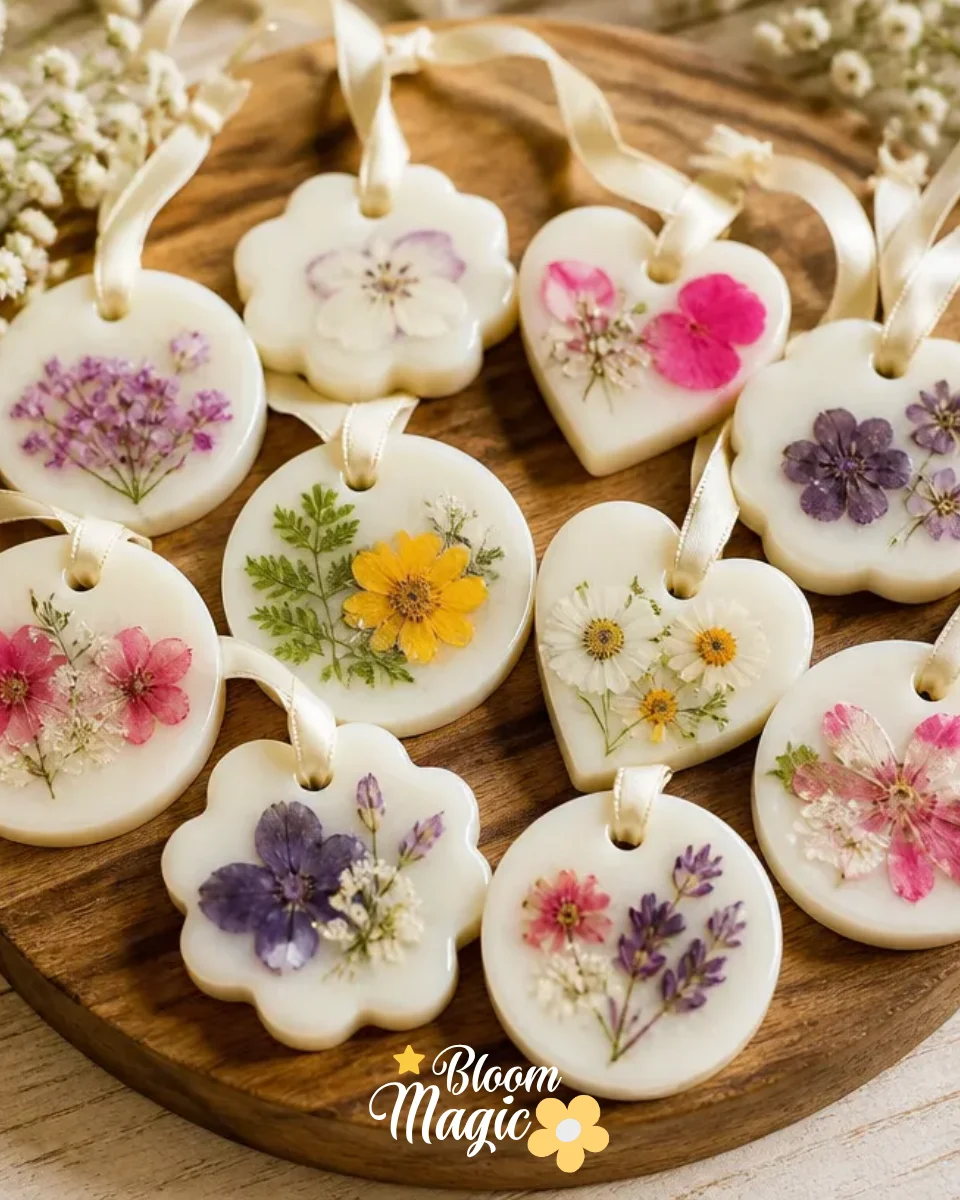
Creating beautiful keepsakes with flowers is incredibly rewarding, especially when you can preserve special blooms in a unique way. If you find yourself surrounded by dried petals or pressed flowers, you might want to transform them into Pressed Flower Cornstarch Charms. These delightful charms not only display your cherished blooms beautifully, but they also offer a touch of nature in your home or make thoughtful gifts for loved ones. The process is surprisingly manageable and filled with creative opportunities, allowing you to showcase your floral passion. You may also find Pressed Flower Glue Charms Diy Tutorial useful.
Why This Pressed Flower Cornstarch Charms Works So Well
You may also find Clear Glue Pressed Flower Suncatcher useful.
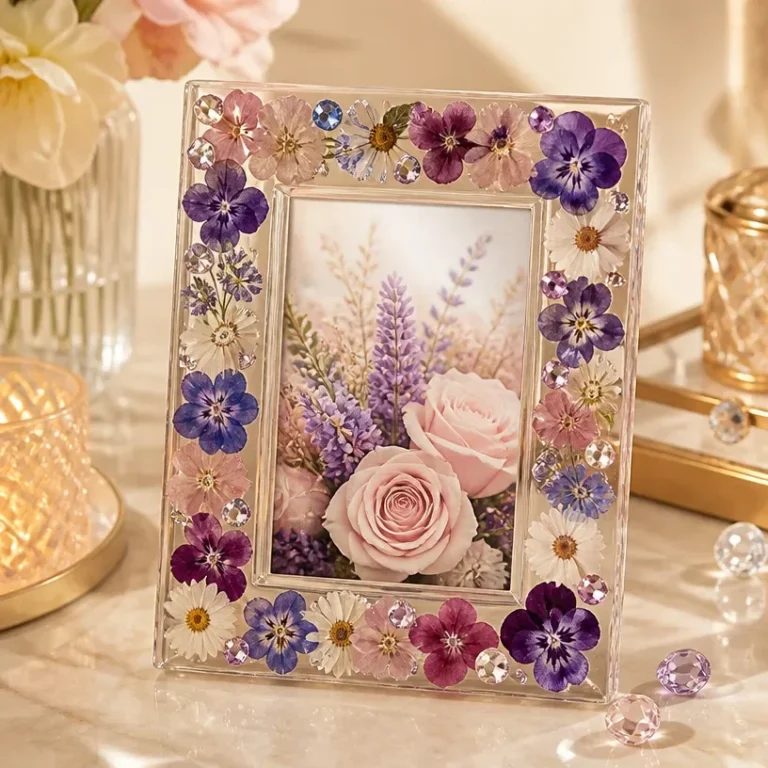
Making Pressed Flower Cornstarch Charms is an approachable project for floral enthusiasts of all levels. The materials are simple to find and affordable, which encourages experimentation without pressure. This project results in visually rewarding creations that can be used as ornaments, gift tags, or decorative pieces around the home. You can mix and match different pressed petals to personalize each charm, which adds a layer of creativity and individuality. Since the process simplifies the preservation of fragile petals while also allowing customization, it’s perfect for anyone looking to celebrate their love for floral crafts. You may also find Floating Pressed Flower Glass Frame useful.
A Quick Look Before You Begin
Embarking on this floral DIY journey is all about embracing the joy of expressing yourself through natural elements. Preparing your workspace with the necessary materials will be essential for a smooth crafting experience. The construction approach involves forming a dough-like mixture of baking soda and cornstarch, which creates a sturdy yet soft base to attach your precious pressed petals. However, keep in mind that the project can be slightly messy, so consider laying down a protective covering on your workspace. The delicate nature of the petals means you should handle them with care during assembly, but the results are well worth it.
Materials You’ll Need
1 cup baking soda
½ cup cornstarch plus a little for dusting
¾ cup water
12 dry pressed petals
Decoupage medium
Ribbon
Baking soda contributes to the stiffness of the charms, while cornstarch adds flexibility. The inclusion of pressed petals is crucial, as they are the decorative element that adds beauty and personal touch. When handling these materials, take your time, as careful preparation leads to a more rewarding end result. Additionally, consider using a variety of petals for color contrasts and visual interest.
Step-by-Step Directions
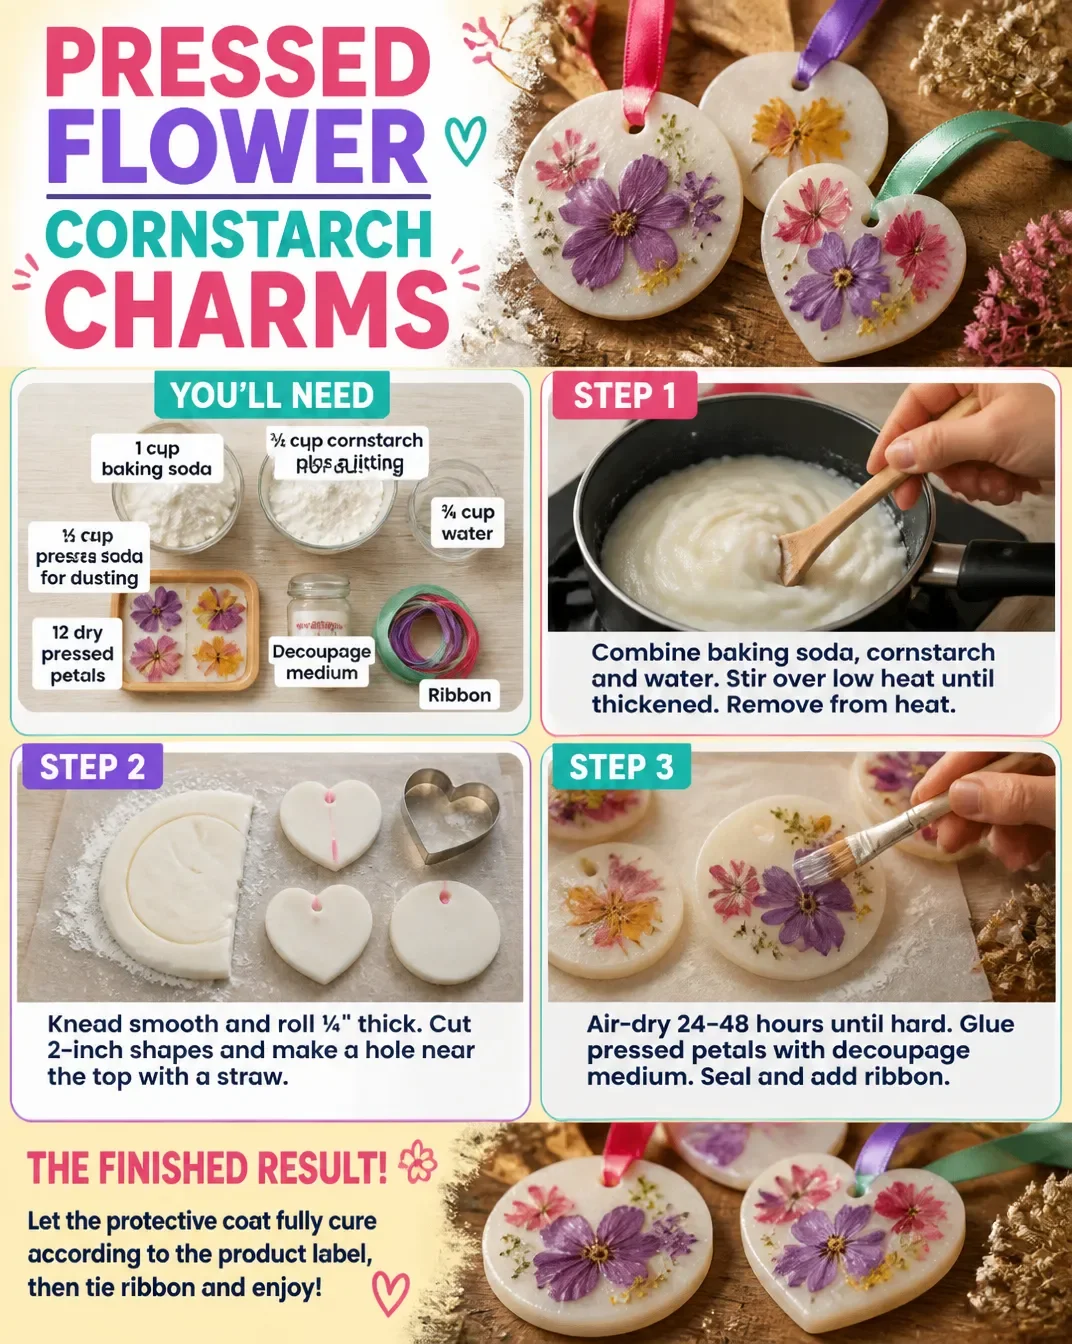
Begin by combining 1 cup of baking soda, ½ cup of cornstarch, and ¾ cup of water in a saucepan. Stir the mixture over low heat until it develops a consistency similar to mashed potatoes, then remove the saucepan from heat.
Transfer this mixture onto a plate, covering it loosely with a cloth. Allow it to cool until it becomes comfortable to handle. Knead it gently until smooth and roll it out on a lightly dusted parchment surface to about ¼ inch thick.
Using a cookie cutter or knife, cut out 2-inch shapes from the rolled mixture. Then, utilize a straw to create a hanging hole at the top of each shape, ensuring it is at least ¼ inch from the edge. Carefully move the shapes with a spatula to prevent bending.
Allow the shapes to air-dry flat for an initial 24-48 hours, turning them once the surface feels firm. Continue drying until both sides and the centres are fully dry and hard. Discard any pieces that show cracks.
Once dry, use a thin coat of decoupage medium to attach your pressed petals to the surfaces of the charms. Allow the medium to dry completely before applying a protective top coat according to the product’s instructions. Finally, thread a ribbon through the holes for hanging.
The Design Behind This Floral DIY
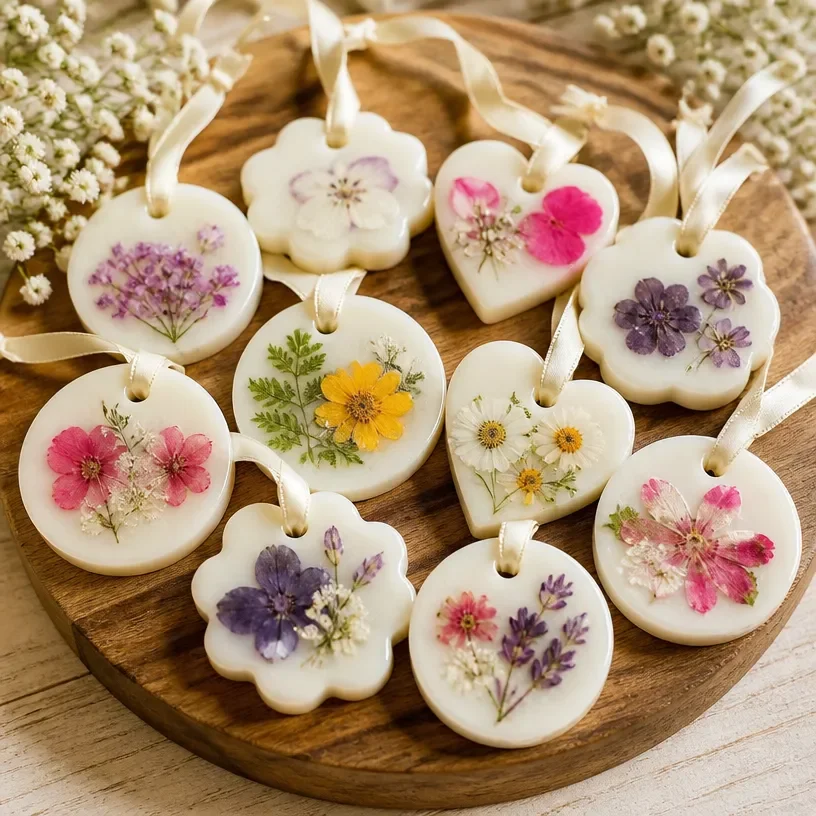
A thoughtful approach to the visual composition of your pressed flower charms can significantly elevate their beauty. When arranging the pressed petals on the base, consider complementary colors and textures. Position larger petals in the background to establish depth, while smaller flowers can add interest to the foreground. Balance is key ensure that the arrangement feels harmonious and not too crowded. You can layer petals for richness but be mindful to keep some white space so each element has room to shine.
Troubleshooting Common Issues
Creating pressed flower charms is generally straight-forward, but occasionally you may encounter some challenges. If you notice uneven placement of petals, take a moment to gently reposition them before the decoupage medium fully sets. In case any flowers shift during assembly, use tweezers for precise adjustments. If the charm looks too crowded, consider removing a petal or adjusting for better spacing. Pay attention to how the adhesive interacts with the delicate materials, ensuring that the flowers adhere without visible glue marks.
Easy Variations to Try
Change things up by experimenting with the colors and types of flowers you use. For a springy twist, consider using pastel petals, while bold hues can make a statement for a more vibrant look. You can also explore using natural dyes to tint the cornstarch mixture or apply background colors that contrast with the pressed petals. Different shapes for the charms, like hearts or stars, can add seasonality and charm to your creations, providing a personal touch for gifting or decor.
Displaying or Keeping Your Project
Embrace the opportunity to thoughtfully display your finished pressed flower charms. Arrange them on a decorative branch or hang them in a sunny window to catch the light. If you decide to gift them, pairing them with handmade gift tags or incorporating them into floral arrangements can create stunning presentations. To prolong their beauty, store them in a cool, dark place to prevent fading and ensure careful handling to avoid damage.
FAQs About Pressed Flower Cornstarch Charms
What types of flowers work best for this project?
Opt for flowers that press well, such as pansies, violets, or daisies. Their flat blossoms will adhere beautifully to your charms.
Can I use fresh flowers instead of dried ones?
It’s best to use dried pressed flowers, as fresh petals may not adhere properly once moisture is introduced through the decoupage medium.
What should I do if my mixture feels too dry?
If your mixture is too dry and crumbly, gradually add small amounts of water until it reaches the desired consistency.
Are there any tips for using decoupage medium?
Apply the medium with a soft brush to avoid excessive glue. A thin layer is usually sufficient, so start conservatively and let it dry before adding more if necessary.
How can I safely transport my finished charms?
Consider wrapping them gently in tissue paper or placing them in a padded box to prevent breakage during transport.
A Final Helpful Note
As you embark on creating your Pressed Flower Cornstarch Charms, remember to embrace the process and enjoy your creativity. Flexibility with your designs allows for personal expression, and the careful attention you give to the materials will reflect in your beautiful creations. Celebrate the floral beauty you’ve preserved through this project it’s all about enjoying the art of crafting with nature.
Conclusion
There’s something deeply satisfying about transforming flowers into cherished keepsakes. If you're eager to expand your crafting repertoire, consider exploring more floral DIY projects, such as
DIY Pressed Flower Ornaments. Additionally, mixing up your crafting routine can be fun, so why not try making
Homemade Heart Shaped Bath Bombsas well? Each crafted item not only brings joy to your space but also serves as a wonderful reminder of the nature-inspired artistry within reach.
Follow us on social for more floral DIY projects & botanical inspiration!
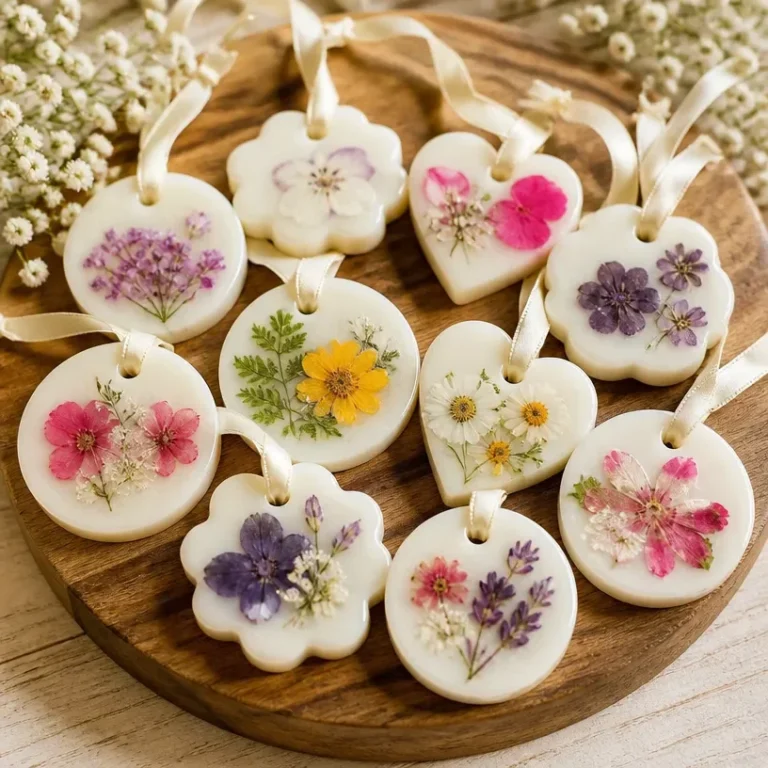
Pressed Flower Cornstarch Charms
Would you like to save this recipe?
By submitting you agree to receive this recipe and occasional emails. Unsubscribe anytime.
Ingredients
For the Charms
- 1 cup baking soda Contributes to the stiffness of the charms.
- ½ cup cornstarch plus a little for dusting Adds flexibility to the mixture.
- ¾ cup water
- 12 pieces dry pressed petals Choose flowers that press well for best results.
- 1 bottle decoupage medium For attaching pressed petals.
- 1 piece ribbon For hanging the charms.
Instructions
Preparation
- Combine 1 cup of baking soda, ½ cup of cornstarch, and ¾ cup of water in a saucepan.
- Stir the mixture over low heat until it develops a mashed potato-like consistency, then remove from heat.
- Transfer the mixture onto a plate, cover it loosely with a cloth, and allow it to cool until comfortable to handle.
- Knead the mixture gently until smooth and roll it out on a lightly dusted parchment surface to about ¼ inch thick.
Shaping the Charms
- Use a cookie cutter or knife to cut out 2-inch shapes from the rolled mixture.
- Create a hanging hole at the top of each shape using a straw, ensuring it is at least ¼ inch from the edge.
- Carefully move the shapes with a spatula to prevent bending.
Drying
- Allow the shapes to air-dry flat for 24-48 hours, turning them once the surface feels firm.
- Continue drying until both sides and the centers are fully dry and hard, discarding any pieces that show cracks.
Finishing Touches
- Once dry, use a thin coat of decoupage medium to attach the pressed petals to the surfaces of the charms.
- Allow the medium to dry completely before applying a protective top coat as per the product's instructions.
- Finally, thread a ribbon through the holes for hanging.
Last Step: Don’t forget to leave a rating and comment below! It helps other readers find the best recipes — and it helps us too!
Tips & Notes:
Nutrition Information: Serving: 12 | Calories: 50kcal | Carbohydrates: | Protein: | Fat: | Sodium: | Fiber: | Sugar:
Nutritional information is provided as a courtesy and calculated automatically. Values can vary depending on the brands and ingredients you use, so if you’re tracking closely, I recommend calculating with your own preferred tool.