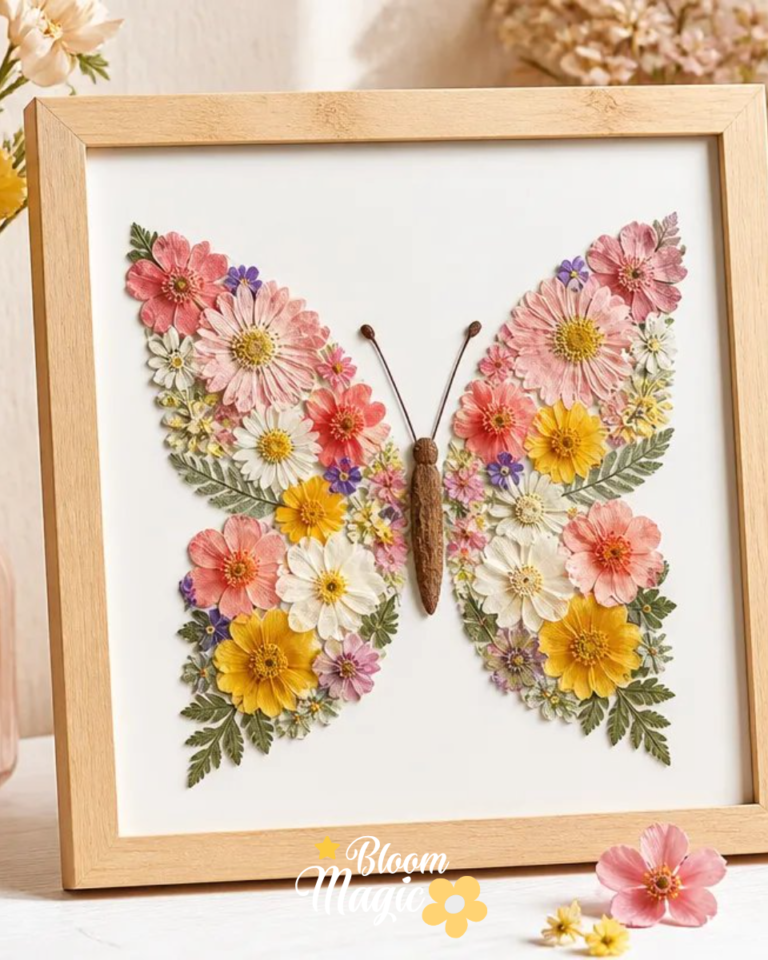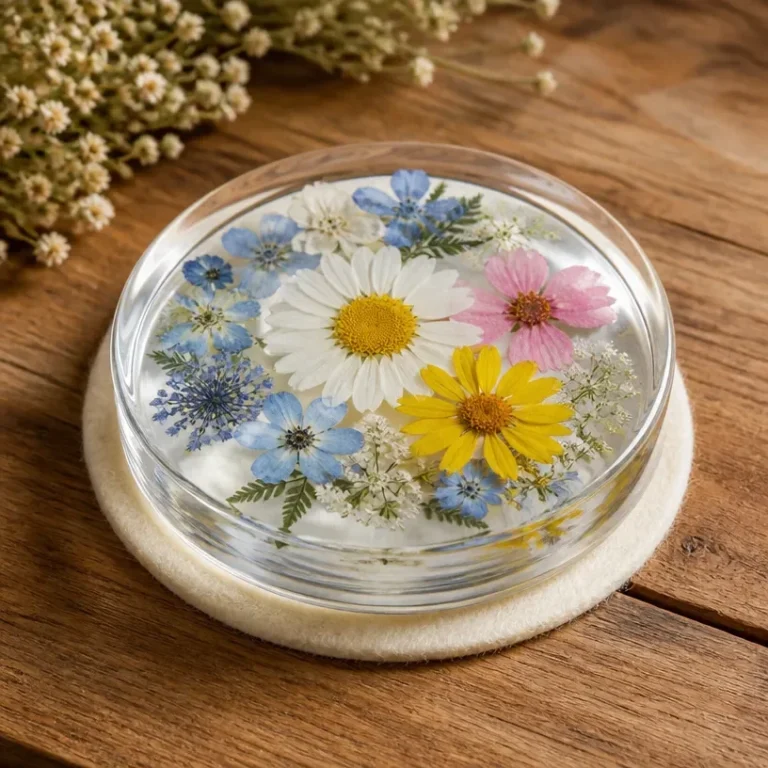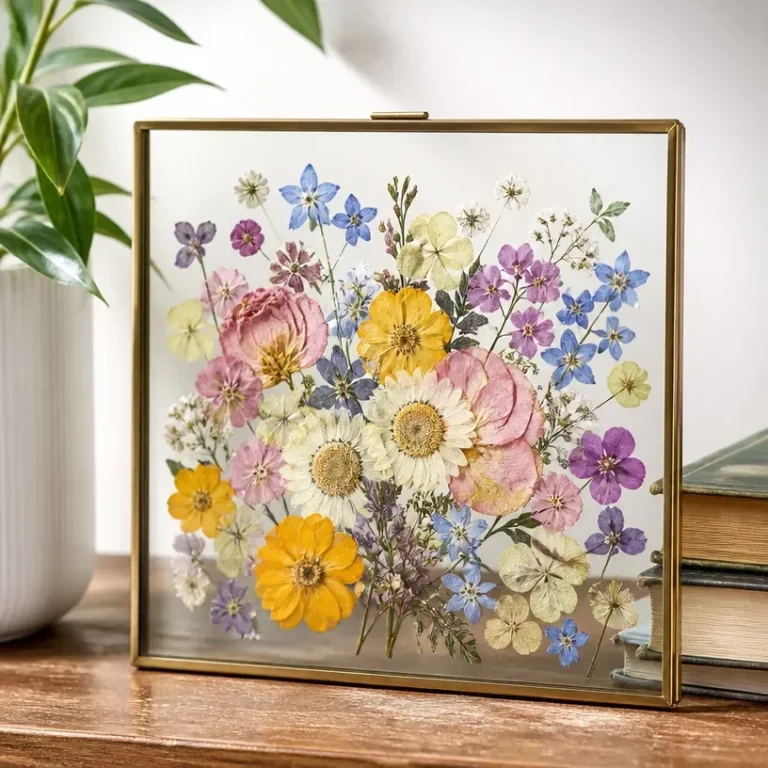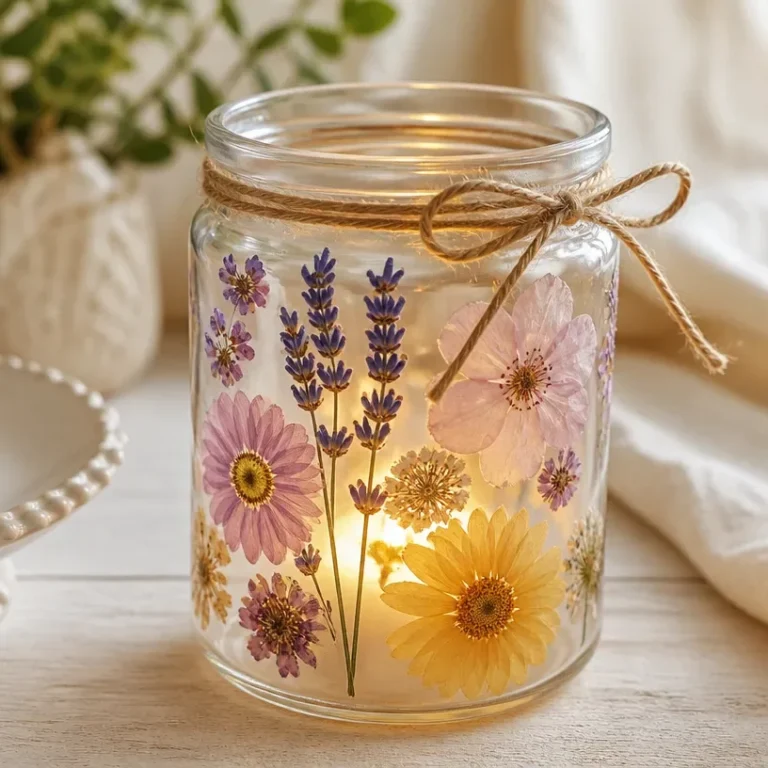
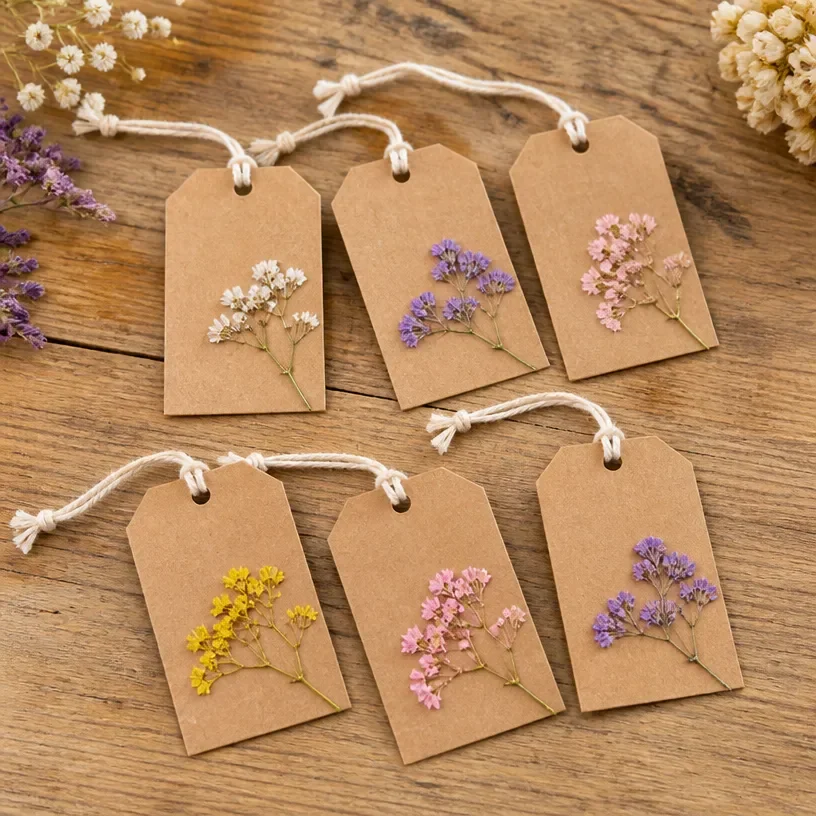
Pressing flowers and transforming them into gift tags can feel like a delightful escape into creativity. Imagine gathering your most cherished blooms, perhaps from a special event or garden, and preserving them for future use. While arranging your craft materials, you might find yourself looking for ways to preserve those precious flowers in a way that can be showcased and gifted. This is where making Pressed Flower Gift Tags comes into play. Their charm lies not only in their beauty but also in their ability to convey heartfelt sentiments when attached to gifts or used as decorative elements. You may also find Clear Glue Pressed Flower Suncatcher useful.
Why This Pressed Flower Gift Tags Work So Well
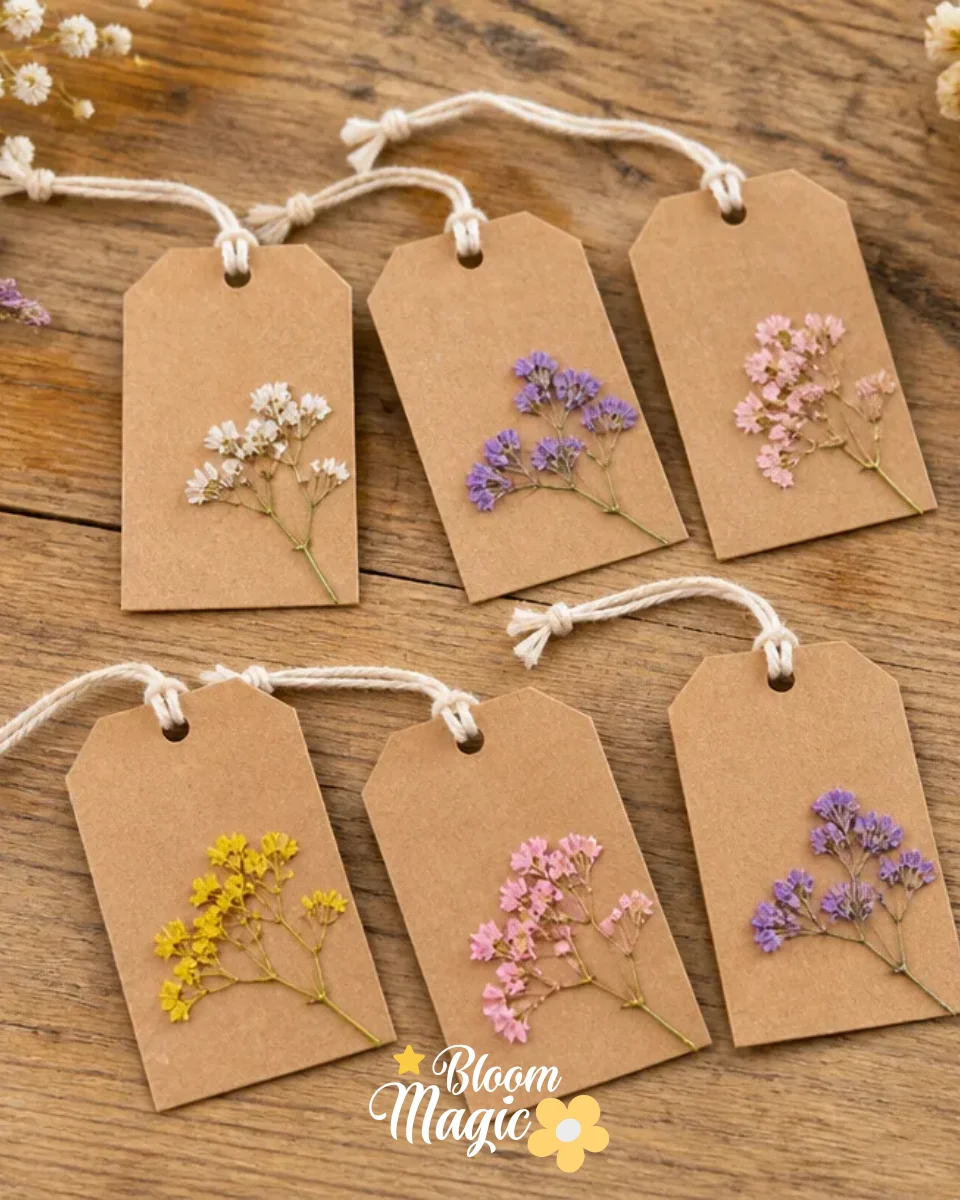
You may also find Floating Pressed Flower Glass Frame useful.
Pressed Flower Gift Tags are approachable and rewarding projects. Crafting with pressed flowers allows for creativity while still being manageable, even for beginners. This project invites you to explore the world of dried flowers and how they can brighten a simple tag. Plus, the materials needed are commonly found and easy to handle, making this a great DIY for crafters of all skill levels. Not only do these tags add beauty to gifts, but they also hold sentimental value, reminding the recipient of thoughtful moments. You may also find Laminated Pressed Flower Bookmark useful.
A Quick Look Before You Begin
Creating pressed flower gift tags is a relaxing and satisfying process. Before diving into assembly, it’s good to understand the setup. Begin by selecting your flowers; this initial decision greatly influences your tag’s overall aesthetic. Next, you’ll prepare your materials, keeping everything within reach to limit any mess. The act of layering the flowers and adhesive will be delicate, requiring your attention to ensure visual harmony. Remember, this project encourages you to enjoy the creative flow without worrying about perfection.
Materials You’ll Need
To create your Pressed Flower Gift Tags, gather the following materials:
- Pressed flowers: Choose vibrant and flat blooms for the best visual impact.
- Gift tags: Pre-made tags work well, but you can also make your own from cardstock.
- Clear-drying glue: This helps secure the flowers without leaving visible adhesive stains.
- Scissors: For trimming flowers and tags to your preferred size.
- Optional decorative elements: Ribbons, twine, or stickers for added flair.
Each material contributes to the overall look and feel of your finished product, so select thoughtfully.
Step-by-Step Directions
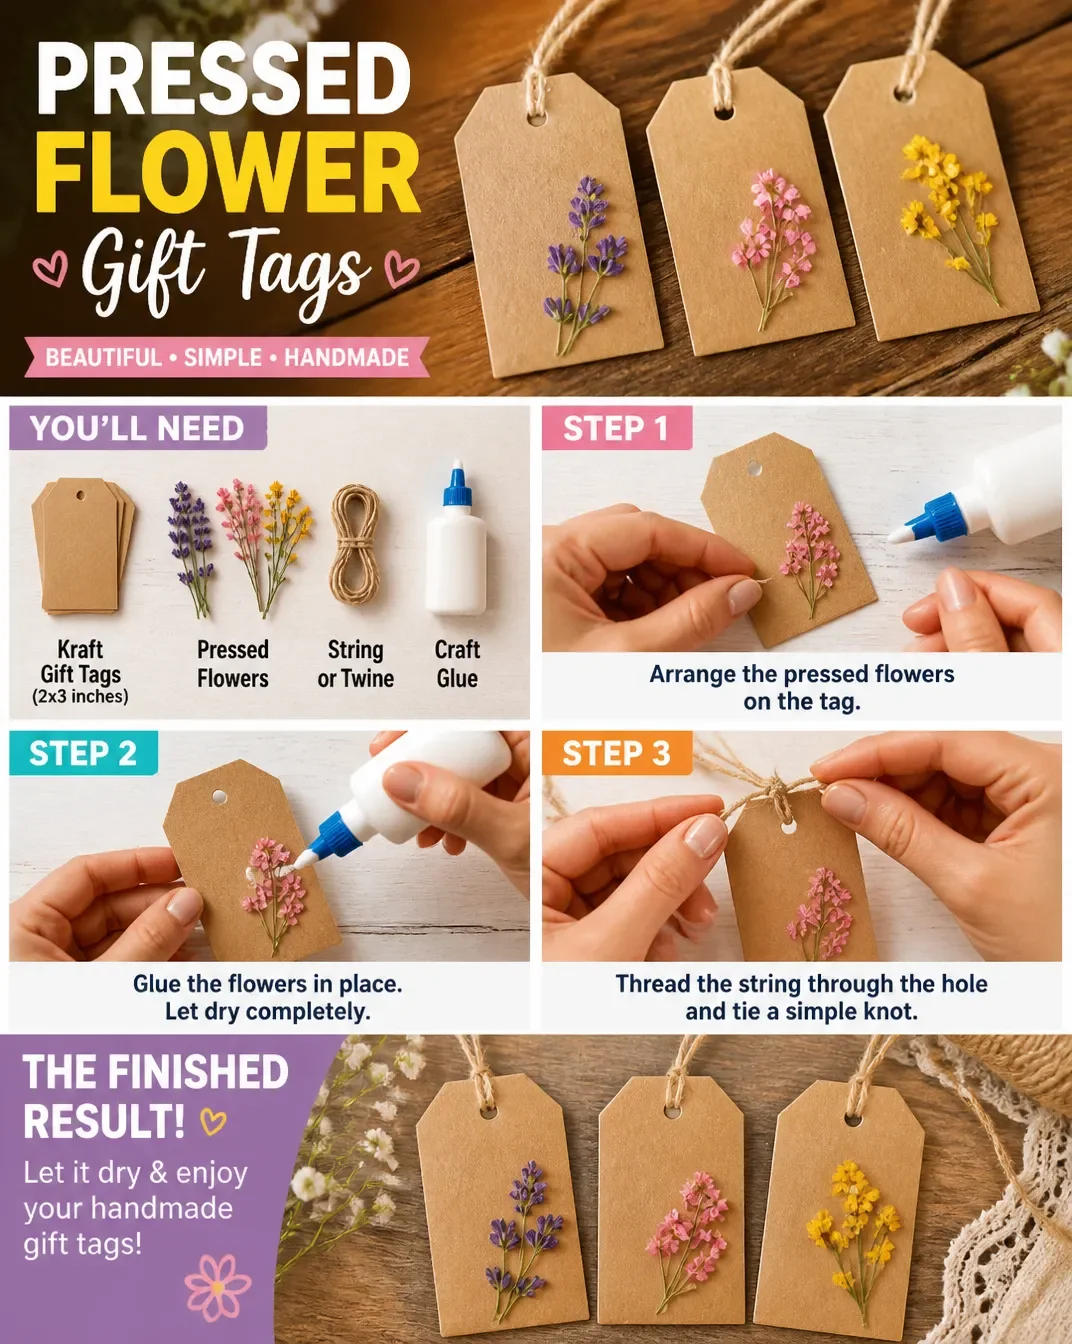
Select Your Flowers: Choose the pressed flowers that inspire you. Consider their colors, shapes, and sizes for your gift tags.
Prepare Your Tags: If using pre-made tags, lay them out on a flat surface. If making your own, cut the cardstock to your desired dimensions.
Arrange the Flowers: Before gluing, arrange the pressed flowers on the tags to visualize their placement. Pay attention to the balance and spacing.
Apply Glue: Once satisfied with the arrangement, carefully lift and apply a small amount of clear-drying glue to the back of each flower.
Attach the Flowers: Place the flowers back onto the tags. Press gently but firmly to secure them in place.
Let It Dry: Allow the tags to dry completely. Check the placement of the flowers to ensure they remain flat against the surface.
Add Decorative Touches: Once the glue is dry, you can embellish your tags with ribbons or twine for an extra special touch.
Final Inspection: Review each tag to ensure that the flowers are secured and the overall appearance meets your expectations.
The Design Behind This Floral DIY

The design of your Pressed Flower Gift Tags is driven by a few key concepts, including color relationships, spacing, and balance. When arranging your pressed flowers, consider how their colors complement or contrast with one another. It’s essential to maintain a visually pleasing symmetry, which can involve experimenting with different placements and sizes until they feel balanced. Layering the flowers can also add depth; however, ensure they do not overwhelm the tag. Each element should feel cohesive and intentional.
Troubleshooting Common Issues
Sometimes, things may not go as planned, and that’s completely normal. A common issue is flowers shifting during the glue application. To prevent this, ensure you’re using just the right amount of glue. Too much can lead to slippage, while too little may not hold the flowers securely. If the arrangement looks cluttered, consider removing some flowers for a more simplistic and elegant effect. Remember, it’s all part of the creative process, and adjustments can lead to a unique charm.
Easy Variations to Try
Here are some variations you might consider to personalize your Pressed Flower Gift Tags:
Color Themes: Stick to a monochromatic scheme or explore complementary colors for a cohesive look.
Seasonal Flowers: Use flowers that reflect the season in which you’re crafting to evoke specific moods and sentiments.
Tag Shapes: Experiment with different shapes beyond the standard rectangle, such as circles or hearts, to create distinct looks.
Layering Techniques: Try layering different colors or types of blossoms to create a more dynamic visual effect.
Incorporate Nature: Include natural elements like leaves or small branches to add texture and interest.
Displaying or Keeping Your Project
Your Pressed Flower Gift Tags can be used in various ways after being crafted. If you intend to gift them, consider attaching them directly to presents with a piece of twine or ribbon for an added personal touch. Alternatively, you can display them as part of home decor by hanging them up or placing them in a decorative bowl. Always handle them gently, as the pressed flowers are delicate and can be damaged if mishandled.
FAQs About Pressed Flower Gift Tags
What types of flowers work best for pressing? Smaller, flat flowers with vibrant colors, such as pansies and violets, generally hold up well during pressing and look great on tags.
Can I use fresh flowers? It’s best to use dried or pressed flowers to maintain their shape and color. Fresh flowers will wilt and not adhere well.
How do I store my finished tags? Keep them in a cool, dry place. Avoid moisture to prevent damage to the pressed flowers.
What if my flowers don’t look as pressed as I hoped? If they seem too thick or have lost color, consider using thinner flowers or adjusting your drying method for better results.
Can I use different adhesives? While clear-drying glue is recommended, you can also use double-sided tape, but ensure it’s strong enough to hold the flowers securely.
A Final Helpful Note
As you embark on making your Pressed Flower Gift Tags, remember that creativity thrives within flexibility. Enjoy the process of arranging and combining flowers, and don’t hesitate to make the project your own. Each tag becomes a piece of art that tells a unique story, celebrating your craft and the beauty of nature.
Conclusion
Making pressed flower gift tags is a delightful way to bring a personal touch to your gift-giving. If you’d like even more inspiration, check out this guide on How to Make Pressed Flower Gift Tags. For those interested in expanding their craft further, consider the Beautiful Botanicals Pressed Flower Crafts Kit for more creative projects! Happy crafting!
Follow us on social for more floral DIY projects & botanical inspiration!
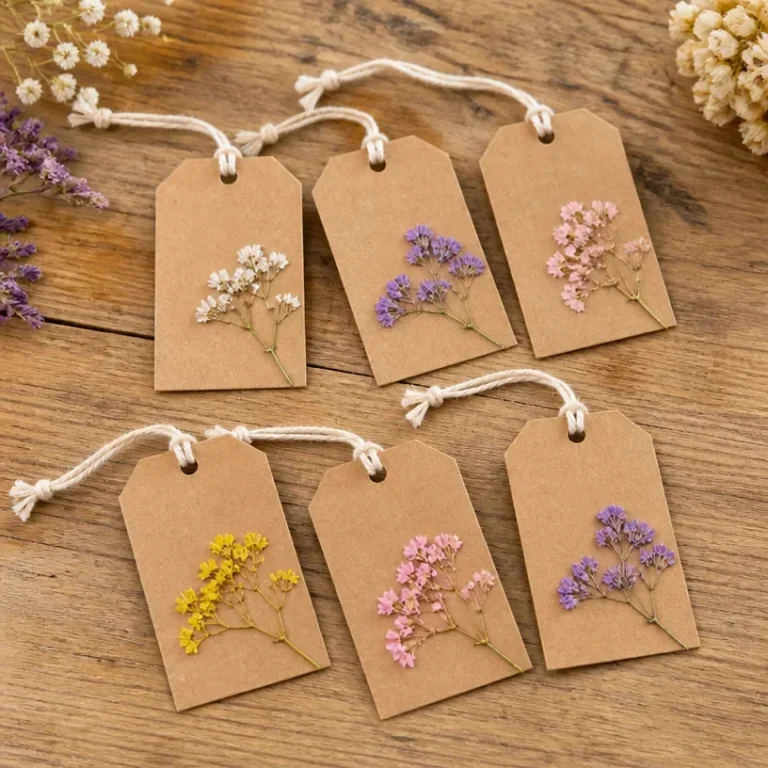
Pressed Flower Gift Tags
Would you like to save this recipe?
By submitting you agree to receive this recipe and occasional emails. Unsubscribe anytime.
Ingredients
Materials Needed
- Varies flowers Pressed flowers (vibrant and flat) Choose smaller, flat flowers for best results.
- 1 tags Gift tags (pre-made or cardstock) Pre-made tags are convenient; you can also cut your own.
- 1 bottle Clear-drying glue Helps secure flowers without visible stains.
- 1 pair Scissors For trimming flowers and tags.
- Varies elements Optional decorative elements (ribbons, twine, stickers) Enhances the beauty of the tags.
Instructions
Preparation
- Select your pressed flowers, considering color, shape, and size.
- Prepare your tags by laying them out on a flat surface or cutting cardstock to the desired size.
Arrangement
- Arrange the pressed flowers on the tags to visualize placement.
- Ensure balance and spacing are visually appealing.
Application
- Lift and apply a small amount of clear-drying glue to the back of each flower.
- Carefully place the flowers back onto the tags and press gently to secure.
- Let the tags dry completely, checking to ensure flowers remain flat.
- Add decorative touches with ribbons or twine after drying.
- Perform a final inspection to ensure all flowers are secured.
Last Step: Don’t forget to leave a rating and comment below! It helps other readers find the best recipes — and it helps us too!
Tips & Notes:
Nutrition Information: Serving: 1 | Calories: | Carbohydrates: | Protein: | Fat: | Sodium: | Fiber: | Sugar:
Nutritional information is provided as a courtesy and calculated automatically. Values can vary depending on the brands and ingredients you use, so if you’re tracking closely, I recommend calculating with your own preferred tool.