
The vibrant world of floral crafting opens a door to numerous exciting projects, especially when you have a few beautiful pressed flowers at your disposal. Imagine wanting to preserve your favorite blooms or create a delightful decoration for your home. The Pressed Flower Crystal Prism Suncatcher presents itself as a perfect fusion of art and nature, allowing you to encapsulate the beauty of flowers while adding a lovely, decorative touch to your space. Whether you’re an experienced crafter or new to the floral scene, this project offers an approachable way to express your creativity. You may also find Clear Glue Pressed Flower Suncatcher useful.
Why This Pressed Flower Crystal Prism Suncatcher Works So Well
You may also find Pressed Flower Suncatcher Contact Paper useful.
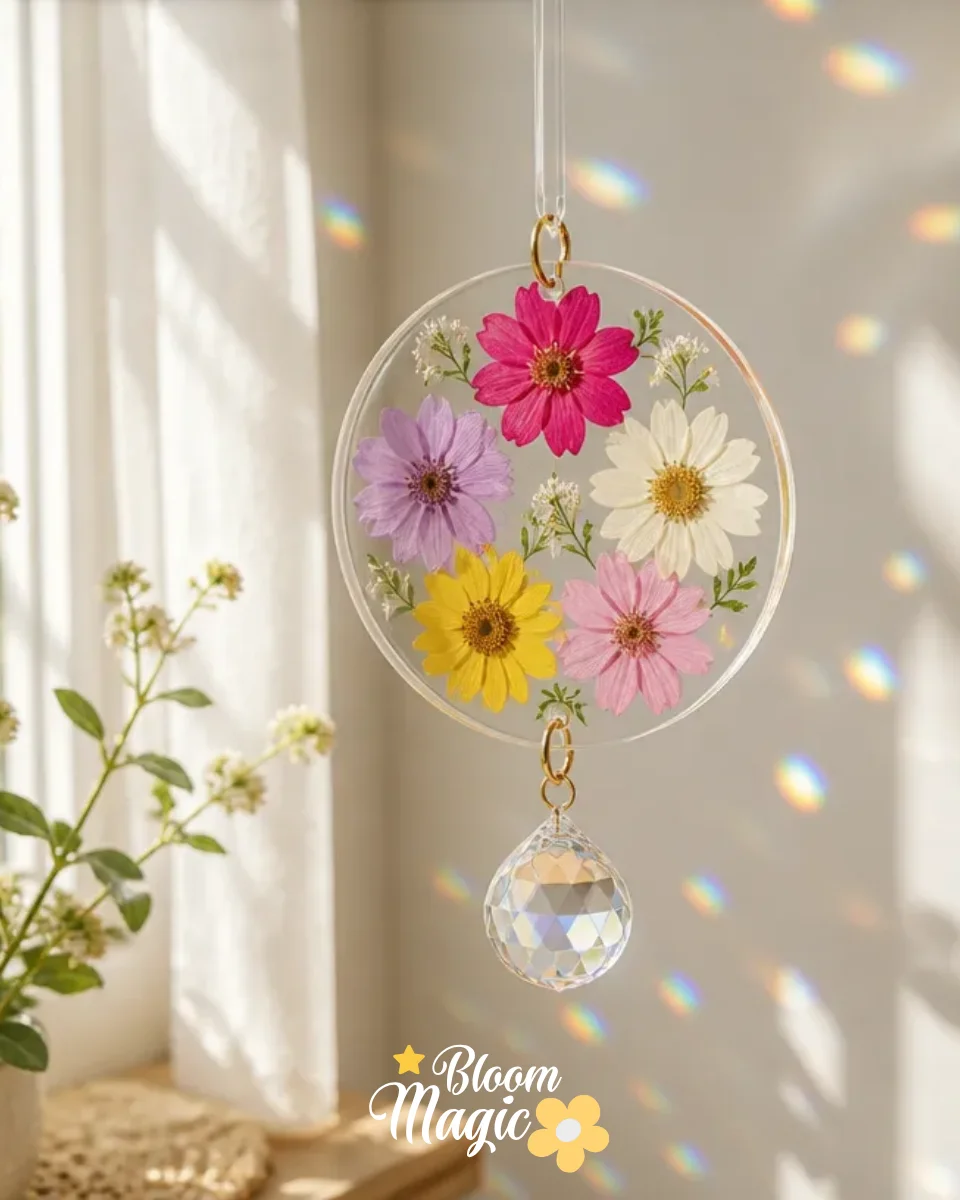
One of the primary reasons to love making the Pressed Flower Crystal Prism Suncatcher is its dreamy aesthetic appeal. The ability to showcase pressed flowers within a prism-like design makes this project visually striking. It not only brightens your surroundings but also serves as a conversation starter when displayed prominently in your home. This craft is manageable with the materials provided, making it a satisfying endeavor for those looking to bring a touch of nature indoors. You may also find Diy Frosted Flower Suncatcher Winter Decor useful.
A Quick Look Before You Begin
Creating your Pressed Flower Crystal Prism Suncatcher requires just a few easy steps, and understanding the flow can alleviate any anxiety you may have before diving in. You will be working with delicate materials, which means gentle handling is vital. The construction follows a straightforward approach: pressing flowers to create a flat, colorful composition, layering various materials, and ensuring everything is aligned before final assembly. This project has a manageable mess level, so you can comfortably work on it without feeling overwhelmed.
Materials You’ll Need
- Clear plastic or glass panels: These serve as the boundaries of your suncatcher while allowing light to shine through.
- Pressed flowers: Choose vibrant blooms to create a stunning focal point; consider seasonal varieties for a unique touch.
- Clear glue: This essential adhesive helps secure your flowers without losing transparency.
- Decorative string or wire: Use these materials for hanging your suncatcher.
- Scissors: These will help in trimming floral stems or any extra plastic panel edges as needed.
- Tweezers: These are handy for precise placement of your flowers.
Preparation and careful selection of materials contribute significantly to your crafting success. Additional options, such as colored glues or alternative backgrounds, can be explored for added creativity.
Step-by-Step Directions
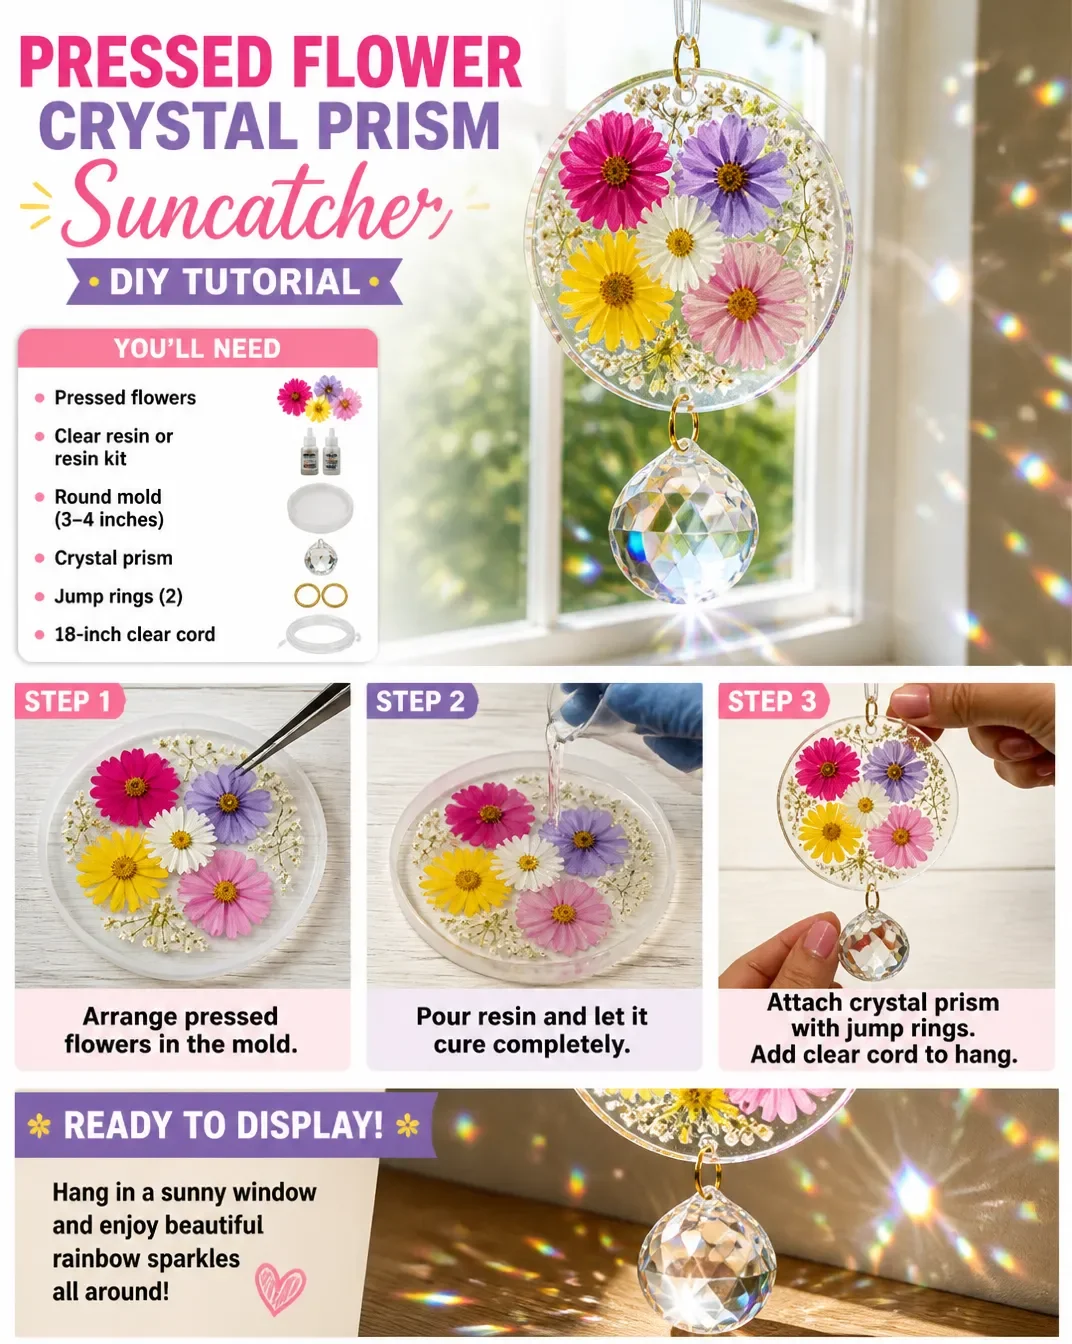
- Select Your Flowers: Choose a variety of pressed flowers that complement each other in terms of color and shape. Lay them out to visualize your design.
- Prepare Your Plastic Panels: Cut the clear plastic or glass panels to your desired size, ensuring they match the dimensions of your floral arrangement.
- Arrange the Flowers: Using tweezers, carefully position your pressed flowers on one of the panels. Pay attention to spacing and balance to create an inviting visual.
- Apply Adhesive: Once satisfied with the arrangement, apply a thin layer of clear glue to secure the flowers in place. Be cautious to avoid visible adhesive on the edges.
- Top with Another Panel: Gently place a second panel on top of the flowers, pressing down lightly to seal them between the two layers.
- Let it Dry: Allow the glue to dry completely, ensuring the flowers remain intact and firmly secured.
- Trim Excess Edges, if Necessary: Use scissors to carefully trim any excess panel material if it extends beyond the floral arrangement.
- Attach String or Wire for Hanging: Finally, attach your decorative string or wire at the top corners of your suncatcher for display.
By following these simple steps, you’ll notice how each action contributes to the overall success of your project.
The Design Behind This Floral DIY
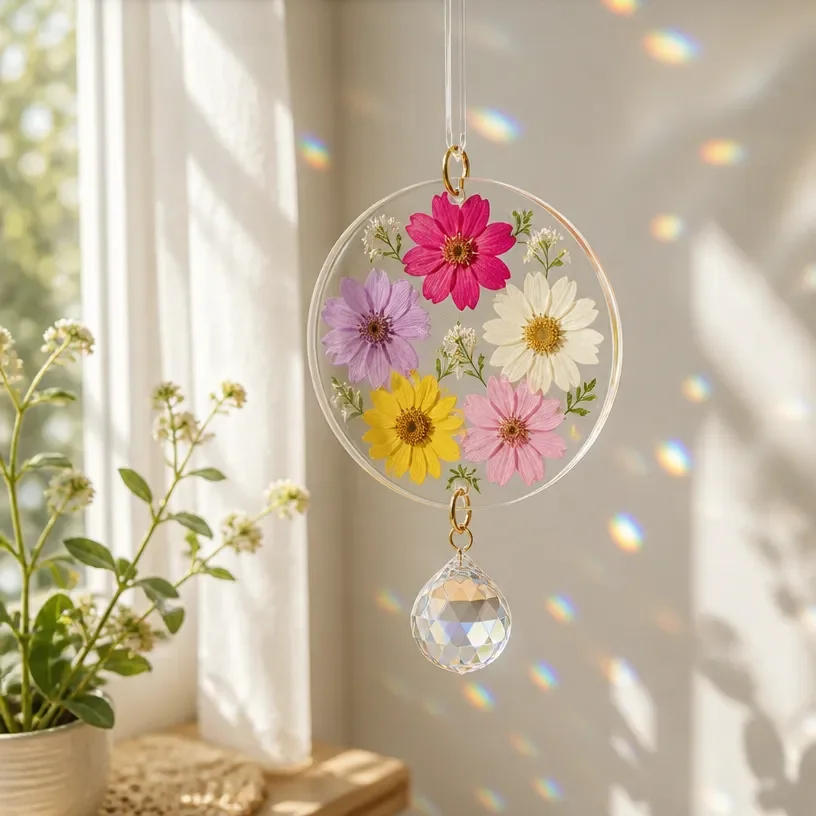
The beauty of the Pressed Flower Crystal Prism Suncatcher lies in its elegant design. Careful consideration of color relationships will enhance the aesthetics of your project. For example, pairing warm-colored flowers with cool greens creates a delightful contrast. Also, think about how the textures of different flowers complement one another. Balance in your floral arrangement can significantly improve the visual impact, while varying heights and depths can introduce a layer of interest that draws the eye.
Troubleshooting Common Issues
Even with the best intentions, crafting can come with unexpected challenges. If you notice uneven flower placement, carefully lift the panel to adjust the arrangement. Flowers may shift during assembly; ensure you check positioning before the glue dries completely. If you find that visible adhesive is showing, consider using small leaves or additional flowers to mask it. Should your final design appear too crowded or sparse, reflect on the balance of flowers and consider rearranging them to achieve a harmonious look.
Easy Variations to Try
To personalize your Pressed Flower Crystal Prism Suncatcher, consider the following variations:
- Experiment with seasonal flowers for different vibes throughout the year.
- Change the background color of the clear panel for variations in contrast.
- Use different shapes (like circular or hexagonal) for the panels to create unique designs.
- Combine smaller and larger flowers for enhanced depth and dimension.
These simple tweaks will keep your project exciting and relevant to the seasons or your personal style.
Displaying or Keeping Your Project
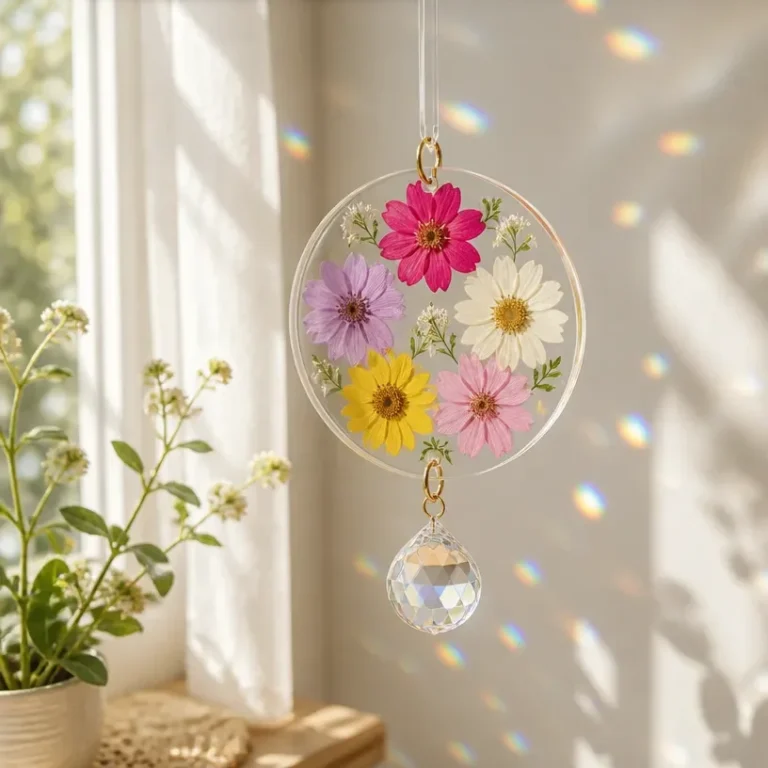
Once your Pressed Flower Crystal Prism Suncatcher is complete, consider how you wish to display it. Hang it in a well-lit window where sunlight can dance through it, casting colorful patterns on your walls. If you prefer a tabletop display, consider placing it on a decorative stand to appreciate it from all angles. For those who want to gift this project, think of creative ways to present it, like wrapping it in a simple fabric or placing it in a beautiful box to highlight its charm.
FAQs About Pressed Flower Crystal Prism Suncatcher
What if my flowers aren’t very colorful?
You can choose a mix of flowers with different colors and textures. Even muted tones can create a beautiful palette when arranged thoughtfully.
Can I use fresh flowers instead of pressed ones?
Fresh flowers will not work well for this project as they need to be pressed to retain shape and color. Selecting already pressed flowers is the best choice.
How do I prevent the flowers from fading over time?
To help maintain the color vibrancy, keep your suncatcher out of direct sunlight for prolonged periods.
Should I worry about the adhesive showing?
If you’re worried about visible glue, try to apply it sparingly at the edges of the flowers, and you can always mask any spots with additional decorative elements.
A Final Helpful Note
Before you dive into making your Pressed Flower Crystal Prism Suncatcher, remember to be patient with yourself as you explore this project. Allow your creativity to shine and embrace the beauty of natural materials. Every step you take is a chance to express yourself, and the final piece will be a unique representation of your floral crafting journey.
Conclusion
In crafting your Pressed Flower Crystal Prism Suncatcher, you have the opportunity to create something truly special that showcases the beauty of nature. For more inspiration, you might want to explore the elegant
Pressed Wildflower Suncatcher – Rainbow Prism Light Diffraction Artor browse various options available through
Pressed Glass Suncatcher listings on eBay. Enjoy the journey of creating your unique floral masterpiece!
Follow us on social for more floral DIY projects & botanical inspiration!
Pressed Flower Crystal Prism Suncatcher
Would you like to save this recipe?
By submitting you agree to receive this recipe and occasional emails. Unsubscribe anytime.
Ingredients
Materials Needed
- 2 pieces Clear plastic or glass panels These serve as the boundaries of your suncatcher while allowing light to shine through.
- 1 cup Pressed flowers Choose vibrant blooms to create a stunning focal point; consider seasonal varieties for a unique touch.
- 1 bottle Clear glue This essential adhesive helps secure your flowers without losing transparency.
- 1 piece Decorative string or wire Use these materials for hanging your suncatcher.
- 1 piece Scissors These will help in trimming floral stems or any extra plastic panel edges as needed.
- 1 piece Tweezers These are handy for precise placement of your flowers.
Instructions
Assembly Instructions
- Select Your Flowers: Choose a variety of pressed flowers that complement each other in terms of color and shape. Lay them out to visualize your design.
- Prepare Your Plastic Panels: Cut the clear plastic or glass panels to your desired size, ensuring they match the dimensions of your floral arrangement.
- Arrange the Flowers: Using tweezers, carefully position your pressed flowers on one of the panels. Pay attention to spacing and balance to create an inviting visual.
- Apply Adhesive: Once satisfied with the arrangement, apply a thin layer of clear glue to secure the flowers in place. Be cautious to avoid visible adhesive on the edges.
- Top with Another Panel: Gently place a second panel on top of the flowers, pressing down lightly to seal them between the two layers.
- Let it Dry: Allow the glue to dry completely, ensuring the flowers remain intact and firmly secured.
- Trim Excess Edges, if Necessary: Use scissors to carefully trim any excess panel material if it extends beyond the floral arrangement.
- Attach String or Wire for Hanging: Finally, attach your decorative string or wire at the top corners of your suncatcher for display.
Last Step: Don’t forget to leave a rating and comment below! It helps other readers find the best recipes — and it helps us too!
Tips & Notes:
Nutrition Information: Serving: 1 | Calories: | Carbohydrates: | Protein: | Fat: | Sodium: | Fiber: | Sugar:
Nutritional information is provided as a courtesy and calculated automatically. Values can vary depending on the brands and ingredients you use, so if you’re tracking closely, I recommend calculating with your own preferred tool.