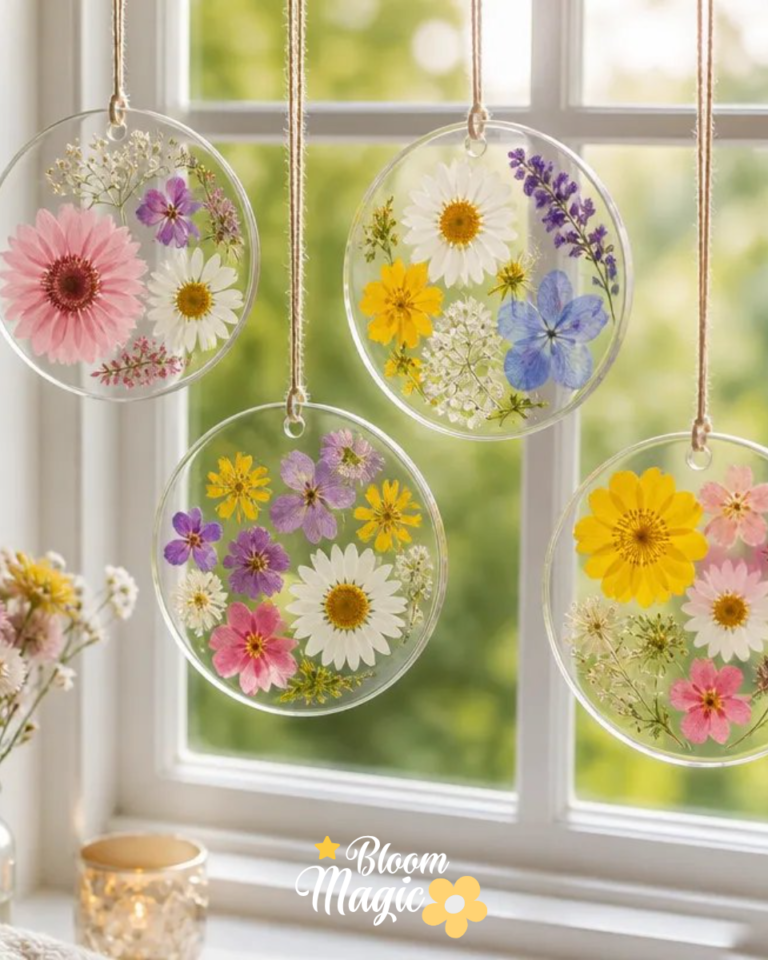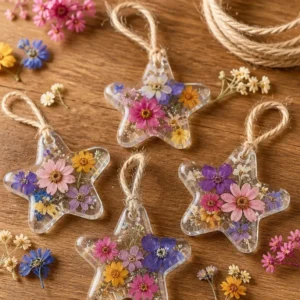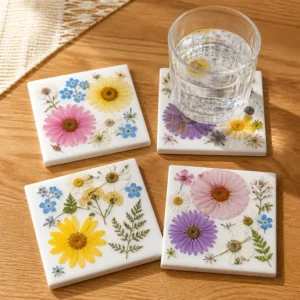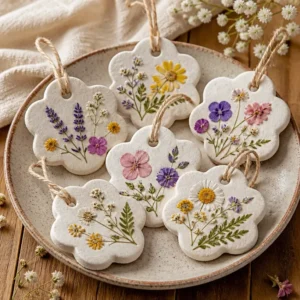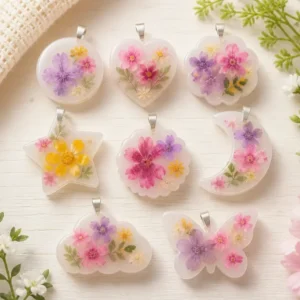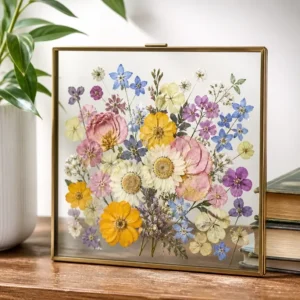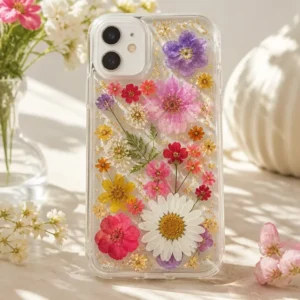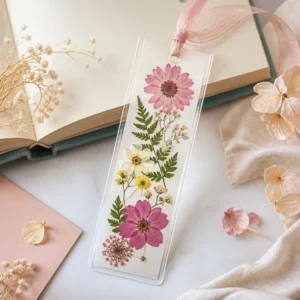
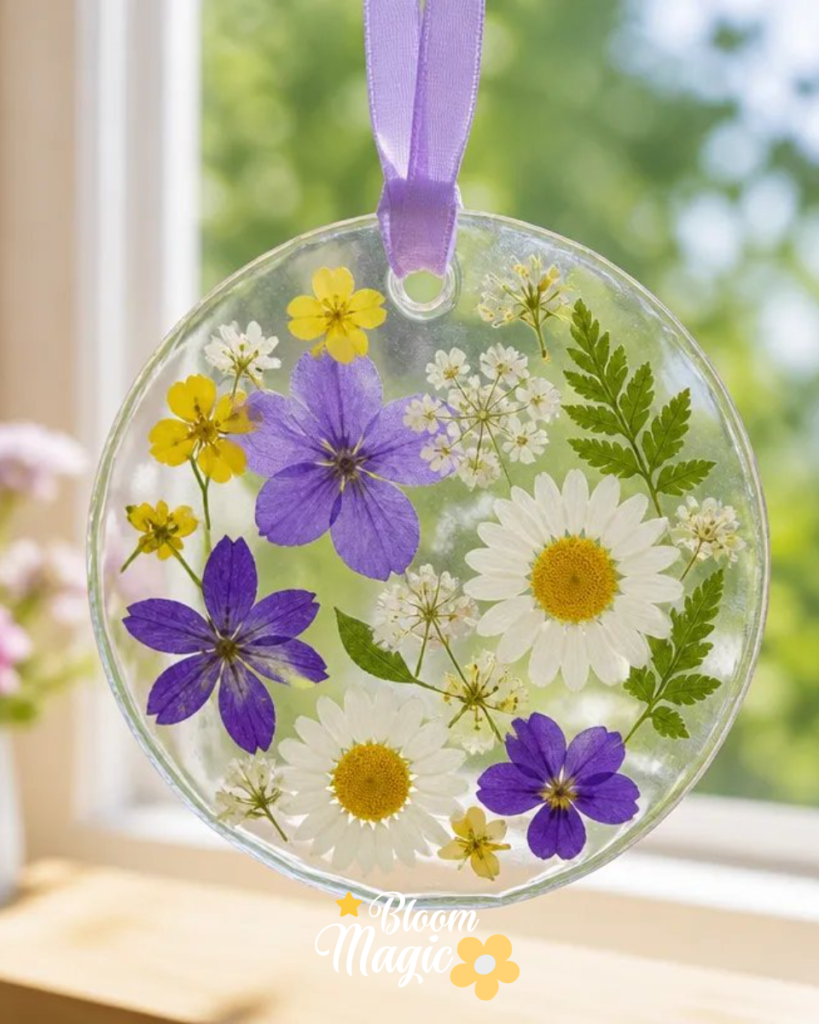
A sunny afternoon, surrounded by pressed flowers and a few crafting supplies, sets the perfect stage for creating a Clear Glue Pressed Flower Suncatcher. As you gather your materials, perhaps they include delicate petals and vibrant leaves, you may find yourself eager to transform these natural beauties into an enchanting piece of decor. This project not only allows you to preserve meaningful blooms but also brings a touch of nature into your home. With simple steps and clear guidance, you can craft a suncatcher that reflects your personal style and appreciation for the beauty of flowers. Let’s explore how this delightful craft comes together. You may also find Diy Flower Hearts Craft Clear Glue useful.
Why You’ll Love Making Clear Glue Pressed Flower Suncatcher
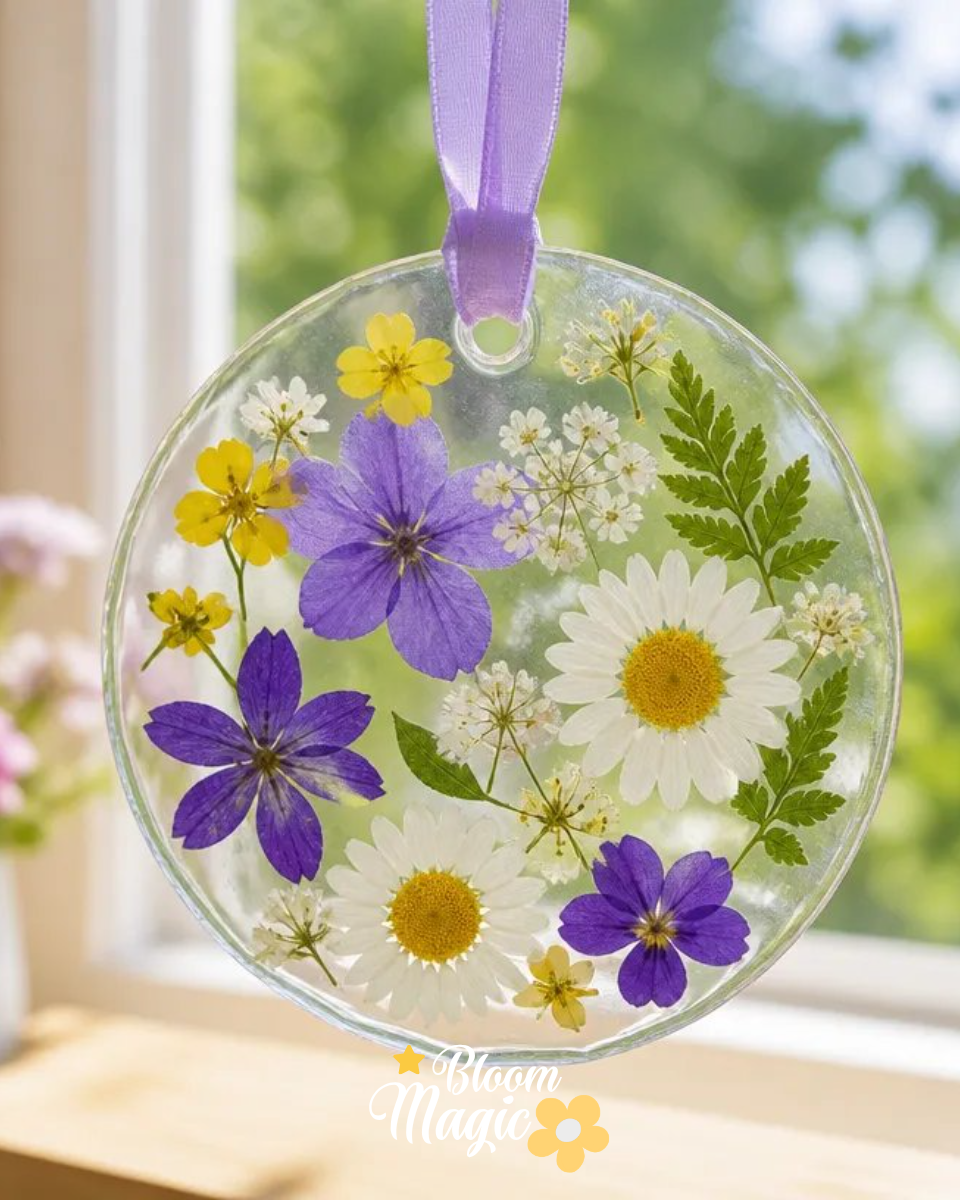
You may also find Pressed Flower Crystal Suncatcher Diy Tutorial useful.
This project is approachable for crafters of any skill level. The combination of pressed flowers and clear glue creates a visually rewarding experience as the flowers find their place within the suncatcher. Not only does this craft lend itself to a beautiful finished product, but it also serves as a wonderful way to decorate your space with unique floral designs. The materials are easy to manage, ensuring that even beginners can create something to be proud of. Best of all, once completed, the suncatcher acts as a reminder of cherished moments or special occasions. You may also find Diy Frosted Flower Suncatcher Winter Decor useful.
A Quick Look Before You Begin
Making a Clear Glue Pressed Flower Suncatcher is a straightforward process. To start, gather your materials and find a comfortable workspace. You’ll begin by layering clear glue, which allows for the flowers to be arranged while ensuring they remain in place as the glue dries. You won’t need extensive art supplies or prior crafting experience to get started. Expect some pleasant surprises along the way as you lay out your botanicals and see how they come together.
Materials You’ll Need
- Pressed flowers and leaves
- Clear school glue or clear-drying craft glue
- Shallow silicone mold or plastic lid
- Toothpick
- Tweezers
- Ribbon
- Optional clear contact paper backing
- Scissors
Each material plays a crucial role in this project. For instance, the pressed flowers contribute vibrant colors, while the clear glue binds everything together, ensuring your creation is durable. If you’re looking for a suitable mold, both silicone molds and plastic lids work well for shaping your suncatcher. Remember, careful handling of your fragile materials is essential to maintain their beauty throughout the crafting process.
Step-by-Step Directions
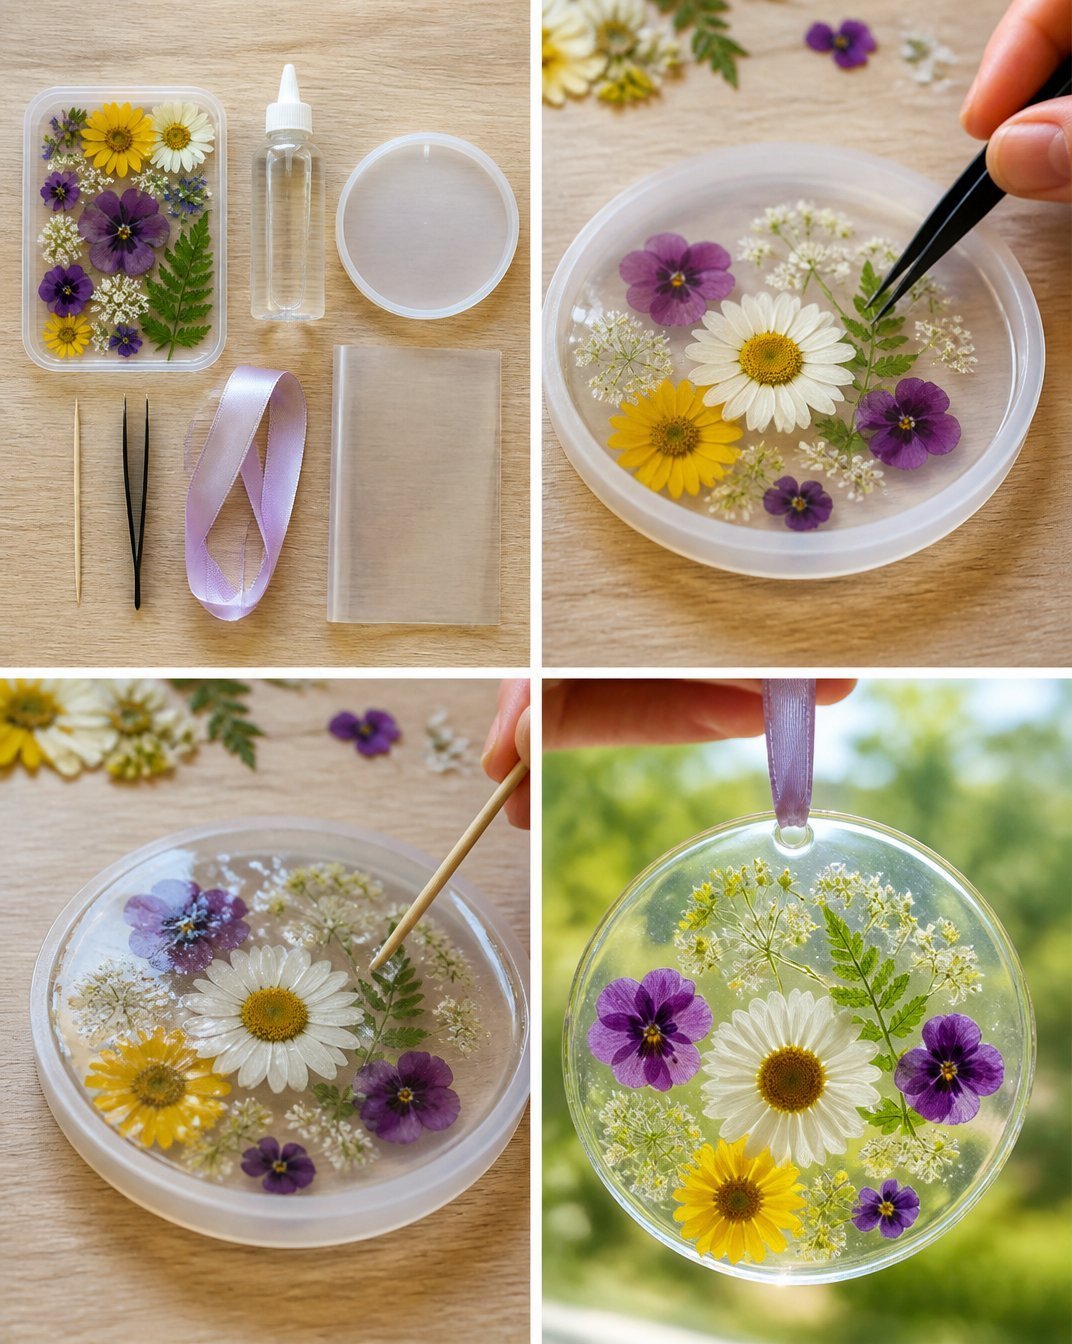
Check that the flowers and leaves are completely pressed and dry before starting. This ensures a smooth application of glue and prevents any moisture-related issues during the drying process.
Spread a thin layer of clear glue inside the shallow silicone mold or plastic lid. Make sure to cover the bottom evenly to provide a solid base for your flowers.
Use tweezers to arrange the botanicals on the wet glue, gently pressing them down so they lie flat. Take your time to position each flower thoughtfully for the best visual effect.
Cover the flowers and leaves with another thin layer of clear glue. Familiarize yourself with the toothpick, which can help you release any visible air bubbles trapped under the botanicals.
Leave the piece flat for 24–48 hours until the glue is dry and transparent. This is an important stage, as the final appearance of your suncatcher relies on thorough drying.
Carefully peel the dry suncatcher from the mold or lid. Take care during this step to avoid damaging the delicate materials; a gentle touch goes a long way.
Trim rough edges with scissors if needed. Ensuring clean edges enhances the overall presentation of your suncatcher.
Make a small hanging hole, thread the ribbon through it, and display the suncatcher in a sunny window. The sunlight filtering through will bring your creation to life and illuminate your space.
The Design Behind This Floral DIY
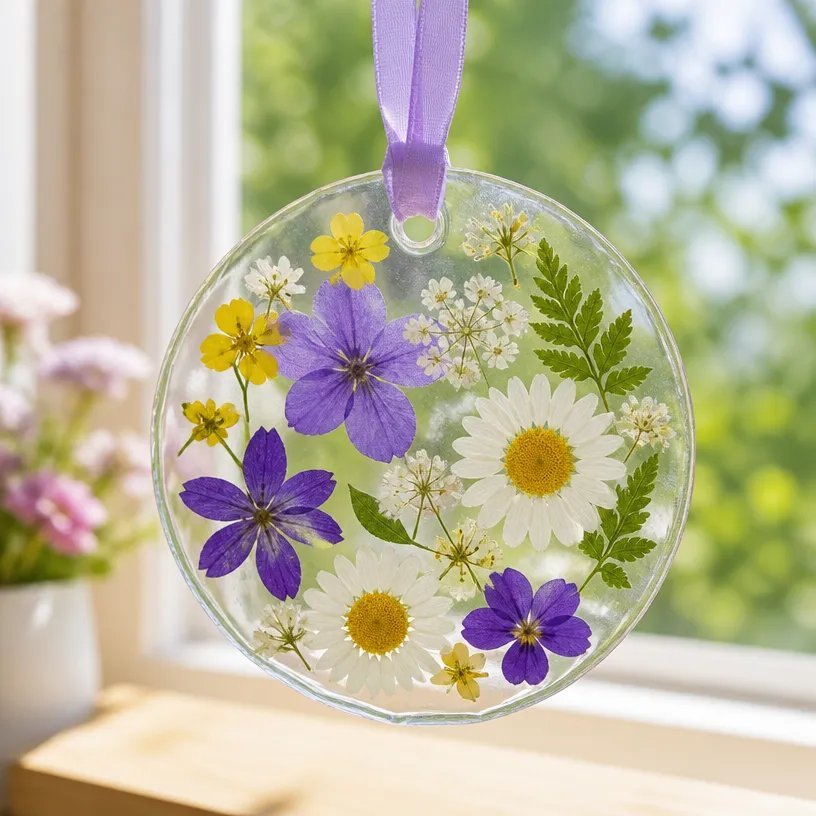
A successful suncatcher requires careful consideration of design elements such as color, texture, and placement. Your choice of pressed flowers will dictate the overall aesthetic, so think about how the colors interact with one another. Complementary hues can create a harmonious look, while contrasting colors may add striking visual interest.
Spacing is equally important; you may want to experiment with how close or far apart the flowers are arranged. Balance is another key factor; placing larger flowers opposite smaller petals can establish a pleasing visual rhythm. Layering various types of botanicals adds dimension, enhancing the end result as sunlight catches on different textures.
Troubleshooting Common Issues
If you encounter some challenges while creating your suncatcher, don’t fret; many crafters face similar problems. One common issue is uneven placement of flowers. If you notice a flower shifting during assembly, simply pause and gently press it back into place. Always double-check the arrangement before the glue sets permanently to avoid problems later.
Another potential hiccup is visible adhesive, which can distract from the beauty of your work. To prevent this, apply glue in thin layers and use a toothpick to manipulate it safely. If layers happen to shift, it’s a good idea to let your project sit undisturbed for the recommended drying time to allow everything to bond properly.
Easy Variations to Try
To personalize your Clear Glue Pressed Flower Suncatcher, consider exploring the following variations.
Experiment with seasonal flowers: Use summer blooms for a vibrant, sunny look, or opt for autumn foliage to capture the essence of fall.
Change the background: Instead of a clear mold, use colored or patterned contact paper as a backing for a distinctive twist.
Adjust the size: You can make smaller suncatchers for a window or larger ones for bigger displays.
Gift presentation: Decorate the completed suncatcher with creative packaging or additional floral elements, making it a thoughtful gift.
Mix and match botanicals: Combine pressed flowers with dried leaves for an interesting texture and visual depth.
Displaying or Keeping Your Project
Once your suncatcher is complete, you have a variety of options for displaying your creation. Hanging it in a sunny window creates a charming effect as light shines through. If you’re concerned about preserving the longevity of the colors, consider an area that avoids harsh sunlight for prolonged periods. Alternatively, you can also use it as a unique centerpiece or wall decoration, adding a touch of nature indoors.
When storing or gifting, handle gently to avoid any unnecessary pressure on the botanicals. Wrapped carefully, your suncatcher makes a thoughtful gift that will surely bring joy to the recipient.
FAQs About Clear Glue Pressed Flower Suncatcher
What flowers work best for this project?
Flowers that are thin with rich colors, such as pansies, daisies, or ferns, tend to preserve well. Ensure that they are fully dried before use.
Can I use other types of glue?
While clear school glue is the best choice for its drying properties, you might explore using clear-drying craft glues, but confirm they are safe for your flowers.
What if my flowers shift during the drying process?
If flowers move out of position, gently adjust them before the glue sets to ensure your design remains intact.
A Final Helpful Note
Take your time with this project, enjoy the process, and let your creativity flow. Whether you stick to the guidelines or explore personal variations, the Clear Glue Pressed Flower Suncatcher offers endless possibilities. You will find that the thoughtful attention you give to each floral element enhances your final creation.
Conclusion
Crafting a Clear Glue Pressed Flower Suncatcher can be a joyful and rewarding experience. If you’re interested in more detailed techniques, consider exploring resources like Pressed Flower Suncatcher Craft (Easy DIY with Clear Glue). For an even deeper dive into pressed flower designs, check out How To Make A Pressed Flower Sun Catcher. Your journey into floral crafts can lead to beautiful art that brings a piece of nature into your daily life.