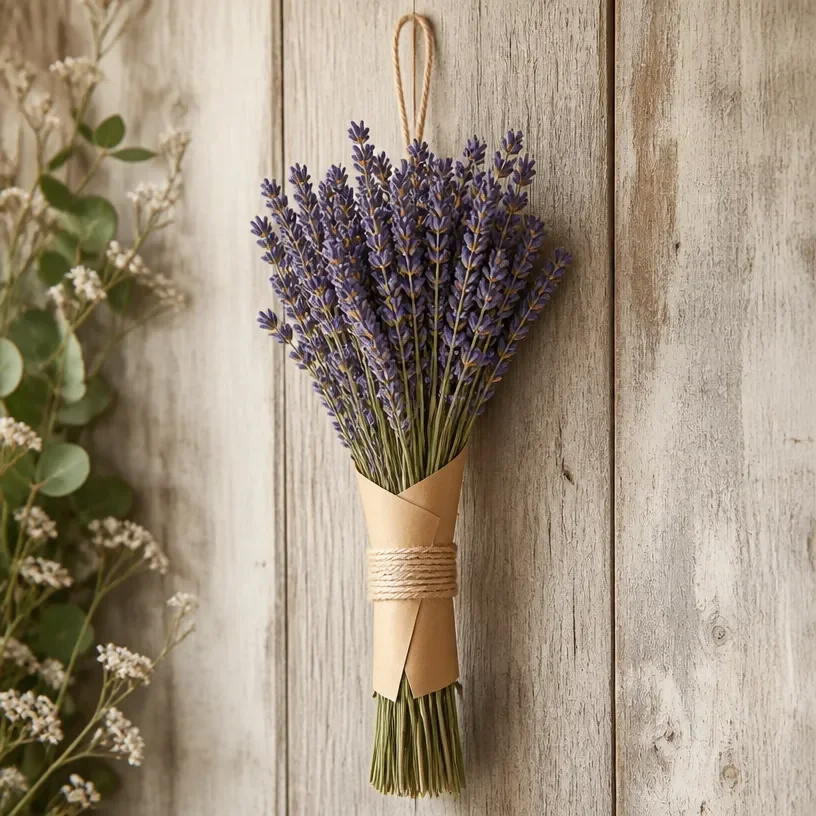
Creating a floral craft project can be a delightful experience, especially when you have various dried flowers or botanical materials prepared for crafting. Perhaps you’ve set aside a sunny afternoon, eager to transform these meaningful botanicals into a decorative piece. One beautiful choice is the Dried Lavender Hanging Bouquet, a perfect way to capture the essence of floral arrangements while showcasing lavender’s soothing purple hues and inviting aroma. You may also find Cupcake Liner Witch Flower Bouquet useful.
Why You’ll Love Making Dried Lavender Hanging Bouquet
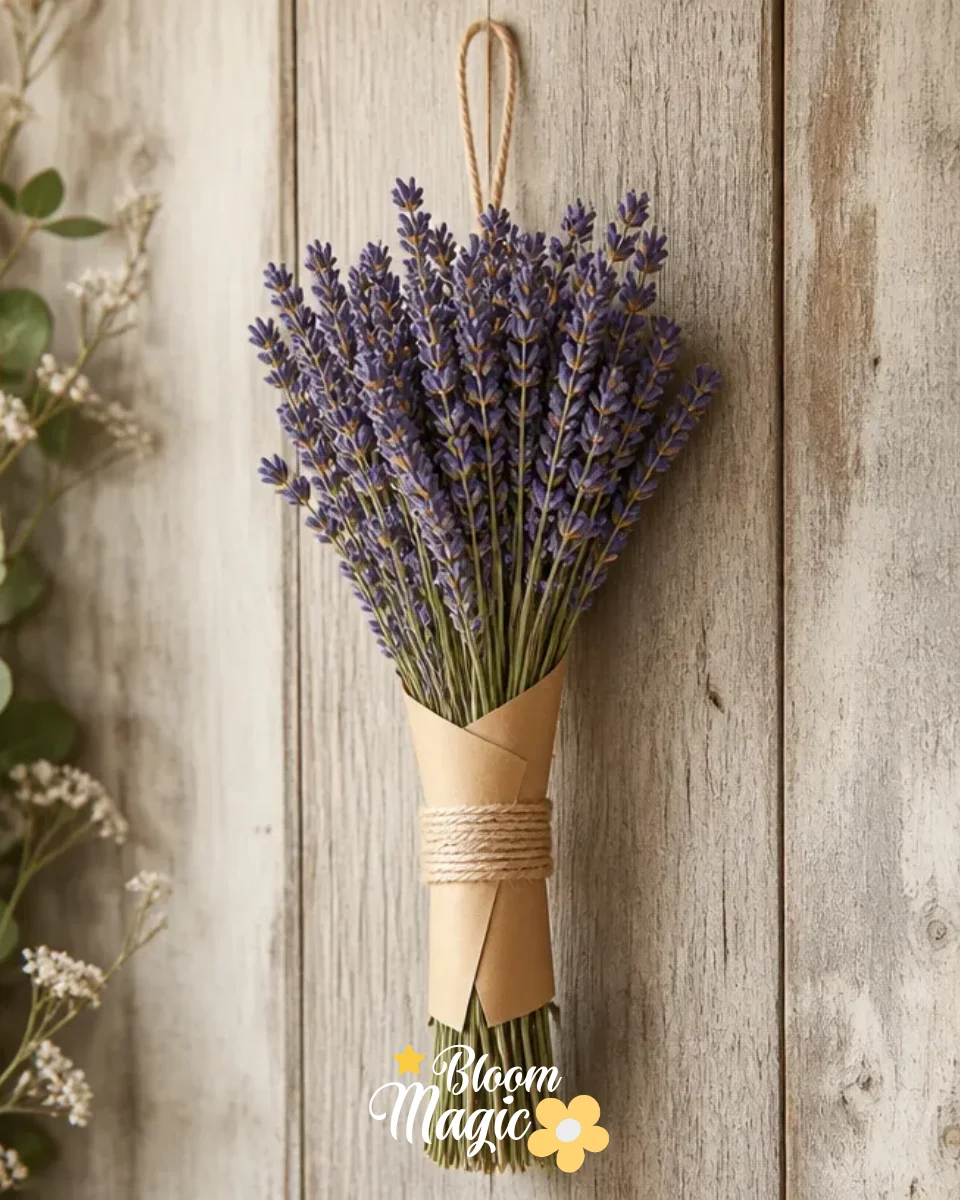
This project is approachable for both experienced crafters and novices. Working with dried lavender not only provides a visually appealing design but also introduces you to the calming practice of flower crafting. You’ll find that the materials are easy to source, and the steps provided make it manageable to create an attractive hanging bouquet. Once complete, your bouquet will add a lovely charm to your space, making it a great choice for decoration and gifting alike.
A Quick Look Before You Begin
Crafting a Dried Lavender Hanging Bouquet is simpler than it may seem. First, gather your materials in a clutter-free space to set up an effective workflow. The main construction approach involves layering the lavender in a way that showcases its natural beauty while ensuring comfortable handling throughout the process. With just a little patience and attention to detail, this project will come together beautifully without creating too much mess.
Materials You’ll Need
- Dried lavender stems: This is the star of the show, providing both fragrance and beauty.
- Twine or cord: For tying and hanging your bouquet.
- Scissors: For trimming any excess stems.
- Optional: Decorative ribbons or embellishments to personalize your bouquet.
These materials contribute to the overall aesthetic of the project, allowing you to focus on your arrangement style. Remember to handle the delicate stems gently, as dried botanicals can be more prone to breakage than fresh flowers.
Step-by-Step Directions
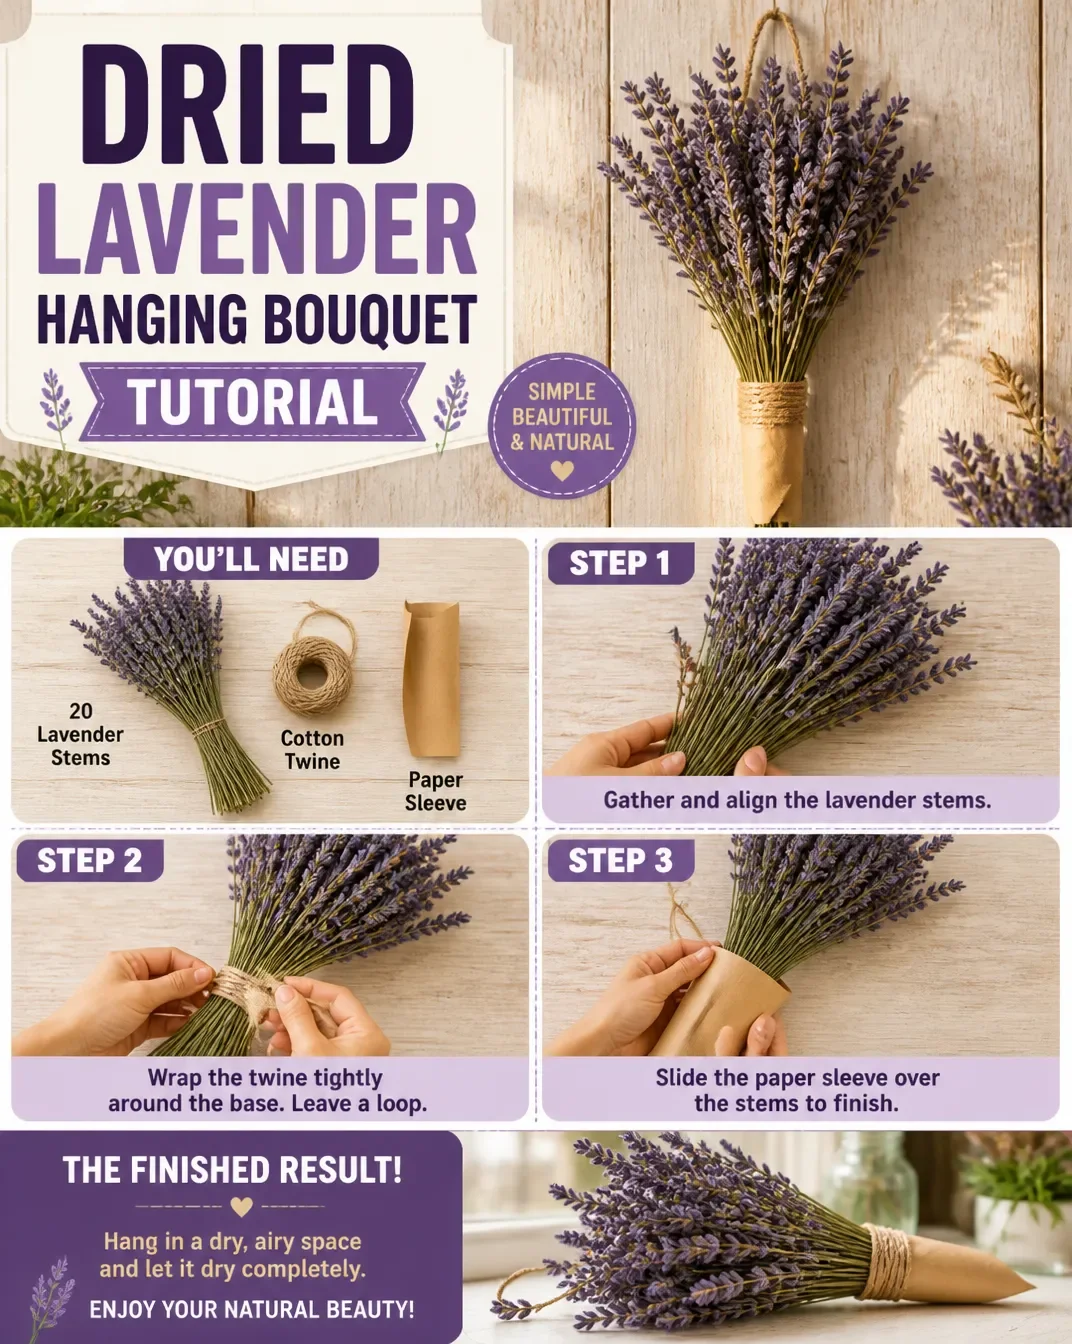
Prepare the Lavender: Start with your dried lavender, ensuring the stems are clean and free of dust. If necessary, give them a gentle shake to remove any debris.
Arrange the Stems: Hold several stems together at the base and fan them out slightly. Visualize how you want your bouquet to look, considering the balance and fullness.
Trim the Stems: Once satisfied with your layout, use scissors to trim the stems down to your desired length, ensuring they are even.
Bind the Stems: Using twine or cord, carefully bind the stems together just above where you trimmed them. Make sure the binding is secure but not overly tight.
Add Embellishments: If you’d like, wrap decorative ribbons or other embellishments around the binding to add personal flair. This step is optional, and you can keep it simple if you prefer a more natural look.
Create a Hanging Loop: At the top of your bouquet, create a loop with your twine or cord for hanging. Adjust the length to fit your desired display area.
Finalize the Arrangement: Inspect your bouquet to ensure everything is positioned the way you like it. Make any necessary adjustments before hanging.
Display Your Creation: Find a suitable spot to hang your Dried Lavender Hanging Bouquet, where it can be admired.
The Design Behind This Floral DIY
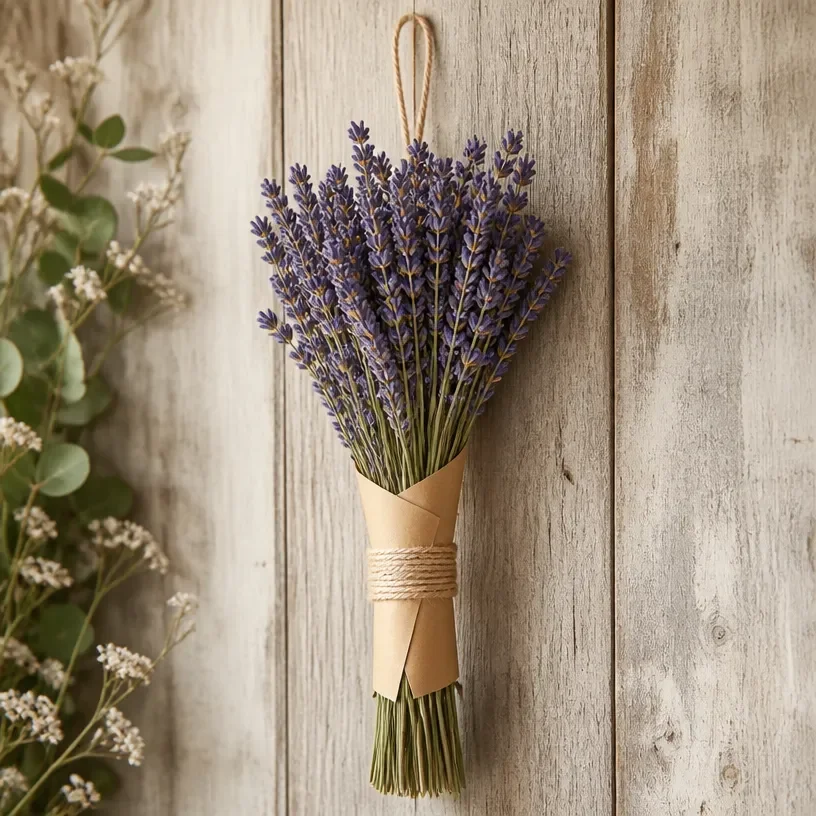
The beauty of the Dried Lavender Hanging Bouquet lies in its simplicity and elegance. The pale green and warm purple tones of the lavender stems bring a softness to any space. When arranging, consider how each stem’s length and angle add to the overall shape of the bouquet. A balanced bouquet often features stems of varying lengths, creating a natural, casual feel while still maintaining cohesion in color and texture.
Troubleshooting Common Issues
While crafting, you might encounter some common challenges. If you notice uneven placement or anything feels unbalanced, take a moment to adjust the stems. Their delicate nature may cause shifts during assembly, so it’s important to check your arrangement after each step. If you find that some layers move during assembly, don’t hesitate to re-secure the bundle and ensure your adhesive (if used) is in the right places.
Easy Variations to Try
This project is versatile, inviting you to tailor it to your preferences. Here are some variations you might consider:
- Incorporate other dried flowers such as roses or eucalyptus for added texture and color.
- Experiment with different colors of twine perhaps a vibrant hue that complements the lavender or a rustic jute for a farmhouse feel.
- Adjust the bouquet size: create a larger statement piece or several smaller bouquets as gifts.
- Change the hanging style by using hooks, or display it in a vase instead.
Displaying or Keeping Your Project
After completing your Dried Lavender Hanging Bouquet, think about how best to display your creation. Hang it in a dry area, away from direct sunlight to preserve the lavender’s color. If you plan to gift it, consider adding a tag with care instructions. For any leftover materials, think creatively; they can be used in future projects or as embellishments for wrapping gifts.
FAQs About Dried Lavender Hanging Bouquet
Can I use fresh lavender instead?
While fresh lavender is beautiful, it does not dry well for long-term displays. Using dried lavender ensures your bouquet maintains its shape and fragrance over time.
What if my lavender stems break during assembly?
If this happens, don’t worry. Just adjust the remaining stems or use shorter pieces to fill gaps. The beauty of the arrangement often lies in its imperfections.
How long will the dried lavender last?
Properly cared for, dried lavender can last for months or even years. Just keep it in a cool, dry place away from too much light.
A Final Helpful Note
Creating a Dried Lavender Hanging Bouquet is a rewarding project that allows for creativity. Stay flexible in your approach and take the time to enjoy working with the beautiful lavender. Whether for your own home or as a thoughtful handmade gift, this project offers a charming way to capture the essence of flowers.
Conclusion
With this craft, you can explore not just the art of floral design but also immerse yourself in the natural beauty of lavender. If you’re interested in other floral projects, try making a coffee filter tie-dye flower bouquet or a cupcake liner dahlia bouquet to broaden your crafting skills. For further inspiration, check out pro tips for drying lavender.
Follow us on social for more floral DIY projects & botanical inspiration!

Dried Lavender Hanging Bouquet
Would you like to save this recipe?
By submitting you agree to receive this recipe and occasional emails. Unsubscribe anytime.
Ingredients
Main Ingredients
- 20 stems Dried lavender stems The star of the bouquet, providing fragrance and beauty.
- 1 roll Twine or cord For tying and hanging your bouquet.
- 1 pair Scissors For trimming any excess stems.
- 1 optional Decorative ribbons or embellishments To personalize your bouquet.
Instructions
Preparation
- Start with your dried lavender, ensuring the stems are clean and free of dust. If necessary, give them a gentle shake to remove any debris.
- Hold several stems together at the base and fan them out slightly. Visualize how you want your bouquet to look, considering the balance and fullness.
- Once satisfied with your layout, use scissors to trim the stems down to your desired length, ensuring they are even.
- Using twine or cord, carefully bind the stems together just above where you trimmed them. Make sure the binding is secure but not overly tight.
- If desired, wrap decorative ribbons or other embellishments around the binding to add personal flair. This step is optional.
- At the top of your bouquet, create a loop with your twine or cord for hanging. Adjust the length to fit your desired display area.
- Inspect your bouquet to ensure everything is positioned the way you like it. Make any necessary adjustments before hanging.
- Find a suitable spot to hang your Dried Lavender Hanging Bouquet, where it can be admired.
Last Step: Don’t forget to leave a rating and comment below! It helps other readers find the best recipes — and it helps us too!
Tips & Notes:
Nutrition Information: Serving: 1 | Calories: | Carbohydrates: | Protein: | Fat: | Sodium: | Fiber: | Sugar:
Nutritional information is provided as a courtesy and calculated automatically. Values can vary depending on the brands and ingredients you use, so if you’re tracking closely, I recommend calculating with your own preferred tool.