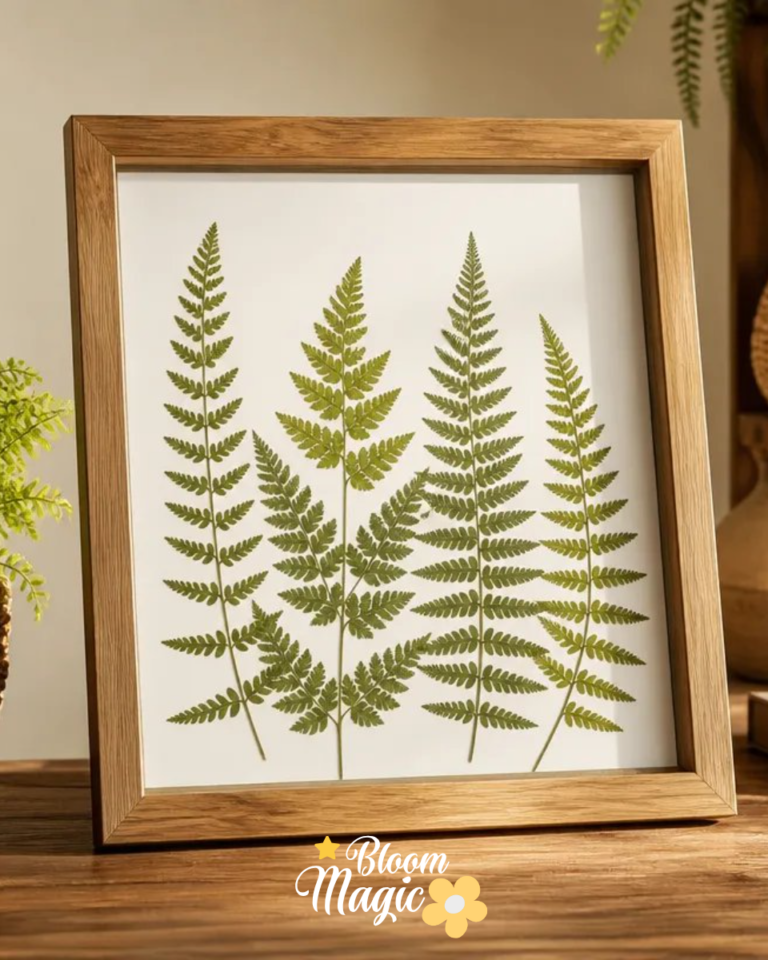
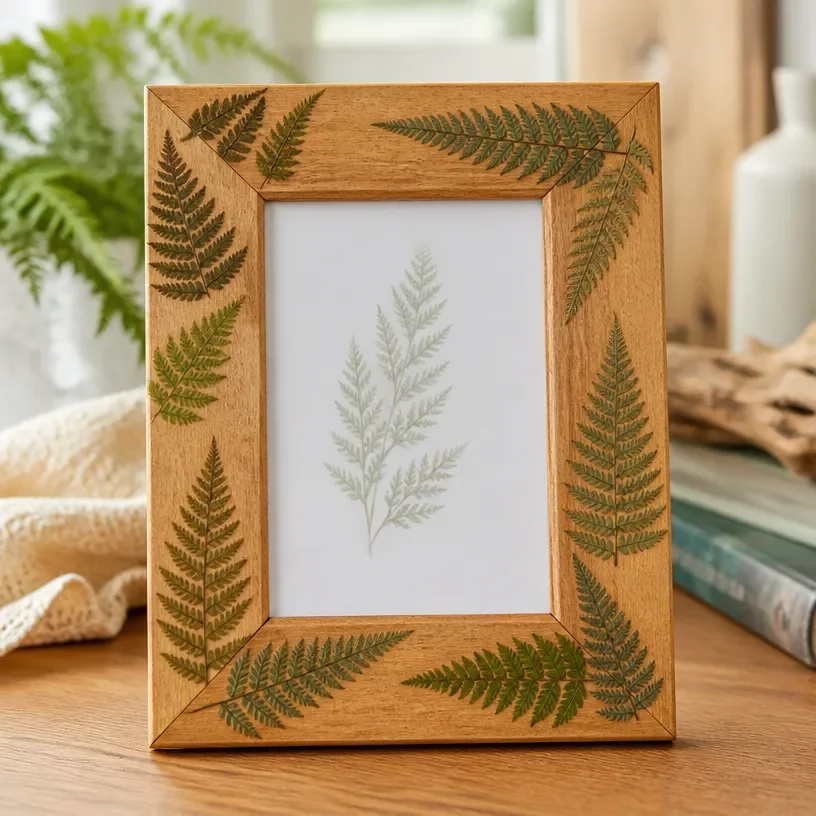
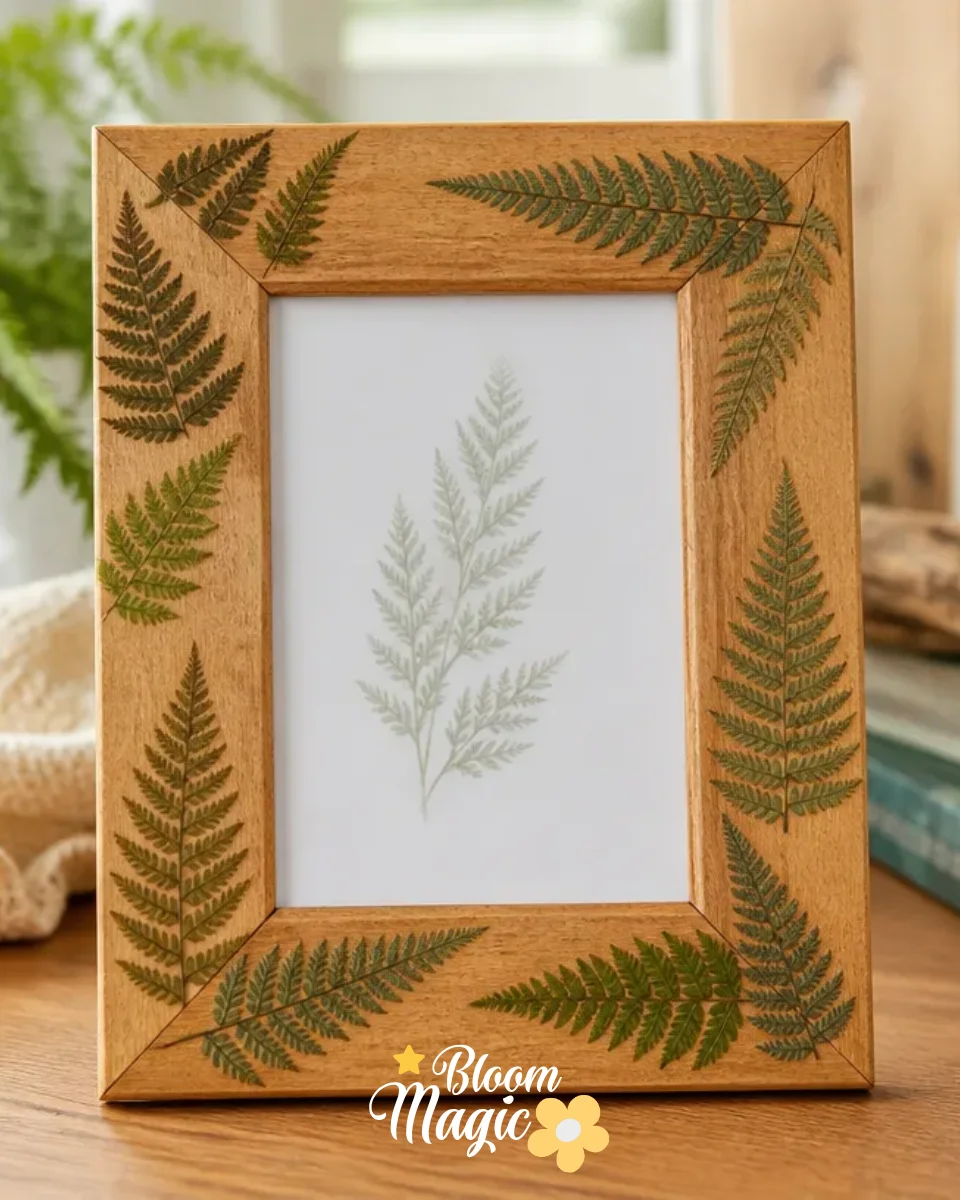
Creating floral crafts can be a delightful way to preserve nature’s beauty and personalize your living space. Imagine having a collection of pressed ferns ready to showcase in a charming photo frame; that’s exactly what the Pressed Fern Photo Frame Border allows you to achieve. This project provides an engaging way to display your creative side while adding a touch of greenery to your decor. Whether you want to celebrate a special occasion or simply bring the beauty of nature indoors, this frame serves as a unique centerpiece for any room. You may also find Floating Pressed Flower Glass Frame useful.
Why This Pressed Fern Photo Frame Border Works So Well
You may also find Handprint Flower Photo Frame useful.
The Pressed Fern Photo Frame Border is approachable for all experience levels. Its simple concept ensures that even new crafters can quickly get involved without feeling overwhelmed. The project combines the elegance of pressed ferns with the practicality of a photo frame, making it a visually rewarding endeavor. You can showcase your favorite memories surrounded by beautiful botanical motifs, ensuring your work doesn’t just look great but also has emotional significance. You may also find Magic Bloom Diy Pressed Flower Frame useful.
Additionally, the materials you’ll work with are manageable. It’s easy to access various types of ferns and flowers, and the pressing process is straightforward. This project is not just about creation; it’s also about enjoying the process of crafting, recognizing the tranquility that floral art brings. Plus, creating this frame gives a lasting home to those delicate botanicals, bringing life and interest to your living space.
A Quick Look Before You Begin
Creating the Pressed Fern Photo Frame Border follows a gentle path. First, you’ll prepare the materials required for both pressing the ferns and assembling the frame. Take your time in the pressing phase; it’s often a delicate process. Not only do you want to ensure that the ferns are appropriately dried, but you can also arrange them while they are fresh, which ultimately saves time during assembly. Expect a little mess but embrace it as part of the crafting journey; after all, each little speck of craft dust signifies creativity in the air.
When pressing ferns and flowers, be mindful of spacing and alignment, ensuring your botanical elements complement the frame rather than blend into the background. The final construction stage will involve positioning and adhering these beautiful elements, turning your craft into a personalized work of art.
Materials You’ll Need
To create the Pressed Fern Photo Frame Border successfully, gather the following materials:
- Pressed ferns: Select varieties that dry well and maintain their shape. This contributes texture and color.
- Photo frame: A simple, clear frame allows the beauty of your pressed ferns to shine. Consider transparent backgrounds for added depth.
- Adhesive: A strong glue that can hold the delicate ferns securely. Make sure it dries clear to maintain aesthetic appeal.
- Scissors: Handy for trimming ferns or flora to fit the frame properly.
- Heavy books: Useful for pressing the ferns. Ensure proper weight to achieve a flat and even press.
While the types of ferns are essential, choose those that will provide a nice contrast to your photo or backboard. You can use the same principle if you decide to incorporate other florals or botanical elements.
Step-by-Step Directions
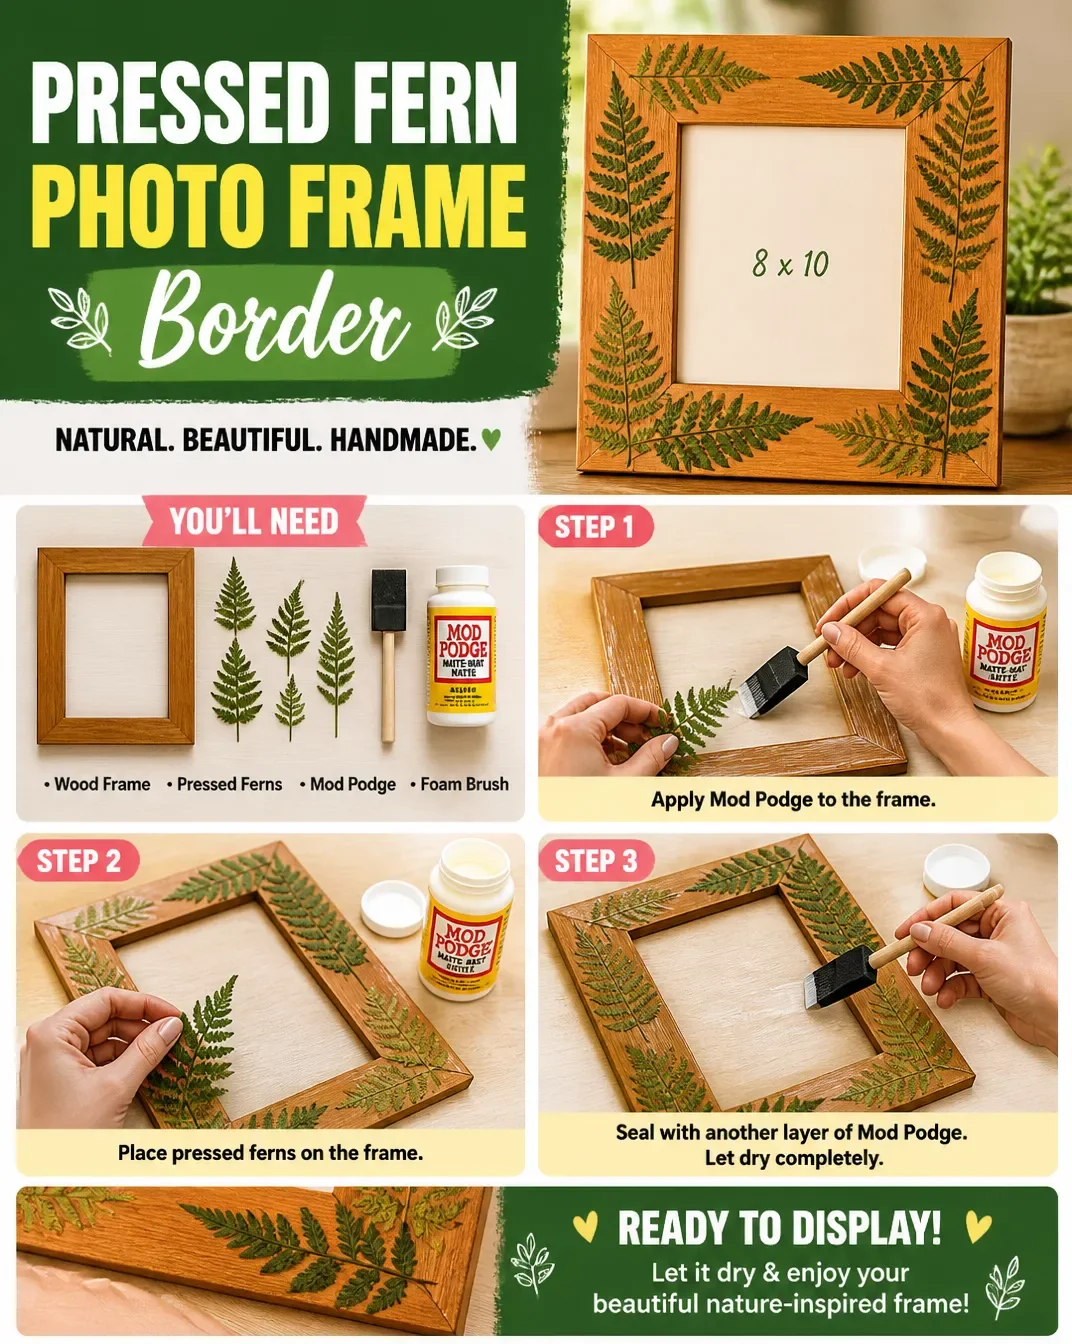
Prepare Your Foliage: Start by selecting fresh ferns or flowers. Ensure they are clean and free of dust, as this will affect their final appearance.
Press the Ferns: Place your selected botanicals between the pages of heavy books or in a flower press. This usually takes a few days to flatten completely. Once pressed, they will retain their shape and vibrancy.
Cut to Size: Once the ferns are completely dried and pressed, use scissors to trim them to the desired size, ensuring they fit well within the frame.
Plan Your Arrangement: Before attaching, lay the pressed ferns out in the frame to visualize their arrangement. Try a few different designs to see which one you prefer.
Adhere the Ferns: Use a clear-drying adhesive to carefully attach each fern to the frame backing. Apply the adhesive in small amounts to avoid excess that could become visible.
Secure Everything: After all ferns are adhered, place the backing of the frame in position, ensuring everything remains in place as it dries.
Final Assembly: Close the frame and give it a gentle shake to ensure no loose elements shift out of their spots. Once satisfied, display your beautiful piece proudly.
Let It Dry: Allow the adhesive to completely set according to the manufacturer’s instructions.
The Design Behind This Floral DIY

The beauty of this project lies in how color and texture interact. The pressed ferns should contrast nicely with your picture or frame backing, enhancing the overall aesthetic. As you arrange the ferns, consider combining lighter and darker shades to create depth. Balance is key; avoid overcrowding the frame with too many elements, which may detract from the delicate appearance of the ferns.
Texture also plays a crucial role; the varied shapes of the ferns provide visual interest. Layering different fern types can also draw attention without making the arrangement chaotic. Additionally, take care to maintain even spacing between elements to allow the individual features of the ferns to shine through. This thoughtful design approach ensures that the finished piece feels cohesive and artfully crafted.
Troubleshooting Common Issues
If something doesn’t go as planned during your creation, don’t fret crafting is all about adjustment and flexibility. Here are some common concerns and how to address them:
Uneven Placement: If your ferns seem misaligned, take a step back and readjust them before the adhesive dries. A gentle nudge can often realign them correctly.
Shifting during Assembly: To prevent ferns from moving when assembling, consider adding a small piece of tape under each fern as temporary holds while the adhesive sets.
Visible Adhesive: This can occur if too much adhesive is used. Utilize a fine-tipped applicator to control the flow of glue better.
Crowded Look: If the arrangement appears too cluttered, remove a fern or two and reassess the placement for better balance. Less can often be more in floral crafts.
By remaining observant and patient throughout the process, you can achieve a polished and visually pleasing final piece.
Easy Variations to Try
There are numerous ways to make the Pressed Fern Photo Frame Border uniquely yours. Here are a few ideas:
Background Colors: Experiment with different backer colors in the frame. A pastel hue can highlight ferns well, while darker colors may offer stunning contrast.
Variety of Botanicals: Add complementary flowers along with ferns for additional splashes of color, making the arrangement even more vibrant.
Seasonal Themes: Change the ferns and flowers according to the seasons. Brightly colored blooms in spring or deep-toned leaves in autumn can bring seasonal spirit into your home.
Frame Size: Play around with different sizes of frames to create a gallery wall effect. A series of smaller frames can work together beautifully.
Gift Presentation: Customize your frame as a gift. Add a handwritten note or place a memory photo inside to create something truly special.
Displaying or Keeping Your Project
Once your Pressed Fern Photo Frame Border is complete, consider how you’ll display it to get the most out of your creation. Choose a well-lit spot that emphasizes the natural colors and textures of the ferns. Use a stand or fully secure it on a wall if it’s a larger frame.
For gifting, consider wrapping it in a simple, clear box that highlights the frame while protecting it. When not in use, keep the frame in a dry area to prevent moisture and damage.
FAQs About Pressed Fern Photo Frame Border
Can I use fresh flowers instead of pressed ones? Fresh flowers typically do not hold up well without being preserved first. Pressing is a great way to maintain their beauty.
How do I choose the right ferns? Look for those that are naturally flat and have bold textures. Different shades also create a more dynamic arrangement.
What kind of adhesive should I use? A clear-drying craft adhesive works best, ensuring that it doesn’t alter the look of your foliage.
What if I don’t have a flower press? You can use heavy books to press your ferns, just remember to replace them after a few days to check on progress.
What’s the best way to clean the frame? Dust gently with a dry cloth to remove particles. Avoid any cleaners that may be too abrasive.
A Final Helpful Note
Crafting the Pressed Fern Photo Frame Border is a wonderful exercise in creativity and mindfulness. Embrace the process as much as the final result, and don’t hesitate to explore variations as you grow more comfortable with the craft. Attention to detail and careful handling of materials will lead to delightful outcomes that reflect your personal style. Enjoy the beauty of your finished project!
Conclusion
In your crafting journey, remember to look for additional resources and inspiration online. You can explore beautiful options for decor at Pressed Fern Frame – Etsy and discover delightful occasion invitations featuring pressed ferns through Wedding Invitation Delicate Pressed Fern – Greenvelope. Enjoy every moment of your creative adventure!
Follow us on social for more floral DIY projects & botanical inspiration!
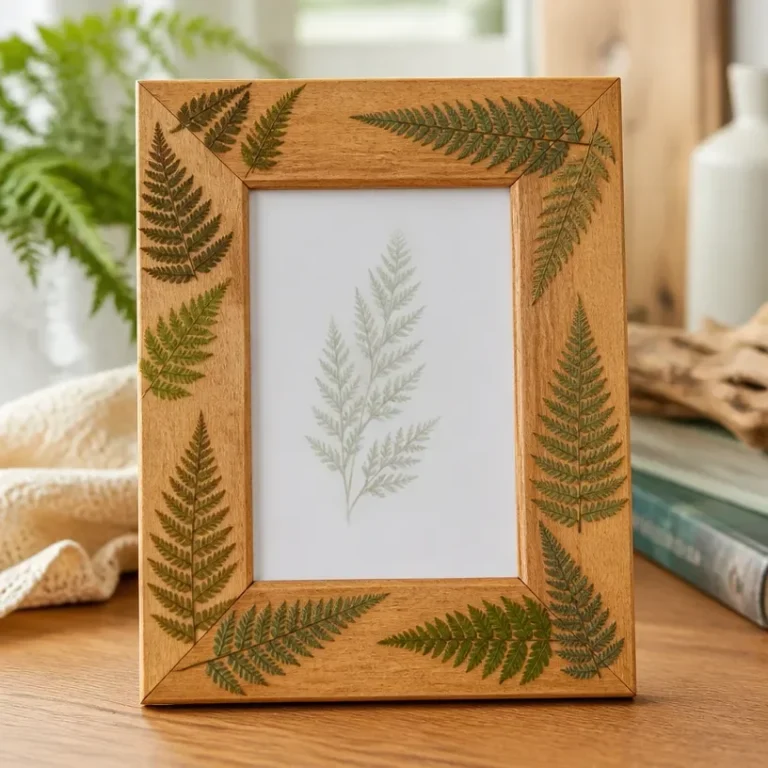
Pressed Fern Photo Frame Border
Would you like to save this recipe?
By submitting you agree to receive this recipe and occasional emails. Unsubscribe anytime.
Ingredients
Materials
- 1 Pressed ferns Select varieties that dry well and maintain their shape.
- 1 frame Photo frame A simple, clear frame allows the beauty of your pressed ferns to shine.
- 1 bottle Adhesive A strong glue that can hold the delicate ferns securely.
- 1 pair Scissors Handy for trimming ferns or flora to fit the frame properly.
- 2 books Heavy books Useful for pressing the ferns.
Instructions
Preparation and Pressing
- Start by selecting fresh ferns or flowers. Ensure they are clean and free of dust.
- Place your selected botanicals between the pages of heavy books or in a flower press. This usually takes a few days to flatten completely.
Cutting and Arranging
- Once the ferns are completely dried and pressed, use scissors to trim them to the desired size, ensuring they fit well within the frame.
- Before attaching, lay the pressed ferns out in the frame to visualize their arrangement.
Adhering and Assembling
- Use a clear-drying adhesive to carefully attach each fern to the frame backing. Apply the adhesive in small amounts to avoid excess.
- After all ferns are adhered, position the backing of the frame and ensure everything remains in place as it dries.
- Close the frame and give it a gentle shake to ensure no loose elements shift out of their spots.
Finishing Touches
- Allow the adhesive to completely set according to the manufacturer's instructions.
Last Step: Don’t forget to leave a rating and comment below! It helps other readers find the best recipes — and it helps us too!
Tips & Notes:
Nutrition Information: Serving: 1 | Calories: | Carbohydrates: | Protein: | Fat: | Sodium: | Fiber: | Sugar:
Nutritional information is provided as a courtesy and calculated automatically. Values can vary depending on the brands and ingredients you use, so if you’re tracking closely, I recommend calculating with your own preferred tool.