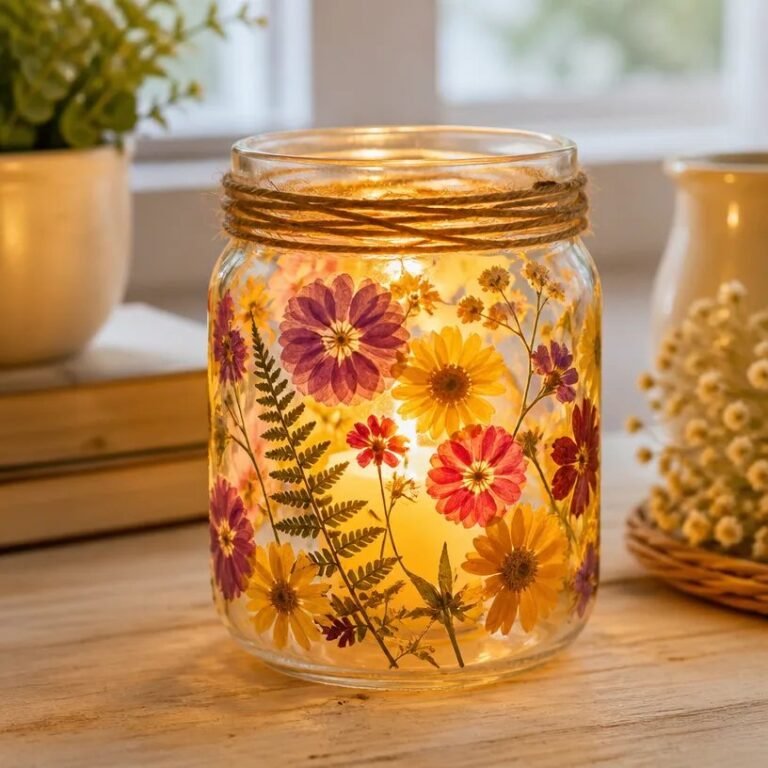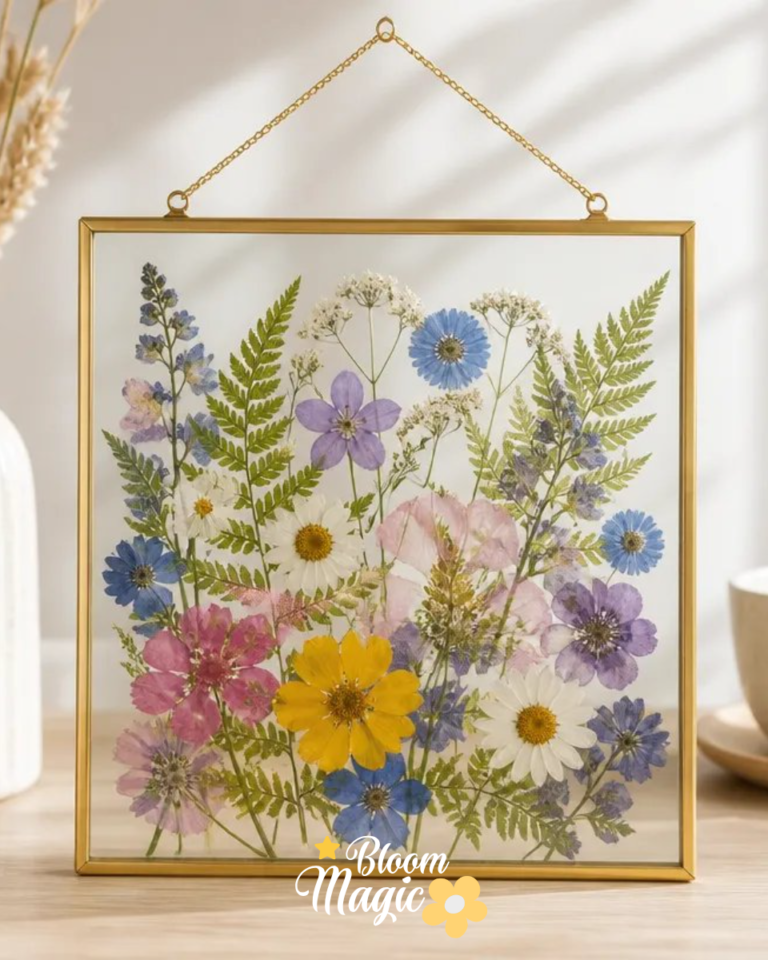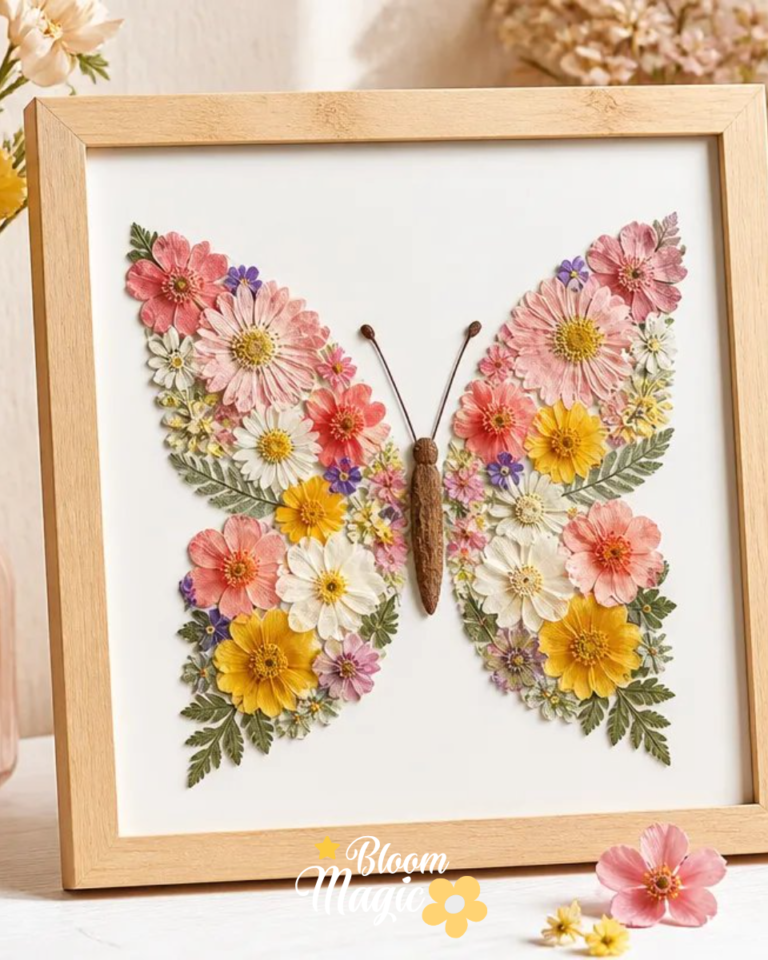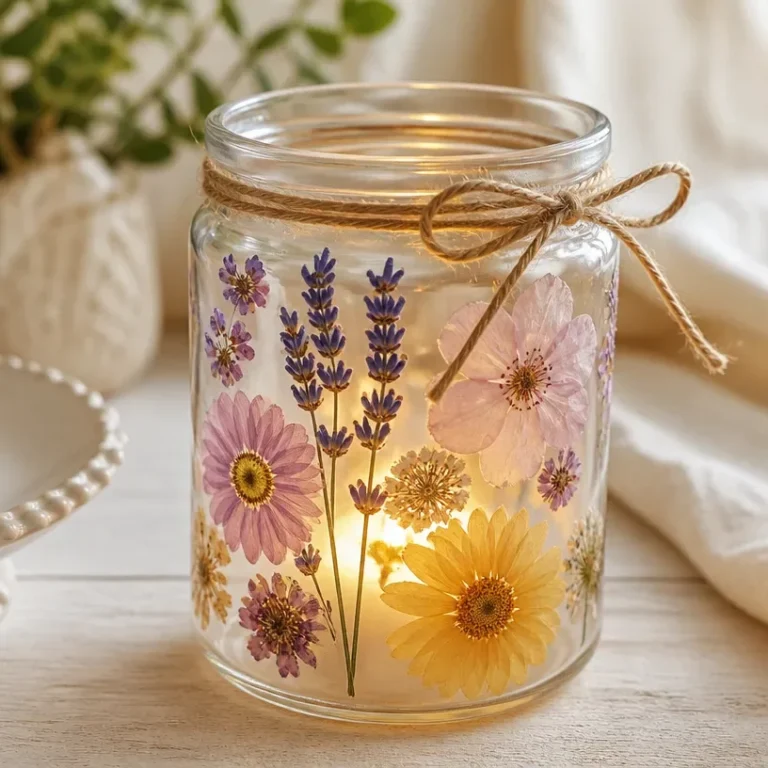
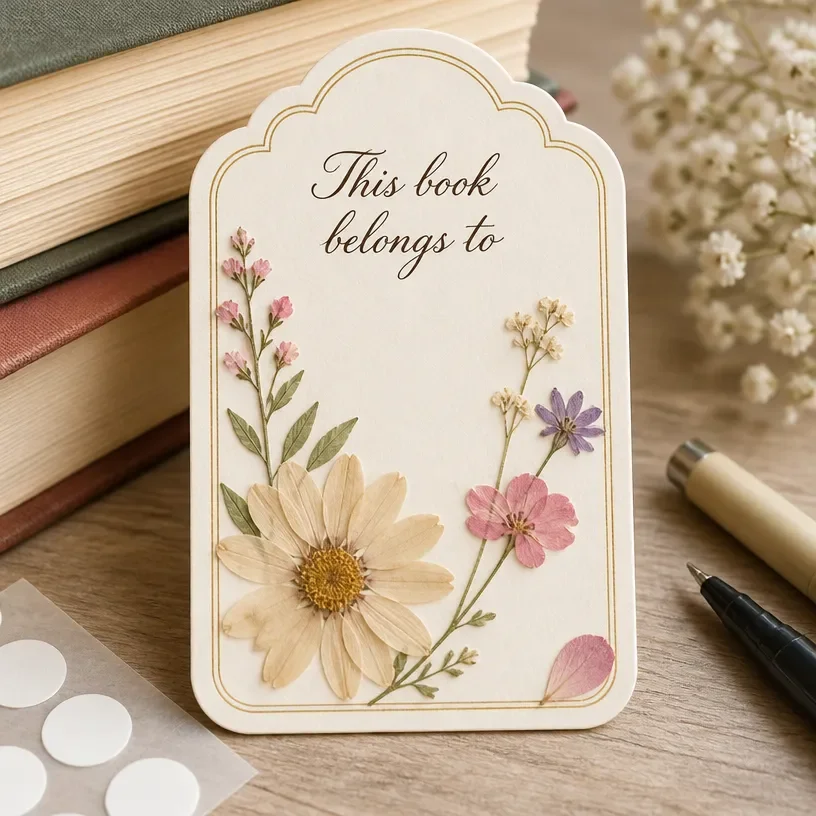
In a quiet moment, surrounded by vibrant blooms, you might find yourself ready to preserve the beauty of flowers that hold special memories. Perhaps you have some pressed petals waiting to be transformed into something unique or have just gathered a few delicate botanicals that you want to showcase. This is where Pressed Flower Bookplates come into play. Not only do they serve as charming decorative pieces, but they also offer a heartfelt way to celebrate meaningful moments, perfect for gifting or keeping in your favorite books. You may also find Clear Glue Pressed Flower Suncatcher useful.
Why This Pressed Flower Bookplates Work So Well
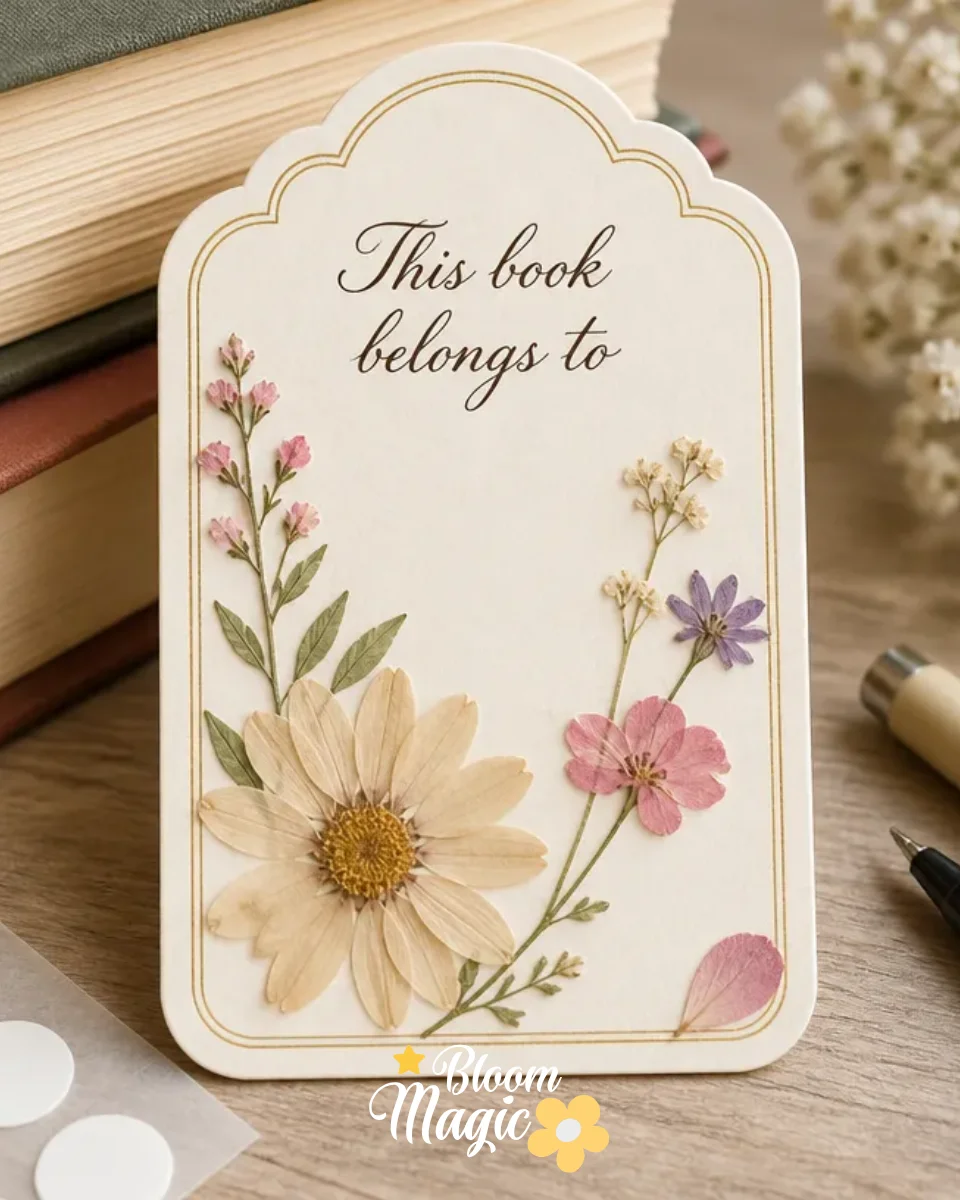
You may also find Laminated Pressed Flower Bookmark useful.
Pressed Flower Bookplates blend simplicity with a rewarding crafting experience. The ease of assembly makes this project approachable, even for beginners. Utilizing just a few materials, you can create visually appealing designs that add a personal touch to your home decor or gifts. The project beautifully combines nature and creativity, allowing your selected flowers to shine in a thoughtful way. Whether you aim to preserve cherished petals or simply enjoy the beauty of nature indoors, these bookplates serve multiple purposes and are perfect for expressing your love for floral artistry.
A Quick Look Before You Begin
Creating Pressed Flower Bookplates is a delightful journey that comes together with careful consideration of materials and design. You need a calm setup to arrange your botanicals, get your adhesive ready, and choose bookplate backgrounds. During this project, you’ll notice how the delicate elements of flowers can be positioned to create both balance and beauty. The mess level remains manageable, with just a bit of glue involved in the final assembly. As you work, consider how each flower or leaf interacts with its companions in terms of color and texture, ensuring a pleasing arrangement that reflects your unique style.
Materials You’ll Need
- Pressed flowers or botanical materials: These will be the highlight of your project, so choose blossoms that resonate with you.
- Clear glue: A reliable adhesive is essential for securely attaching your flowers to the bookplate.
- Bookplate backgrounds: Choose from colored or patterned options that will complement your floral selections.
- Scissors: For any necessary trimming of your botanicals or backgrounds.
- Tweezers: Helpful for handling small, delicate pieces without damaging them.
Gathering these supplies beforehand will ease your crafting process and allow you to focus on the creative aspects of your project.
Step-by-Step Directions
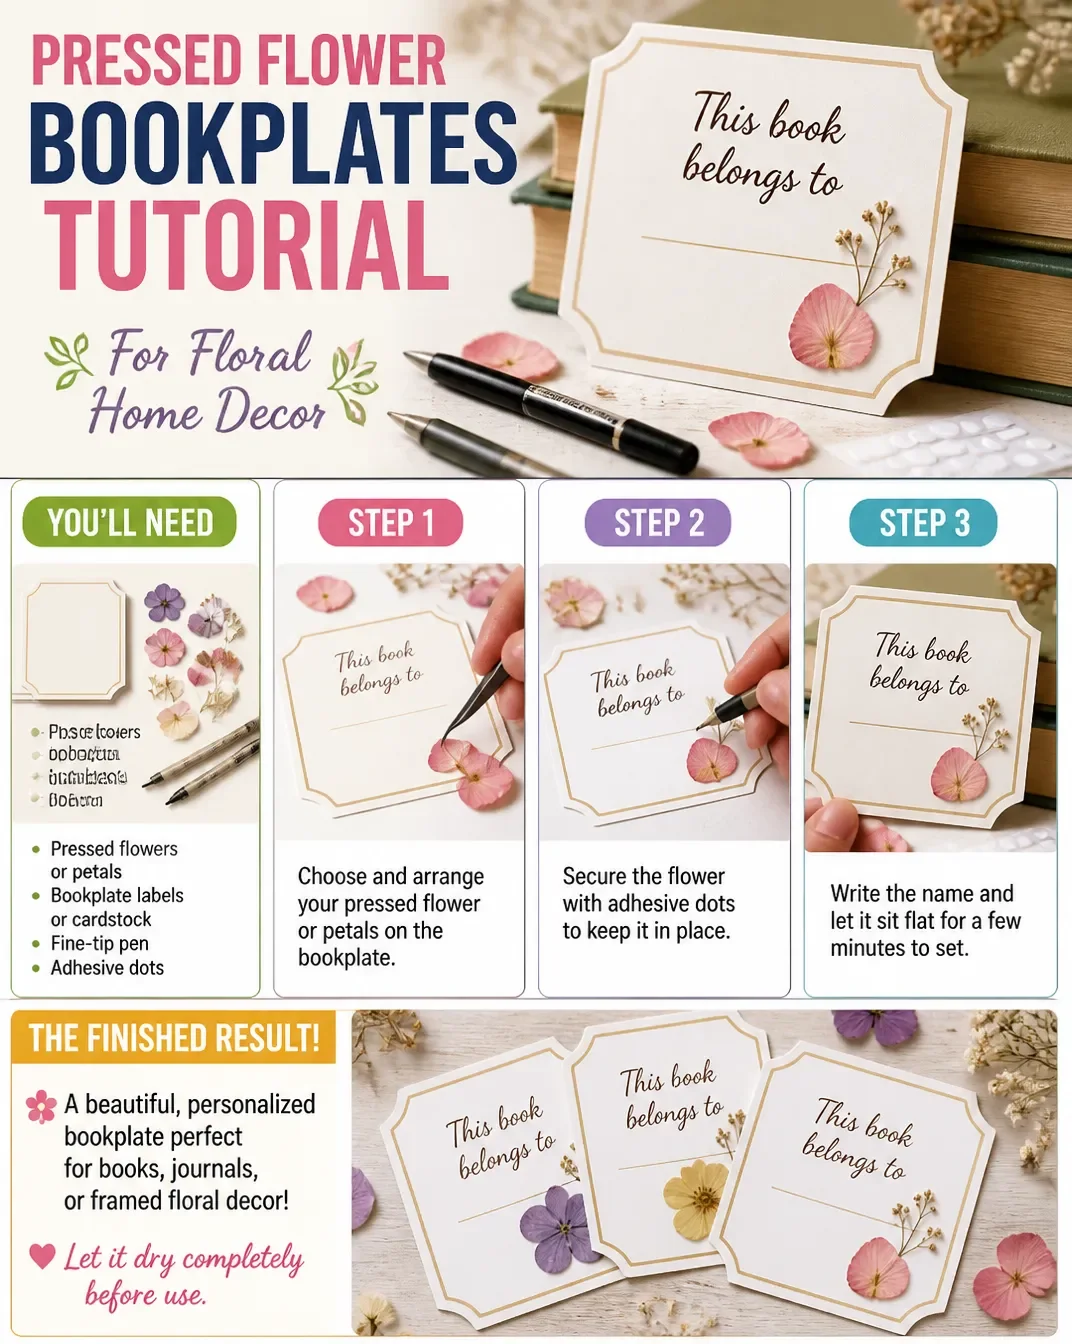
Select Your Pressed Flowers: Begin by choosing the pressed flowers you wish to use. Ensure they’re dry and intact, as damaged petals may detract from your final design.
Prepare the Bookplate Background: Choose a bookplate background that enhances the colors of your flowers. Trim it if necessary for your design.
Layout Your Design: Before gluing anything down, place your flowers on the background to visualize how they will look. Adjust as needed for balance and harmony.
Begin Gluing: Starting with the largest flower, apply a small amount of clear glue on the back and press it onto the background. Hold it for a moment to ensure it sticks well.
Layer Smaller Elements: Add your smaller flowers and leaves around the larger piece, using the tweezers if necessary for precision. Make sure to create a pleasing arrangement that feels balanced.
Let It Dry: After you’re satisfied with your layout, set the bookplate aside in a safe place. Allow the glue to dry completely before moving it.
Finish Off: Once dry, your pressed flower bookplate is ready to be displayed or gifted! You might want to frame it or include it in a special book.
The Design Behind This Floral DIY
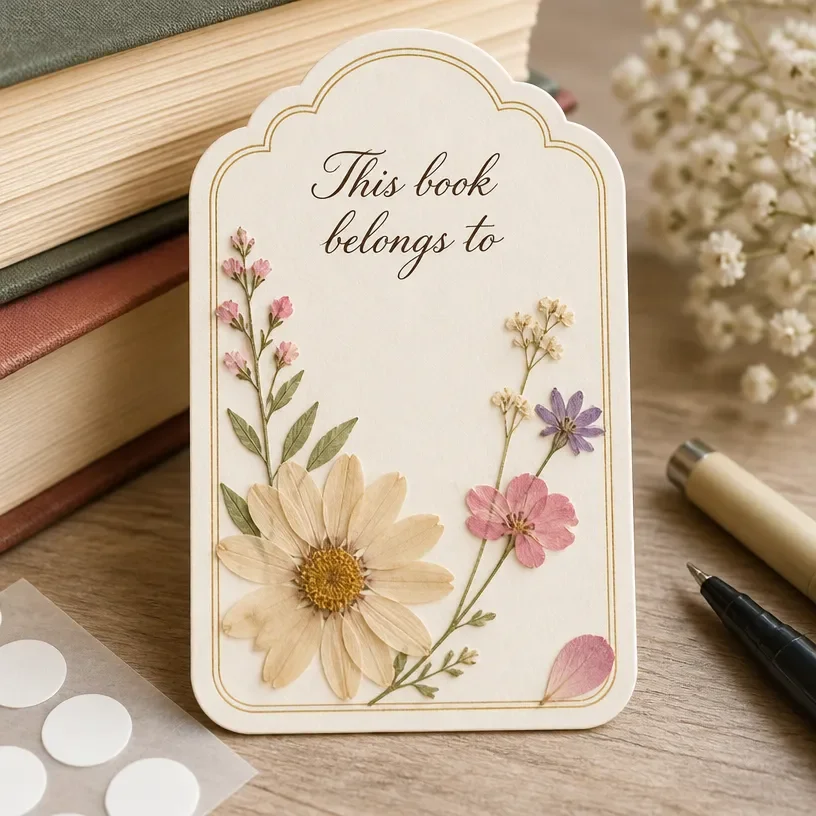
Creating a successful pressed flower bookplate involves thoughtful consideration of color balance and placement. When choosing flowers, consider both complementary and contrasting colors to create visual intrigue. It’s useful to lay out your selection in various arrangements until something feels right. The spacing between elements is critical; too close can feel crowded while too far apart may seem disconnected. Layering your flowers can add depth, with larger blooms at the back and smaller accents up front, creating a naturally flowing composition that draws the eye.
Troubleshooting Common Issues
As you embark on this crafting journey, you may encounter a few common challenges. If you notice uneven placement, take a moment to adjust before the glue fully dries. An arrangement may feel crowded if too many flowers are crammed together, so consider removing a few elements for a more harmonious look. If petals shift during assembly, gently hold them in place until secured with glue. Handling delicate botanicals with care throughout the process will result in a more polished finished product.
Easy Variations to Try
Consider these options to personalize your pressed flower bookplates further:
- Experiment with backgrounds: Choose floral-themed colors or patterns that resonate with the flowers you’re using.
- Alter flower combinations: Use a mix of colors and species for seasonal themes.
- Add text: Include meaningful quotes or labels within the bookplates for a personal touch.
- Change sizes: Create a set with varying small and large bookplates for different contexts.
- Try different adhesives: For a slightly glossy finish or textured look, use gel mediums or other craft adhesives.
These variations will not only make each creation unique but can also cater to special occasions or personal tastes.
Displaying or Keeping Your Project
Once your pressed flower bookplates are complete, consider how best to display or care for them. They can serve as thoughtful gifts, beautifully enhancing personal libraries or as charming decor in your home. If you wish to gift them, you might pair them with a handwritten note or favorite book. For display, a simple frame can elevate their presence on a wall or shelf. Always handle with care to preserve the integrity of the flowers and remember that displaying them away from direct sunlight can help maintain their colors longer.
FAQs About Pressed Flower Bookplates
What if my flowers don’t stay pressed? It’s vital to ensure that your flowers are adequately dried before starting. Any moisture left can cause them to wilt or lose their shape during assembly, so check each piece carefully.
Can I use different adhesives? While the clear glue works well, you might prefer using a craft adhesive designed for dry flowers for a different finish or sturdiness.
How do I store leftover materials? Keep any unused pressed flowers flat in a cool, dry place, away from sunlight. Label them properly for easy access next time.
A Final Helpful Note
As you dive into the realm of Pressed Flower Bookplates, take a moment to enjoy the process. Embrace the imperfections and the uniqueness of each flower as part of your creativity. Each arrangement tells its own story, celebrating the beauty of nature while allowing you to express your individuality. With a gentle touch and an open mind, you’ll create something special that carries your personal flair.
Conclusion
Making Pressed Flower Bookplates is a wonderful way to celebrate the beauty of flowers while creating something personal. For more inspiration, explore these Floral Bookplates that can provide unique backgrounds for your creations. If you’re interested in a different crafting project involving pressed flowers, check out this floating pressed flower glass frame tutorial. With your creative juices flowing, there’s always room for new floral endeavors! Consider your options with these charming assorted flowers for inspiration. Happy crafting!
Follow us on social for more floral DIY projects & botanical inspiration!
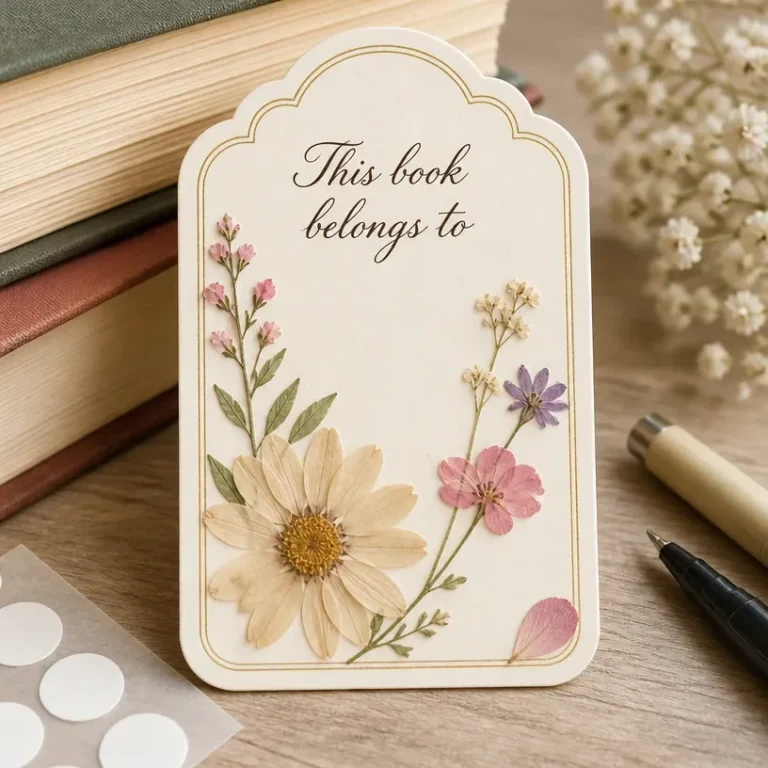
Pressed Flower Bookplates
Would you like to save this recipe?
By submitting you agree to receive this recipe and occasional emails. Unsubscribe anytime.
Ingredients
Crafting Materials
- 1 set Pressed flowers or botanical materials Choose blossoms that resonate with you.
- 1 bottle Clear glue A reliable adhesive for securely attaching flowers.
- 1 pack Bookplate backgrounds Colored or patterned options to complement your flowers.
- 1 pair Scissors For trimming your botanicals or backgrounds.
- 1 pair Tweezers Helpful for handling small, delicate pieces.
Instructions
Crafting Steps
- Select your pressed flowers, ensuring they’re dry and intact.
- Prepare the bookplate background, trimming it if necessary.
- Layout your design by placing flowers on the background for visualization.
- Begin gluing, starting with the largest flower and pressing it onto the background.
- Layer smaller elements around the larger flower, using tweezers for precision.
- Let the bookplate dry completely in a safe place.
- Once dry, your pressed flower bookplate is ready to be displayed or gifted.
Last Step: Don’t forget to leave a rating and comment below! It helps other readers find the best recipes — and it helps us too!
Tips & Notes:
Nutrition Information: Serving: 1 | Calories: | Carbohydrates: | Protein: | Fat: | Sodium: | Fiber: | Sugar:
Nutritional information is provided as a courtesy and calculated automatically. Values can vary depending on the brands and ingredients you use, so if you’re tracking closely, I recommend calculating with your own preferred tool.