
Crafting moments filled with vibrant colors and delicate textures can be a delightful way to nurture your creativity. Whether you have a collection of pressed flowers waiting for a new life or some craft supplies spread out for a weekend project, turning those materials into beautiful, functional art can be incredibly rewarding. One such project that brings a unique charm to your decor is creating Painted Bottle Cap Flower Magnets. This craft not only allows you to personalize your space but also beautifies the mundane task of sticking things to your refrigerator. You may also find 3D Flower Wall Art Ideas Home Decor useful.
Why This Painted Bottle Cap Flower Magnets Works So Well
You may also find Clear Glue Pressed Flower Suncatcher useful.
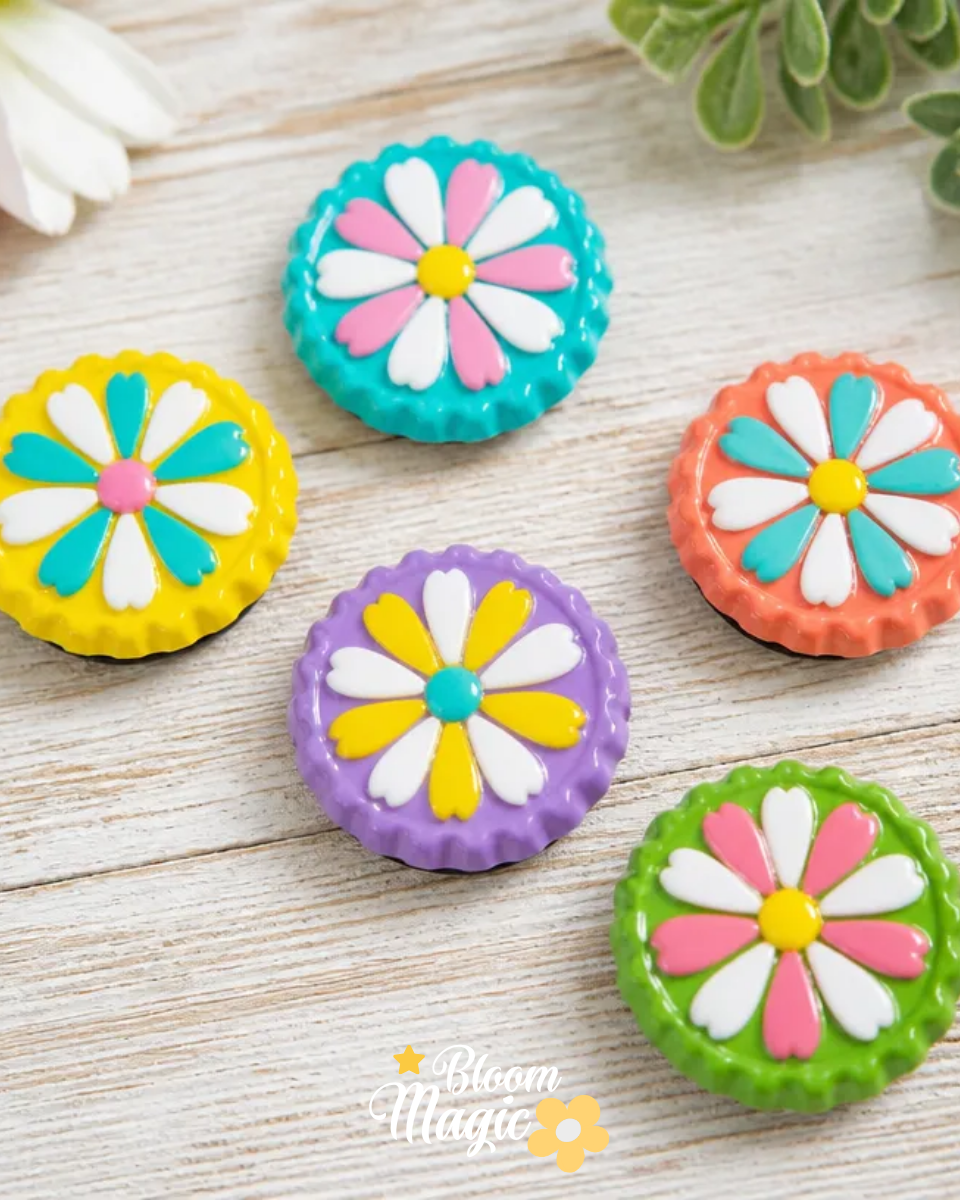
Creating Painted Bottle Cap Flower Magnets is a wonderful introduction to floral crafting. The project is approachable and forgiving, making it an excellent choice for beginners and seasoned crafters alike. You’ll find joy in transforming ordinary bottle caps into delightful floral designs an activity that is both visually rewarding and manageable with the right materials. Each magnet can be customized, allowing you to channel your creative expression while also discovering the joy of decorating with flowers in a fresh, playful way. You may also find Diy Flower Hearts Craft Clear Glue useful.
A Quick Look Before You Begin
Getting started with Painted Bottle Cap Flower Magnets is straightforward, requiring minimal setup and only a few simple tools. The construction process involves arranging floral materials inside the caps, which means you’ll be combining both design and functionality in one go. Expect a low mess level, as most of the work can be done neatly on a table. Keep in mind that while some stages are delicate like attaching the magnets and arranging the flowers most steps can be adjusted until you’re satisfied with the layout. Your arrangement will come together gradually, allowing for plenty of time to evaluate your choices without any rush.
Materials You’ll Need
To create your Painted Bottle Cap Flower Magnets, gather the following supplies:
- Painted bottle caps: These serve as the base for your floral art.
- Dried or pressed flowers: Look for a variety of textures and colors to bring your design to life.
- Clear adhesive: This will ensure that your floral elements stay securely in place.
- Magnet strips: These will make your creations functional for the fridge.
- Scissors: Useful for trimming any pieces or adjusting your materials as necessary.
Each of these materials contributes to the final aesthetic of your project, and careful handling will help preserve the integrity of your floral pieces.
Step-by-Step Directions
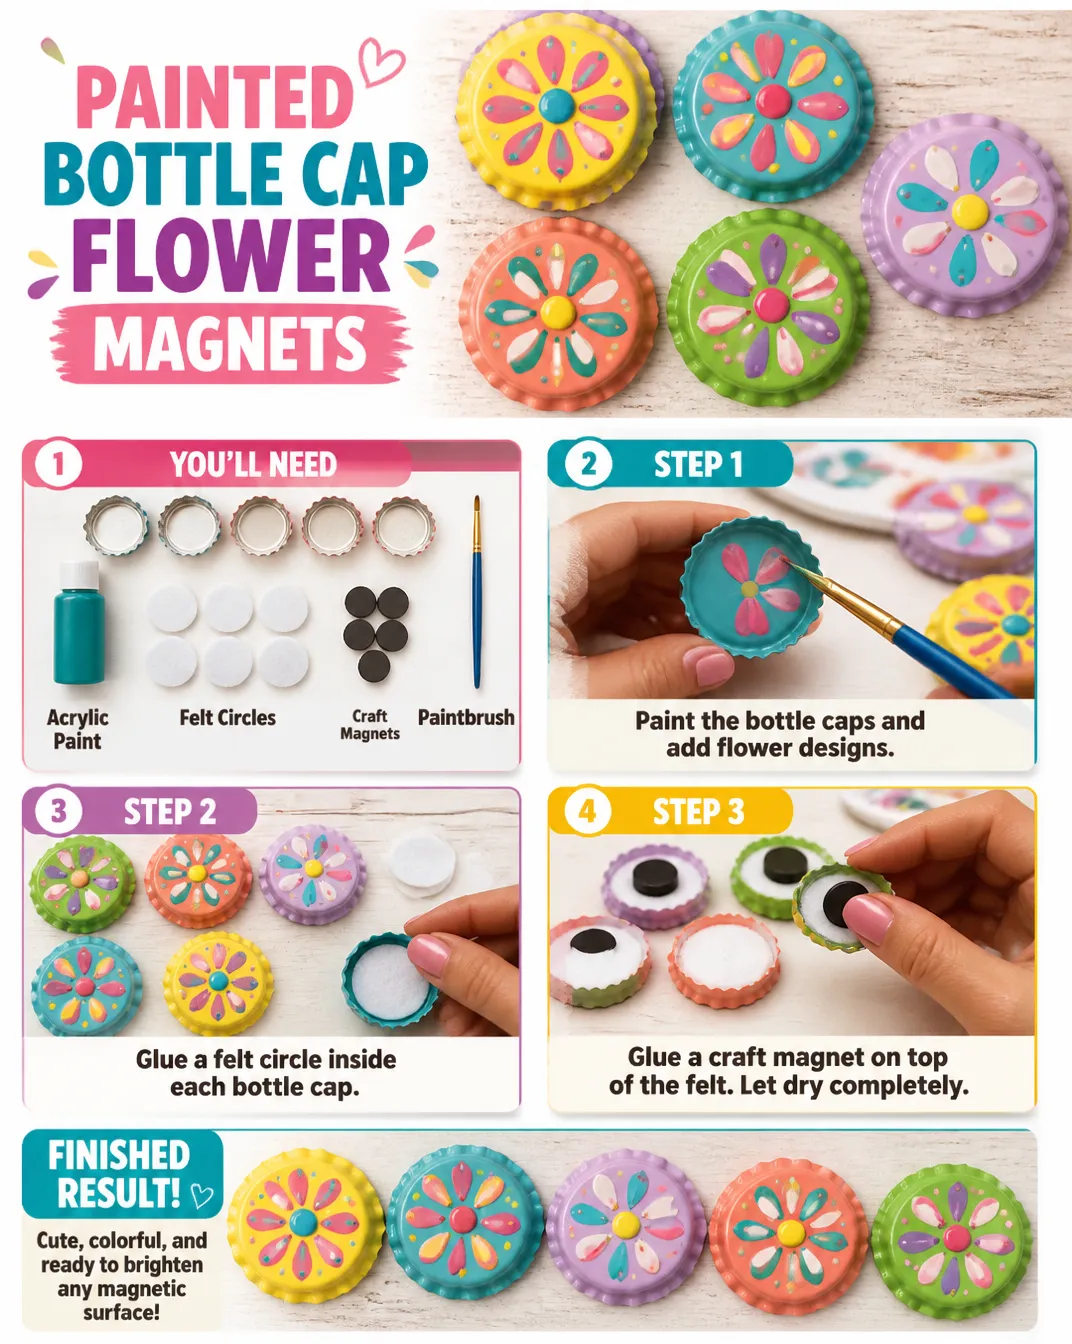
Prepare your workspace. Clear a space on a clean, flat surface where you can comfortably arrange your materials. Lay out your bottle caps, flowers, adhesive, and magnet strips.
Select your flowers. Choose dried or pressed flowers that you want to use. Consider color combinations and textures that appeal to you. This project is a great chance to showcase your unique style.
Cut the flowers. Using scissors, trim the stems and excess leaves of your flowers to fit inside the bottle cap. Aim for variety in sizes and shapes for a visually pleasing arrangement.
Arrange your flowers. Inside each bottle cap, start placing the flowers. Experiment with different configurations until you’re happy with the look. Be mindful of balance; heavier or larger flowers can be positioned towards the back.
Secure the flowers. Once you’re satisfied with the arrangement, use clear adhesive to attach each flower to the base of the bottle cap. Apply sparingly to avoid overflow, ensuring each piece is well adhered.
Attach the magnets. After the adhesive has dried and fully set, affix a magnet strip to the back of each bottle cap. This will ensure it sticks securely to metal surfaces.
Final touches. Inspect your magnets for any loose pieces or adjustments needed. Once you’re satisfied, let everything dry fully before using them.
The Design Behind This Floral DIY
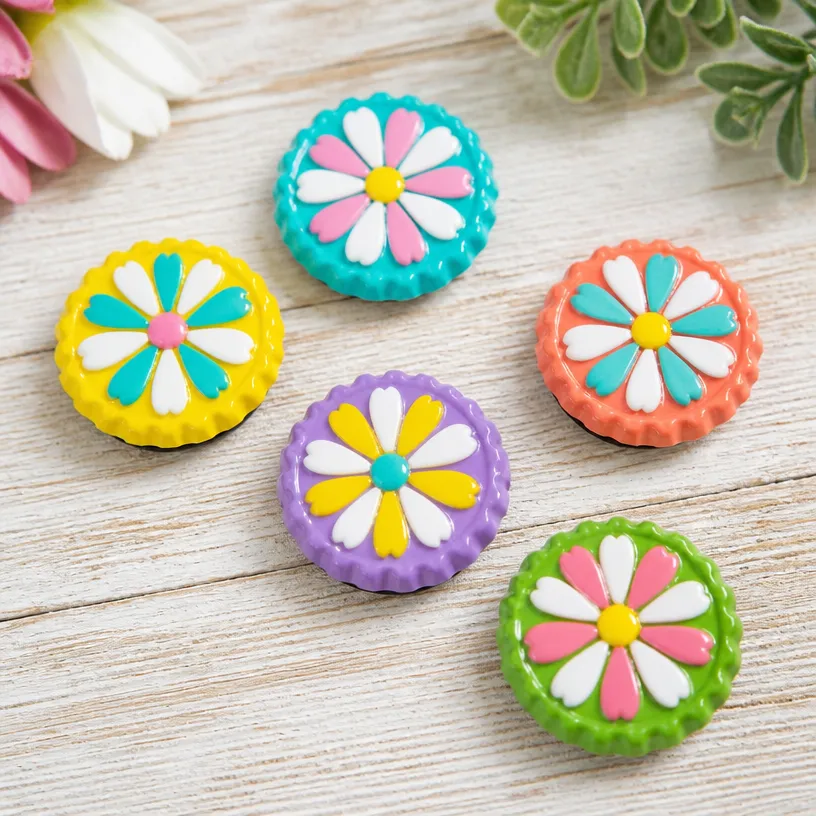
The charm of Painted Bottle Cap Flower Magnets lies in their playful use of color and texture. Think about how different floral placements create a sense of harmony and balance. For instance, larger petals can define the outer edges, while smaller, more delicate flowers can fill in gaps and add intrigue. Layering these materials not only enhances depth but also allows for a visual dialogue between contrasts such as rough bottle caps against soft petals.
Spacing is crucial; ensure that flowers have room to breathe without overcrowding, maintaining a clean view of your design. Shape matters too; play around with circular arrangements or asymmetrical placements to keep the eye engaged. The goal is to create a delightful piece that catches attention and instills joy.
Troubleshooting Common Issues
As you embark on creating your Painted Bottle Cap Flower Magnets, you may encounter a few common challenges. If flowers seem to shift during assembly, consider adding a drop of adhesive beforehand to stabilize them while you work. If your arrangement feels uneven, you can gently reposition flower elements before the adhesive sets.
Another issue might arise with visible glue. Always apply adhesive carefully and in small amounts to minimize its appearance. If layers start moving or feel too crowded, stepping back and reassessing alignment will help you find balance. Remember, crafting is about exploration allow yourself room to adjust and embrace imperfections.
Easy Variations to Try
To make your Painted Bottle Cap Flower Magnets personal, consider these variations:
- Color Themes: Choose flowers based on seasonal colors, such as pastels for spring or vibrant hues for summer.
- Botanical Combinations: Mix dried flowers with small leaves or twigs for added texture.
- Background Colors: Use different paint colors on your bottle caps to match your kitchen decor or mood.
- Gift Wrapping: Present your magnets inside a decorative box or with a simple ribbon for gifting.
These variations maintain the core of the project while allowing creative freedom to express your style.
Displaying or Keeping Your Project
After you’ve created your Painted Bottle Cap Flower Magnets, think about how to display or gift them. They make charming additions to your refrigerator, but you could also showcase them on a magnetic board or gift them to friends. When handling your magnets, treat them gently, as over-manipulating might let flowers come loose. Store any leftover materials in a cool, dry place to keep them ready for your next project.
FAQs About Painted Bottle Cap Flower Magnets
What kinds of flowers work best for this project? Opt for dried or pressed flowers that maintain their shape and color well. Avoid overly delicate blooms that may crumble.
Can I use other types of adhesive? While clear glue is recommended, you might also consider fabric glue or hot glue just make sure they can adhere well to both the flowers and metal.
How do I prevent the flowers from eventually fading? Keeping your magnets away from direct sunlight can help maintain their colors, as UV light can cause fading over time.
A Final Helpful Note
Before diving into creating your Painted Bottle Cap Flower Magnets, remember to have fun and embrace the unique nature of each project. These crafts are not just about the finished product but also about the delightful process of making. Enjoy the tactile beauty of arranging delicate petals, and let yourself play with colors and forms. Your creativity will shine through each magnet, making them both a lovely decorative piece and a heartfelt expression of your floral passion.
Conclusion
As you wrap up your adventure with Painted Bottle Cap Flower Magnets, take a moment to reflect on how imaginative projects can beautify everyday items. If you seek inspiration, explore
Bottle Cap Flowers – Living Well Momfor more ideas. Additionally, you might find intriguing crafting uses for
beer bottle capsthat can inspire future projects. Embrace the joy of crafting, and let your creativity bloom!
Follow us on social for more floral DIY projects & botanical inspiration!

Painted Bottle Cap Flower Magnets
Would you like to save this project?
By submitting you agree to receive this project and occasional emails. Unsubscribe anytime.
Materials
Crafting Materials
- 5 pieces Painted bottle caps
- 1 bunch Dried or pressed flowers Variety of textures and colors
- 1 bottle Clear adhesive Ensure secure attachment of floral elements
- 5 pieces Magnet strips For sticking to metal surfaces
- 1 piece Scissors For trimming flowers
Directions
Preparation
- Prepare your workspace. Clear a space on a clean, flat surface where you can comfortably arrange your materials.
- Lay out your bottle caps, flowers, adhesive, and magnet strips.
Flower Selection
- Select your flowers. Choose dried or pressed flowers that you want to use, considering color combinations and textures.
Flower Cutting
- Cut the flowers. Trim the stems and excess leaves of your flowers to fit inside the bottle cap.
Arrangement
- Arrange your flowers inside each bottle cap, experimenting with different configurations until satisfied.
Securing Flowers
- Use clear adhesive to attach each flower to the base of the bottle cap.
Attaching Magnets
- After the adhesive has dried, affix a magnet strip to the back of each bottle cap.
Final Touches
- Inspect your magnets for any loose pieces and let everything dry fully before using them.
Last Step: Don’t forget to leave a rating and comment below! It helps other readers find the best DIY projects — and it helps us too!