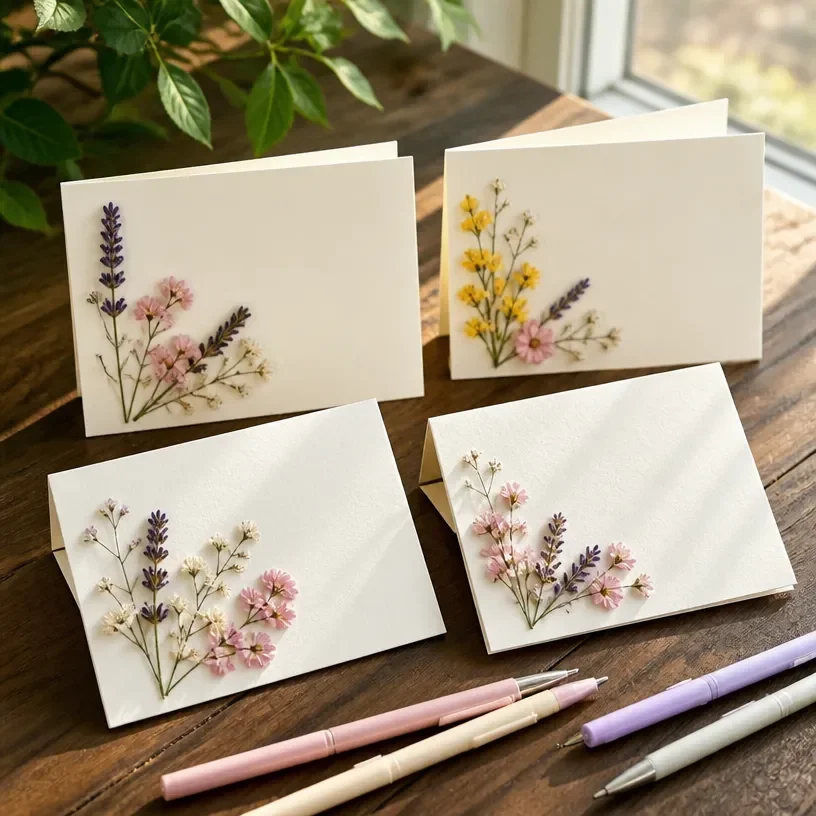
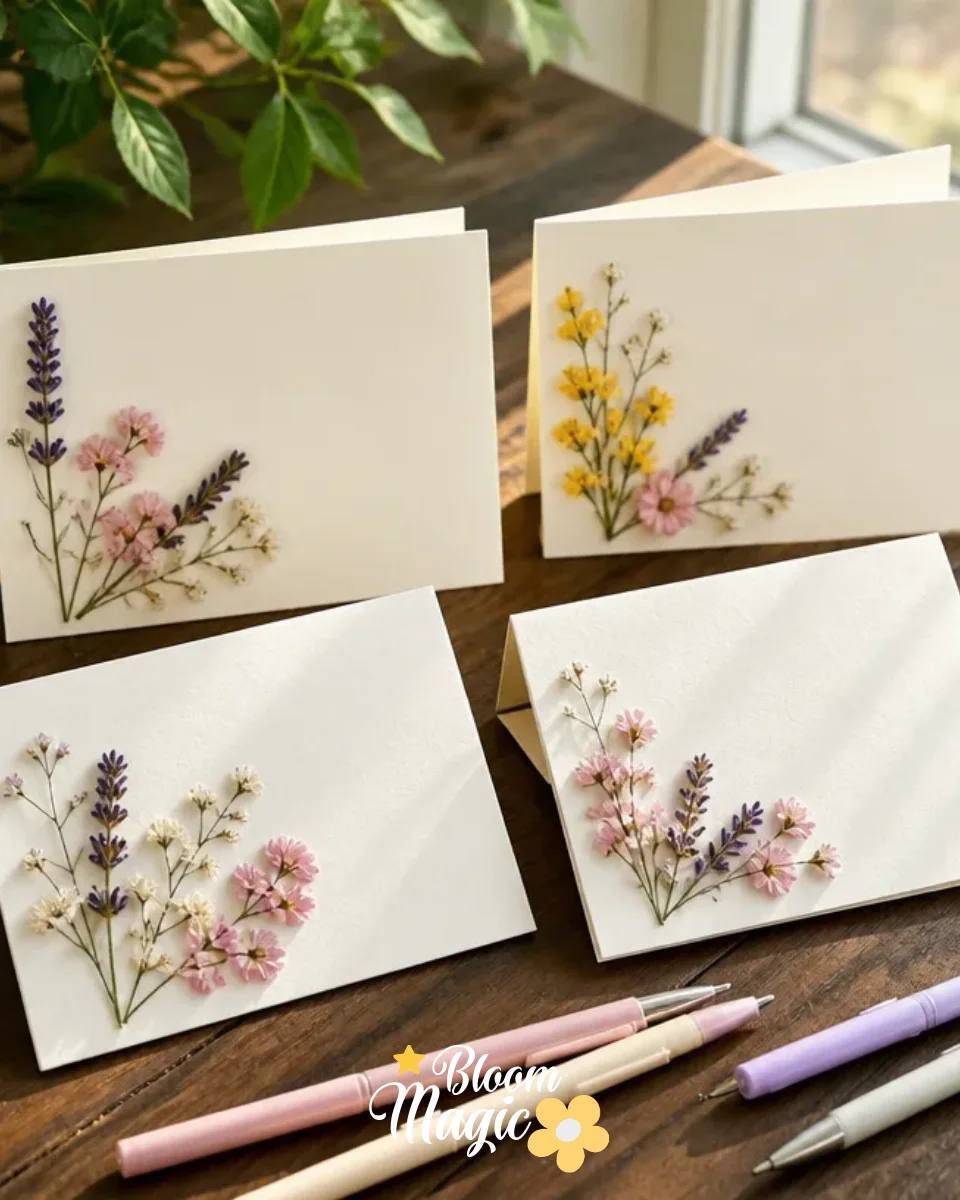
Creating beautiful, custom pressed flower greeting cards is a delightful way to preserve cherished blooms while sending heartfelt messages. Imagine an afternoon filled with colorful petals, soft leaves, and the satisfaction of making something unique. Every flower that you press holds a story and a memory. Transforming those memories into charming greeting cards is an inspiring project that showcases your creativity and love for nature. If you want to learn how to create stunning pressed flower cards, you’re in the right place. This project is straightforward and requires only a few essential materials, making it perfect for beginners and seasoned crafters alike. You may also find Pressed Flower Herbarium Art Cardstock useful.
Why You’ll Love Making Pressed Flower Greeting Cards
You may also find Clear Glue Pressed Flower Suncatcher useful.
The appeal of pressed flower greeting cards lies in their approachable nature. This project allows you to get hands-on with beautiful flora while creating something that is both functional and decorative. The process of gathering flowers, pressing them, and arranging them on cardstock leads to a satisfying and visually rewarding result. You’ll find that crafting these cards is a relaxing way to express your creativity while celebrating the beauty of nature. The finished cards can serve as thoughtful gifts, keepsakes, or personal decorations, sure to brighten anyone’s day. You may also find Floating Pressed Flower Glass Frame useful.
A Quick Look Before You Begin
Before diving into the crafting process, take a moment to gather your thoughts and materials. Prepare a clean workspace that allows you to spread out all your supplies comfortably. You will be assembling elements in layers, which might require some trial and error before securing them permanently. There’s a hidden beauty in layering various botanical elements to enhance the visual appeal of your cards, so don’t rush. As you proceed, remember to admire your work at different stages to ensure the layout feels balanced and harmonious.
Materials You’ll Need
- Pressed flowers – Choose a variety of colors and shapes to create an interesting composition.
- Cardstock – Select a sturdy cardstock in a shade that complements your flowers.
- Clear glue – This will help secure your flowers to the card effectively.
- Bone folder or ruler – These tools assist in making clean folds and neat edges.
- Scissors – Use these for trimming excess cardstock or arranging flower edges.
Consider having some practice flowers ready as well; you might find that working with different flower types helps you figure out the best fit for your design. Be gentle while handling them to maintain their delicate structure and beauty.
Step-by-Step Directions
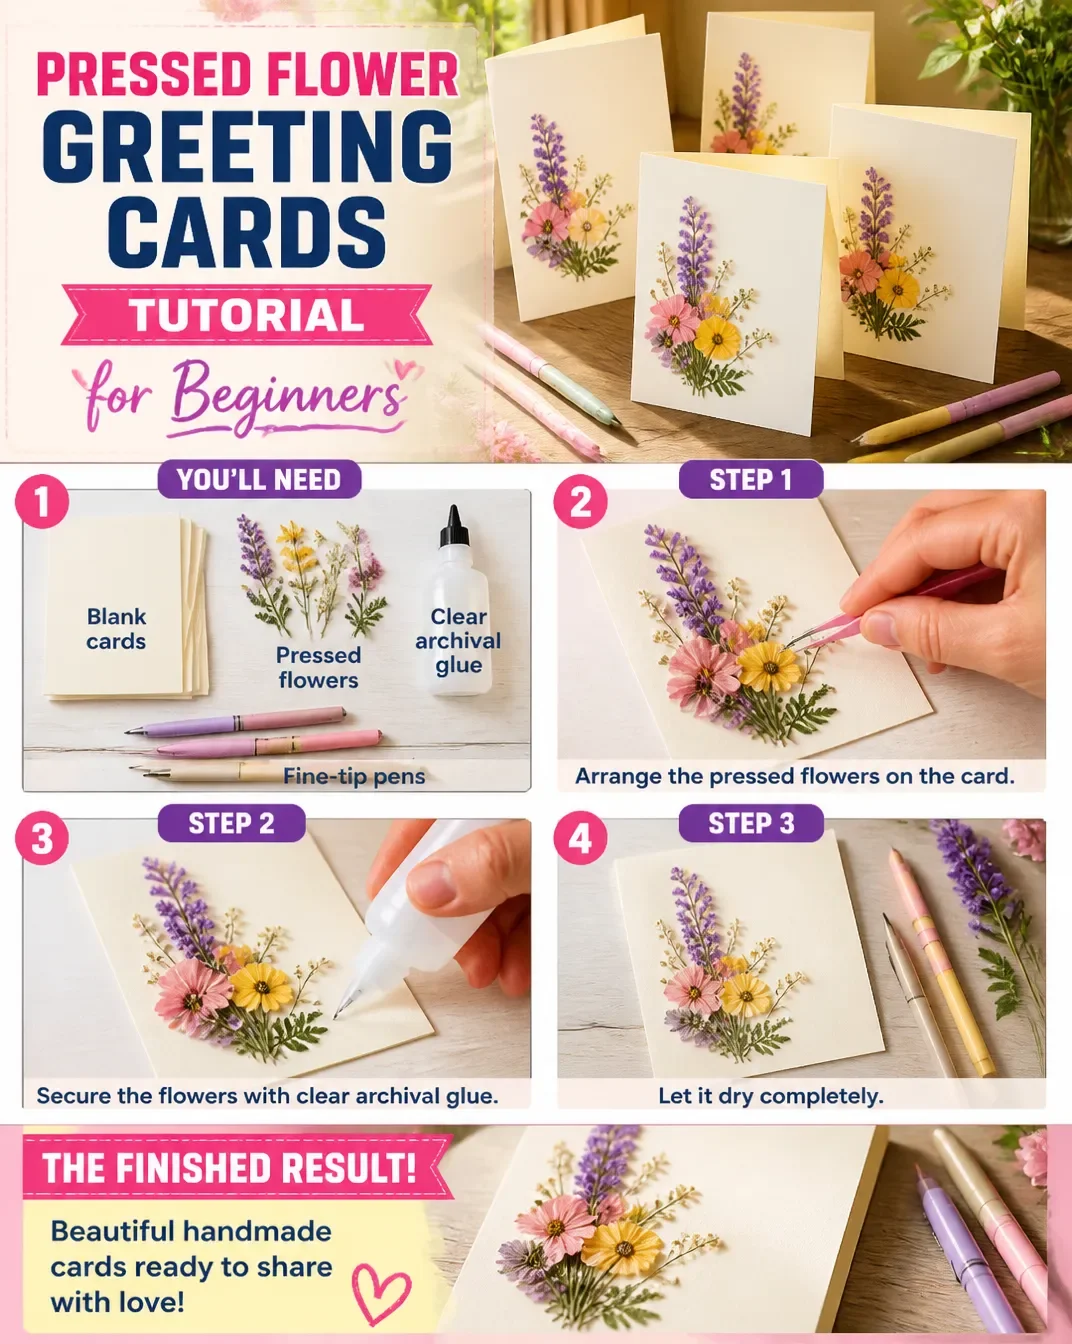
Gather Your Materials: Lay out all your materials on a flat surface. Make sure you can easily reach everything you need as you work.
Prepare the Cardstock: Cut your cardstock to your desired size for the card, making sure that it is a manageable size to display your pressed flowers well.
Arrange Your Flowers: Before gluing, position your flowers on the cardstock. Take a step back now and then to see if the arrangement looks balanced. Adjust as needed.
Secure the Flowers: Once you are happy with the arrangement, use a small amount of clear glue to attach each flower carefully. It’s often best to apply glue to the flower stem or base so it can be less visible.
Press Down: After gluing, press each flower gently for a few seconds to ensure a good bond with the cardstock.
Allow to Dry: Let your card dry completely before showing it off. This will prevent any flowers from shifting or lifting off the card.
Finishing Touches: Once your card is dry, you can use a bone folder to crisp up the edges or add any personal messages inside before sending it off.
The Creative Details That Bring It Together
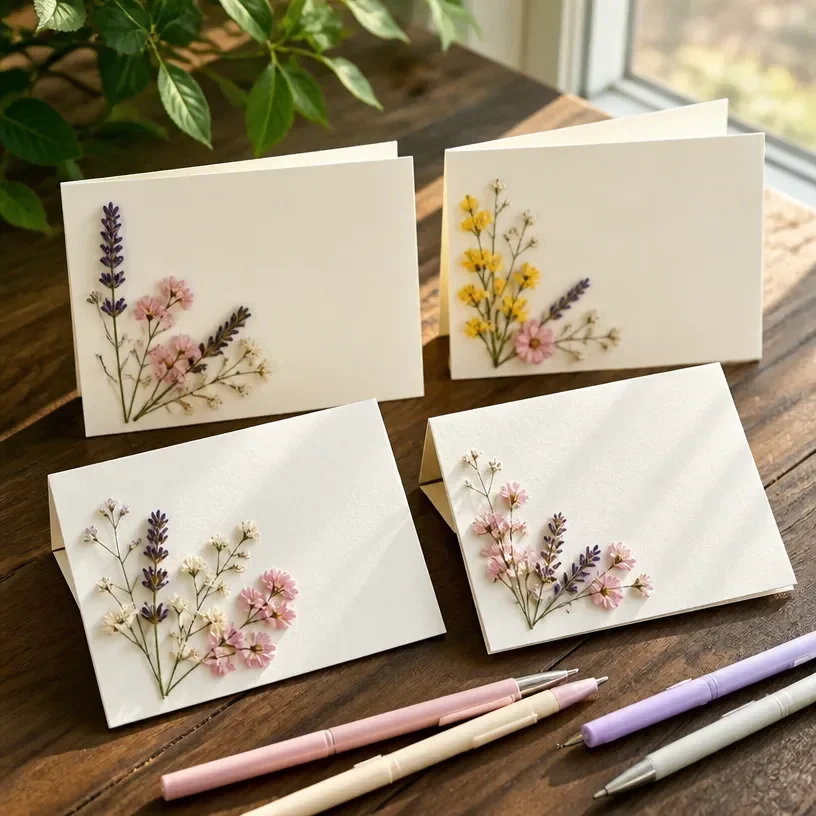
As you create your pressed flower cards, consider the visual composition of your arrangement. Pay attention to how colors interact; contrasting shades can create dramatic effects, while similar tones often convey a more harmonious feel. Additionally, think about the texture: mixing different flower types with varied shapes will add depth and interest to your cards. The balance of your design is crucial; none of the elements should overpower one another. It is this careful attention to detail that will lead to visually appealing and well-crafted cards.
Troubleshooting Common Issues
Throughout your crafting experience, you might encounter some common challenges. If your flowers seem unbalanced, try rearranging them to find a composition that feels right. If a flower shifts when you try to glue it, ensure the glue isn’t too thick and hold it gently until it bonds. For flowers with delicate petals, keep a watchful eye to avoid damaging the structure during placement. If you notice visible glue after assembling, you might need to adjust your application technique or consider a clear-drying glue for a cleaner finish.
Easy Variations to Try
To make your cards even more unique, consider experimenting with different approaches. You could try using different types of cardstock like textured or patterned backgrounds to change the overall aesthetic. Combine seasonal flowers to reflect the time of year or use monochromatic color schemes for a more modern touch. You can also explore various card sizes and shapes, or even add embellishments such as ribbons or handwritten notes. Each variation will make the project feel fresh and personal.
Displaying or Keeping Your Project
Once your pressed flower greeting cards are complete, think about how you would like to share them. You might keep a few for yourself to display in a frame as part of your home decor, or gift them to loved ones to celebrate special occasions. Ensure that any cards you plan to store are kept in a cool, dry place to maintain their quality. Create a special box to hold your handmade cards; this way, you can revisit them anytime you want to remember the creative process and the beautiful flowers you used.
FAQs About Pressed Flower Greeting Cards
What types of flowers work best for pressing?
Flowers like daisies, pansies, and small petunias work well for pressing because they retain their shape and color. Avoid very thick or fleshy flowers, as they may not dry well.
Can I use glue other than clear glue for this project?
While clear glue is highly recommended for a neat finish, you can use craft adhesive or double-sided tape as alternatives, just be mindful of visibility.
How can I fix a flower that shifts after gluing?
If a flower is shifting, gently lift the corner and apply a bit more glue, holding it in place until it dries. You can also layer another flower on top to discreetly anchor it.
A Final Helpful Note
Creating pressed flower greeting cards can be a fulfilling and enjoyable venture. Allow yourself to explore the beauty of each bloom, and experiment with your designs to make them uniquely yours. Embrace the process, give yourself grace with handling the materials, and enjoy the artwork that unfolds from your efforts. Whether you are sharing these cards with loved ones or keeping them as personal treasures, every step will instill a sense of pride and connection to the natural world.
Conclusion
Making pressed flower greeting cards is a delightful way to fuse creativity with nature. Experimenting with your floral arrangements will lead to personalized creations that can brighten someone's day. If you’re looking to further connect with pressed flower crafts, you can explore resources like the
Oregon Collection: Pressed Flower Greeting Cardsfor inspiration. Additionally, get step-by-step tips from this guide on how to
Make a Pressed Flower Greeting Cardthat stands out. Enjoy crafting!
Follow us on social for more floral DIY projects & botanical inspiration!
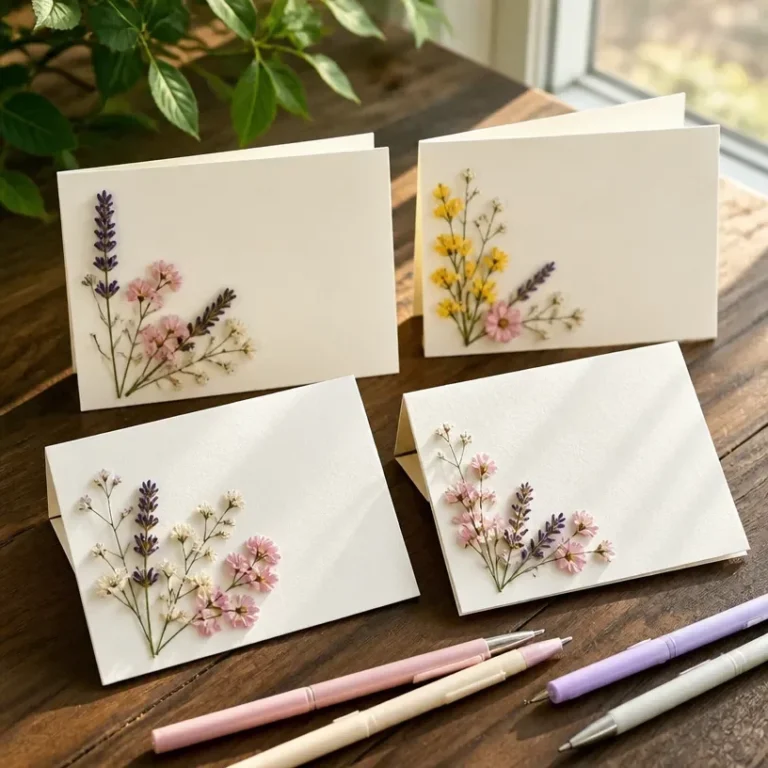
Pressed Flower Greeting Cards
Would you like to save this recipe?
By submitting you agree to receive this recipe and occasional emails. Unsubscribe anytime.
Ingredients
Materials Needed
- Variety flowers Pressed flowers - Choose a variety of colors and shapes Flowers like daisies, pansies, and small petunias work best for pressing.
- 1 pack Cardstock - Select a sturdy cardstock that complements your flowers Consider textured or patterned backgrounds.
- 1 bottle Clear glue - To secure your flowers to the card Clear-drying glue is preferred for a neat finish.
- 1 each Bone folder or ruler - For making folds and neat edges Assists in achieving clean finishes.
- 1 pair Scissors - For trimming excess cardstock and arranging flower edges Always handle flowers gently.
Instructions
Preparation
- Gather your materials and lay them out on a flat surface.
- Cut your cardstock to your desired size for the card.
Assembly
- Arrange your flowers on the cardstock without gluing them first.
- Once satisfied with the arrangement, apply clear glue to attach each flower carefully.
- Press each flower gently for a few seconds to ensure a good bond.
- Allow the card to dry completely.
- Use a bone folder to crisp up the edges and add personal messages inside before finishing.
Last Step: Don’t forget to leave a rating and comment below! It helps other readers find the best recipes — and it helps us too!
Tips & Notes:
Nutrition Information: Serving: 5 | Calories: | Carbohydrates: | Protein: | Fat: | Sodium: | Fiber: | Sugar:
Nutritional information is provided as a courtesy and calculated automatically. Values can vary depending on the brands and ingredients you use, so if you’re tracking closely, I recommend calculating with your own preferred tool.