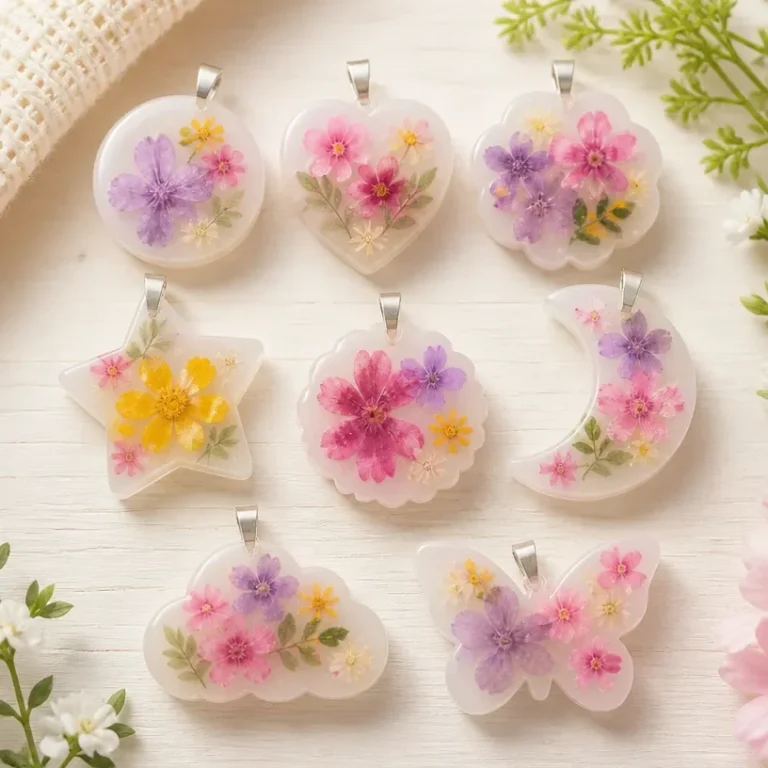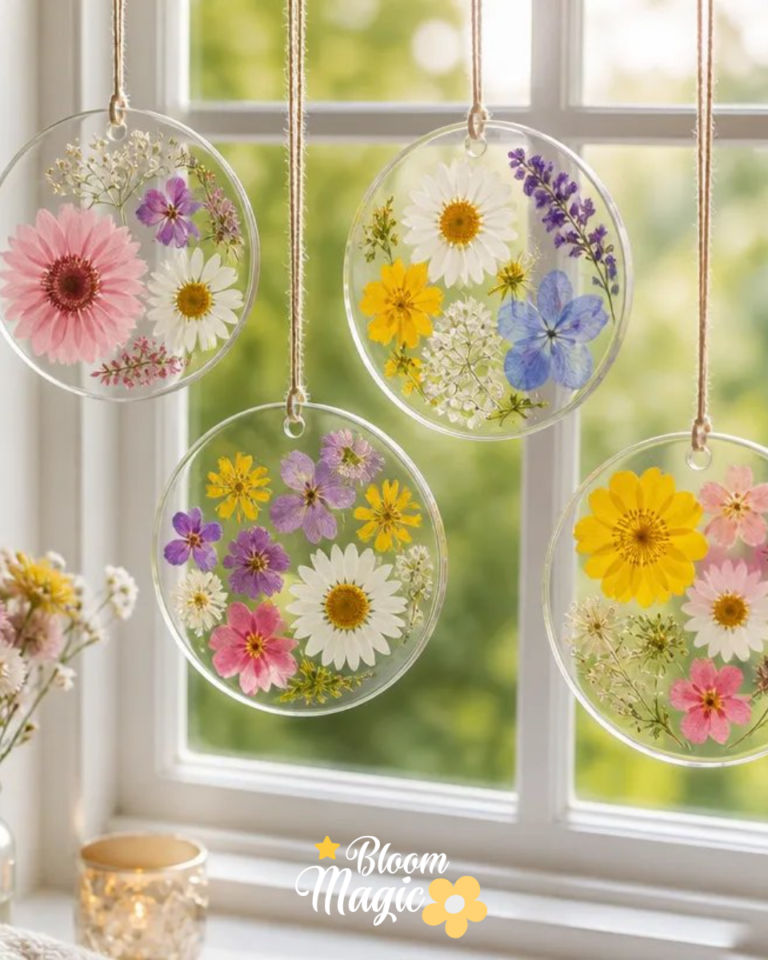
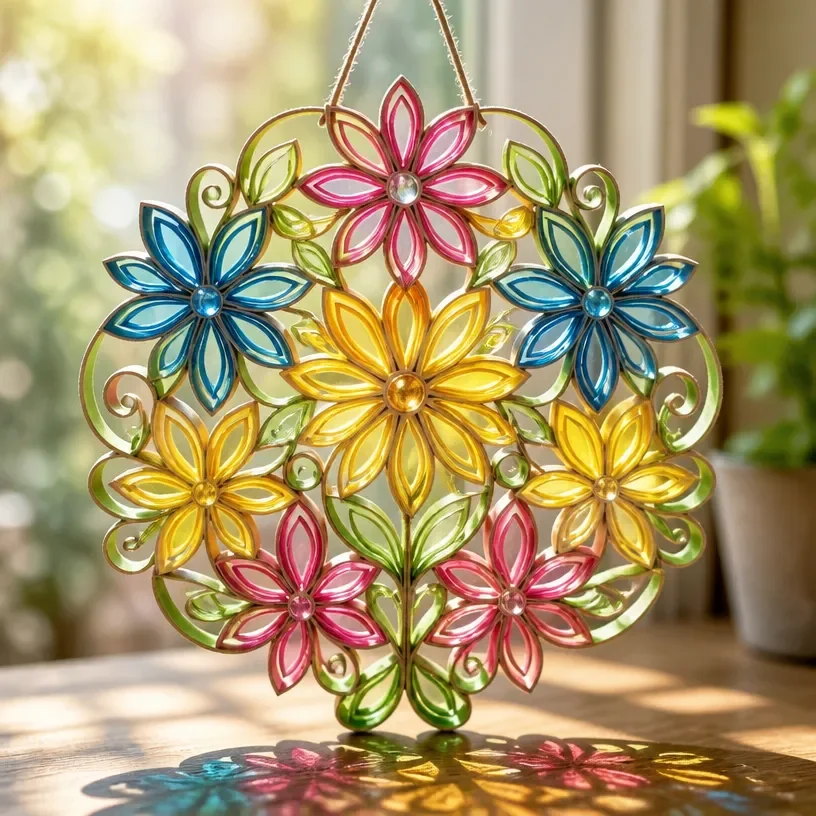
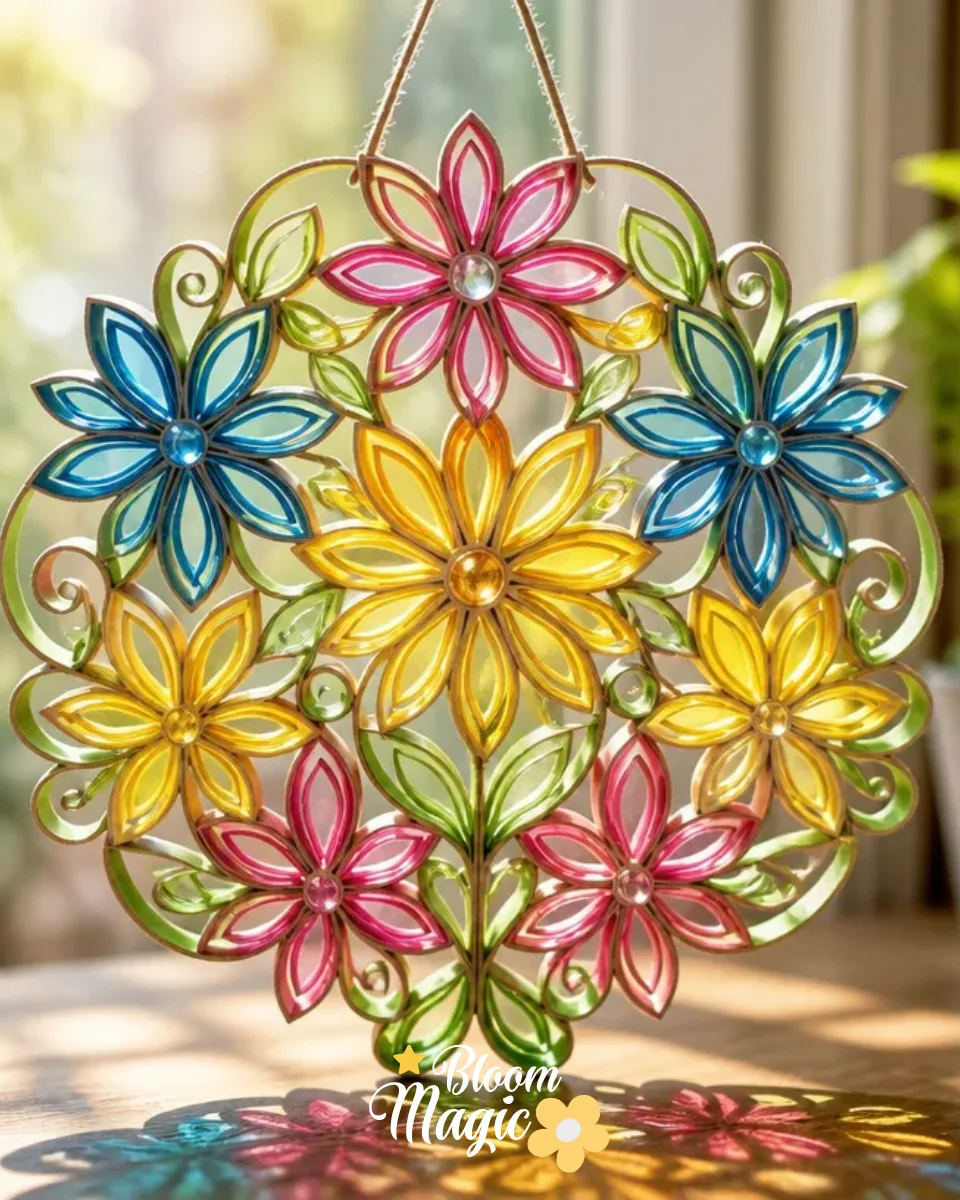
When you’re surrounded by vibrant petals and fresh blooms, the idea of preserving their beauty often strikes. Perhaps you’ve gathered a few fragrant flowers for a delightful afternoon project, or you’re looking to create something special that showcases your love for nature. This is where the Paper Roll Flower Suncatcher comes into play. It is an enchanting way to turn botanical materials into a piece of art that not only decorates your space but also captures the essence of your favorite flora. This project is accessible, creative, and quite fulfilling, making it perfect for anyone with a touch of craftiness. You may also find Paper Roll Flower Suncatcher Diy Easy Decor Project useful.
What Makes Paper Roll Flower Suncatcher Easy to Start
You may also find Pressed Flower Suncatcher Contact Paper useful.
The Paper Roll Flower Suncatcher stands out due to its simple and enjoyable nature. First, it provides an excellent opportunity to engage with flowers, allowing you to express creativity within a manageable scope. It utilizes materials that are often readily available, which means you can focus more on the joy of creation rather than sourcing complex supplies. This suncatcher serves as an inventive decoration that allows sunlight to illuminate the colors of the flowers and enhances your space beautifully. You may also find Tissue Paper Flower Window Suncatcher useful.
A Quick Look Before You Begin
Creating a Paper Roll Flower Suncatcher is a delightful and straightforward process. You will set up with some basic craft supplies and the beautiful flowers, petals, or leaves of your choice. The construction primarily involves using a paper roll as a frame, adding your botanical materials in a way that harmonizes with the design while keeping everything secure. It should be noted that this craft may get a bit messy, so preparing your workspace beforehand will help keep things tidy.
Materials You’ll Need
- Paper roll: The base for your suncatcher; cardboard rolls are most common.
- Contact paper: Used for securing the flowers visibly; look for clear options for the best effect.
- Fresh flowers or dried botanicals: Choose for color and texture; these will be the star of your suncatcher.
- Scissors: For cutting any excess materials as needed.
- Tape or glue: To secure ends of the paper roll and any loose botanical materials.
- A clean workspace: To keep your crafting area organized and mess-free.
Step-by-Step Directions

Prepare Your Materials: Gather your flowers, scissors, paper roll, and contact paper. Make sure everything is clean and ready to use.
Cut the Paper Roll: If you’d like a more decorative look, cut your paper roll to your desired height. It’s usually a good idea not to make it too tall for balance.
Lay Out Your Flowers: Before attaching anything, lay the flowers flat against the contact paper to gauge the arrangement. Focus on balancing colors and textures within your design.
Apply Contact Paper: Cut a piece of contact paper and adhere it to the outside of the paper roll, leaving an excess that can be folded over. Be careful to avoid air bubbles.
Place Your Flowers: Begin placing your chosen flowers onto the sticky side of the contact paper, pressing gently to adhere. You can trim stems to fit well.
Seal It Up: Once satisfied with your arrangement, fold the excess contact paper over the flowers and press down firmly to seal them in place.
Secure the Ends: If needed, use tape or a bit of glue at the ends of the paper roll to ensure it stays together and your flowers remain secure.
Hang Your Suncatcher: Use string or ribbon to hang the suncatcher in a sunny window. Ensure it’s secured well enough to prevent any slipping.
The Creative Details That Bring It Together
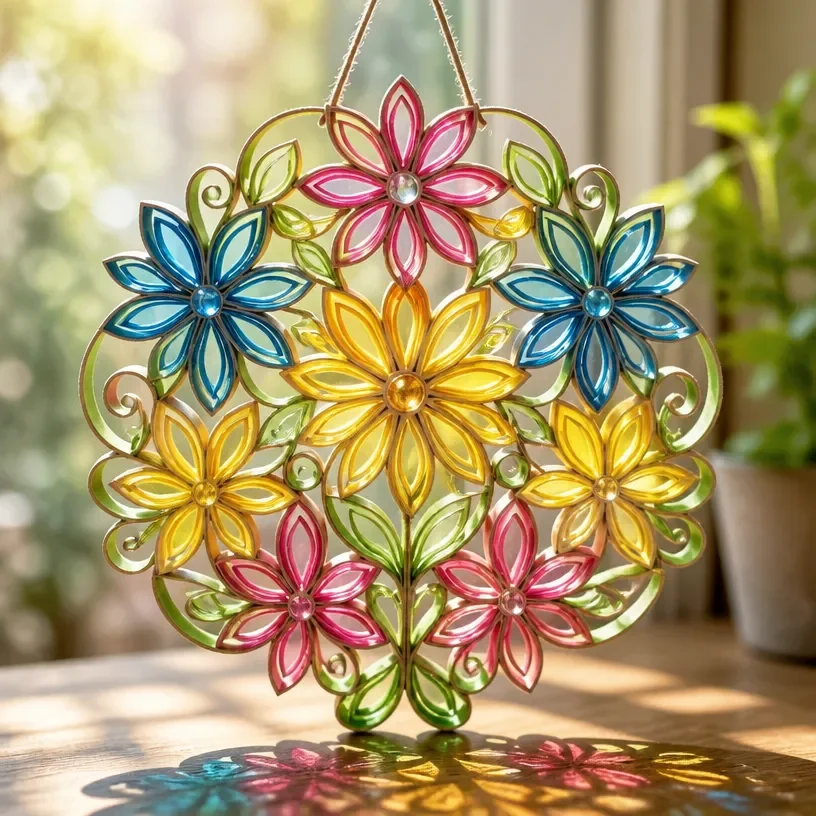
The placement of your flowers can significantly impact the overall visual harmony of your suncatcher. Focus on creating a blend of colors that appease the eye. If you have both soft pastels and vibrant hues, consider alternating them rather than clustering similar shades together. This approach allows for a more dynamic and inviting composition. Additionally, don’t shy away from mixing different types of botanical materials, such as combining stiff petals with softer textures. Layering your flowers can also enhance depth; try placing larger petals or accents on the bottom and small, delicate flowers on top.
Troubleshooting Common Issues
Sometimes in the crafting journey, things don’t quite go as planned. You might find that flowers shift after application. If this happens, gently lift the contact paper to reposition them properly. Ensure that your contact paper is well-adhered; this can often prevent pieces from moving. Also, watch for any excess adhesive peeking through the flowers. If you notice this, you can carefully dab it away with a damp cloth before it dries.
Easy Variations to Try
- Color Themes: Decide on a seasonal palette, such as warm oranges and browns for autumn or cool blues and whites for winter.
- Texture Changes: Introduce other botanical elements like dried leaves or herbs for a different aesthetic.
- Background Options: Instead of clear contact paper, use colored paper that complements the flowers for added effect.
- Size Adjustments: Feel free to play with the dimensions of your paper roll for a more dramatic look.
Displaying or Keeping Your Project
Once complete, choose a sunny spot to hang your suncatcher so that it captures and diffuses light. This enhances the beauty of the flowers while adding a personal touch to your decor. If you’re gifting this piece, consider wrapping it carefully to protect the flowers and keep it flat during transportation.
FAQs About Paper Roll Flower Suncatcher
What if I don’t have contact paper?
You can substitute it with clear adhesive sheets or even tape, although they may not hold up as well visually as contact paper.
Can I use artificial flowers?
Certainly! Artificial flowers can last longer and still provide a beautiful effect. Just ensure they are lightweight so they adhere properly.
Are there any flower types I should avoid?
Flowers with too much moisture or delicate petals may not work well as they can wilt or become damaged during assembly.
A Final Helpful Note
Your Paper Roll Flower Suncatcher is an engaging project that combines elements of creativity and nature. Don’t hesitate to try different materials and let your imagination guide you. Most importantly, enjoy each moment of the crafting process, and remember that each piece is uniquely yours.
Conclusion
Crafting your own suncatcher can be a rewarding experience, both creatively and decoratively. If you’re looking for more inspiration on similar projects, you might enjoy learning about how to make a suncatcher with pressed flowers and leaves. For those considering using rolled paper instead, check out a Cardboard Roll Flower Suncatcher Craft for additional ideas. Each project is a chance to explore the beauty of flowers and make something special to cherish or gift.
Follow us on social for more floral DIY projects & botanical inspiration!
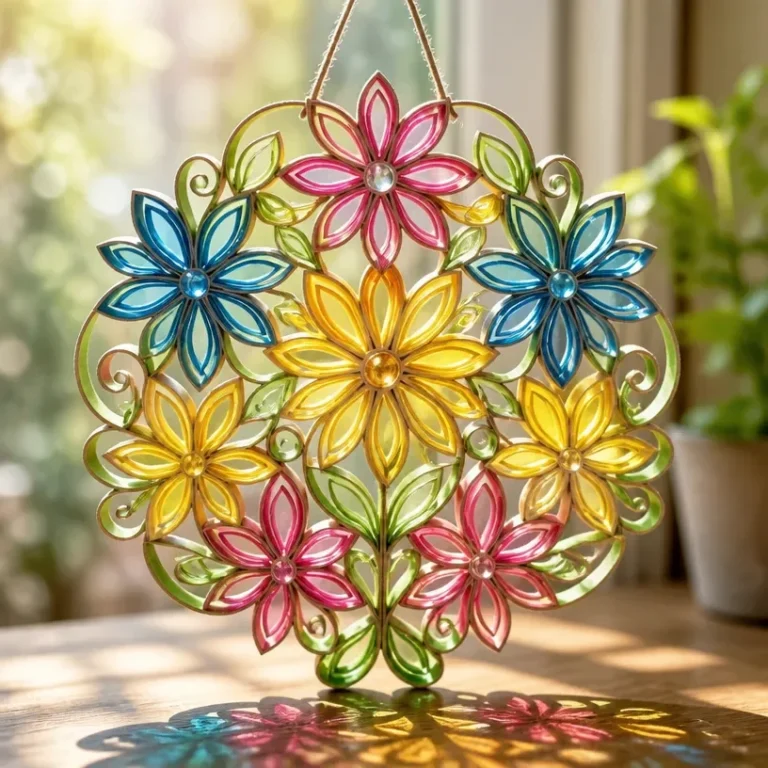
Paper Roll Flower Suncatcher
Would you like to save this project?
By submitting you agree to receive this project and occasional emails. Unsubscribe anytime.
Materials
Materials
- 1 piece Paper roll (cardboard) The base for your suncatcher.
- 1 piece Contact paper (clear) Used to secure the flowers visibly.
- Various Fresh flowers or dried botanicals Select for color and texture.
- 1 pair Scissors For cutting any excess materials as needed.
- 1 piece Tape or glue To secure ends of the paper roll.
Directions
Preparation
- Gather your flowers, scissors, paper roll, and contact paper.
- Cut the paper roll to your desired height for decorative look.
- Lay the flowers flat against the contact paper to gauge the arrangement.
Construction
- Cut a piece of contact paper and adhere it to the outside of the paper roll.
- Place your chosen flowers onto the sticky side of the contact paper.
- Fold the excess contact paper over the flowers and press down firmly.
- Use tape or glue at the ends of the paper roll to secure.
- Hang the suncatcher in a sunny window using string or ribbon.
Last Step: Don’t forget to leave a rating and comment below! It helps other readers find the best DIY projects — and it helps us too!