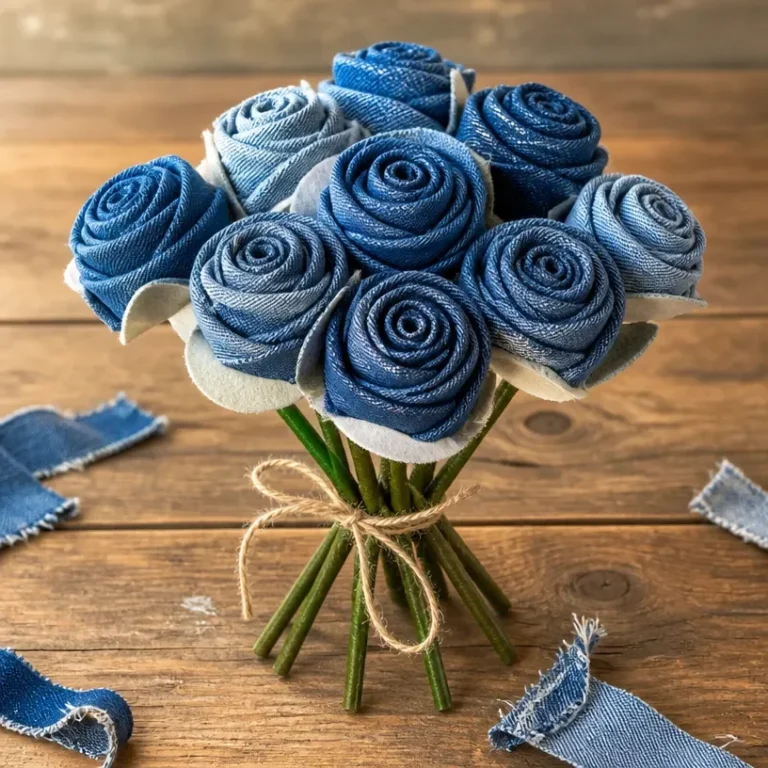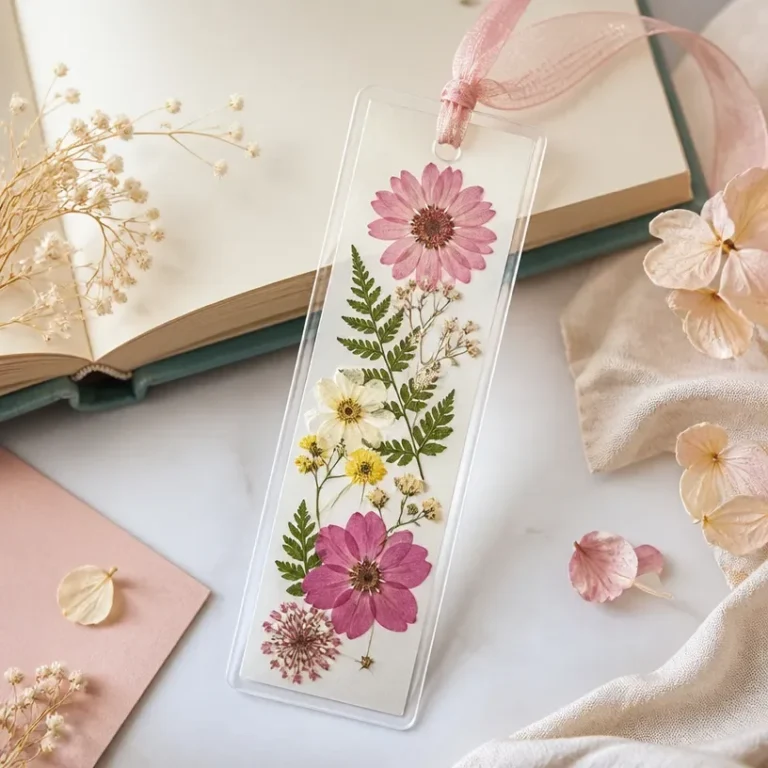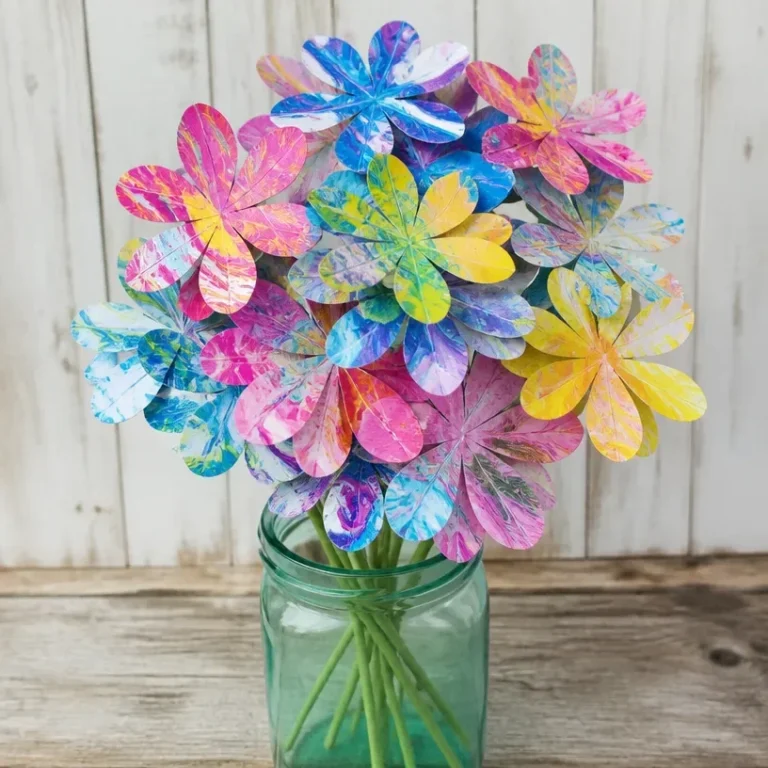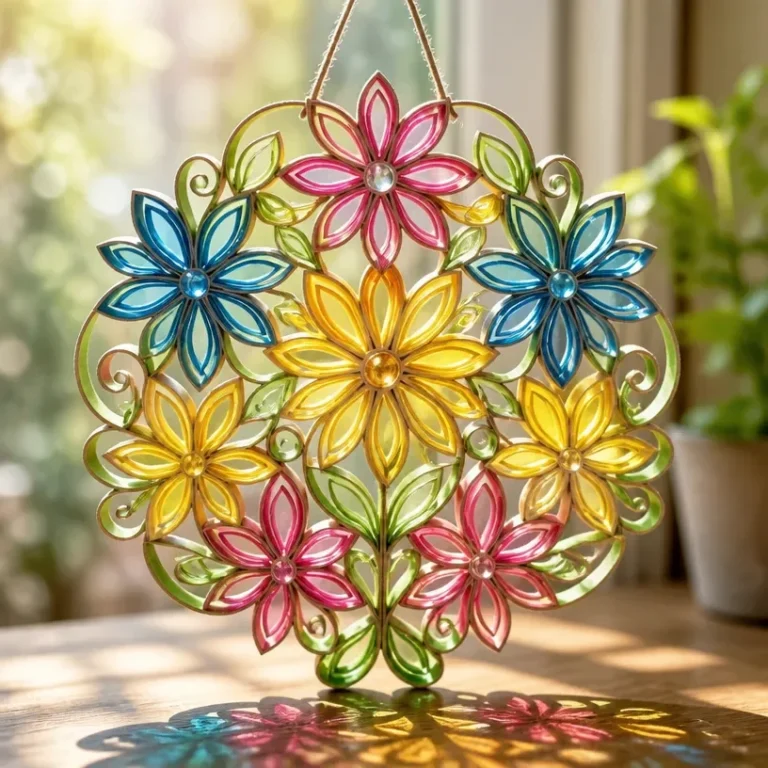
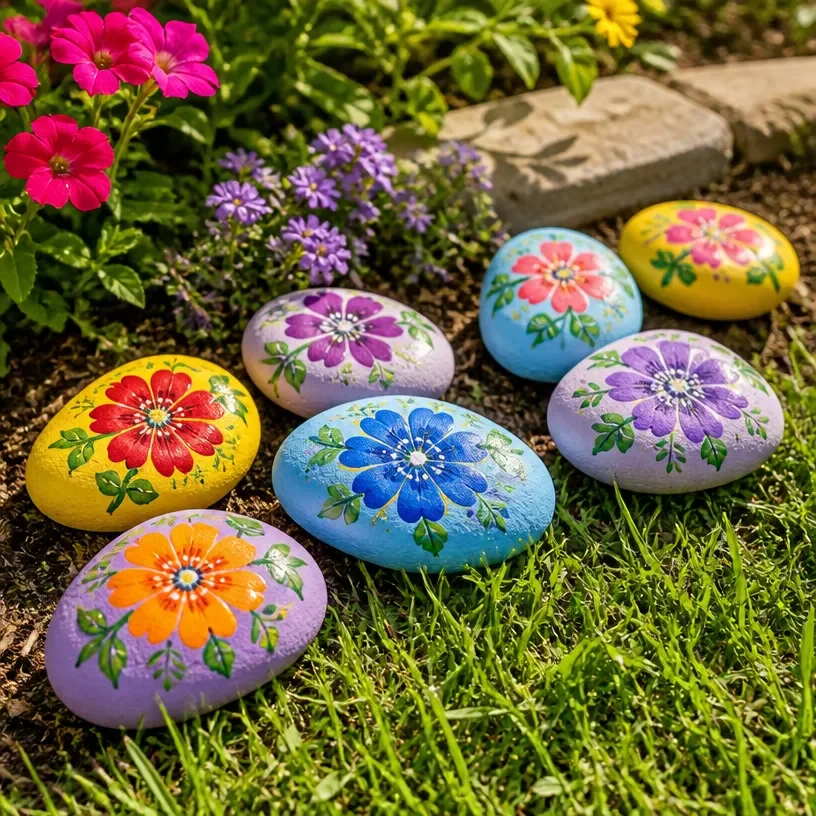
Creating beautiful Flower-Painted Garden Rocks combines the vibrant colors of nature with the personality of your garden. Imagine setting up your craft space on a sunny afternoon, eager to transform some simple stones into unique decorations. As you gather your flowers, paints, and brushes, the project becomes an opportunity to showcase your creativity while giving life to your garden. Flower-Painted Garden Rocks not only brighten your outdoor space but also let you cherish those precious blooms you want to preserve. You may also find Glowing Flower Lanterns Garden Lighting Projects useful.
Why This Flower-Painted Garden Rocks Works So Well

You may also find Rainbow Flower Garden Diy Colorful Blooms useful.
This project is wonderfully approachable, making it perfect for crafters of all skill levels. The charm of painting on stones lies in the flexibility it offers; you can freely express your artistic vision without pressure. The vibrant colors of the flowers help to enhance the rocks, making them visually rewarding once completed. Furthermore, the materials required are easy to acquire, allowing you to gather everything you need for a delightful afternoon of crafting. Flower-Painted Garden Rocks provide an excellent way to showcase your flower appreciation while creating something both decorative and meaningful.
A Quick Look Before You Begin
As you prepare for crafting Flower-Painted Garden Rocks, set aside a dedicated workspace. You’ll want a flat surface covered with newspaper or a plastic cloth to catch any paint spills. Start by ensuring you have all your materials organized to make the process smooth and enjoyable.
The main construction approach involves painting the stones and embedding floral elements, which can be done in manageable stages. You’ll start by prepping the rocks and then layer the designs as your creativity flows. Remember to allow for drying times as you work, especially when using different mediums. The mess level is minimal, and careful handling will ensure your creations look intentional and beautifully crafted throughout the process.
Materials You’ll Need
- River rocks or smooth stones: Choose a variety of sizes to add interest.
- Acrylic paints: Select colors that complement your chosen flowers.
- Paintbrushes: Various sizes to accommodate detail work and larger sections.
- Sealer: A clear acrylic sealer will protect your painted rocks when displayed outdoors.
- Fresh flowers or flower petals: Use blooms that inspire you and provide nice shapes for painting.
- Water: For cleaning brushes and mixing paints.
- Palette or paper plates: For mixing your paint colors easily.
These materials will ensure a successful crafting experience, allowing you to bring your floral ideas to life on the stones.
Step-By-Step Directions

Gather Sturdy Rocks: Start with clean, dry rocks. Rinse the stones under water to remove any dust or dirt, then let them dry completely. A smooth surface will ensure the paint adheres well.
Plan Your Design: Before you start painting, take a moment to decide which flowers you want to feature. Sketch your ideas lightly on the rocks if you feel it will help guide your painting.
Apply Base Colors: Use a larger brush to paint the background. Choose shades that will serve as a lovely base for your flowers. Allow the base layer to dry before moving on.
Add Floral Shapes: Using a smaller brush, begin painting flower shapes inspired by your fresh blooms. Consider blending colors together to mimic the natural beauty of the flowers.
Create Details: After your flowers dry, use a fine brush to add in details like the petals and leaves, ensuring you capture the delicate nuances of each flower.
Incorporate Real Flowers: If you desire, you can add real petals or floral pieces to your painted design for depth. Be sure to use a clear adhesive to secure them well.
Seal and Protect: Once everything is fully dry, apply a coat of clear sealer to protect your rocks from the elements. This helps maintain the vibrancy of your colors.
Display with Pride: Choose a sunny spot in your garden, or gift your beautifully painted rocks to friends or family. They are sure to appreciate the handcrafted charm!
The Design Behind This Floral DIY

The beauty of Flower-Painted Garden Rocks lies in their colorful representation of nature. Use a harmonious color palette by choosing flowers with tones that complement each other. For example, vibrant yellows paired with deep purples can create a stunning contrast, drawing the eye to your crafted piece.
Balance your design by spreading colors evenly across the stone and considering the placement of flowers and petals. Layering colors, such as a light wash followed by bolder strokes, adds dimension to your artwork. Use natural shapes of the flowers as inspiration to guide your brush movements, making your final composition feel cohesive and intentional.
Troubleshooting Common Issues
Common problems may arise during your journey in crafting Flower-Painted Garden Rocks. If you notice your paint smudging, allow each layer to dry fully before adding more details. If your flowers shift while applying adhesive, hold them gently in place for a moment to ensure they adhere properly. Uneven spacing can often be resolved by stepping back and observing your work from a distance; this helps highlight areas needing adjustment.
If you feel your arrangement looks crowded, consider leaving some parts of the rock blank to balance the design. Lastly, should you accidentally spill paint, don’t panic! Clean it up quickly with a damp cloth for best results.
Easy Variations to Try
Get creative by trying these easy variations with your Flower-Painted Garden Rocks:
- Color Themes: Develop a set of rocks based on a single color palette, like blues and greens for a calming effect.
- Seasonal Blooms: Use flowers that are in season to inspire the colors and designs you choose for your painted rocks.
- Layered Designs: Experiment with different patterns like stripes or dots in the background to create texture under the blooms.
- Alter Backgrounds: Paint backgrounds with different patterns, such as swirls or splatters, for added fun.
Feel free to mix and match these variations to create unique decorations that reflect your style.
Displaying or Keeping Your Project
After completing your Flower-Painted Garden Rocks, display them proudly in your garden or indoor space. Consider placing them among flowers in your garden beds or on shelves as charming decor. If you want to gift them, consider wrapping them up with some local flowers or twine for an added personal touch. Be mindful of careful handling when moving them anywhere to prevent chipping.
Moreover, storing leftover materials can double as an opportunity to make more beautiful rocks in the future. When keeping your painted rocks indoors, simply dust them off with a soft cloth from time to time to maintain their appearance.
FAQs About Flower-Painted Garden Rocks
- Can I use different types of paint? Yes, acrylic paints work best for this project, but you can also experiment with fabric paint for flexible designs.
- What if my flowers wilt before I can use them? Use fresh blooms that have just been cut, or purchase flowers from a local market for the best results. Dried flowers can also be effective if you would like to create a lasting display.
- Are there substitutes for stones? Certainly! You can use wood pieces or even ceramic tiles as an alternative surface for paint.
- How do I prevent smudging while painting? Give each layer of paint sufficient time to dry before adding additional details. This ensures a crisp design without accidental smudges.
- Can I display my painted rocks outside? Yes, but be sure to use a clear sealer to protect your work from the elements.
A Final Helpful Note
Embrace the joy of crafting with Flower-Painted Garden Rocks. Allow yourself the flexibility to experiment and explore your creativity. Pay attention to the flowers and materials, and don’t rush through the process; it’s here that your artistic voice will shine. Enjoy each step and let the project unfold naturally, leading to beautiful results that you will be proud to showcase or share.
Conclusion
Crafting with flowers opens up a world of creative possibilities, such as exploring artisan rock designs inspired by nature. You can find unique designs and endless inspiration in different places, such as
Flower Garden Rocks – Etsy. If you wish to dive deeper into floral painting, consider checking out a guide like
DIY Flower Painted Rocks -Easy Tutorial – Artsy Pretty Plantsfor more tips and tricks.
Follow us on social for more floral DIY projects & botanical inspiration!

Flower-Painted Garden Rocks
Would you like to save this project?
By submitting you agree to receive this project and occasional emails. Unsubscribe anytime.
Materials
Main materials
- 10 pieces River rocks or smooth stones Choose a variety of sizes to add interest.
- 5 colors Acrylic paints Select colors that complement your chosen flowers.
- 3 pieces Paintbrushes Various sizes to accommodate detail work and larger sections.
- 1 can Sealer A clear acrylic sealer will protect your painted rocks when displayed outdoors.
- 5 blooms Fresh flowers or flower petals Use blooms that inspire you and provide nice shapes for painting.
- 1 small bowl Water For cleaning brushes and mixing paints.
- 2 pieces Palette or paper plates For mixing your paint colors easily.
Directions
Preparation
- Gather sturdy rocks: Start with clean, dry rocks. Rinse the stones under water to remove any dust or dirt, then let them dry completely.
- Plan your design: Decide which flowers to feature and sketch your ideas lightly on the rocks.
Painting
- Apply base colors: Use a larger brush to paint the background with shades that complement your flowers.
- Add floral shapes: Use a smaller brush to paint flower shapes inspired by your fresh blooms.
- Create details: After your flowers dry, use a fine brush to add details like petals and leaves.
- Incorporate real flowers: Optionally add real petals or floral pieces using clear adhesive.
Finishing touches
- Seal and protect: Once fully dry, apply a coat of clear sealer to protect your rocks from the elements.
- Display with pride: Choose a sunny spot in your garden to show off your beautifully painted rocks.
Last Step: Don’t forget to leave a rating and comment below! It helps other readers find the best DIY projects — and it helps us too!