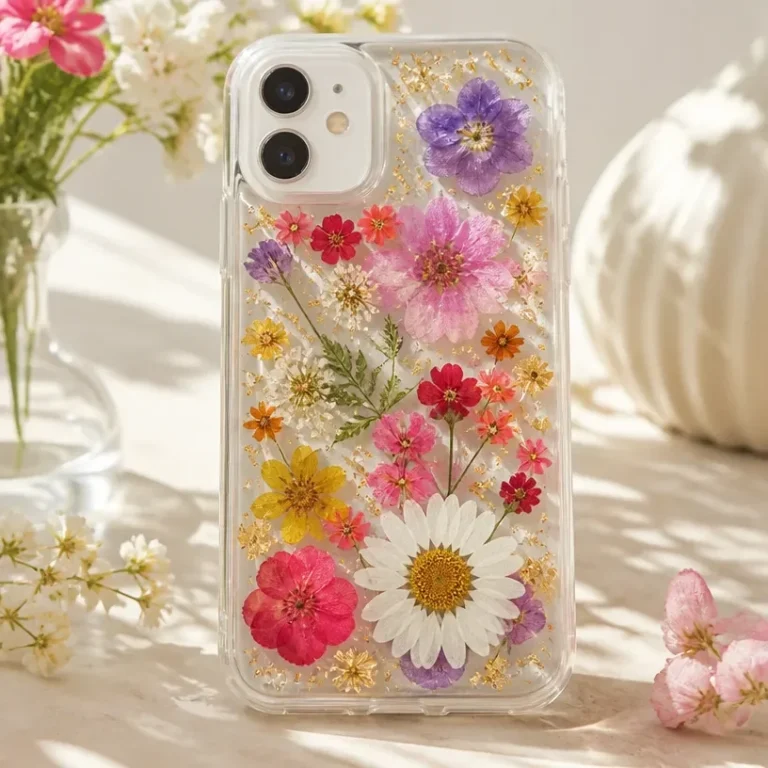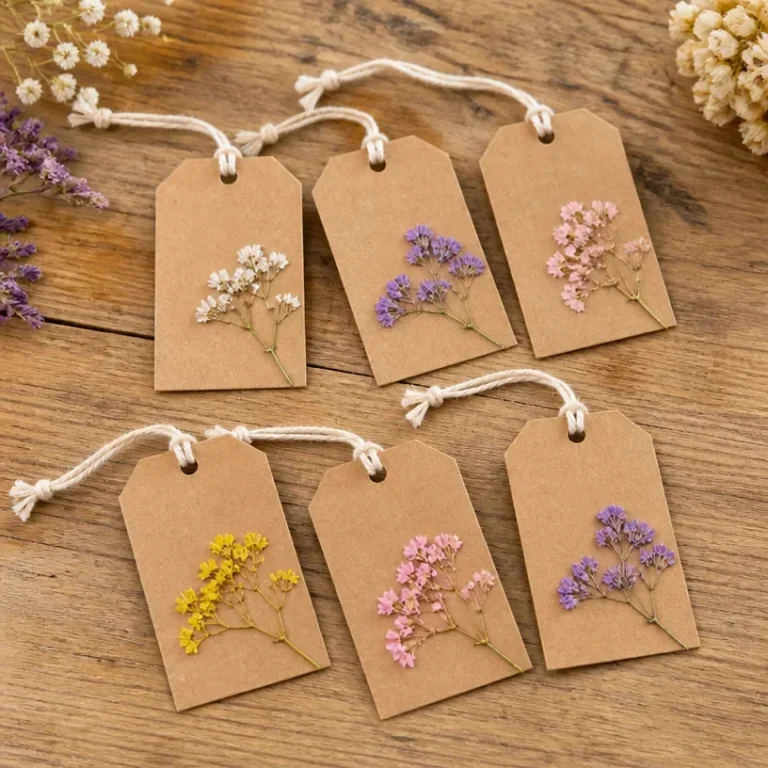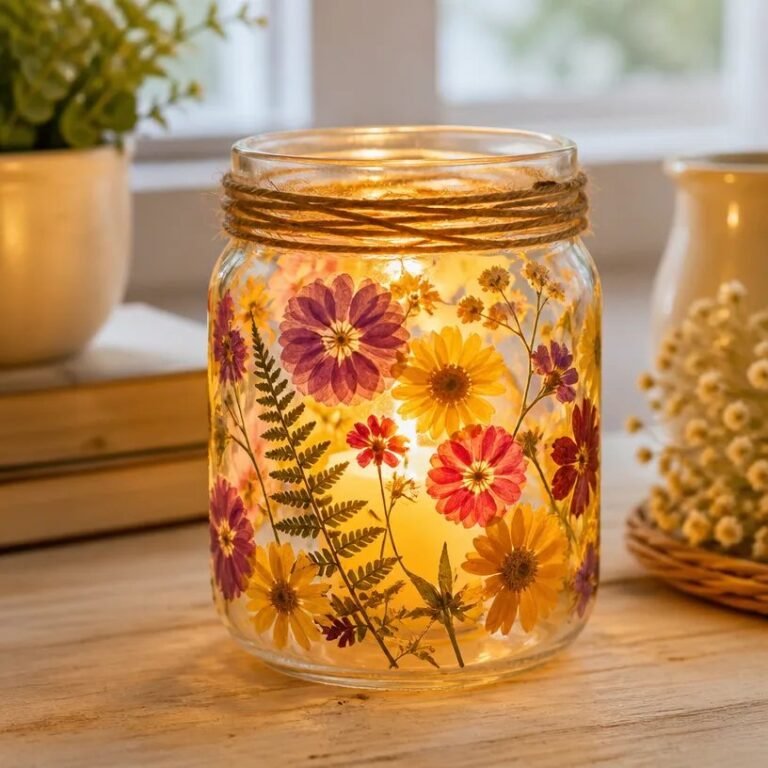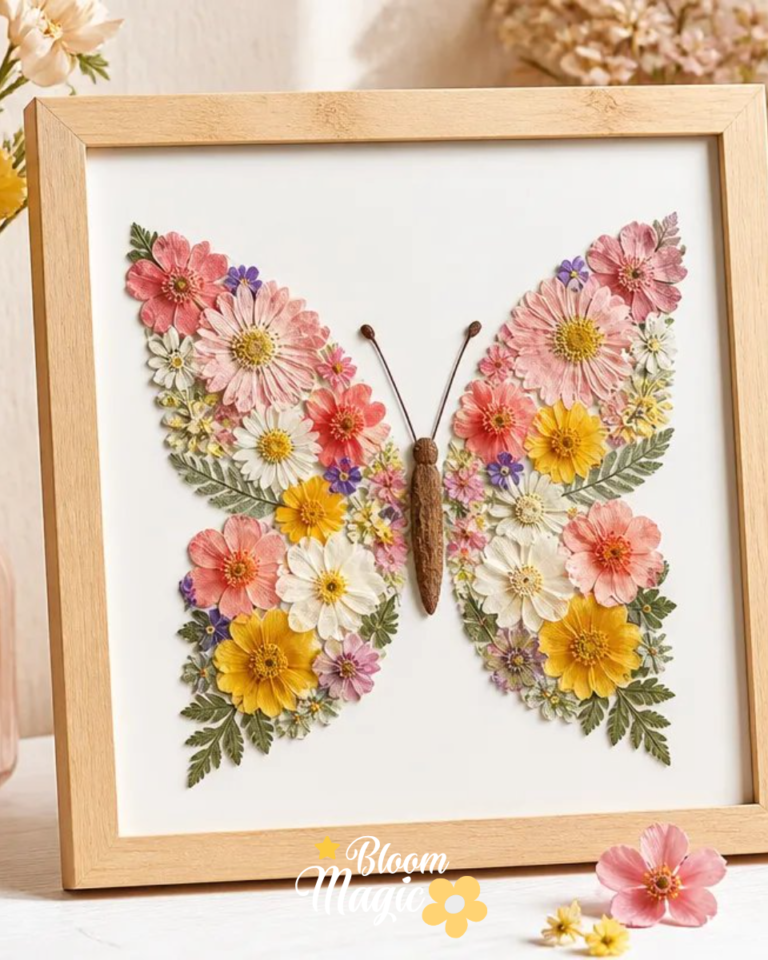
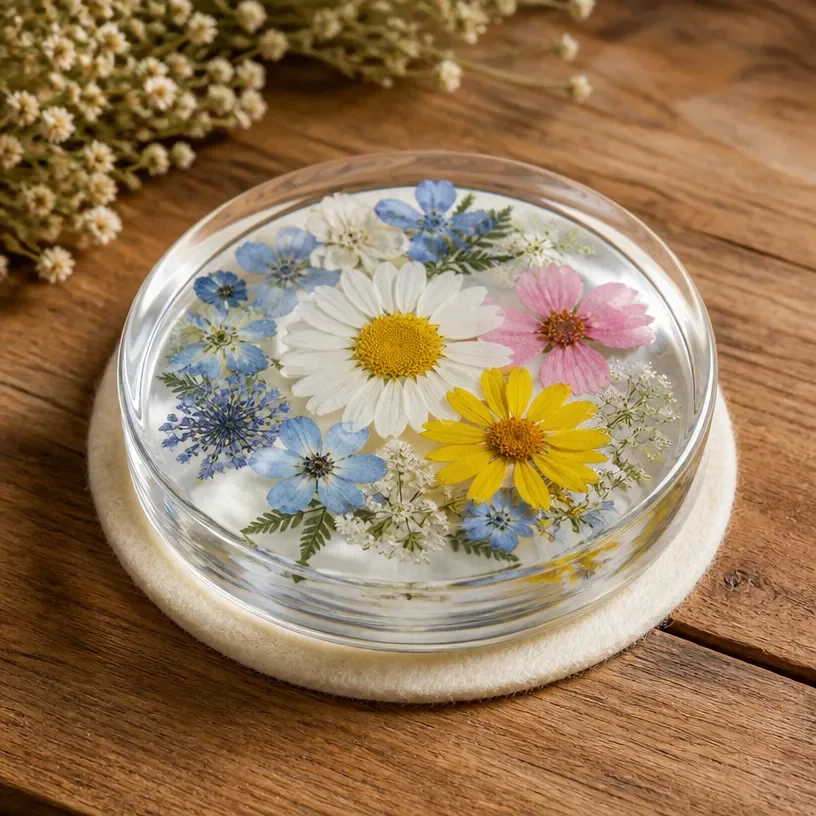
Pressed flowers offer a beautiful way to preserve memories, turning fleeting blooms into lasting keepsakes. Have you ever found yourself surrounded by vibrant petals, wanting to transform them into something special? Perhaps you have dried flowers or botanical designs you’d like to showcase creatively. Combining pressed flowers into decorative paperweights is a delightful craft that not only highlights their beauty but also adds a personal touch to your decor. Making pressed flower paperweights provides a satisfying and artistic experience that can be enjoyed by crafters of all levels. You may also find Floating Pressed Flower Glass Frame useful.
Why This Pressed Flower Decorative Paperweights Works So Well

You may also find Glue On Flower Window Cling Decorative Sticker useful.
This project is approachable for everyone, even beginners, as it allows for creativity while using materials that are easy to handle. The satisfaction of seeing your floral arrangements preserved in resin or glass brings an immediate sense of accomplishment. Beyond their visual appeal, these decorative paperweights serve a practical purpose they keep papers and other items in place while adding a floral touch. The care taken to arrange your selected flowers thoughtfully can create a stunning focal point in any space, making them perfect gifts for loved ones or cherished pieces for your home.
How This Floral DIY Comes Together
Making pressed flower decorative paperweights is manageable with the provided materials and a clear construction approach. Start by selecting the flowers you’d like to use and prepare both your workspace and materials. The setup is straightforward and requires minimal cleanup. Consider that some stages involve delicate handling of the pressed flowers, especially when arranging them within the frame. By approaching each step with care, you’ll create a beautiful result to display and enjoy.
Materials You’ll Need
- Fresh or dried flowers: Choose blooms that are thin so they can be pressed easily; colorful petals will stand out beautifully.
- Glass paperweight or resin mold: These serve as the base; various shapes and sizes are available.
- Adhesive: A solid choice is the clear glue for a clean finish when securing your flowers.
- Tweezers: Help with placement of delicate flowers.
- Scissors: To trim flowers and adjust stems as needed.
- Protective gear (gloves, mask): If using resin, this will ensure safety during the process.
Using the right materials is essential for a successful outcome. Each item contributes to the aesthetic and structural integrity of your finished work.
Step-by-Step Directions
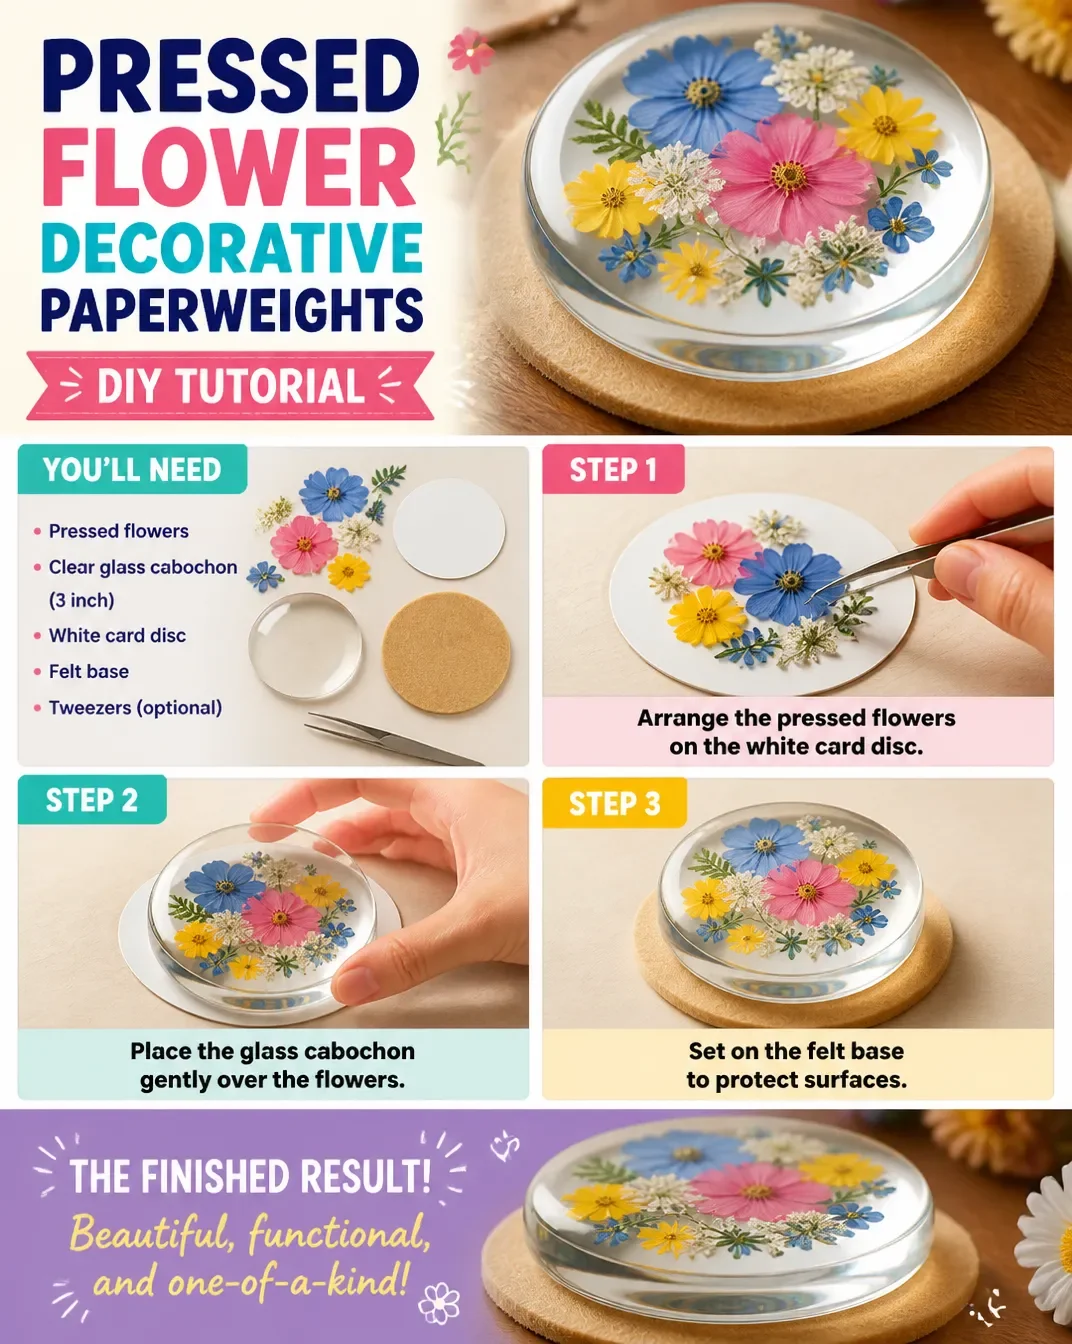
Prepare Your Flowers: Begin by selecting fresh blooms to press or using already dried ones. Ensure they are clean and free of any moisture.
Press the Flowers: Place your chosen flowers between sheets of parchment paper, then press them using a heavy book or a flower press. Allow them to dry completely, which may take a few days.
Arrange the Pressed Flowers: Once fully dried, carefully remove the flowers from the press. Use tweezers to position your favorite blooms attractively within the paperweight or mold. Keep spacing in mind to maintain balance.
Secure the Arrangement: Apply a thin layer of adhesive over the back of each flower and the base of your mold. This will hold them in place once you pour the resin or attach the top layer.
Mix and Pour the Resin: If using a resin, mix it according to the package instructions. Carefully pour it over the flowers in the mold. Aim for a level, even coverage to avoid air bubbles.
Cure the Resin: Allow the resin to sit as directed on the package. This curing time can vary significantly, so patience is crucial.
Finish Up: Once fully cured, remove the paperweight from the mold. If necessary, sand the edges for a smooth finish.
The Design Behind This Floral DIY
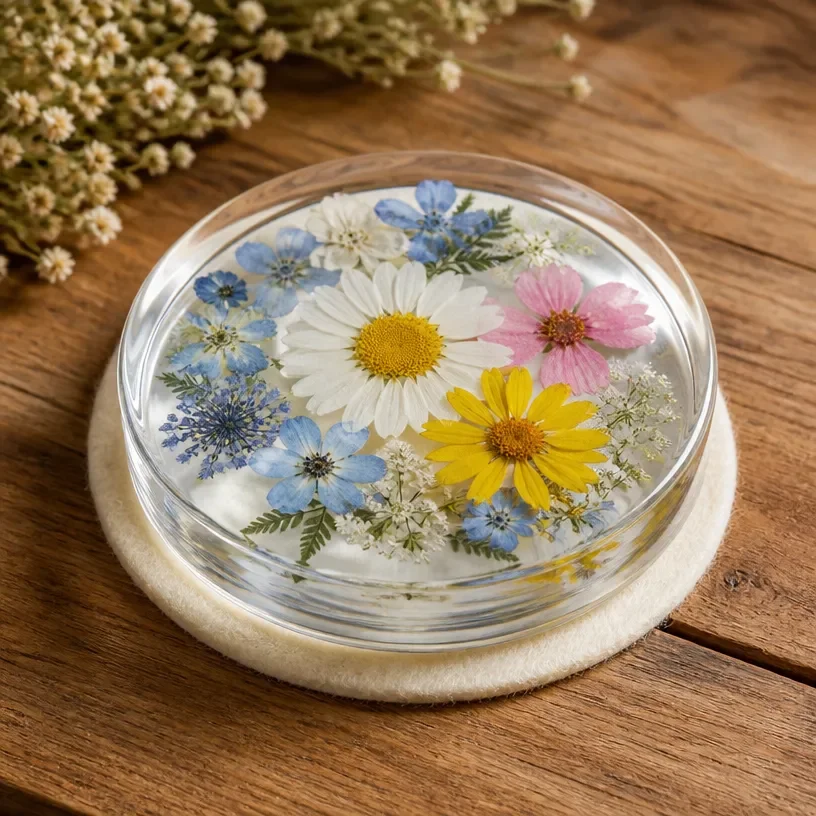
When crafting pressed flower decorative paperweights, consider the color relationships between the flowers and how they complement each other. Layering can create depth mix lighter flowers with darker tones to ensure balance. Try to create a focal point with a larger bloom, surrounded by smaller ones for a visually appealing arrangement. Utilizing texture can also add interest; pair the smoothness of petals with intricate leaves or added elements like dried herbs. Space between flowers is vital; avoid overcrowding to maintain each flower’s unique character.
Troubleshooting Common Issues
Sometimes, arrangements may not turn out as expected. Here are some common concerns and easy fixes you can apply:
- Uneven Placement: If flowers shift during the adhesive drying time, gently realign them using tweezers.
- Visible Adhesive: Use a clear adhesive that dries transparent. If excess glue is visible, gently wipe it away before it sets.
- Crowding: If the arrangement seems too busy, consider removing some flowers and rearranging others for a more balanced look.
Easy Variations to Try
Here are a few ideas to personalize your pressed flower paperweights:
- Seasonal Themes: Use flowers that bloom in different seasons to adapt your paperweights accordingly.
- Background Colors: Consider painting the base of your mold or paperweight for a pop of color that contrasts your flowers.
- Size Adjustments: Try creating smaller or larger weights by modifying the mold size or number of flowers.
Displaying or Keeping Your Project
Once your pressed flower decorative paperweight is complete, think about how you’ll display it. These items can enhance desk organization or serve as thoughtful gifts for friends and family. If you opt for gifting, consider wrapping it beautifully, or adding a small note which explains the flower choices you made.
FAQs About Pressed Flower Decorative Paperweights
What kind of flowers work best for this project? Thin, delicate flowers such as pansies, daisies, or forget-me-nots work wonderfully as they press well and hold their shape.
Can I use a different adhesive? Yes! However, ensure it’s clear and suitable for floral use to prevent discoloration and ensure durability.
How do I care for my finished paperweight? Keep it out of direct sunlight to prevent fading, and gently clean the surface with a soft cloth when necessary.
A Final Helpful Note
Remember that crafting pressed flower decorative paperweights is a journey meant to be enjoyed. Take your time with each step, and don’t hesitate to adjust your design or materials as you see fit. The beauty of this project lies in your creativity and personal touch, so embrace the process and let your artistic instincts shine!
Conclusion
Creating pressed flower decorative paperweights is not just a delightful craft but also a beautiful way to preserve memories. Engaging with flowers in this manner can connect you to nature while providing a sense of accomplishment. For those looking to expand their crafting supplies, consider checking out options for flower paper weights on Amazon or explore handcrafted items like pressed flowers paper weights on Etsy. Embrace your creativity and enjoy the process of making something special that you or your loved ones can cherish for years to come.
Follow us on social for more floral DIY projects & botanical inspiration!
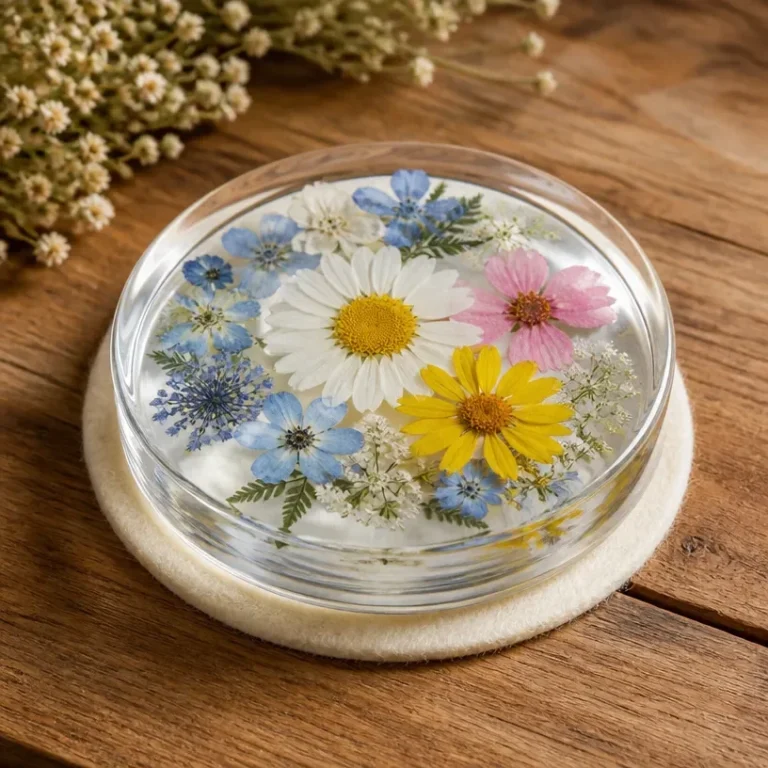
Pressed Flower Decorative Paperweights
Would you like to save this recipe?
By submitting you agree to receive this recipe and occasional emails. Unsubscribe anytime.
Ingredients
Materials
- 1 bunch Fresh or dried flowers Choose thin blooms like pansies or daisies for best results.
- 1 unit Glass paperweight or resin mold Various shapes and sizes available.
- 1 bottle Clear adhesive Use for securing flowers in place.
- 1 unit Tweezers For delicate placement of flowers.
- 1 pair Scissors To trim flowers and adjust stems as needed.
- 1 set Protective gear (gloves, mask) Recommended if using resin.
Instructions
Preparation
- Begin by selecting fresh blooms to press or using already dried ones.
- Ensure the selected flowers are clean and free of moisture.
Pressing Flowers
- Place your chosen flowers between sheets of parchment paper.
- Press them using a heavy book or a flower press and allow them to dry completely, which may take a few days.
Arranging Flowers
- Remove the dried flowers from the press carefully.
- Use tweezers to position the blooms attractively within the paperweight or mold.
- Maintain balanced spacing to enhance aesthetics.
Securing Arrangement
- Apply a thin layer of adhesive over the back of each flower and the base of your mold.
- This will hold them in place once you pour the resin or attach the top layer.
Mixing and Pouring Resin
- If using resin, mix it according to the package instructions.
- Carefully pour it over the flowers in the mold.
- Aim for a level, even coverage to avoid air bubbles.
Curing Resin
- Allow the resin to sit as directed on the package. This curing time can vary significantly.
Finishing Touches
- Once fully cured, remove the paperweight from the mold.
- If necessary, sand the edges for a smooth finish.
Last Step: Don’t forget to leave a rating and comment below! It helps other readers find the best recipes — and it helps us too!
Tips & Notes:
Nutrition Information: Serving: 1 | Calories: | Carbohydrates: | Protein: | Fat: | Sodium: | Fiber: | Sugar:
Nutritional information is provided as a courtesy and calculated automatically. Values can vary depending on the brands and ingredients you use, so if you’re tracking closely, I recommend calculating with your own preferred tool.