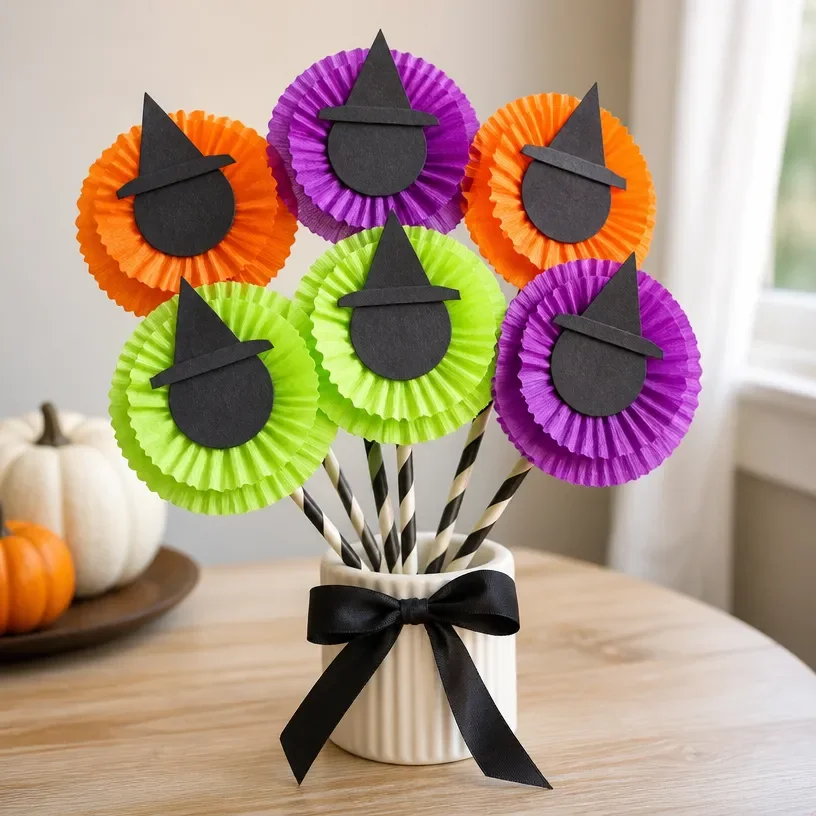
Creating a joyful atmosphere around Halloween doesn’t require much more than a few craft supplies, some creativity, and a touch of whimsy. While I found myself with colorful cupcake liners in shades of purple, orange, and lime, the thought of making a Cupcake-Liner Witch Flower Bouquet instantly came to mind. This delightful project combines simple crafting techniques with accessible materials, allowing you to make a charming, unlit indoor bouquet that is perfect for Halloween decorations. You may also find Coffee Filter Tie Dye Flower Bouquet useful.
Why This Cupcake-Liner Witch Flower Bouquet Works So Well
You may also find Paint Flower Bouquet Salad Spinner Easy Tutorial useful.
What makes the Cupcake-Liner Witch Flower Bouquet an enjoyable project is its approachability. Utilizing common items like cupcake liners transforms them into whimsical flowers, ideal for decorating your home. This project is visually rewarding, as it results in a festive arrangement that captures the playful spirit of Halloween. Because the materials are all easy to find and require minimal crafting skills, anyone can dive right in and create something beautiful to display.
Now, if you’re looking for inspiration from other projects that use familiar materials, you might enjoy exploring this fork pom-pom flower bouquet. It showcases how creativity can flourish using things you already have on hand.
A Quick Look Before You Begin
Starting the Cupcake-Liner Witch Flower Bouquet is straightforward. Set up a clean workspace where you can easily reach your supplies. The main construction approach involves layering cupcake liners, which simplifies the process and makes it easier for beginners.
As you work, the level of mess is quite manageable. Most of the project relies on glue, and you can keep your surfaces clean with a simple craft mat. It’s also reassuring to know that any tricky stages mostly involve arranging your layers and hats, which is part of the fun. Once finished, your bouquet will be a delightful focal point for your Halloween festivities.
Materials You’ll Need
To get started, gather the following materials:
- 18 cupcake liners in purple/orange/lime: These vibrant liners form the flowers and bring a festive touch.
- 6 paper straws: These serve as stems for your blooms.
- 1 sheet black cardstock: Used for creating the witch hats.
- 6 paper center circles: These add dimension to the flowers.
- Tacky glue: This adhesive will secure your layers and elements together effectively.
- Scissors: Essential for cutting the cardstock and trimming any pieces as needed.
- 18-inch ribbon: This adds a lovely finish when tying your bouquet together.
Each material plays a specific role, contributing to the overall design and sturdiness of your bouquet. If you’re considering substitution options, think about using different colors or even fabrics like felt if you have them on hand.
Step-by-Step Directions
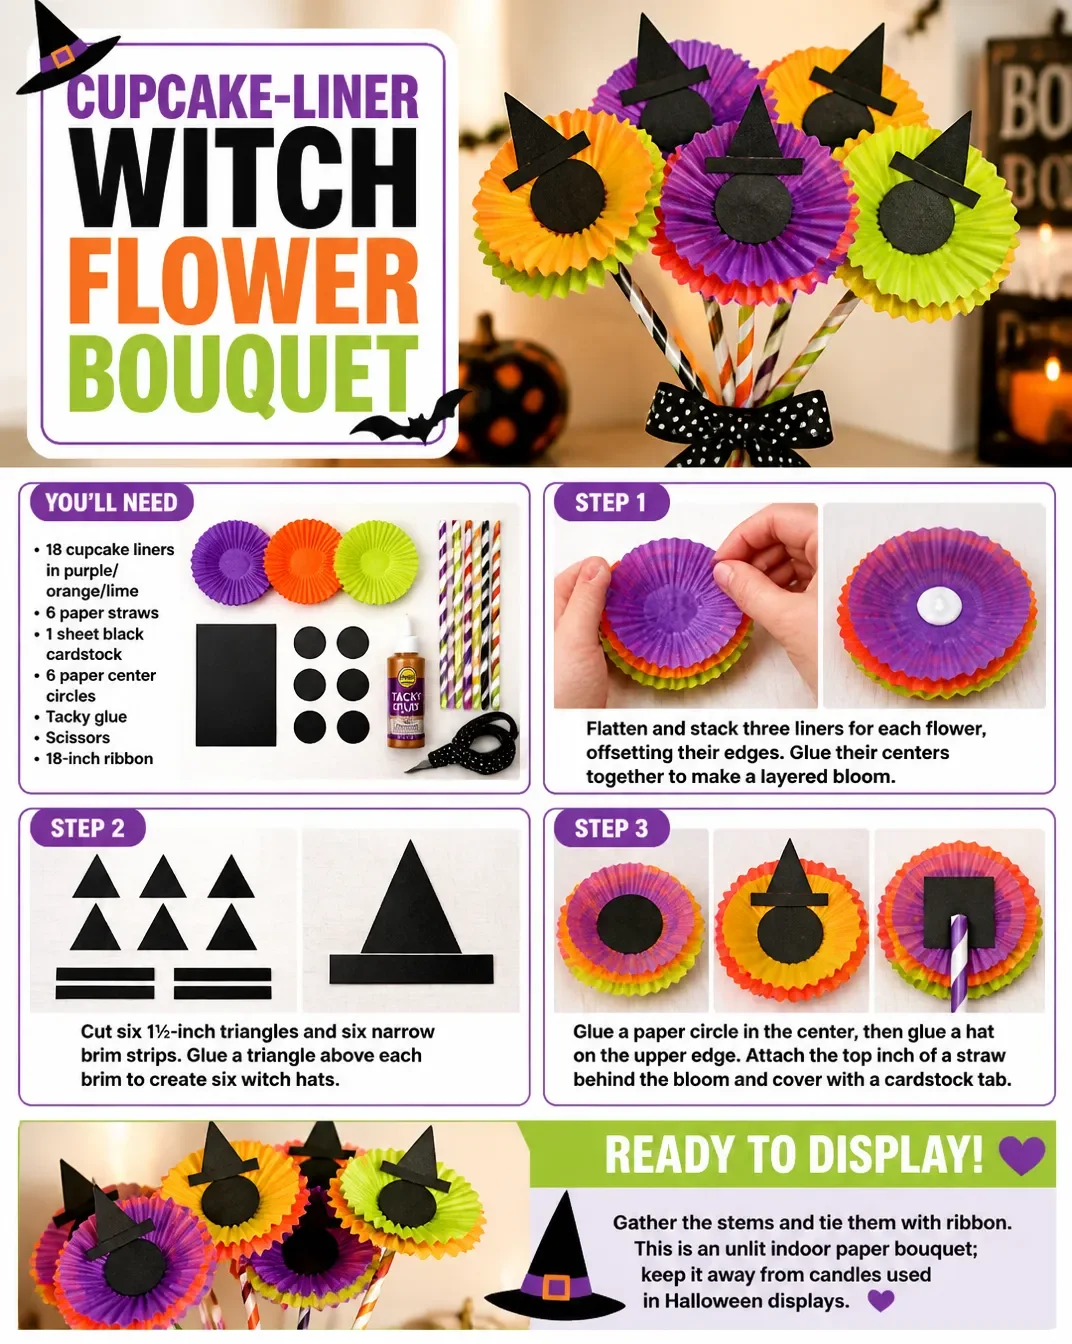
Flatten and stack three liners for each flower, offsetting their edges slightly to create a layered bloom. Use tacky glue to secure the centers together.
Cut six 1½-inch black triangles and six narrow brim strips from the black cardstock. Glue a triangle above each brim to form six small witch-hat silhouettes.
Glue a paper circle into each flower center, ensuring it’s snugly positioned, then attach a hat onto the upper edge of the center, so most colored petals remain visible.
Attach the top inch of a straw behind each bloom and cover the joint with a glued cardstock tab. It’s best to leave the blooms flat until the adhesive has dried for at least a few minutes.
Gather the stems and tie them with ribbon. This arrangement will be an unlit indoor paper bouquet, so remember to keep it away from candles used in Halloween displays.
With these steps, the process becomes enjoyable and allows for creativity in arranging your cupcake-lined flowers.
The Design Behind This Floral DIY

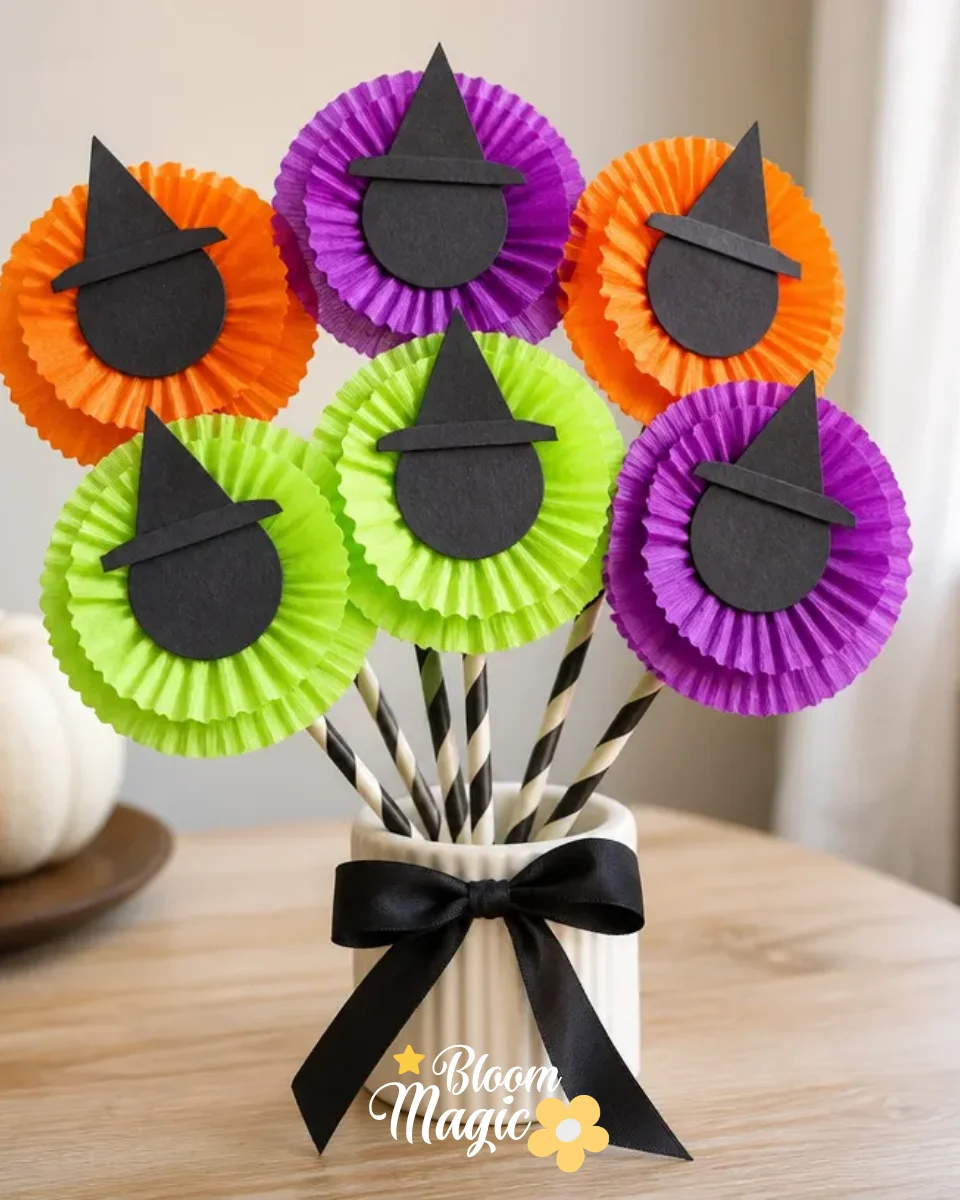
The Cupcake-Liner Witch Flower Bouquet is successful due to its thoughtful design elements. The vibrant colors of the cupcake liners create a striking contrast against the black cardstock of the witch hats. Layering the cupcake liners not only provides depth but also enhances the bouquet’s visual appeal, allowing for a fuller look.
When positioning your flowers, aim for balance; having a mix of colors throughout will ensure a lively display. Layering offers additional texture, while the hats introduce a playful sophistication that embodies the spirit of Halloween. Each bloom, with its clever hat, adds charm and maintains cohesion in design throughout your piece.
Troubleshooting Common Issues
Creating a project like this can sometimes present challenges. If you notice that your paper layers are shifting during assembly, allow yourself to pause and readjust them before the glue dries. This is key to keeping everything aligned and neat.
Should you find any visible adhesive once your flowers are assembled, consider using a small dab of embellishment, like rhinestones or beads, to cover the spots without compromising the charm of your bouquet. If the arrangement feels unbalanced, don’t hesitate to adjust the position of the flowers or add more layers to enhance its fullness.
Easy Variations to Try
Add your own touch to the Cupcake-Liner Witch Flower Bouquet with these simple variations:
- Experiment with different color schemes for the cupcake liners based on your Halloween theme.
- Consider using varying sizes of cupcake liners to create a more dynamic arrangement, allowing for larger and smaller blooms.
- Incorporate decorative elements like glitter or fabric scraps to embellish the witch hats, which can elevate the design with added texture.
Feel free to have fun with the materials and let your creativity shine, ensuring each bouquet truly reflects your style.
Displaying or Keeping Your Project
What to do with your Cupcake-Liner Witch Flower Bouquet after making it? Consider displaying it prominently in your home. Place it in a vase or on a decorative tray to draw attention to it. If you plan to keep it for future Halloween decorations, store it in a cool, dry area, away from sunlight, to prevent any colors from fading.
You can easily wrap your finished bouquet as a gift for friends or family who love home decor or craft projects. This way, you’re sharing a piece of your creativity while reducing the chances of materials going to waste.
FAQs About Cupcake-Liner Witch Flower Bouquet
What if I only have one color of cupcake liners? You can absolutely use just one color! A monochromatic bouquet can be striking and brings a unique visual element to your craft.
How can I make the flowers sturdier? To add sturdiness, consider giving the straws a bit more support by gluing multiple straws together or using thicker cardstock for the hats.
What type of glue works best? Tacky glue is excellent for this project as it provides a strong bond, but you may also use white craft glue if that’s what you have around.
A Final Helpful Note
As you embark on making the Cupcake-Liner Witch Flower Bouquet, keep in mind that the most important aspect is to enjoy the process. Feel free to explore your creativity, and don’t be afraid to try new arrangements or colors. With a bit of patience and attention to detail, you’ll end up with a charming decoration that reflects your personal touch.
Conclusion
Completing the Cupcake-Liner Witch Flower Bouquet is just the beginning of your creative journey this Halloween season. For those looking to expand their crafting horizon, check out these additional ideas that can add to your festive decor: explore the inspiring collection of
cupcake liner craftsor learn how to create a delightful poppy craft with
these easy tips. Happy crafting!
Follow us on social for more floral DIY projects & botanical inspiration!

Cupcake-Liner Witch Flower Bouquet
Would you like to save this recipe?
By submitting you agree to receive this recipe and occasional emails. Unsubscribe anytime.
Ingredients
Materials
- 18 pieces cupcake liners (purple/orange/lime) These vibrant liners form the flowers and bring a festive touch.
- 6 pieces paper straws These serve as stems for your blooms.
- 1 sheet black cardstock Used for creating the witch hats.
- 6 pieces paper center circles These add dimension to the flowers.
- 1 bottle tacky glue This adhesive will secure your layers and elements together effectively.
- 1 piece scissors Essential for cutting the cardstock and trimming any pieces as needed.
- 18 inches ribbon This adds a lovely finish when tying your bouquet together.
Instructions
Construction
- Flatten and stack three liners for each flower, offsetting their edges slightly to create a layered bloom. Use tacky glue to secure the centers together.
- Cut six 1½-inch black triangles and six narrow brim strips from the black cardstock. Glue a triangle above each brim to form six small witch-hat silhouettes.
- Glue a paper circle into each flower center, ensuring it's snugly positioned, then attach a hat onto the upper edge of the center, so most colored petals remain visible.
- Attach the top inch of a straw behind each bloom and cover the joint with a glued cardstock tab. It’s best to leave the blooms flat until the adhesive has dried for at least a few minutes.
- Gather the stems and tie them with ribbon. This arrangement will be an unlit indoor paper bouquet, so remember to keep it away from candles used in Halloween displays.
Last Step: Don’t forget to leave a rating and comment below! It helps other readers find the best recipes — and it helps us too!
Tips & Notes:
Nutrition Information: Serving: 1 | Calories: | Carbohydrates: | Protein: | Fat: | Sodium: | Fiber: | Sugar:
Nutritional information is provided as a courtesy and calculated automatically. Values can vary depending on the brands and ingredients you use, so if you’re tracking closely, I recommend calculating with your own preferred tool.