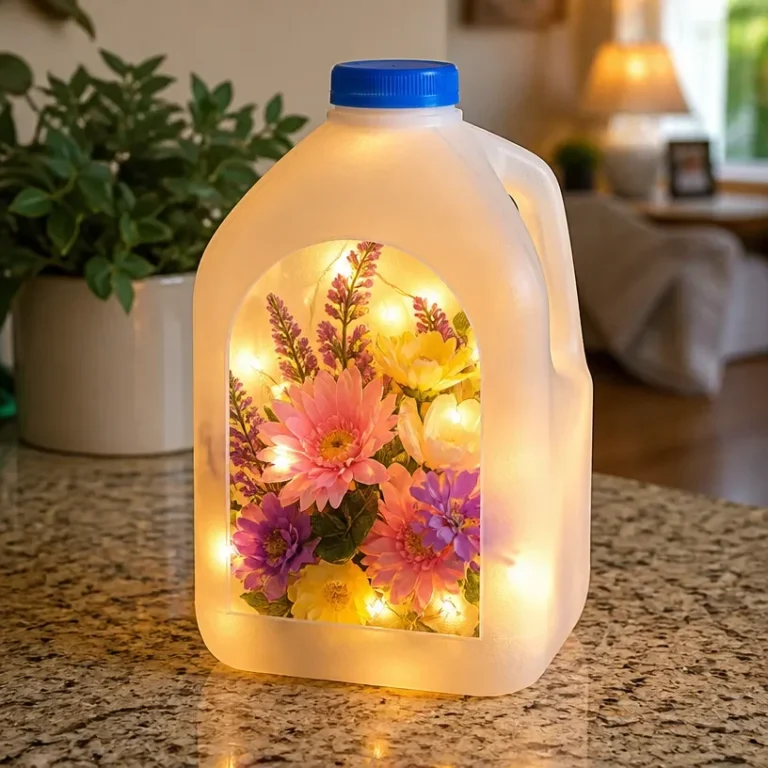

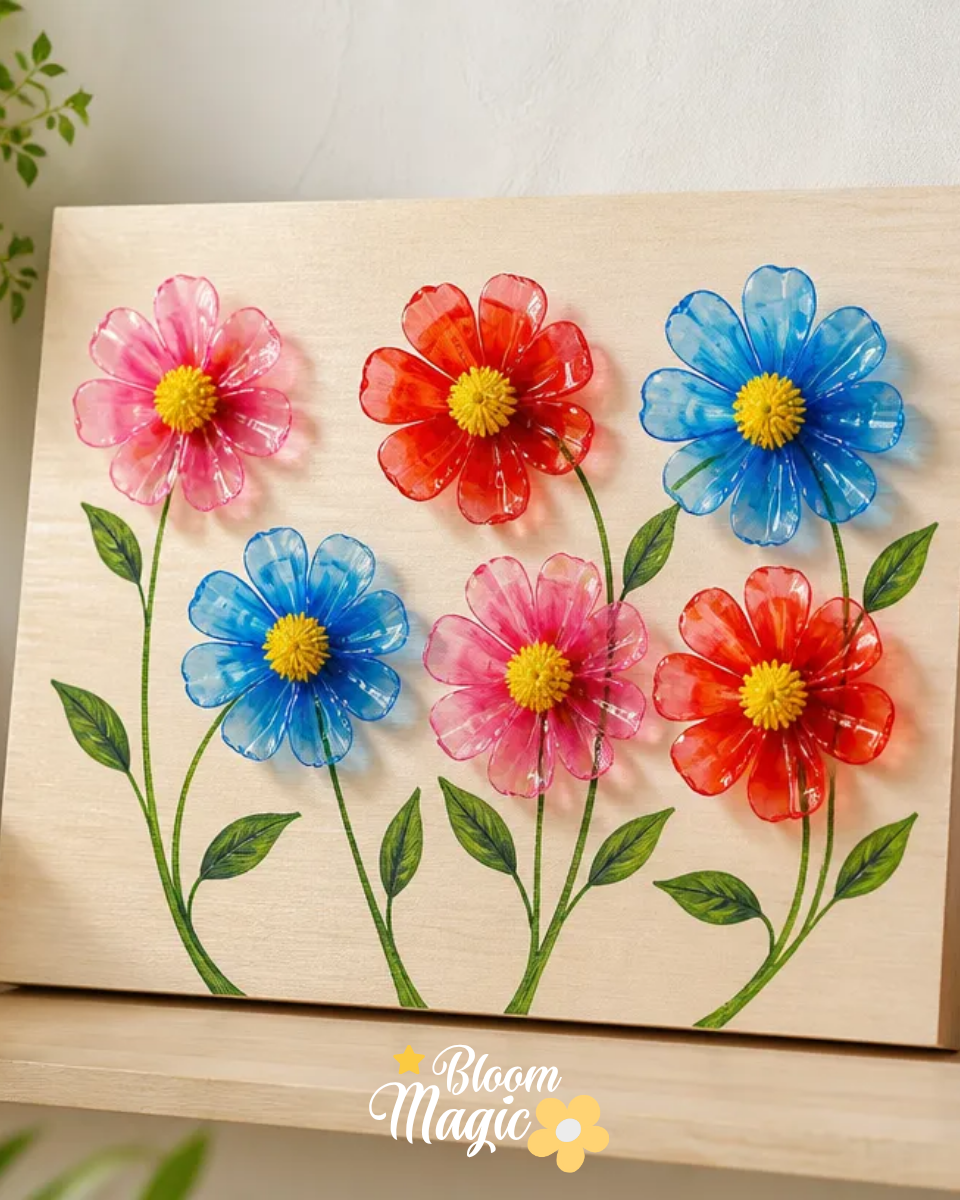
Creating something beautiful with repurposed materials can bring a sense of accomplishment and creativity into your home. Think about those moments when you’re surrounded by floral treasures from nature, maybe some pressed blooms or dried petals that hold a special memory. You may want to preserve these meaningful materials and turn them into something worth displaying. That’s where the concept of a Plastic Bottle Flower Wall Panel comes in. This project not only utilizes materials you might already have, but it also provides a unique way to highlight your favorite flowers while contributing positively to the environment. You may also find 3D Flower Wall Art Ideas Home Decor useful.
Why This Plastic Bottle Flower Wall Panel Works So Well
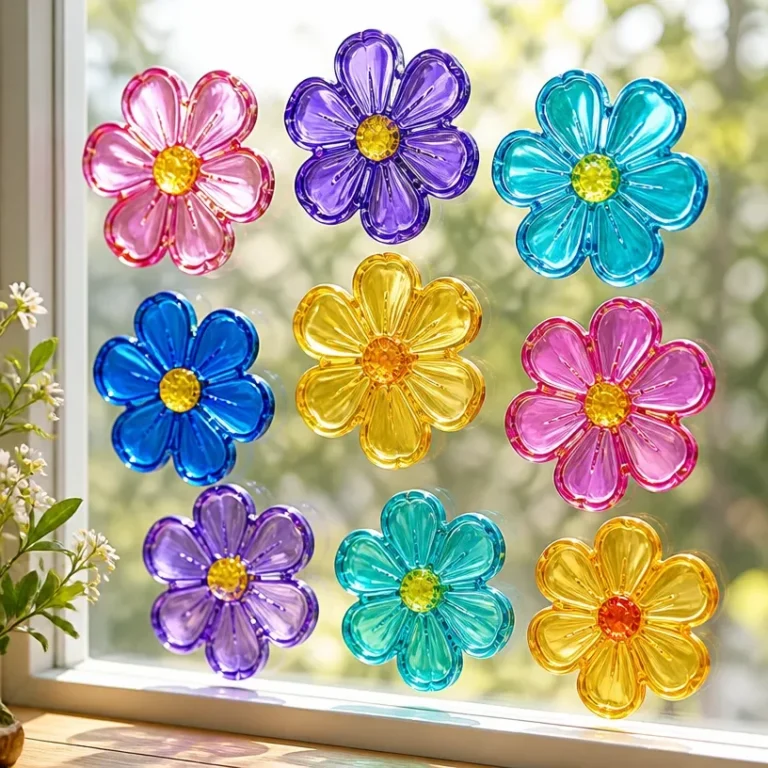
You may also find Clear Glue Pressed Flower Suncatcher useful.
The charm of this project lies in its approachability and creativity. It combines common household items with beautiful floral designs, making it manageable for both beginner and experienced crafters. You’ll find that the process is not just about decoration; it’s also a way to explore floral design and showcase your personal style. The use of plastic bottles keeps the project lightweight and easy to hang, making it an ideal decorative choice for your walls. You may also find Coffee Filter Tie Dye Flower Bouquet useful.
A Quick Look Before You Begin
Embarking on this project allows you to gather your materials and envision how they’ll come together. With everyday items and some beautiful flowers, you can create an eye-catching wall display. The materials required are straightforward, and the construction approach is simple yet rewarding. Think about how the flowers will look against the backdrop of the bottles, and consider the level of mess involved; it’s quite minimal, mostly just the fun of arranging and gluing.
Materials You’ll Need
- Plastic bottles
- Floral supplies (like pressed or dried flowers)
- Adhesive (clear glue works best)
- Scissors
- Paint or decorative embellishments (optional for enhancing the look)
Each of these materials contributes to the overall finished piece, and their careful handling will ensure you create a charming display. When selecting flowers, think about the colors and textures that appeal to you; they will play a significant role in the final design.
Step-by-Step Directions
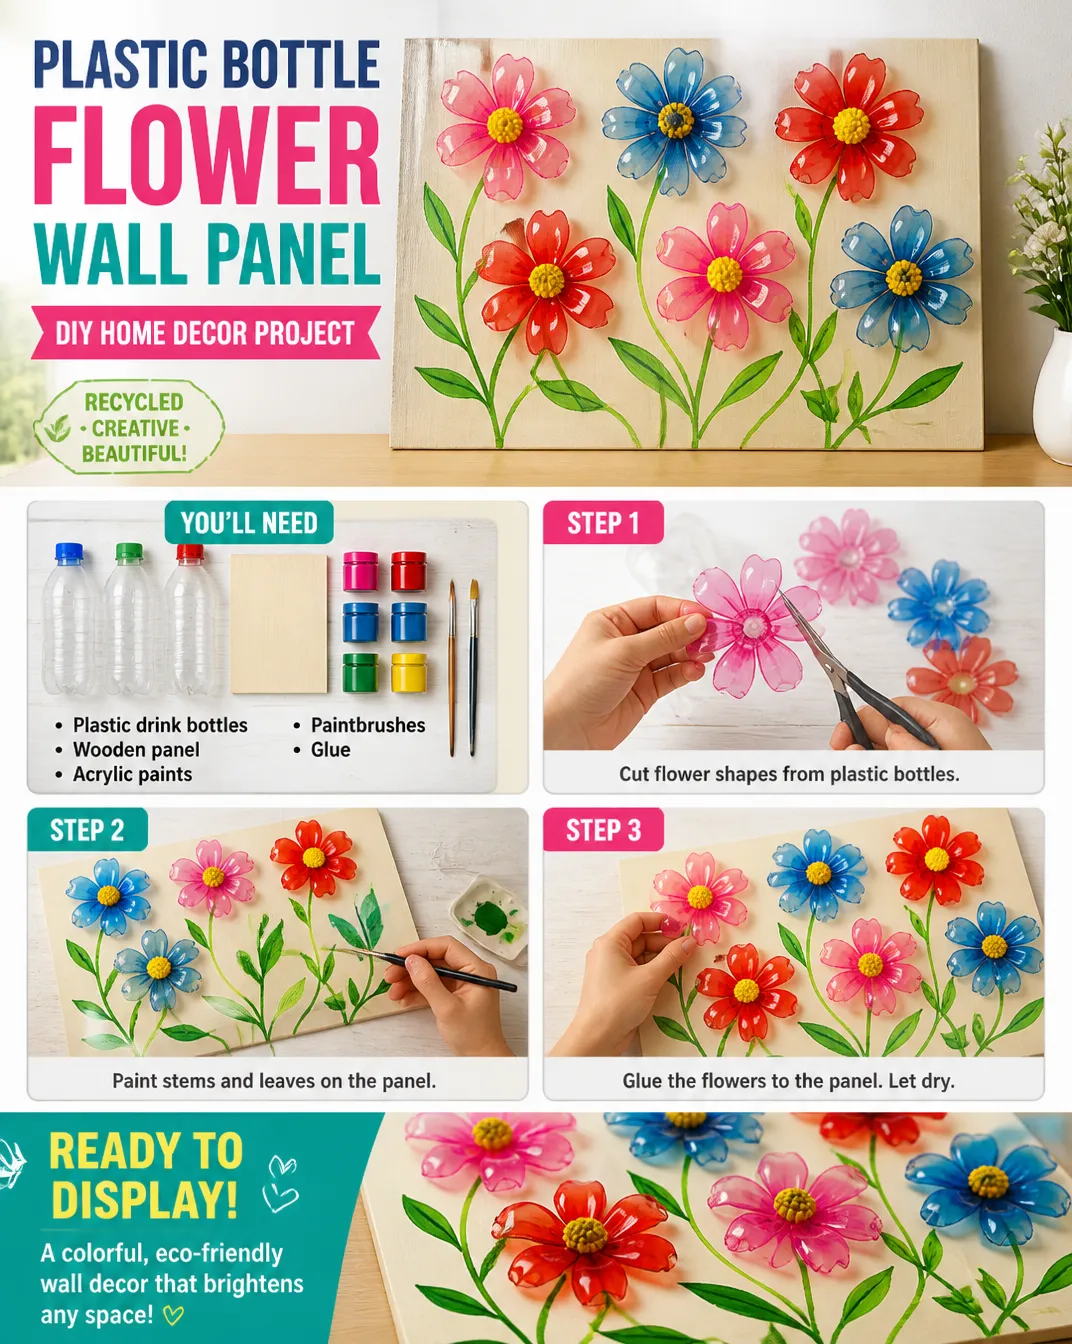
- Start with a clean, dry plastic bottle. Cut it in half to create a base for your flowers. Make sure the edges are smooth to prevent any accidents.
- Choose your favorite pressed or dried flowers. Lay them out to see how they will fit within the cut portion of the bottle.
- Apply a layer of your clear glue to the inside of the bottle where you’ll attach the flowers. This will help with adhesion and durability.
- Begin placing the flowers inside the bottle. Keep an eye on their arrangement, aiming for balance and visual appeal as you layer them.
- Once satisfied with the layout, press down gently to ensure the flowers adhere to the glue. Allow to dry completely before moving on.
- If you want to add decorative touches, paint the outside of the bottle or apply embellishments after the flowers have dried.
- Finally, prepare to hang your new flower display. Choose a location where it can catch the light, enhancing the colors and textures of the flowers.
The Design Behind This Floral DIY
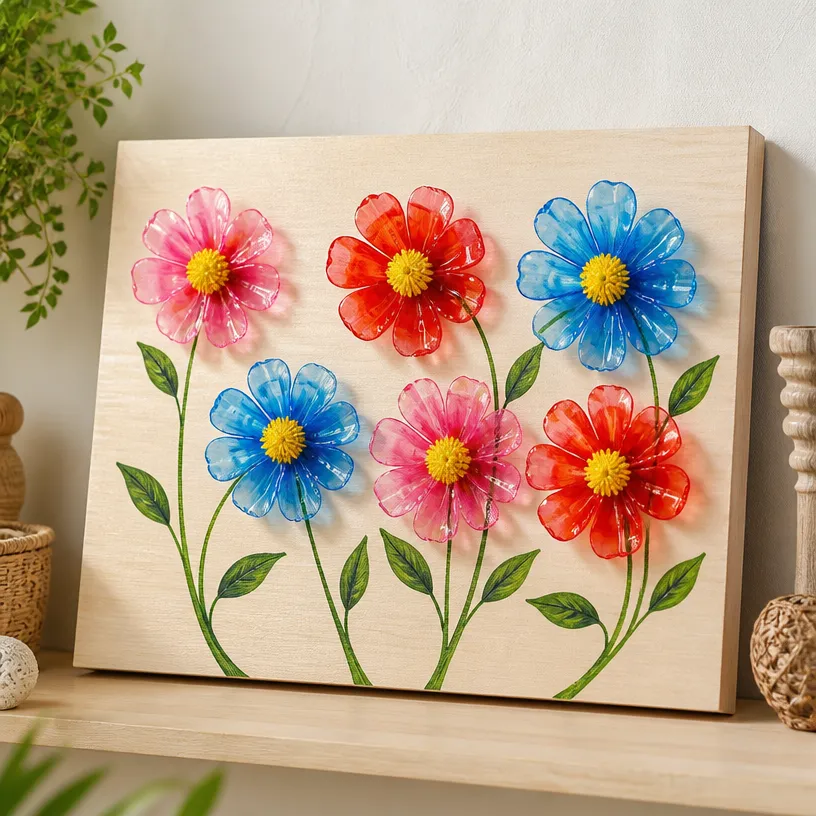
In this project, the key components of design like color relationships and texture play an essential role. When arranging your flowers, consider how contrasting colors can stand out against the neutral tones of the bottle. Balance your floral arrangements by mixing larger and smaller blooms, making sure to leave adequate spacing between different flowers. Layering your materials thoughtfully will create depth, while the unique shapes of your flowers will draw the eye to your wall panel.
Troubleshooting Common Issues
Common challenges may arise during your crafting, such as uneven placements or flowers shifting. If you notice that some flowers aren’t adhering properly, apply a bit more glue and hold them in place until secure. Should the arrangement feel crowded, don’t hesitate to remove a few blooms to maintain balance. Remember that it’s normal for projects to require adjustments during assembly; embrace the process and make changes as needed.
Easy Variations to Try
Feel free to experiment with different aspects of this project. Here are some ways to make it your own:
- Use various bottle shapes or sizes to add diversity to your floral panel.
- Swap out flower types based on the season; think about peonies in spring or sunflowers in summer.
- Consider painting bottles in bright colors that resonate with your home decor.
- Mix in other botanical elements, such as leaves or twigs, to create a more layered look.
Displaying or Keeping Your Project
Now that your Plastic Bottle Flower Wall Panel is complete, consider how to display it. This piece can be hung in a prominent location, like a living room or entrance, where it can be easily admired. Ensure it’s mounted securely to prevent any accidents. If you’re thinking of gifting this creative project, consider wrapping it delicately to protect the flowers.
FAQs About Plastic Bottle Flower Wall Panel
Is it necessary to use clear glue?
While clear glue is recommended for its invisibility, other adhesives can be used; just be aware they might not blend in as seamlessly.
Can I use fresh flowers instead?
Fresh flowers might not hold up well long-term in this project, so it’s best to stick with pressed or dried varieties for durability.
What if I can’t find the exact materials described?
Substitutions can work; you might try using similar flower types or alternative bottles as long as they retain the basic function.
A Final Helpful Note
Crafting your Plastic Bottle Flower Wall Panel should feel fulfilling and creative. Enjoy the process, keep experimenting with colors and textures, and don’t be afraid to adjust things as you go. With every choice you make, you’re adding your personal touch, creating a piece that is uniquely yours.
Conclusion
As you explore more floral crafts, consider checking out the
Water Bottle Flowers Wall Hangerfor additional inspiration. If you're interested in enhancing your floral decor even further, browse the selection of
yellow flower panelsavailable online for added design options. Embrace your creativity, and let your floral projects blossom!
Follow us on social for more floral DIY projects & botanical inspiration!
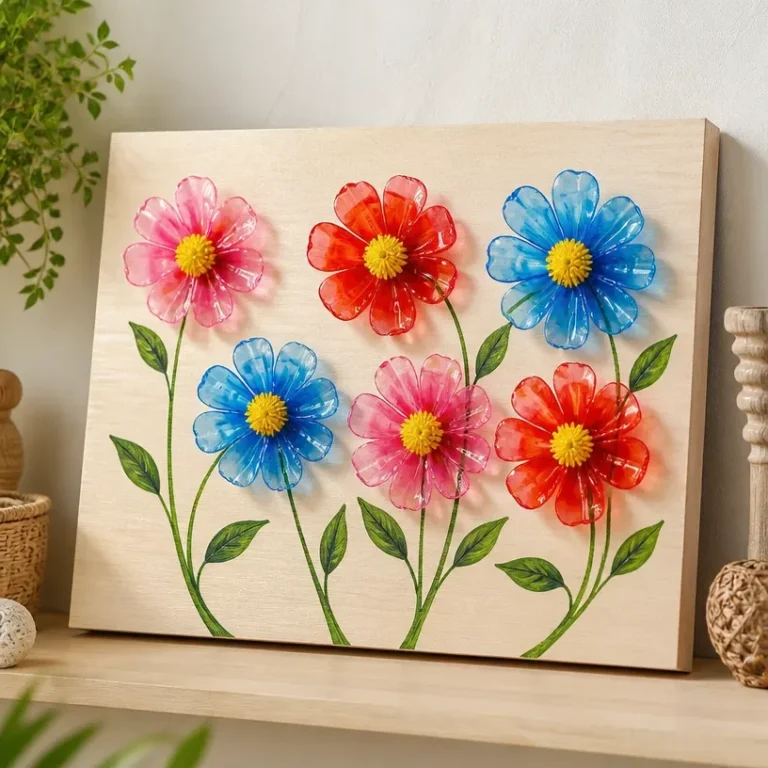
Plastic Bottle Flower Wall Panel
Would you like to save this project?
By submitting you agree to receive this project and occasional emails. Unsubscribe anytime.
Materials
Materials
- 1 unit Plastic bottle Clear plastic bottle works best.
- Assorted pieces Pressed or dried flowers Choose various colors and textures.
- 1 bottle Clear glue Recommended for its invisible finish.
- 1 pair Scissors For cutting the bottle.
- As desired items Paint or decorative embellishments Optional for enhancing the look.
Directions
Preparation
- Start with a clean, dry plastic bottle. Cut it in half to create a base for your flowers, ensuring the edges are smooth.
- Choose your favorite pressed or dried flowers and lay them out to see how they will fit inside the cut portion of the bottle.
- Apply a layer of clear glue to the inside of the bottle where you’ll attach the flowers.
Assembly
- Begin placing the flowers inside the bottle, aiming for balance and visual appeal.
- Once satisfied with the layout, press down gently to ensure the flowers adhere to the glue and allow to dry completely.
- If desired, paint the outside of the bottle or apply embellishments after the flowers have dried.
Finishing
- Prepare to hang your new flower display in a location where it can catch the light.
Last Step: Don’t forget to leave a rating and comment below! It helps other readers find the best DIY projects — and it helps us too!